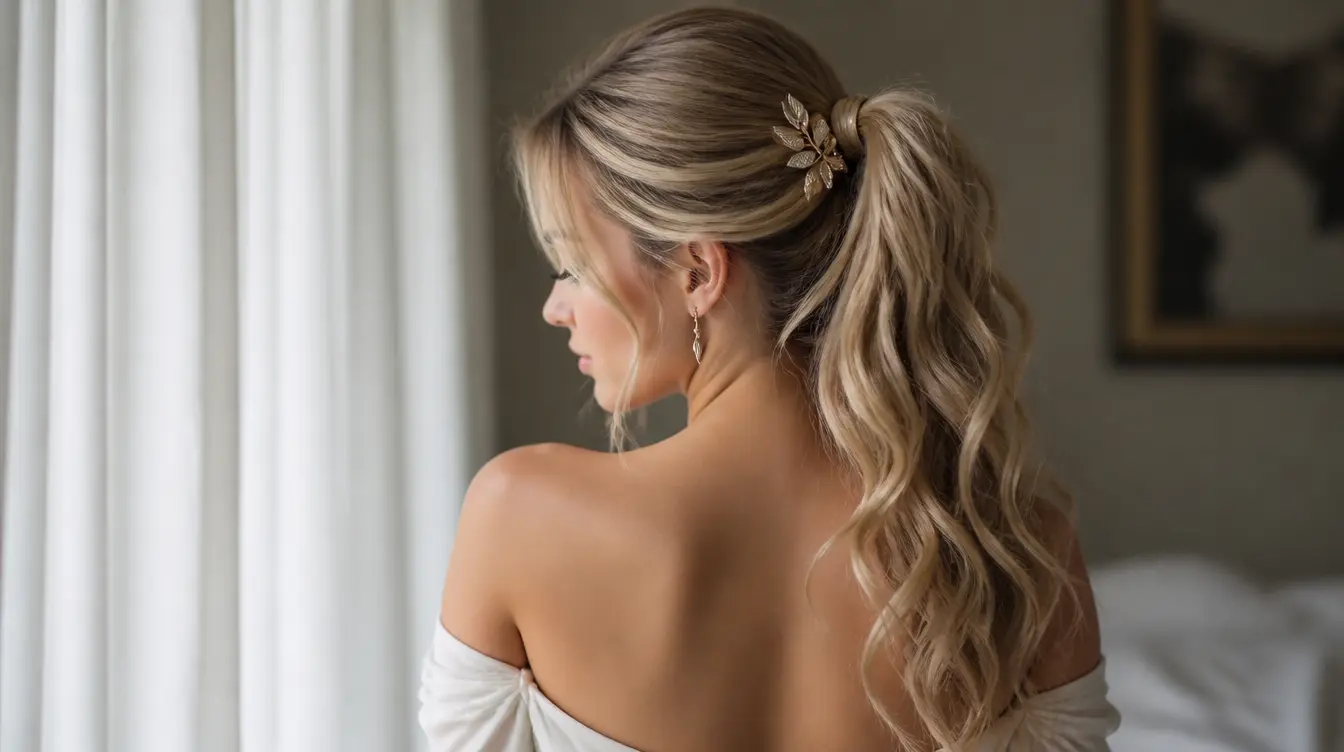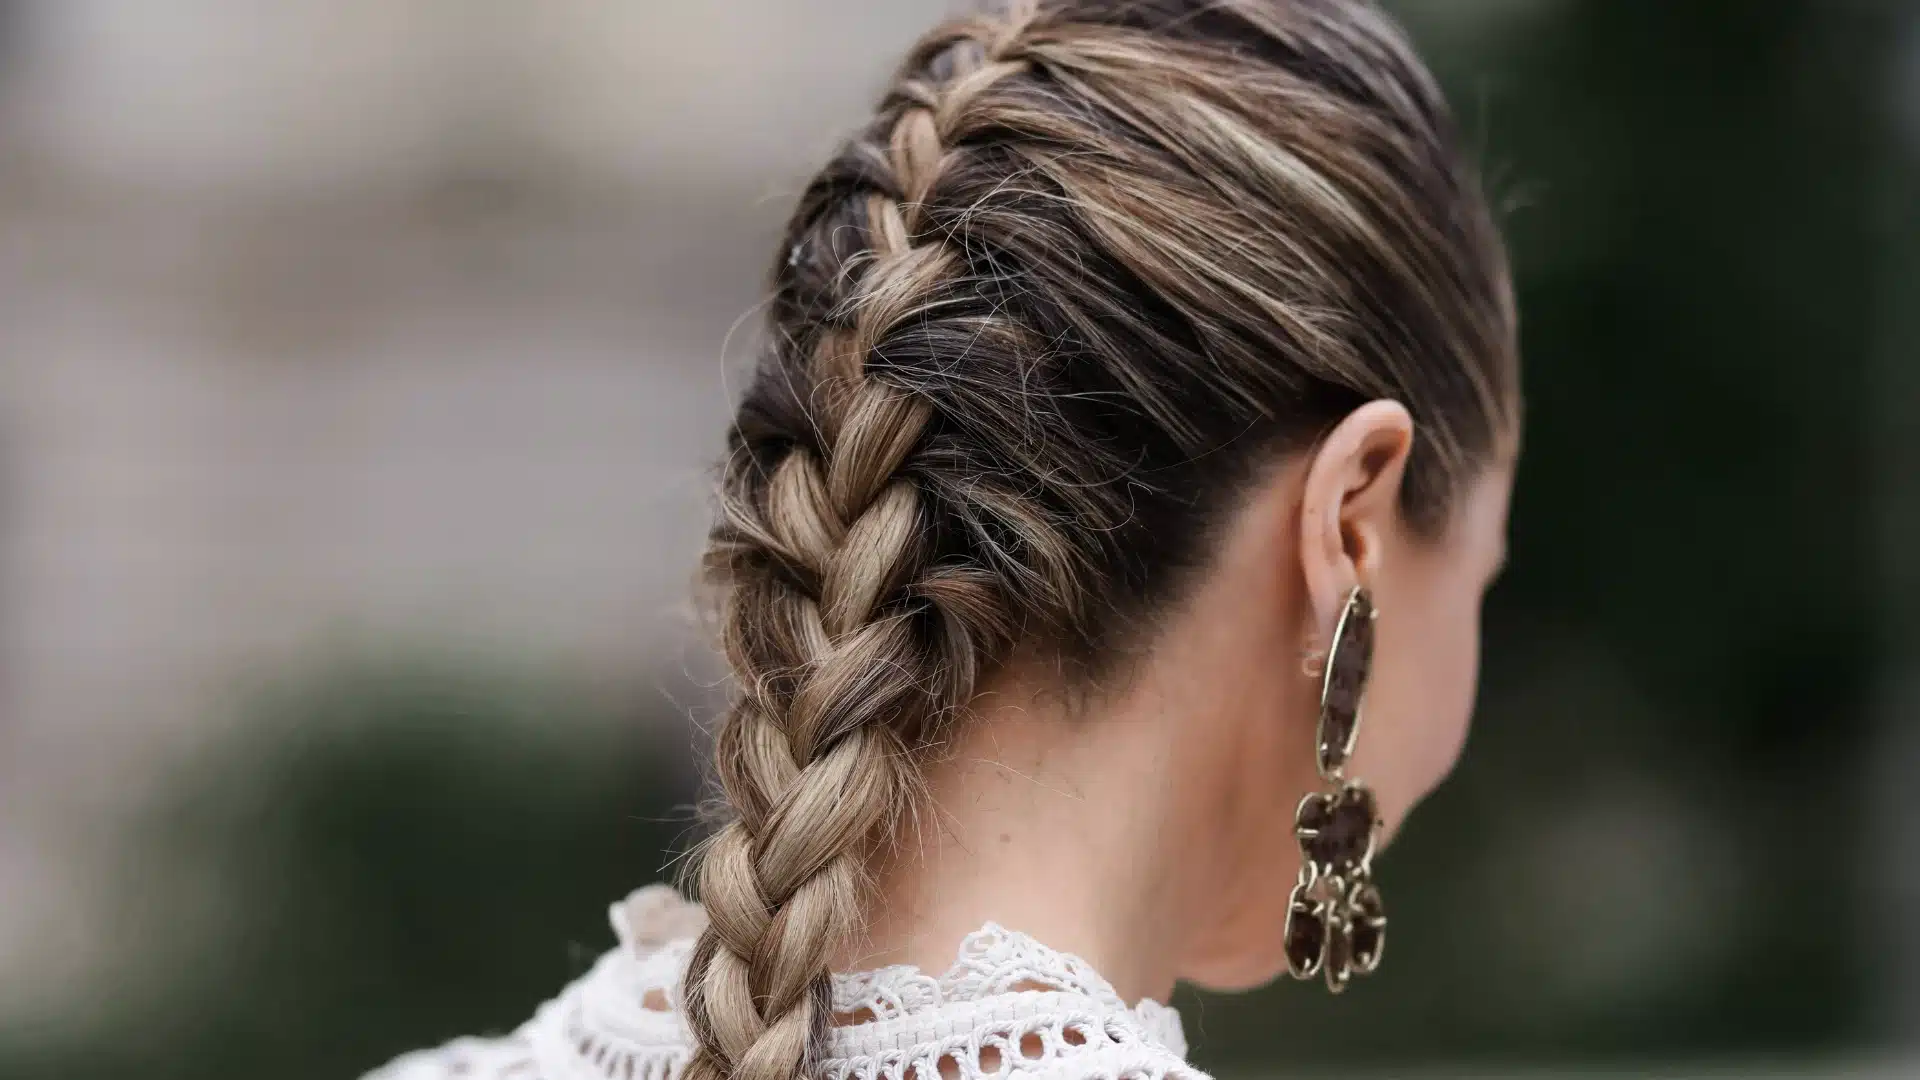
Why does a French braid look effortless on someone else, yet feel completely impossible on a first attempt? Hair type or talent isn’t usually the problem here.
Hand placement and section control almost always are, and those two things can be practiced and improved fairly quickly with the right approach.
Learning how to French braid gets much easier once the crossing pattern and consistent sectioning start to feel natural.
What follows covers preparation, a full step-by-step method, a few helpful fixes along the way, and simple styles worth trying afterward.
What is a French Braid?
A French braid is a woven hairstyle built from three sections of hair, crossed over one another in a steady, repeating pattern.
Unlike a regular three-strand braid, new hair gets added into each section as the braid moves down the head, one small piece at a time.
That extra step is what creates the real difference between the two styles. A regular braid only uses the hair gathered at the very start, so it hangs loose and separate from the scalp.
A French braid keeps pulling in more hair along the way, which lets it sit flat and close to the head instead of hanging away from it.
That structure is also why the style holds up so well through long days, workouts, humid weather, and busy mornings when there is little time to fix loose strands.
Getting Everything Braid-Ready
A little preparation makes the whole process smoother and helps the braid hold its shape for longer. The right prep makes learning a French braid tutorial noticeably smoother from the very first cross.
Hair Length and Type
French braids work best on hair that falls at or below the shoulders, since shorter pieces are harder to hold and blend into the braid.
Fine, thick, straight, and curly hair can all be braided this way, though thicker hair may need slightly larger sections for an even, balanced look.
Clean or Second-Day Hair
Freshly washed hair tends to be slippery, which makes sections slide apart during braiding.
Second-day hair, or hair with a light dry shampoo, holds its shape better and grips more easily between the fingers. Damp hair also works well for those who want soft waves once the braid comes out later.
Tools Needed
A wide-tooth comb, a few small clips, and a soft hair elastic are all you need. Bobby pins help tuck away flyaway pieces once the braid is finished and secured.
Brush through every section fully before starting. Leftover tangles are one of the biggest reasons a braid ends up looking uneven or lumpy later on.
How to French Braid?
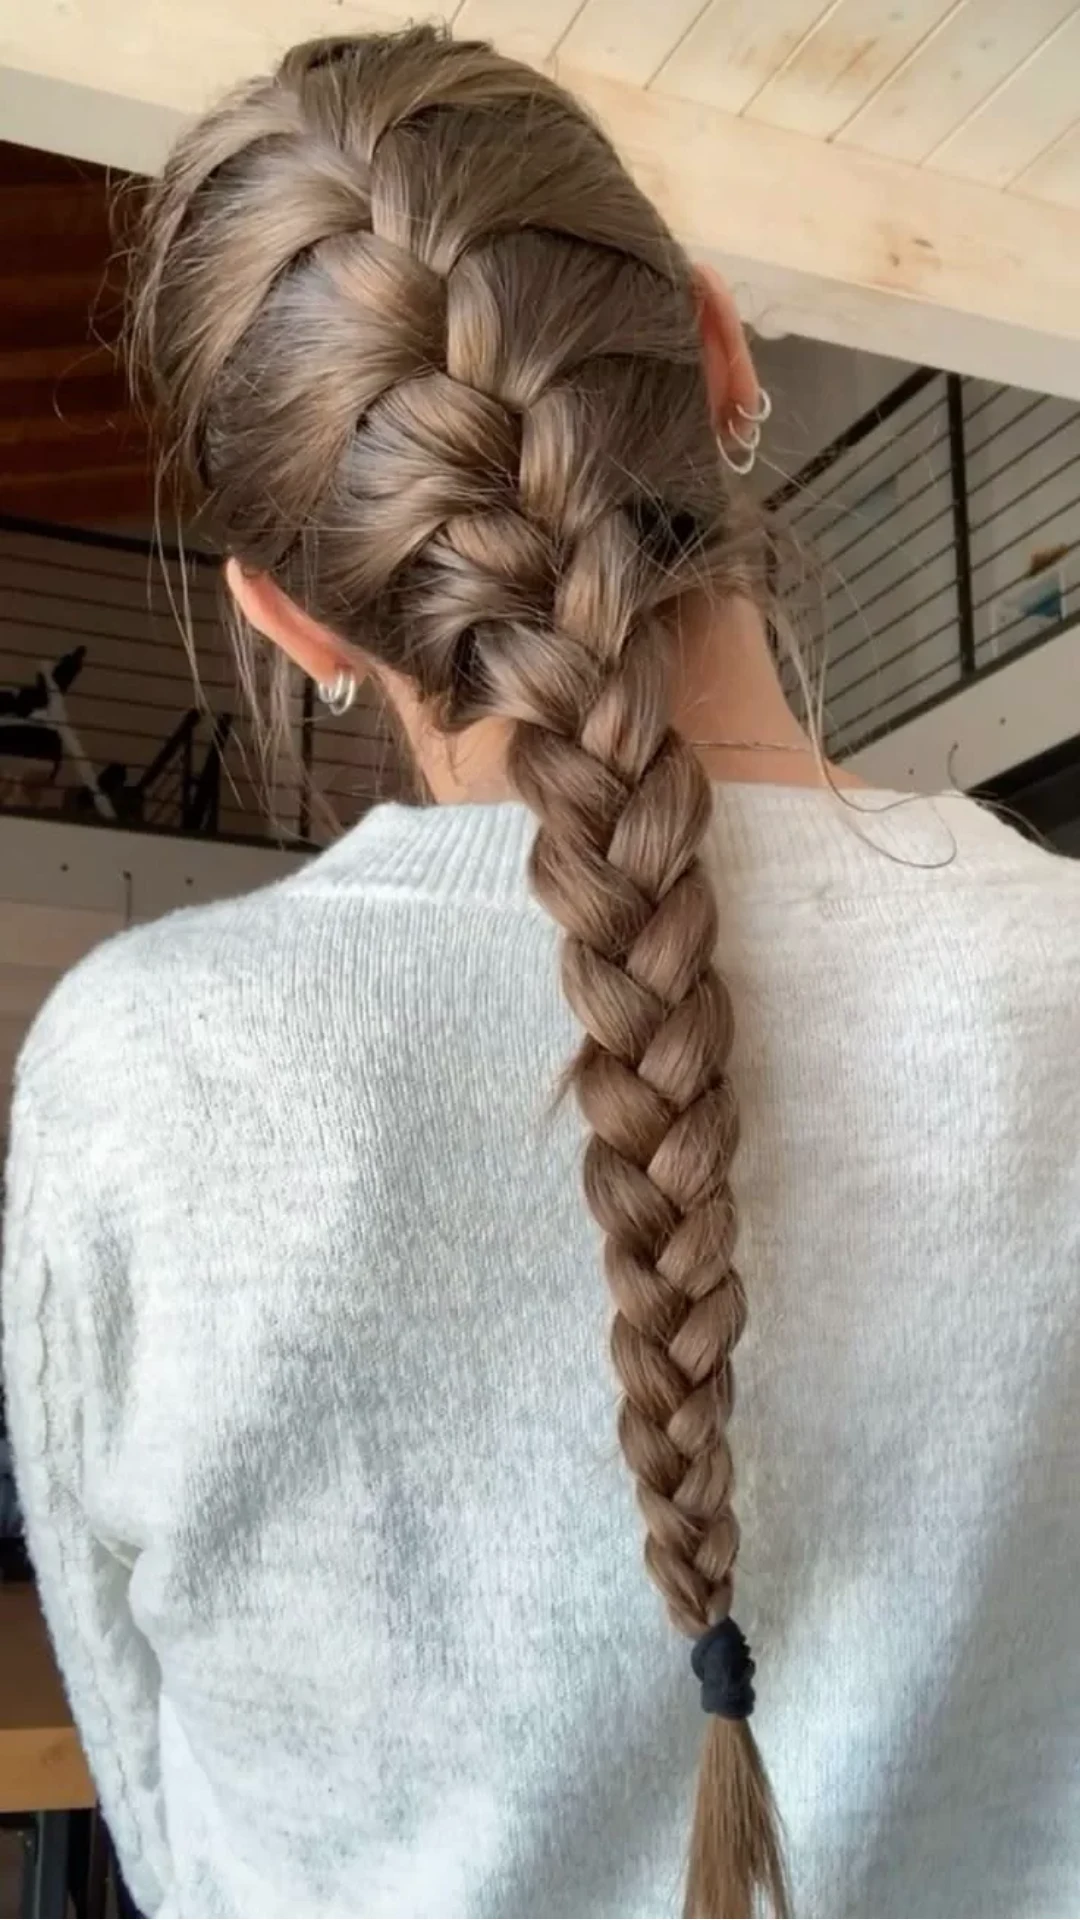
Credits: oliv
The full process comes down to one repeating motion done in small, steady stages. Breaking it into different parts makes the pattern far easier to follow, especially on the first few tries.
Step 1: Section and Split at The Crown
Brush out tangles from root to tip until hair moves smoothly.
Gather a section at the crown, three to four inches wide, and hold it flat against the scalp. Divide it into three equal parts, keeping them separate and untangled.
Hold the left and right strands with the ring and pinky fingers, and pinch the middle strand with one index finger.
Step 2: Cross Right, Then Left
Cross the right strand over the middle, so it becomes the new middle strand. Then cross the left strand over that new middle strand.
Two crosses form one full stitch, and that stitch is the entire pattern repeated from here on.
If the strands feel tangled or twisted after this step, stop and smooth them out before continuing, since small snags here tend to snowball.
Step 3: Add Hair as the Braid Moves
Before each cross, pick up a small new section of loose hair from that side of the head and combine it with the strand about to move.
A section roughly the width of one finger works well as a rough guide.
Adding too much hair at once creates lumps; adding too little makes the braid look thin and stringy by the time it reaches the neck.
Step 4: Keep Going Down the Head
Continue alternating sides, adding hair and crossing, all the way down toward the nape of the neck.
If a strand slips loose, pause and pinch all three sections firmly in one hand before adjusting. Letting go completely often causes a loose spot that is hard to fix later.
Step 5: Switch to a Regular Braid
Eventually, there will be no more loose hair left on either side to add.
That’s the signal to stop adding sections and finish out the rest of the hair as a standard three-strand braid, right down to the ends.
Step 6: Secure and Loosen for a Softer Look
Fasten the end with a soft, fabric-covered elastic that won’t snag or pull. For a fuller, more relaxed finish, gently tug at the edges of each woven section once everything is secured.
A freshly finished braid often feels stiffer and tighter than it will an hour later, so it’s best not to over-tighten early on just to compensate.
Braiding Your Own Hair vs Braiding Someone Else’s
The technique stays the same either way, but the experience of doing it changes quite a bit depending on whose hair is being braided.
This French braid tutorial applies the same way in both cases, even though the feel of the process shifts.
Braiding Someone Else’s Hair
This usually comes with some time pressure, but full visibility makes up for it. Every cross can be seen and adjusted on the spot, which is forgiving for beginners still learning the pattern.
Braiding a Personal Braid
Working on a personal braid removes that visibility entirely, since there’s no clear view of the back of the head, so the whole process leans on feel rather than sight.
A handheld mirror, angled toward a bathroom mirror, helps close that gap during solo braiding. It works almost as well as a second pair of eyes.
Easy French Braid Styles to Try
Once the basic braid feels steady, a few small changes turn it into several different braid looks without learning anything new.
1. Classic Single French Braid
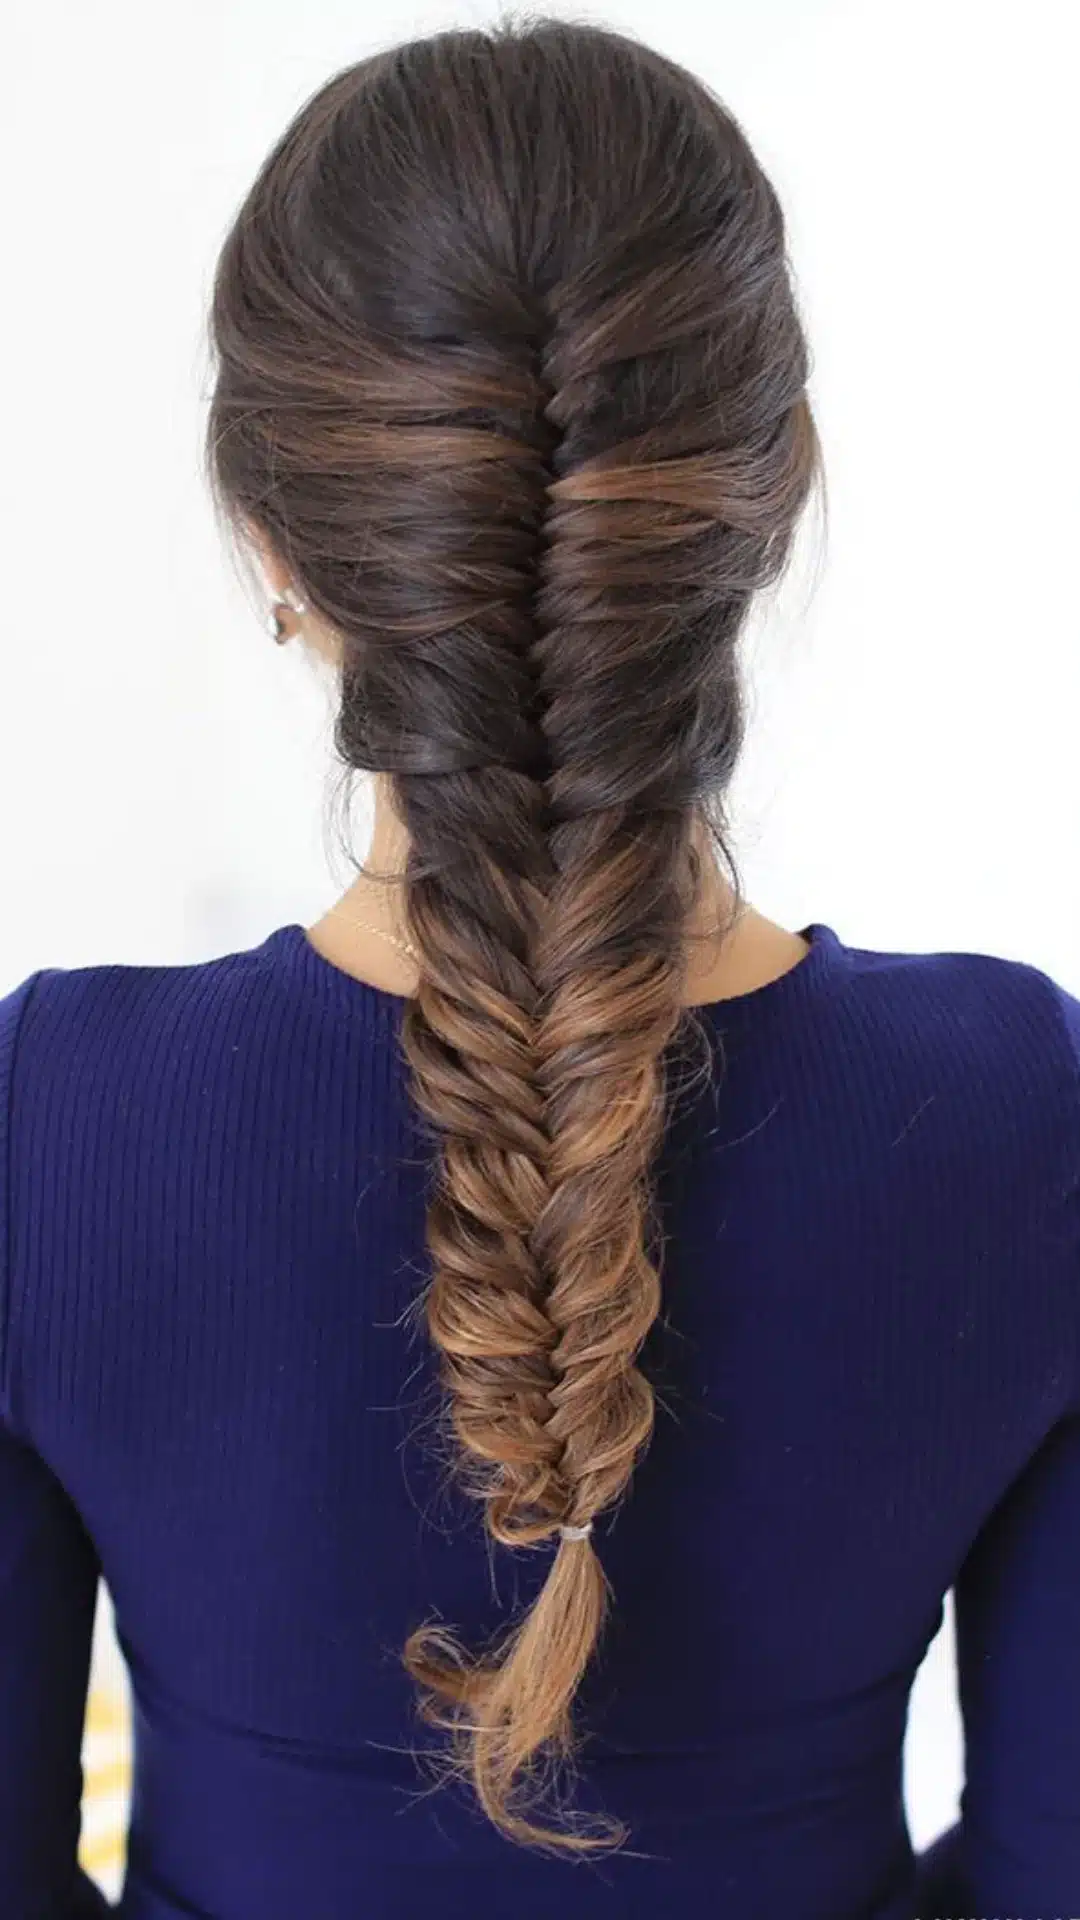
Credits: LuxyHair
One braid running from the crown down to the nape covers most everyday needs, from school runs to workdays. It keeps hair fully off the face and neck for long stretches.
2. Double French Braids
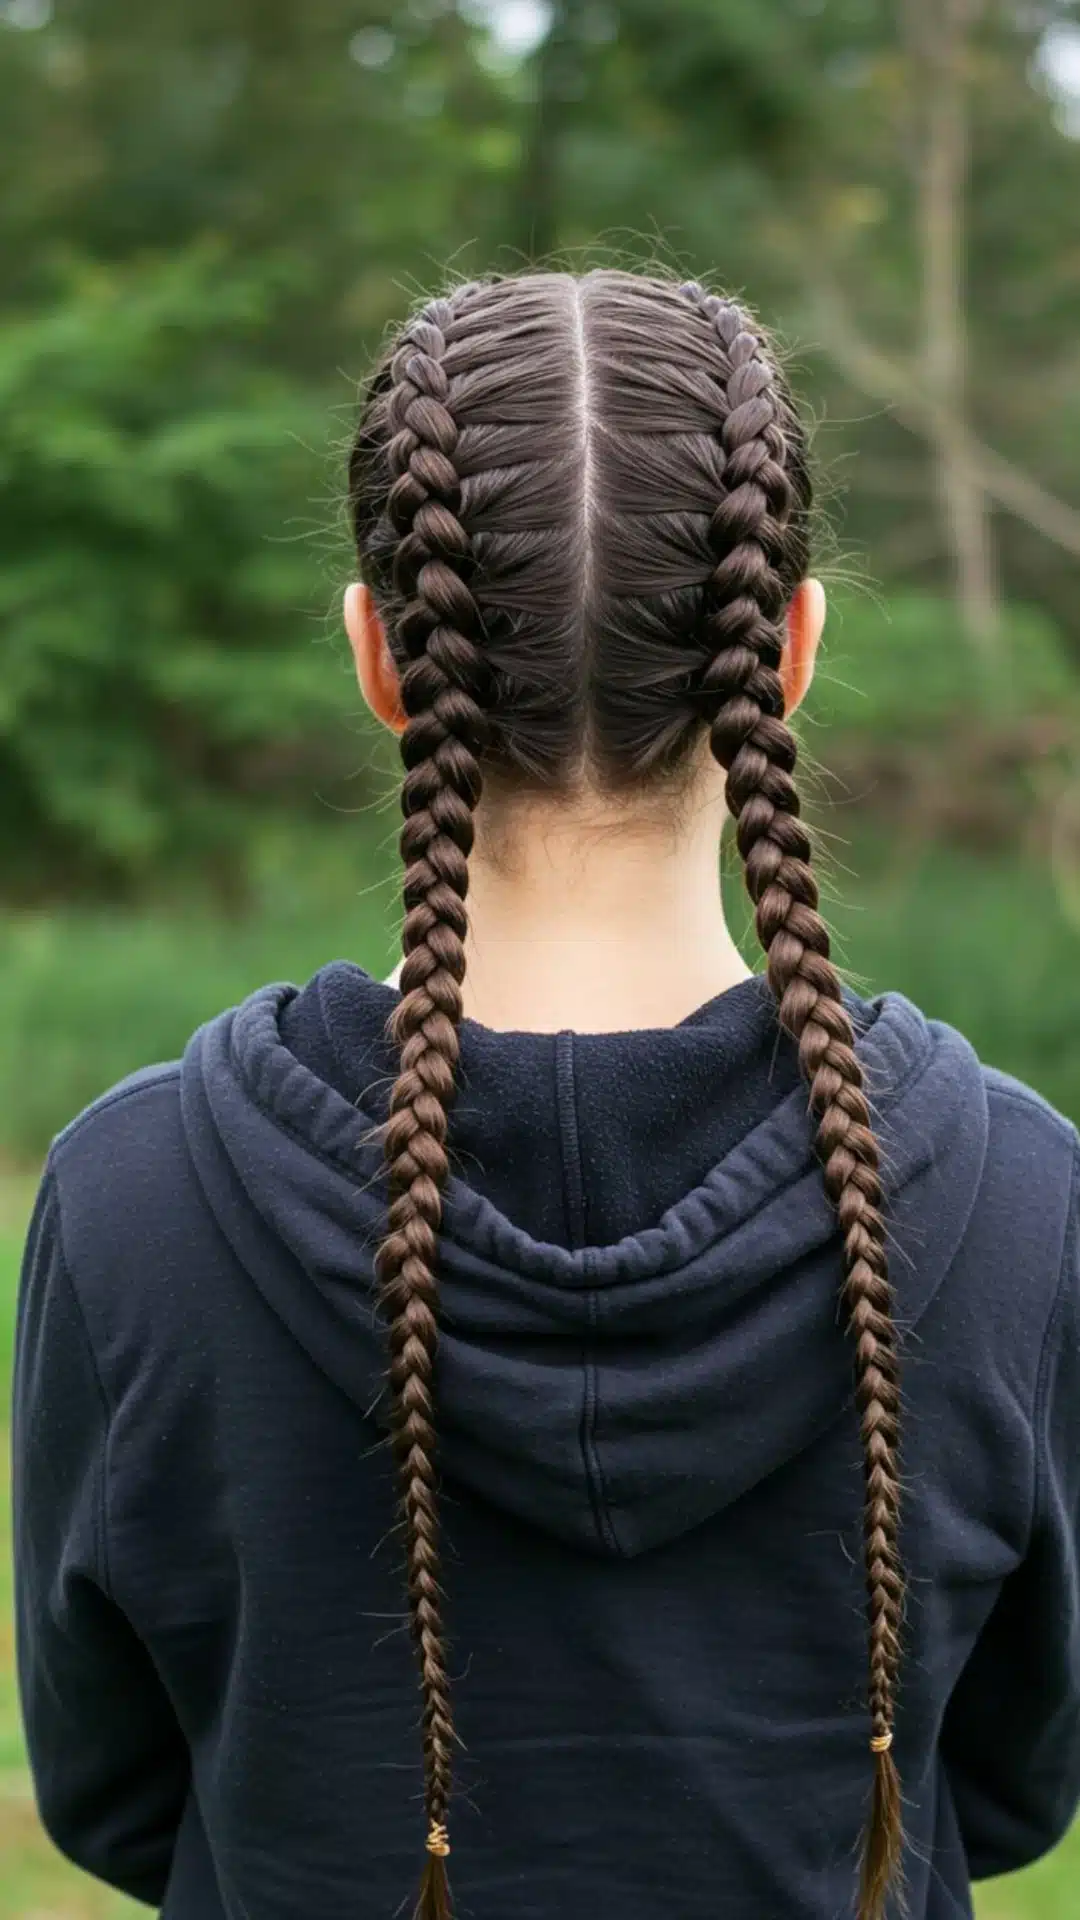
Credits: EmissNice
Parting the hair down the middle and braiding each side separately creates a neat, symmetrical look that holds up well through active days.
Two braids also tend to stay in place longer than one, since the weight and tension get distributed more evenly across the head.
3. Pigtail French Braids
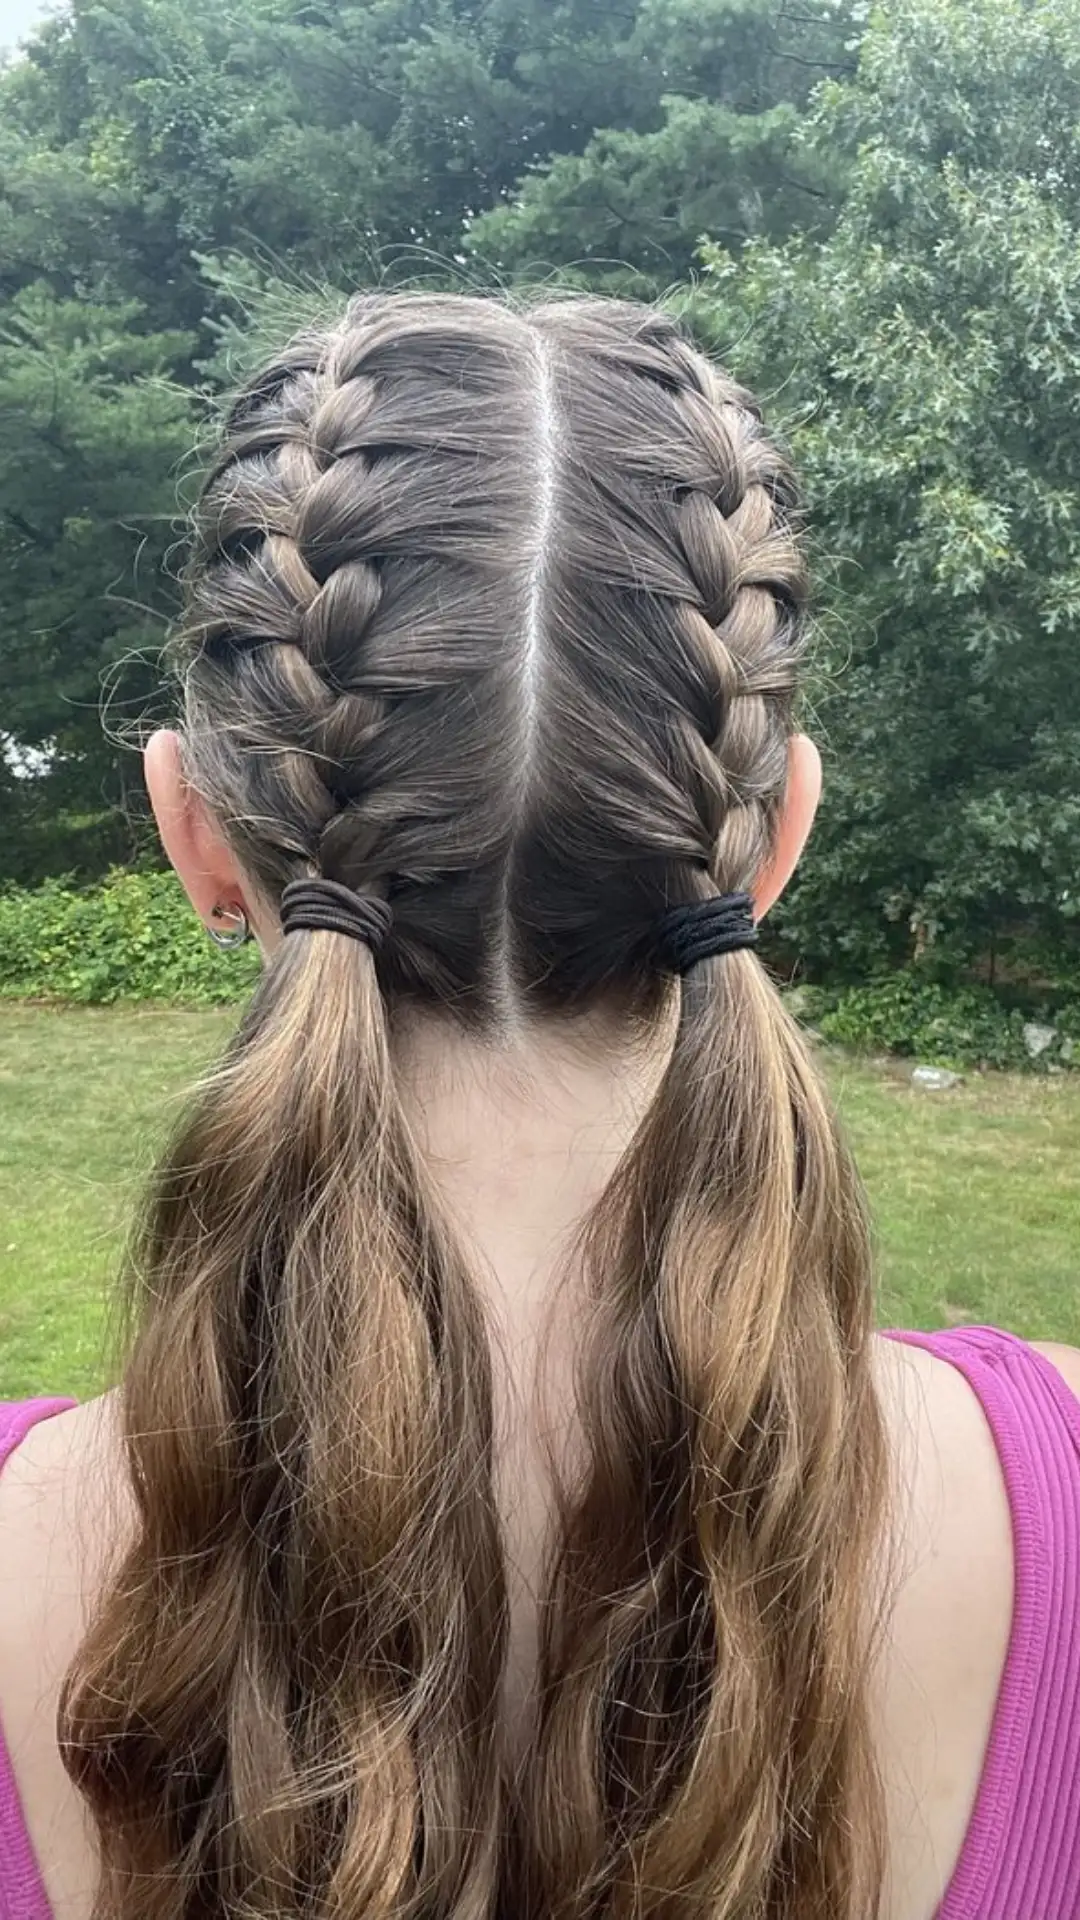
Credits: ToriSchweitzer
This follows the same double-braid method, but each braid gets secured higher up with an elastic, leaving two shorter braids instead of one long look.
It works especially well for kids or for a sportier, playful style. Shorter braids also come together faster on busy mornings.
4. French Braid Into a Bun or Ponytail
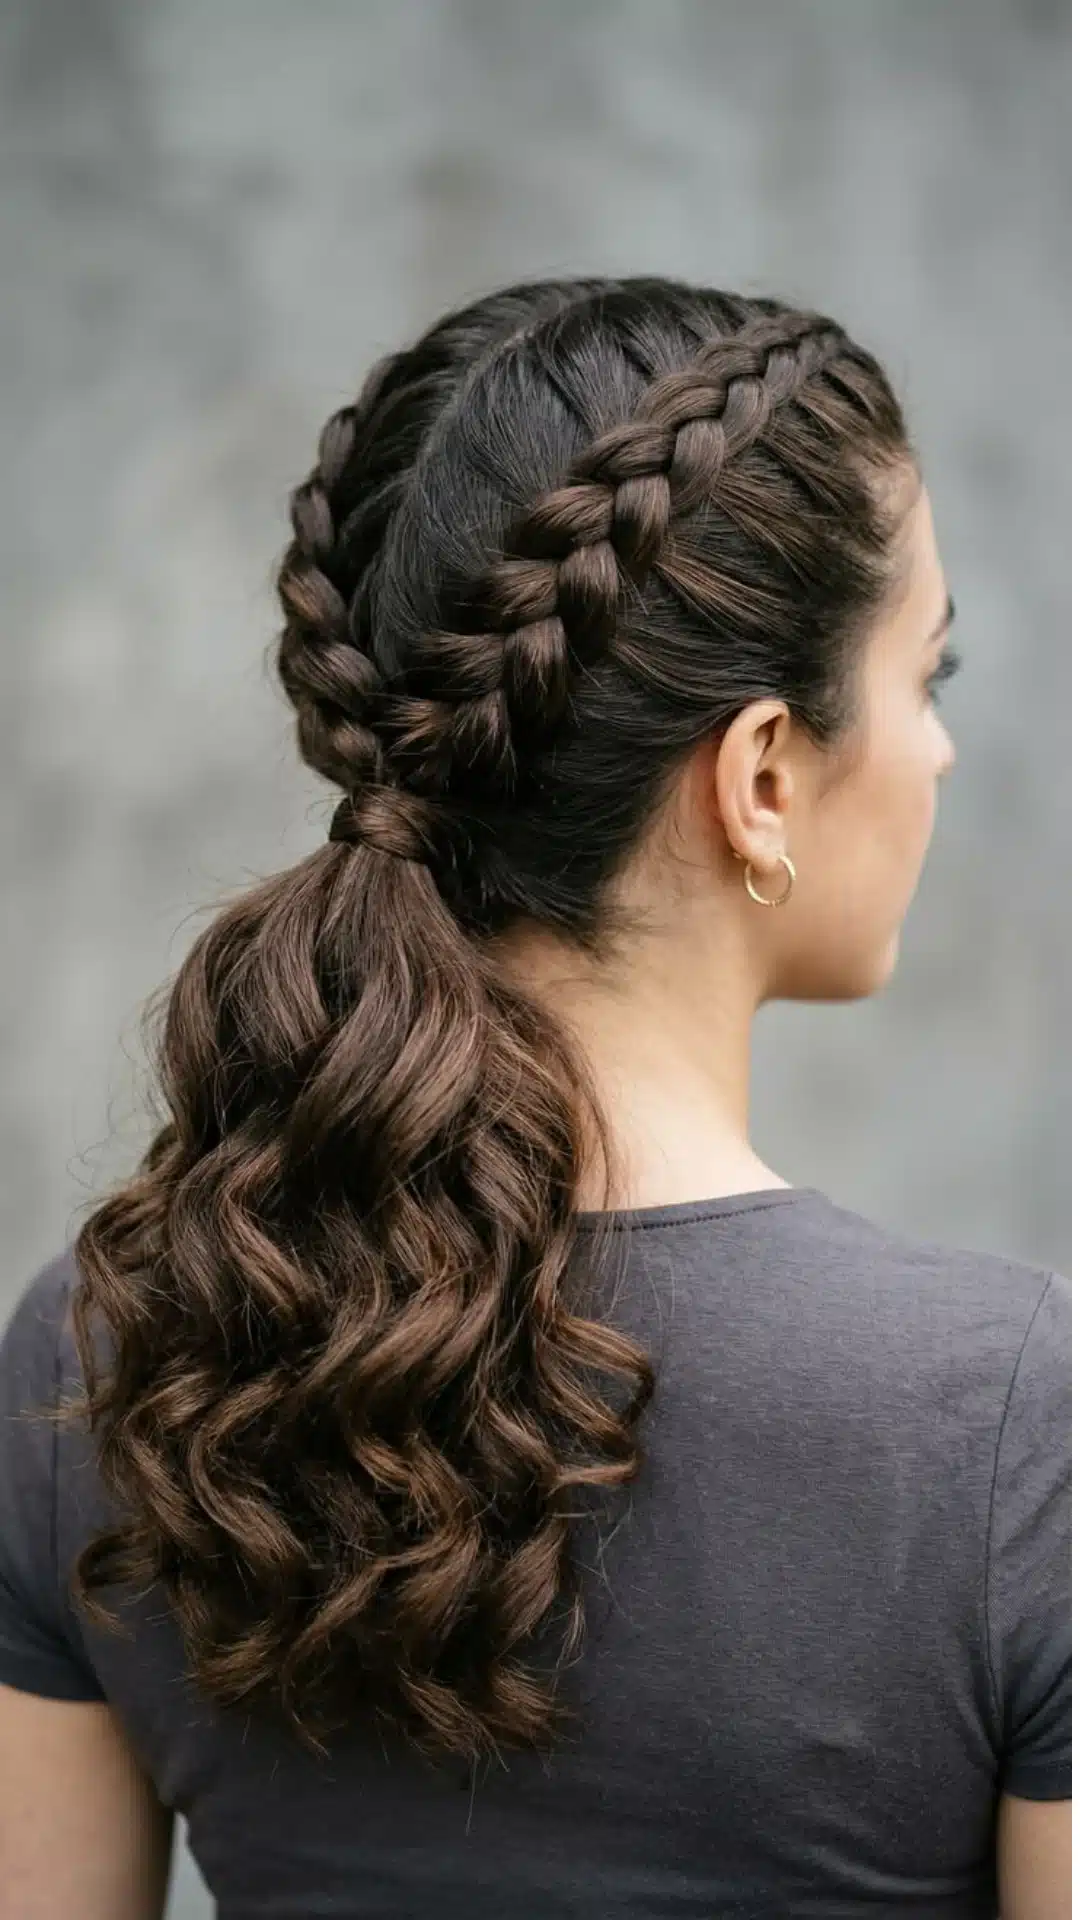
Credits: mahrukh
Braiding partway down, then gathering the rest into a bun or ponytail, blends a polished front with a low-maintenance back.
The braided section adds visible detail near the crown, while the rest of the hair stays easy to manage.
5. Side French Braid
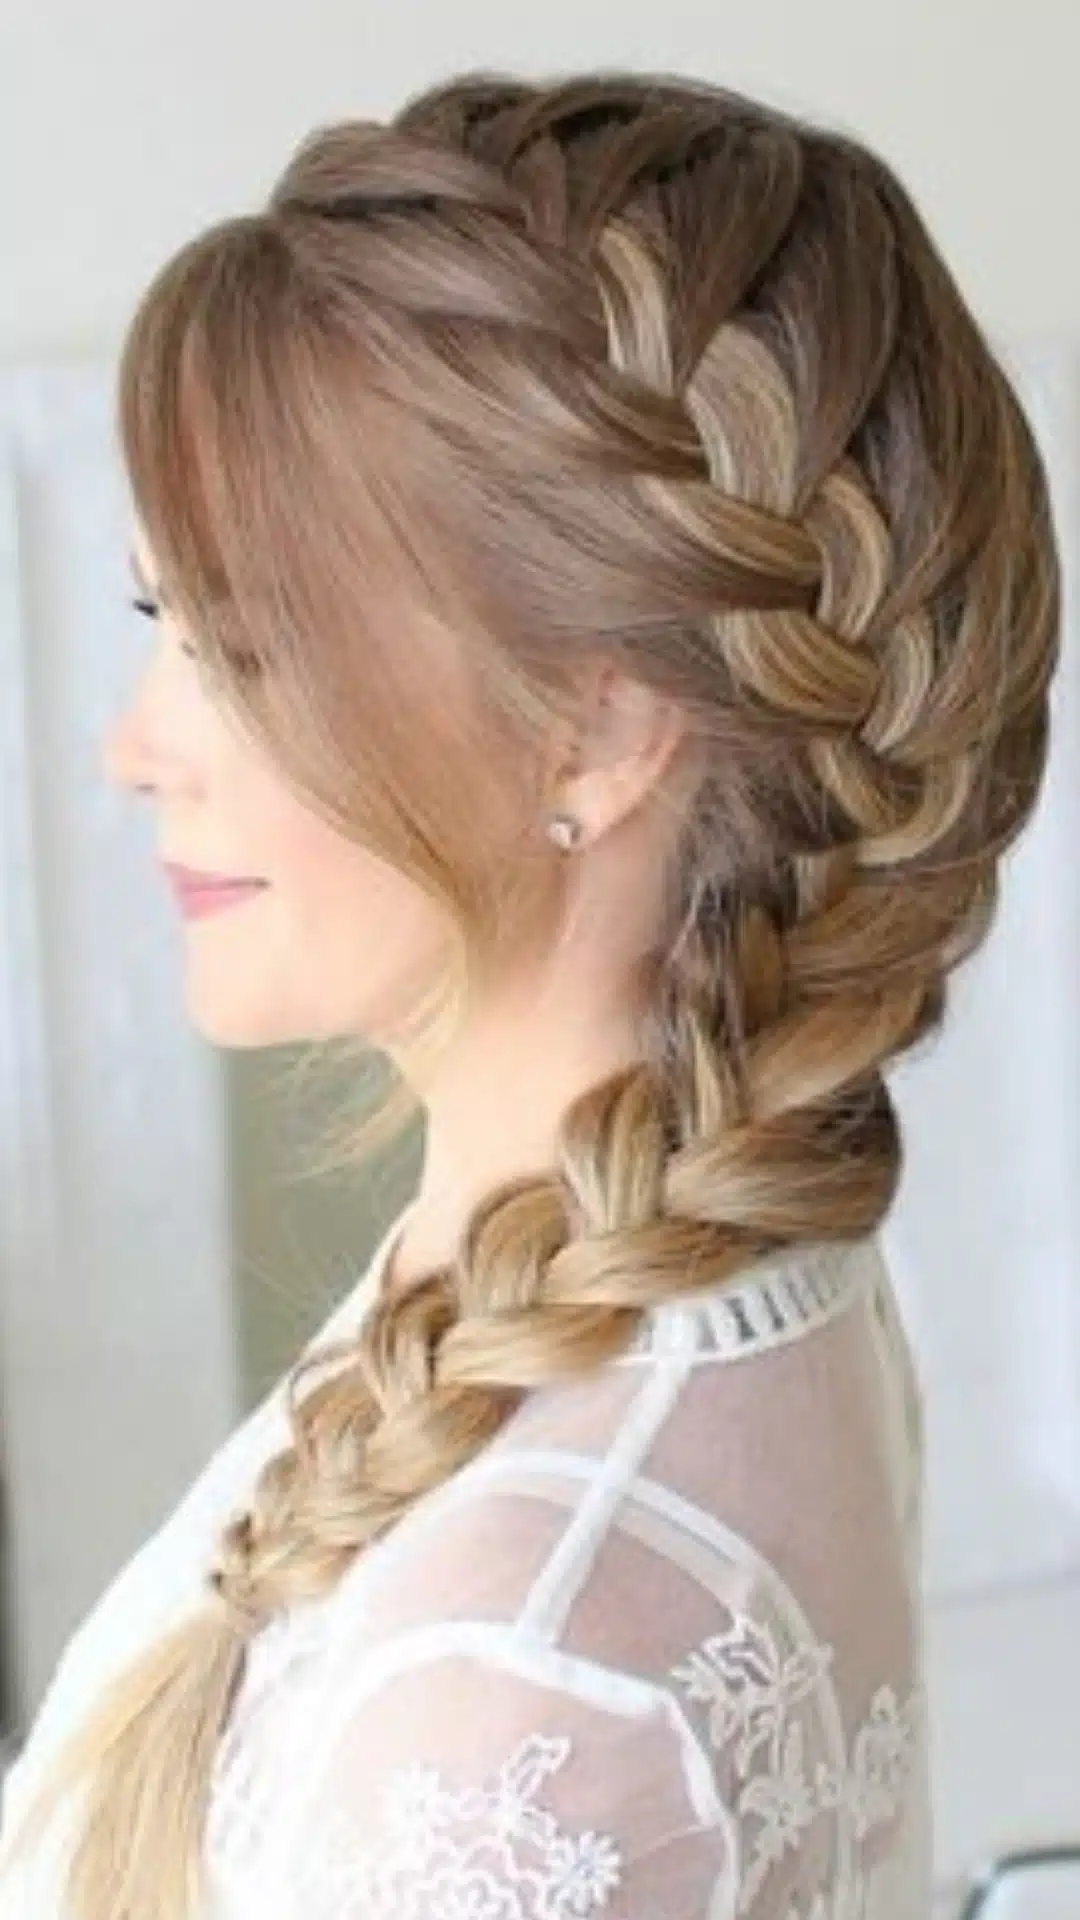
Credits: JewelryBagHair
Starting the braid off to one side and letting it fall over a shoulder gives a softer, more relaxed finish than a centered braid. It also tends to suit face-framing layers particularly well.
Pulling gently on the edges of any of these styles loosens them for a fuller, more relaxed shape once the elastic goes in.
Wrapping Up
Learning how to French braid really comes down to repetition rather than speed.
The crossing pattern, adding hair evenly, keeping steady tension near the scalp, these small habits build up into a braid that holds its shape all day.
Working through this French braid tutorial one step at a time makes the whole technique feel far less intimidating than it does watching someone else’s hands move quickly.
The braid that once seemed impossible on a first attempt now sits fully within reach, whether it’s practiced on a friend, a doll, or in front of a second mirror at home.
Frequently Asked Questions (FAQs)
1. Does French Braiding Damage Hair Over Time?
Regular tension damage is rare unless the braid is pulled too tight or kept in for multiple days straight.
2. Can French Braids Be Done on Natural or Curly Hair without Straightening First?
Natural texture actually holds a French braid better than freshly straightened hair in most cases.
3. How Often Can a French Braid Be Worn without Harming Hair Growth?
A few times a week works fine, with a rest day or two in between to ease tension on the scalp.
4. Is a French Braid Appropriate for a Job Interview or Formal Event?
A neat single or side braid reads as polished enough for most formal or professional settings.
5. Do French Braids Work Well for Sleeping Overnight?
Loosening the braid slightly before bed helps prevent tangles and often leaves soft waves by morning.