Not every skincare routine requires a drawer full of expensive products; sometimes the best glow comes from simple steps you can do at home.
I’m not here to overwhelm you with limitless spa tricks or complicated hacks. Just the method I keep returning to whenever my skin feels dull, tired, or in need of a reset.
These at-home facial steps are the kind that blend ease with results, something you can enjoy on a lazy Sunday or squeeze in after a long day.
Think of it as your personal spa day guide! Quick, soothing, and guaranteed to leave your skin thanking you.
Understanding At-Home Facials
At-home facials are more than just a way to pamper yourself on a Sunday evening.
They’re a smart way to maintain healthy skin without spending hundreds at spas. I’ve been doing my own facials for years, and let me tell you – the results speak for themselves.
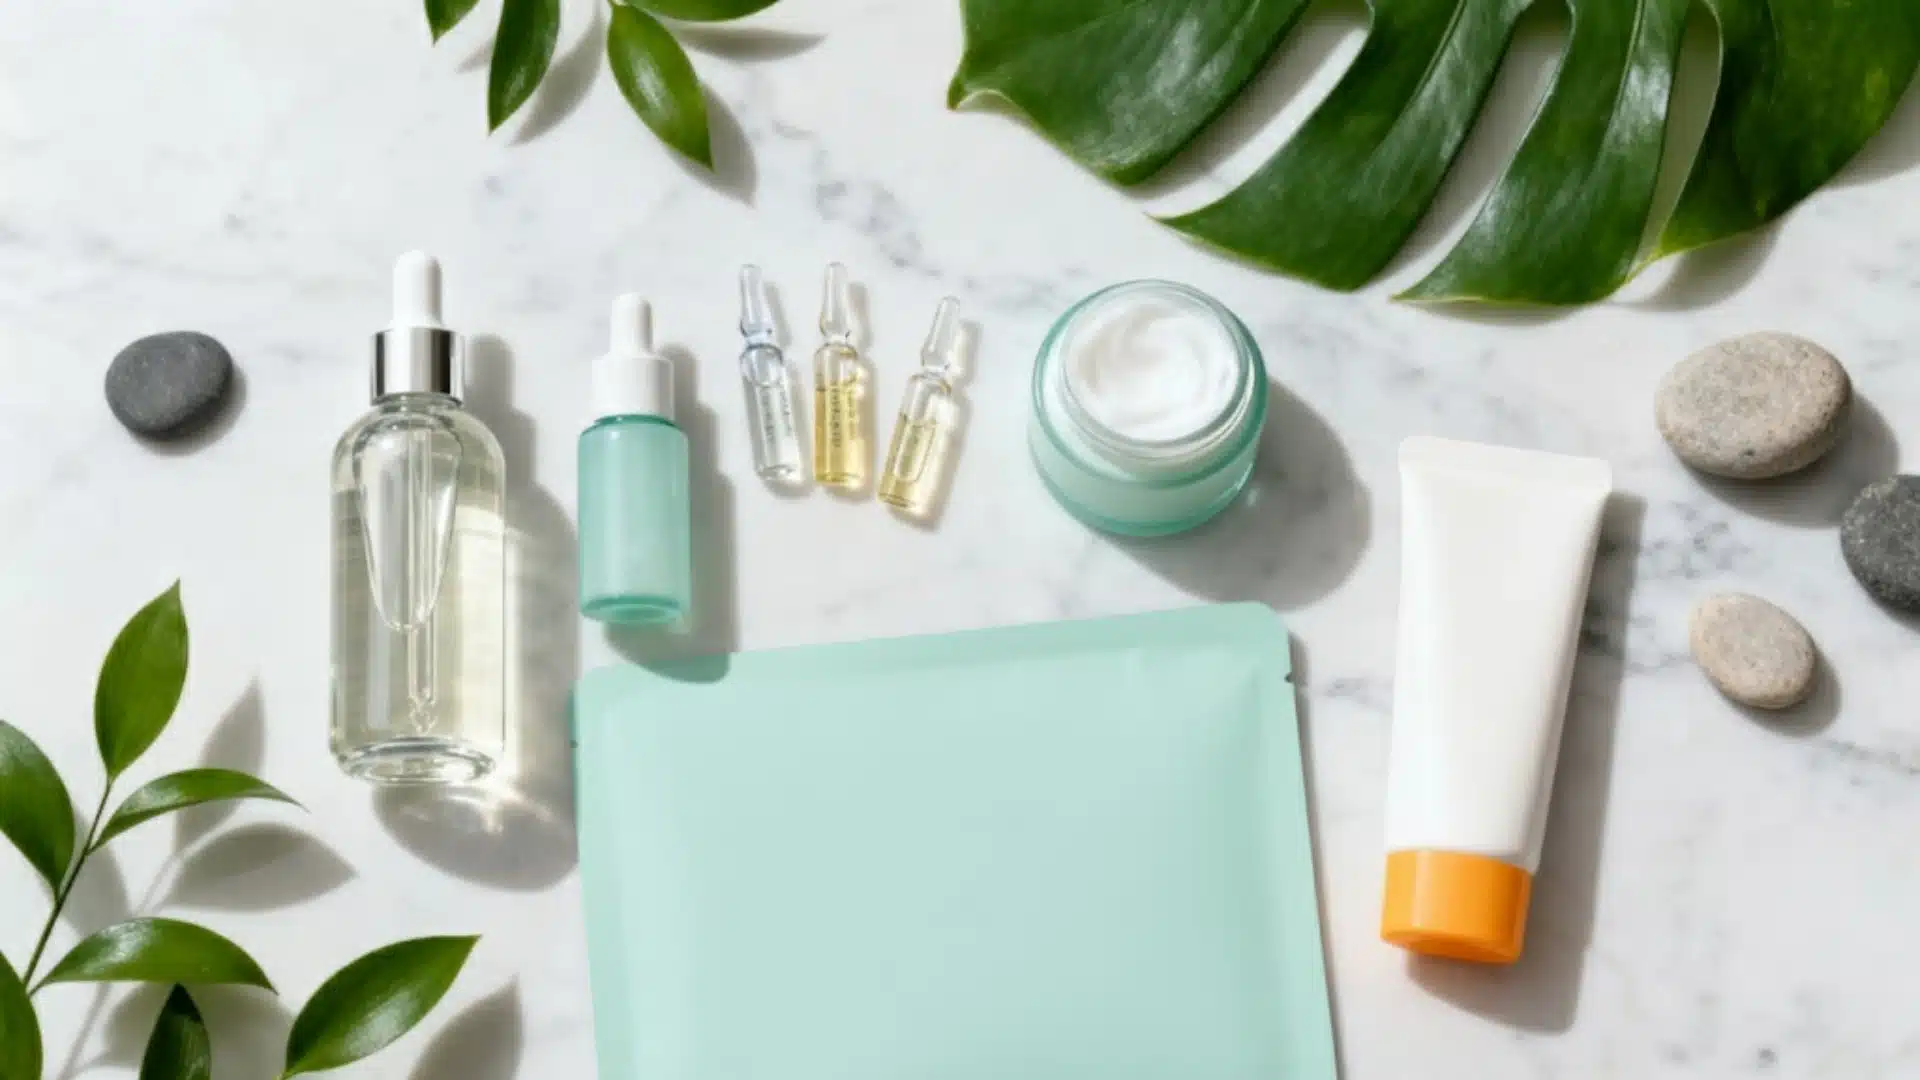
The beauty of home treatments lies in their simplicity and cost-effectiveness. You control every ingredient that touches your face.
Learning how to do a facial at home isn’t rocket science. It follows the same basic steps professionals use: cleanse, exfoliate, treat, and moisturize. You’re using products suited specifically for your skin type and concerns.
With consistent practice, you’ll develop a routine that works perfectly for your lifestyle and budget.
Facial Prep
Creating the right environment sets you up for success before you even start your treatment. Think of it as preparing your personal spa retreat.
When you follow proper facial at-home steps, the prep work makes all the difference.
| Preparation Step | What to Do | Why It Matters |
|---|---|---|
| Clean Your Space | Wipe down bathroom surfaces, clear counters | Prevents bacteria from contaminating your skin |
| Gather Your Tools | Collect cleansers, towels, a headband, and a timer | Keeps the process smooth without interruptions |
| Wash Your Hands | Scrub thoroughly with antibacterial soap | Avoids transferring germs to your face |
| Tie Back Hair | Use a headband or a hair tie | Keeps hair away from products and treatments |
| Set Temperature | Make room comfortably warm | Opens pores and helps products absorb better |
| Remove Makeup | Use gentle makeup remover first | Creates a clean base for facial products |
How to Do a Facial at Home
Mastering professional-quality results at home is easier than you think. I’ve perfected these five simple steps over years of trial and error.
Follow them in order, and you’ll see why consistency beats expensive treatments every time.
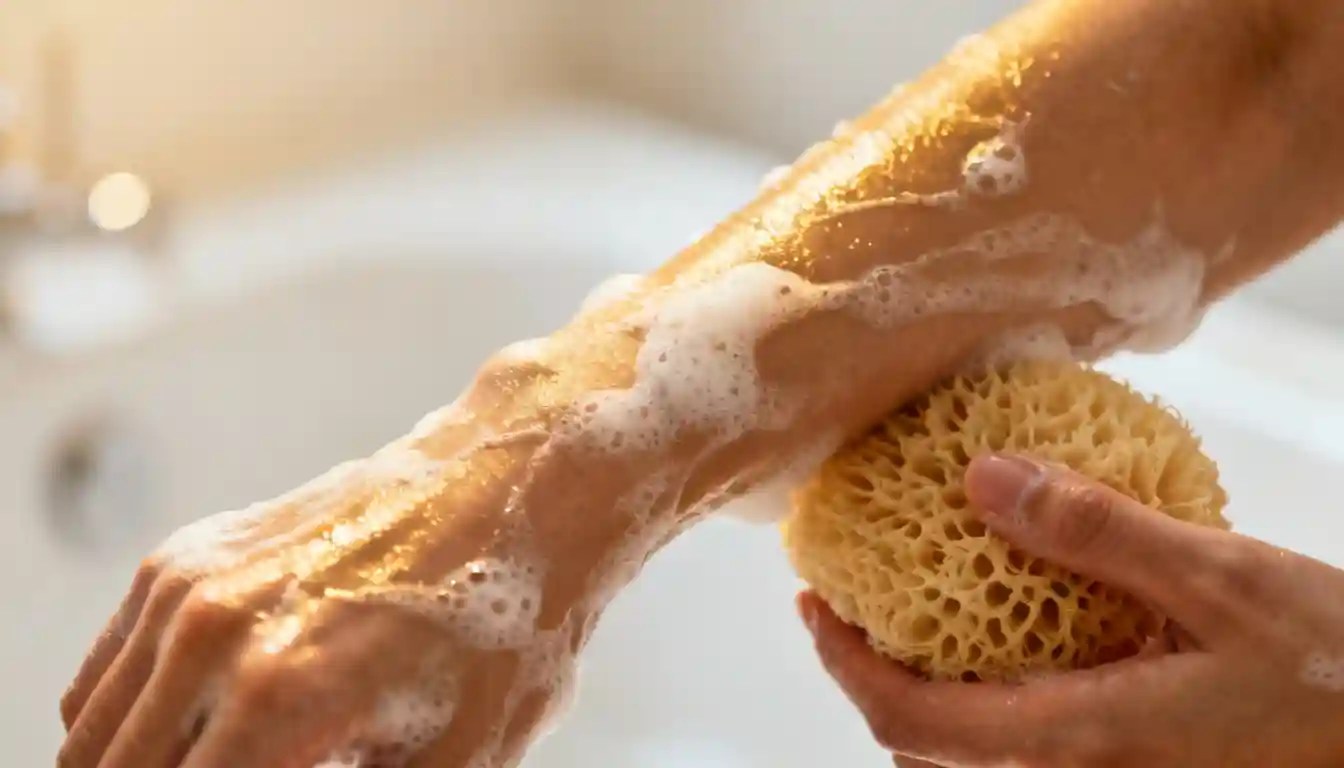
Step 1: Deep Cleansing
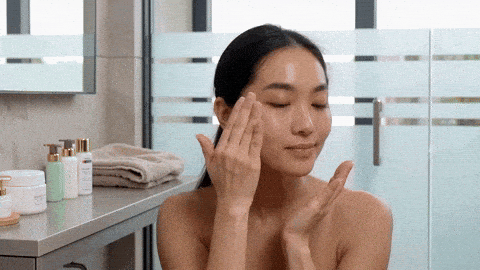
Start with a gentle cleanser that matches your skin type.
I prefer cream cleansers for dry skin and gel formulas for oily complexions. Massage the cleanser in circular motions for about 60 seconds.
This removes makeup residue, dirt, and daily pollutants. Rinse your face with lukewarm water and gently pat it dry with a clean towel.
Step 2: Exfoliation
Choose between physical scrubs or chemical exfoliants, such as AHA or BHA. Apply your exfoliant gently – no harsh rubbing needed. Work it across your face for 1-2 minutes, avoiding the delicate eye area.
This step removes dead skin cells and preps your skin for better product absorption. Rinse thoroughly and notice how smooth your skin feels already.
Step 3: Steam Treatment
Fill a bowl with hot water and lean over it, covering your head with a towel.
Stay there for 5-10 minutes to open up your pores. The steam helps soften blackheads and allows deeper penetration of upcoming treatments.
If you have sensitive skin, reduce the time to 3-5 minutes. This step makes extractions easier and more effective.
Step 4: Face Mask Application
Select a mask based on your skin’s needs: clay for oily skin and hydrating masks for dryness. Apply an even layer across your face, avoiding eyes and lips.
Set a timer for the recommended time, usually 10-15 minutes. Use this time to relax and let the mask work its magic.
Remove with warm water using gentle circular motions.
Step 5: Moisturize and Protect
Finish with a moisturizer suitable for your skin type while your face is still slightly damp. This locks in hydration and creates a protective barrier. Don’t forget your neck area – it needs attention too.
Apply gentle upward strokes to avoid pulling your skin downward. Your skin should feel soft, hydrated, and radiant.
Stop! Don’t Do This During Your Facial
Even the best intentions can backfire if you make these common mistakes. I’ve seen people damage their skin by overdoing treatments or using the wrong techniques. Here are the big no-nos that can ruin your facial.
1. Don’t Over-Exfoliate Your Skin: Scrubbing too hard or too often strips your skin’s natural barrier. Stick to one to two times per week, maximum.
2. Don’t Use Dirty Tools or Hands: Always wash everything before touching your face. Bacteria from dirty brushes can cause breakouts.
3. Don’t Skip the Patch Test: Test new products on your wrist first. What works for others might irritate your skin.
4. Don’t Rush the Process: Each step needs proper time to work. Hurrying through treatments reduces their effectiveness and can cause irritation.
5. Don’t Extract Pimples Aggressively: Squeezing or picking at your skin can leave scars and spread bacteria. Let steam do the work instead.
Expert Tips for Optimal Results
Getting professional results requires more than just following basic instructions.
I’ve learned these insider tricks from years of perfecting my skincare routine.
- Always start with completely clean hands and tools to prevent bacteria transfer to your freshly cleansed face
- Use upward circular motions when applying products – this promotes better circulation and prevents premature sagging
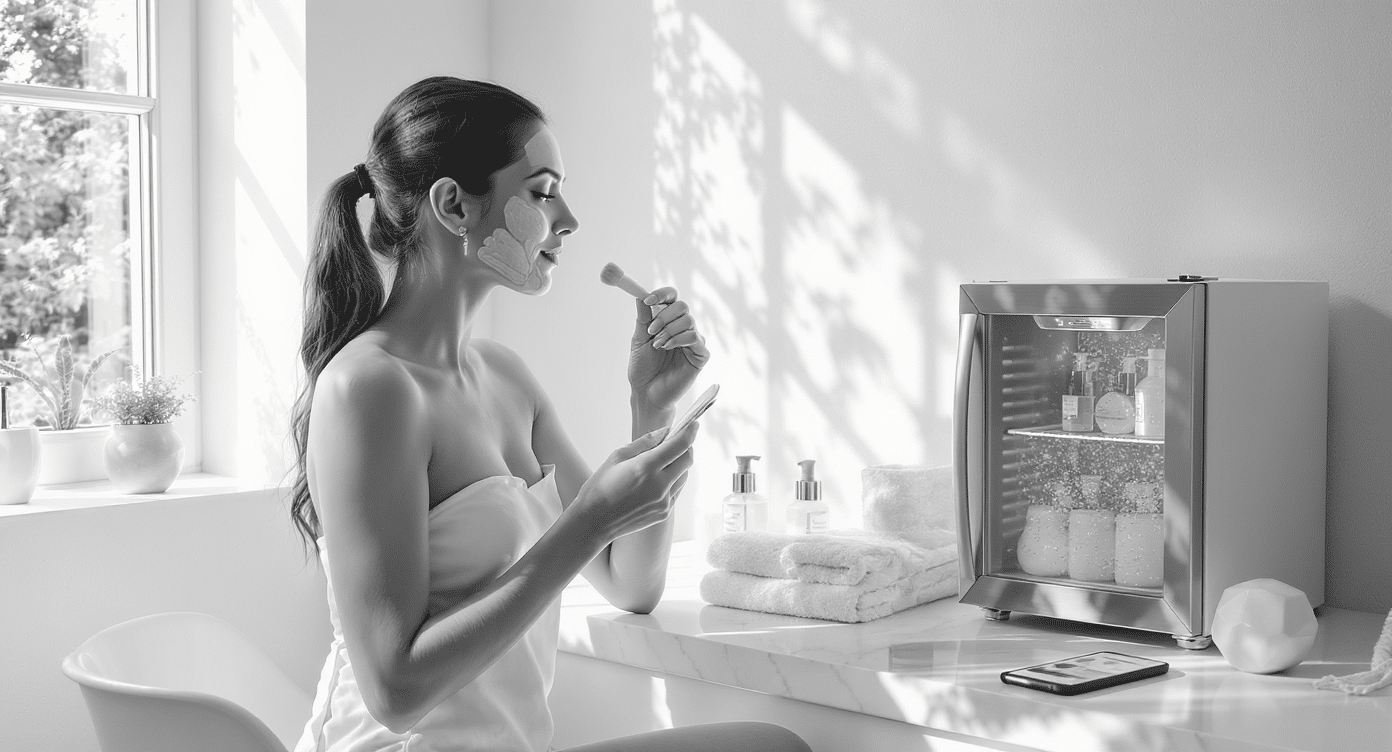
- Keep your facial products in the refrigerator for an extra cooling and pore-tightening effect during application
- Apply masks with a brush instead of your fingers for more even coverage and better hygiene
- Time each step properly – rushing through treatments reduces their effectiveness significantly
- Follow up immediately with serum while your skin is still damp to lock in maximum hydration
- Take photos before and after to track your skin’s improvement over time
Concluding Thoughts
Taking care of your skin doesn’t have to mean expensive spa appointments or complicated routines.
With these at-home facial steps, you can achieve the radiant glow right from your bathroom. Remember, consistency beats perfection every time.
Following a home facial routine once or twice a week will give you better results than sporadic treatments. Your skin will thank you for the regular attention and care you’re providing.
Share your results in the comments below – I’d love to hear how these steps work for your skin type and concerns.