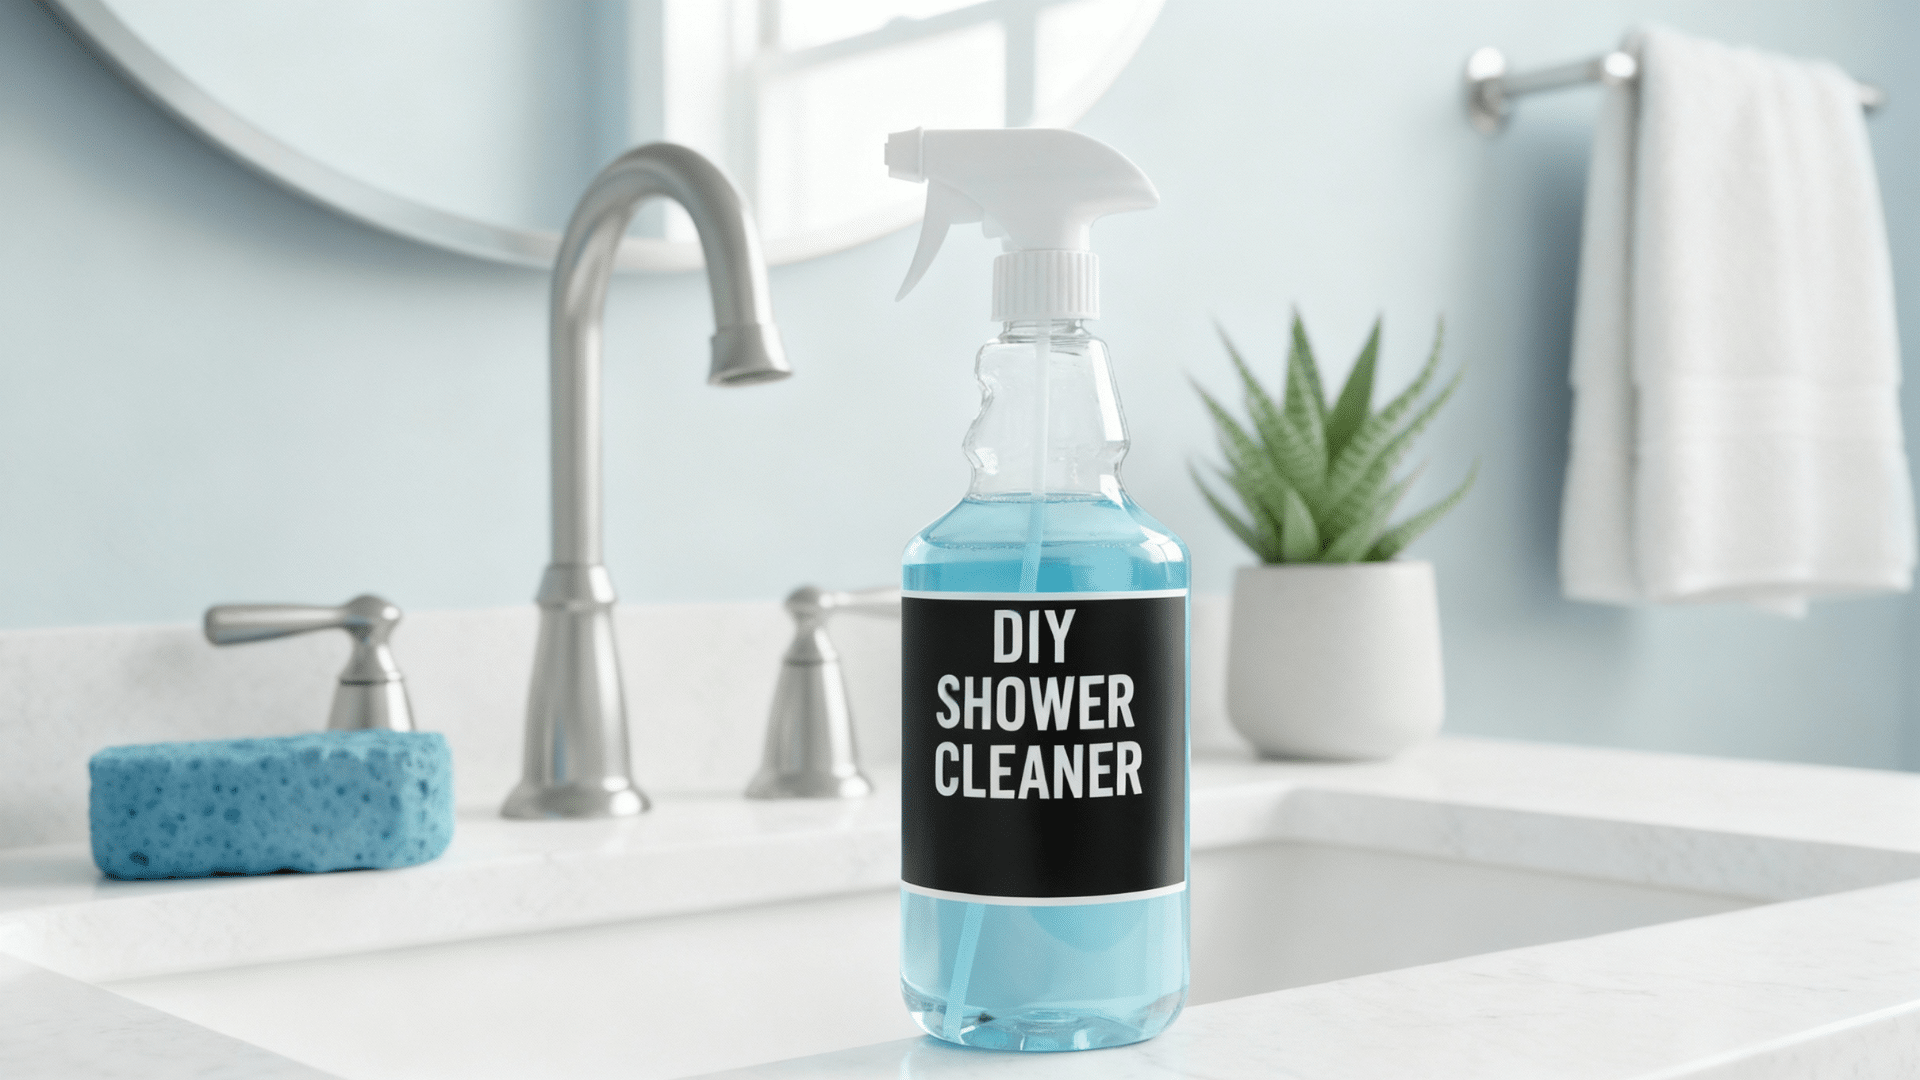
Shower cleaning is the worst.
Soap scum sticks to glass doors. Hard water leaves white spots everywhere. And store cleaners smell terrible and barely work.
It takes forever to scrub everything clean, and the grime comes back in days.
But the kitchen ingredients can outperform any bottle from the store.
This blog shows how to make the best homemade shower cleaner in minutes. Readers will learn the exact instructions, simple mixing steps, and tips for keeping showers spotless longer.
Why Choose DIY Shower Cleaner Over Commercial Ones?
Store-bought cleaners seem convenient, but they come with hidden downsides. Making a homemade version offers surprising benefits that go beyond just saving money.
1. Lower Cost Per Use
Commercial cleaners cost between $5 and $12 per bottle. A DIY version uses vinegar, baking soda, and dish soap, costing less than $1 for the same amount.
Over a year, this saves families over $50 just on shower cleaning supplies alone.
2. Fewer Harsh Chemicals
Most store cleaners contain bleach, ammonia, and other strong chemicals. These ingredients irritate the skin, eyes, and lungs.
Homemade cleaners use natural ingredients that clean effectively without causing respiratory problems or skin reactions, making bathrooms safer for everyone at home.
3. Better for the Environment
Commercial products come in plastic bottles that end up in landfills. The chemicals wash down drains and harm water systems.
DIY cleaners use reusable spray bottles and biodegradable ingredients. This reduces plastic waste and keeps harmful substances out of rivers and oceans.
4. Customizable Scents
Store cleaners smell artificial and overpowering. Homemade versions let people add their favorite essential oils. Lemon, lavender, or tea tree oil can be mixed in.
This creates a fresh, natural scent without synthetic fragrances that trigger headaches or allergies in sensitive individuals.
5. No Toxic Fumes
Opening a bottle of commercial cleaner releases strong fumes that burn the nose and throat. DIY cleaners made from natural ingredients produce no harmful vapors.
People can clean their showers without opening windows, wearing masks, or worrying about breathing problems afterward.
6. Works Just as Well
Homemade cleaners dissolve soap scum and hard water stains effectively. Vinegar breaks down mineral deposits, while baking soda scrubs away grime.
The combination matches or beats commercial cleaners in performance. There’s no need to sacrifice cleaning power when switching to a DIY solution.
DIY Shower Cleaner
Creating a homemade shower cleaner is straightforward and quick. These recipes use common household items that most people already have.
Each method targets different types of bathroom grime effectively.
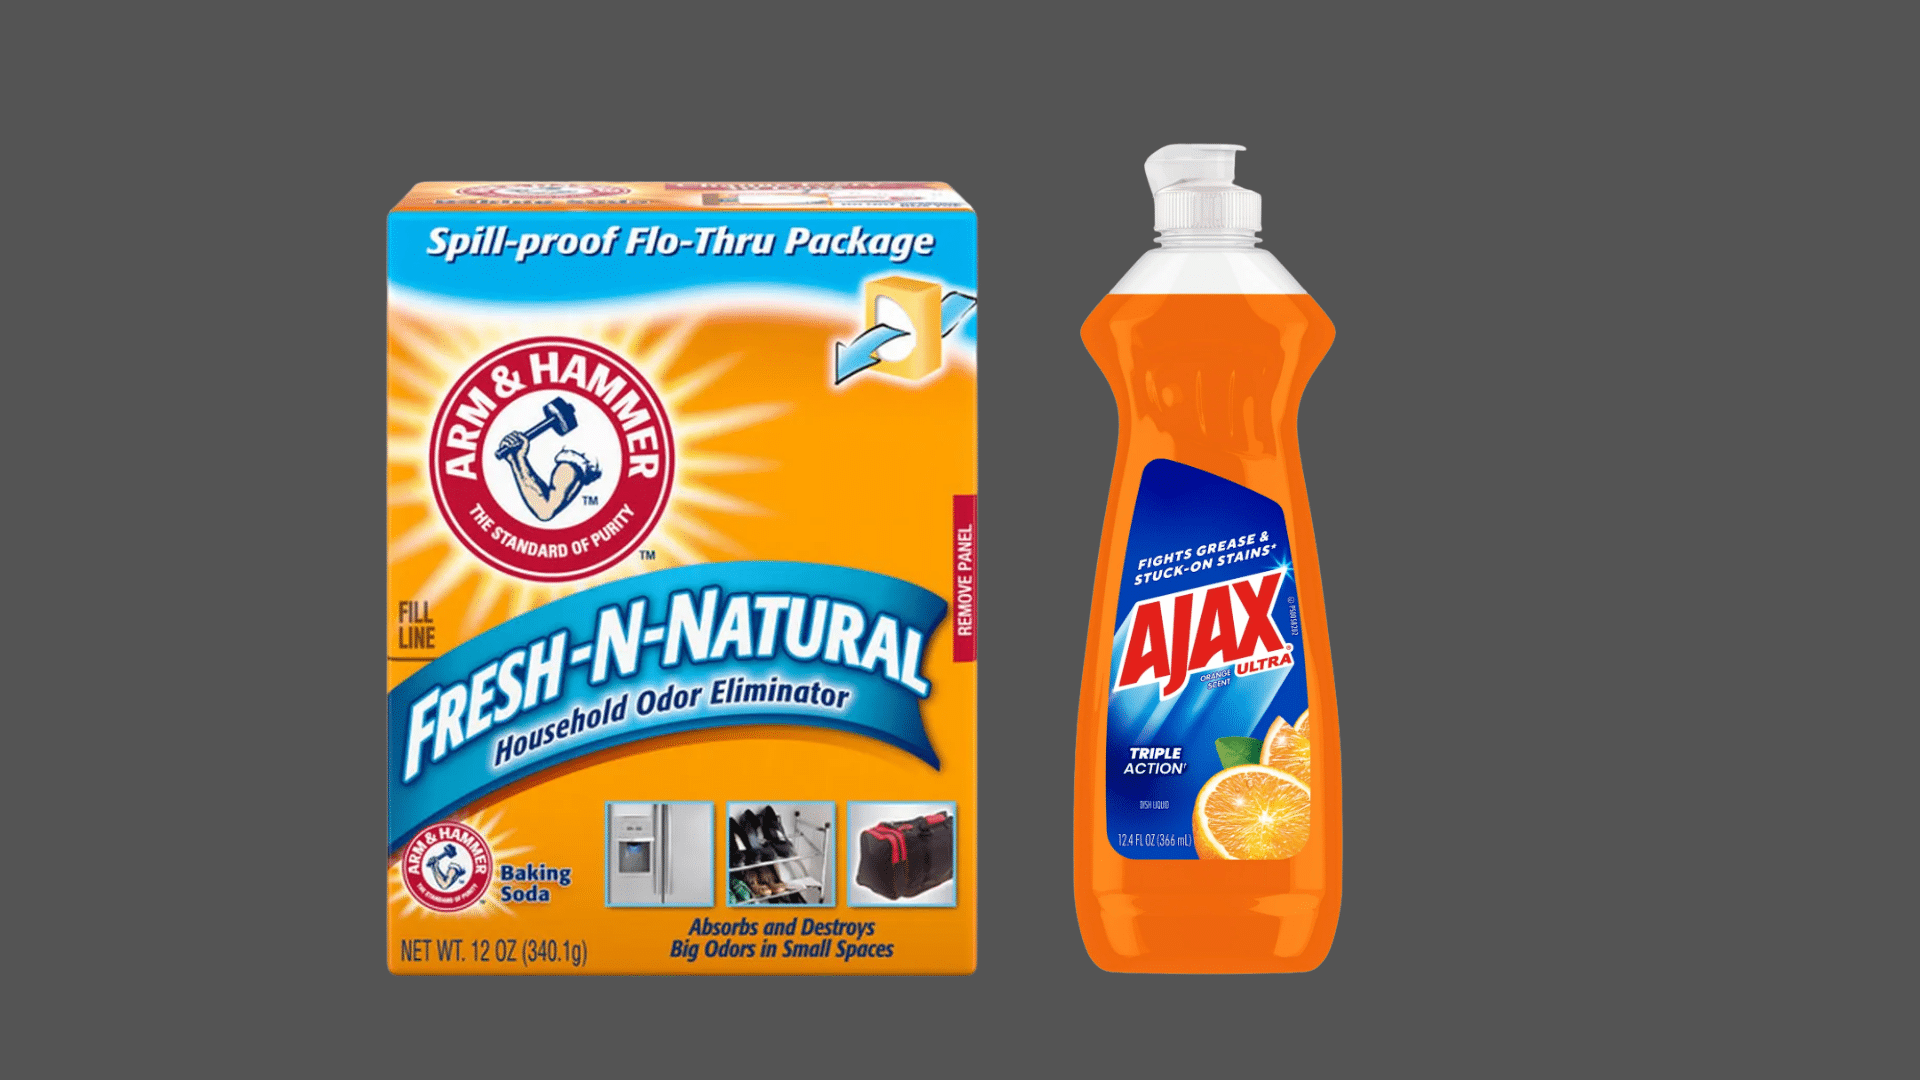
1. Vinegar and Dish Soap Cleaner
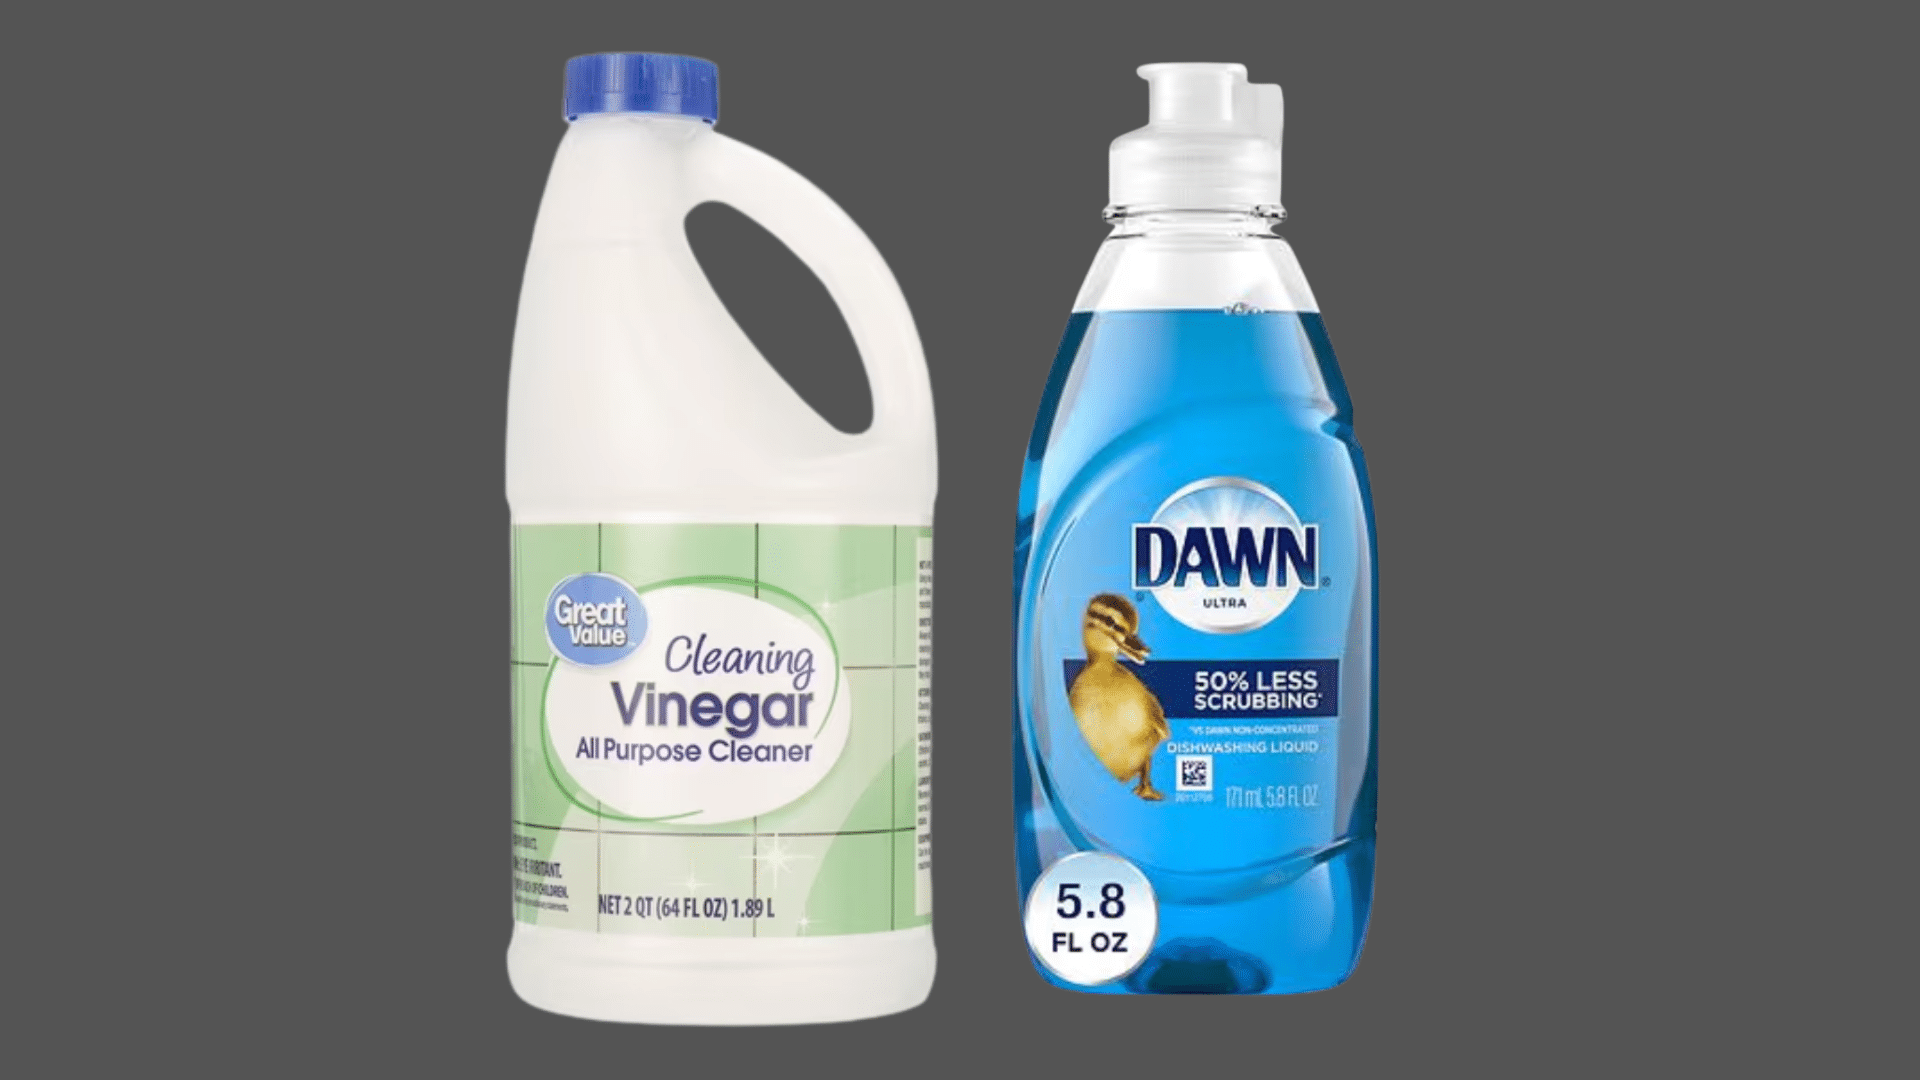
This combination cuts through soap scum and hard water stains fast. It’s the most popular DIY shower cleaner for good reason.
Step 1: Heat the Vinegar
Pour one cup of white vinegar into a microwave-safe container. Heat it for 30 to 45 seconds until warm, not boiling.
Warm vinegar works better because it breaks down grime faster than cold vinegar. The heat helps activate the cleaning properties.
Step 2: Mix with Dish Soap
Add one cup of dish soap to a spray bottle. Pour the warm vinegar into the same bottle slowly. Use regular dish soap, not the kind with added lotions or moisturizers.
Close the bottle and swirl gently to combine without creating too many bubbles.
Step 3: Spray on Surfaces
Spray the mixture generously on shower walls, doors, and tubs. Make sure to cover all areas with soap scum or water spots.
Let it sit for 15 to 20 minutes so the solution can break down the buildup. Don’t rinse it off yet.
Step 4: Scrub and Rinse
Use a soft sponge or brush to scrub the surfaces in circular motions. Focus on areas with stubborn stains or heavy buildup.
The grime should come off easily without much pressure. Rinse everything thoroughly with warm water and dry with a clean cloth.
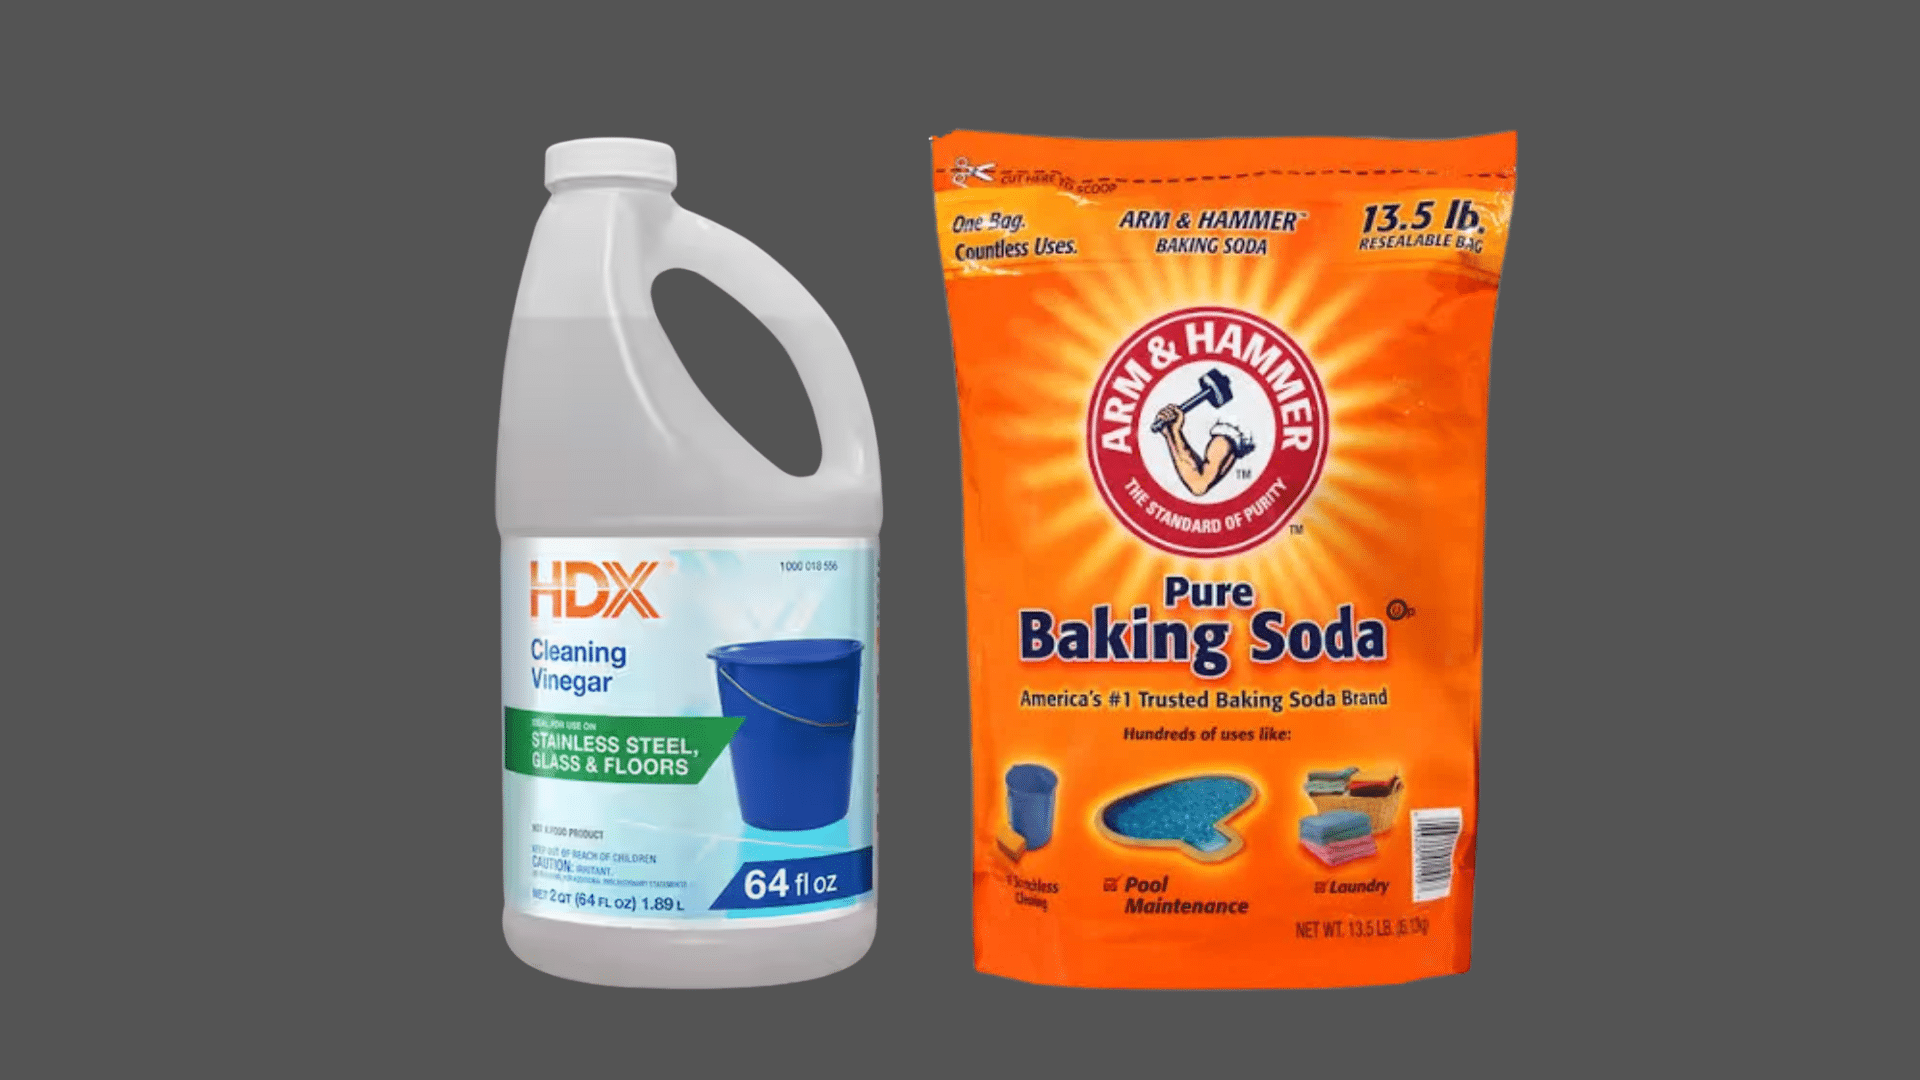
2. Baking Soda and Dish Soap Cleaner
This paste works great for tougher stains that need extra scrubbing power. Baking soda acts as a gentle abrasive while dish soap provides cleaning action.
Step 1: Create the Paste
Mix half a cup of baking soda with three tablespoons of dish soap in a small bowl. Stir until it forms a thick paste that spreads easily.
Add more dish soap if the mixture feels too dry or crumbly. The consistency should be similar to toothpaste.
Step 2: Apply to Problem Areas
Scoop the paste onto a damp sponge or cloth. Spread it on areas with heavy soap scum, mildew, or stains.
Pay special attention to corners, grout lines, and around faucets where dirt accumulates. Let the paste sit for 10 minutes before scrubbing begins.
Step 3: Scrub Thoroughly
Use circular motions to scrub the paste into the dirty areas. The baking soda particles help lift grime without scratching tiles or glass.
Apply gentle pressure and add more paste if needed. Work on small sections at a time for better results and coverage.
Step 4: Rinse Clean
Spray warm water over all treated areas to wash away the paste. Use a clean cloth to wipe down surfaces and remove any residue.
Check for missed spots and repeat if necessary. Buff glass doors dry with a microfiber cloth to prevent water spots from forming.
3. Vinegar and Baking Soda Shower
This powerful duo creates a fizzing reaction that lifts dirt and grime naturally. The DIY shower cleaner is chemical-free and safe for all bathroom surfaces.
Step 1: Sprinkle Baking Soda
Dust baking soda directly onto wet shower surfaces using a shaker container. Cover walls, floors, and doors with a thin, even layer.
Focus on stained areas or places with visible mildew growth. The baking soda will stick better to damp surfaces than dry ones.
Step 2: Spray Vinegar Solution
Fill a spray bottle with undiluted white vinegar. Spray it over the baking soda-covered surfaces and watch it fizz.
This bubbling reaction helps break down soap scum and mineral deposits naturally. Let it fizz and work for five to ten minutes without touching.
Step 3: Scrub with a Brush
Take a soft-bristled brush or sponge and scrub the foamy mixture into all surfaces. Work the paste into grout lines where mold and mildew hide.
The fizzing action has already loosened most dirt, so scrubbing should feel easy. Reach high corners and low edges carefully.
Step 4: Rinse and Dry
Turn on the shower or use a handheld sprayer to rinse everything completely. Make sure no white residue from baking soda remains on any surface.
Wipe down walls and doors with a squeegee or towel. Leave the bathroom door open so moisture can escape.
4. Baking Soda and Hydrogen Peroxide Shower Cleaner

Hydrogen peroxide adds disinfecting power to this cleaner, killing bacteria and mold spores. This recipe works especially well in bathrooms with mildew problems.
Step 1: Mix the Ingredients
Combine half a cup of baking soda with enough hydrogen peroxide to make a spreadable paste. Start with three tablespoons and add more if needed.
The mixture should be thick but not runny. Hydrogen peroxide also helps whiten discolored grout between tiles naturally.
Step 2: Apply to Stained Areas
Spread the paste on mildewed grout, stained tiles, and discolored surfaces using an old toothbrush or sponge. Work it into grout lines and textured areas where dirt hides.
This cleaner is especially good for removing black mold spots. Cover all problem areas generously with paste.
Step 3: Let It Sit
Allow the paste to sit for 15 to 20 minutes so the hydrogen peroxide can work. The longer it sits, the better it whitens and disinfects surfaces.
Don’t let it dry completely, or it becomes harder to remove. Spray a little water if it starts drying out.
Step 4: Scrub and Rinse Off
Scrub the paste with a stiff brush, paying extra attention to grout lines. The baking soda scrubs while the hydrogen peroxide bleaches and sanitizes simultaneously.
Rinse everything with plenty of warm water until all residue disappears. Dry surfaces to prevent new water spots from appearing quickly.
Environmental Benefits
Homemade shower cleaners help protect the planet in multiple ways.
Commercial products contain phosphates and synthetic chemicals that contaminate water systems when they wash down drains. These substances harm fish and aquatic plants in rivers and oceans.
DIY cleaners use biodegradable ingredients like vinegar and baking soda.
They break down naturally without leaving toxic residue in the environment. Plus, making cleaners at home reduces plastic waste significantly.
This small change reduces landfill waste and decreases demand for new plastic production. Fewer chemicals in waterways mean healthier ecosystems for everyone.
To Wrap Up
Switching to DIY shower cleaner is easier than most people think.
The recipes shared here use simple ingredients that cost less and work just as well as store-bought options. Plus, they’re safer for families and better for the planet.
Try making a batch this weekend. The results might be surprising enough to make this a permanent change.
A clean shower doesn’t have to cost much or harm the environment.