Professional facials cost hundreds of dollars at spas. Most people want glowing, healthy skin, but can’t afford regular professional treatments. You can get the same results at home with the right steps and techniques.
This blog will show you how to give yourself a professional-quality facial using simple products you probably already have. This step-by-step guide covers everything from proper cleansing to the final moisturizing step. You’ll learn the exact order professionals use and why each step matters.
In this blog, you’ll get complete professional facial steps that you can do at home, plus common mistakes to avoid. Your skin will look refreshed and radiant without the spa price tag.
Prepare Your At-Home Professional Facial Steps Kit
A professional facial requires specific materials for each step to ensure thorough cleansing, exfoliation, nourishment, and protection. Using the right products and tools increases results and helps maintain skin health throughout the process.
|
Facial Step |
Materials Required |
|
Double Cleansing |
Oil-based cleanser, water-based cleanser, soft towel |
|
Gentle Exfoliation |
Gentle exfoliant or mild scrub (suited to skin type) |
|
Steaming |
Large bowl, hot water, towel |
|
Face Mask |
Face mask (hydrating, clarifying, or soothing, as needed) |
|
Facial Massage |
Facial oil or serum |
|
Toning |
Toner, cotton pad, or clean palms |
|
Serum & Moisturizer |
Targeted serum, moisturizer (suited to skin type) |
|
Eye & Lip Care |
Eye cream, lip balm |
Step-By-Step Professional Facial Steps
A professional facial follows a precise sequence of steps that deeply cleanse, exfoliate, nourish, and rejuvenate the skin. Each stage is designed to address specific skin needs, from removing impurities to boosting hydration and glow.
Following these steps at home can help you achieve spa-level results
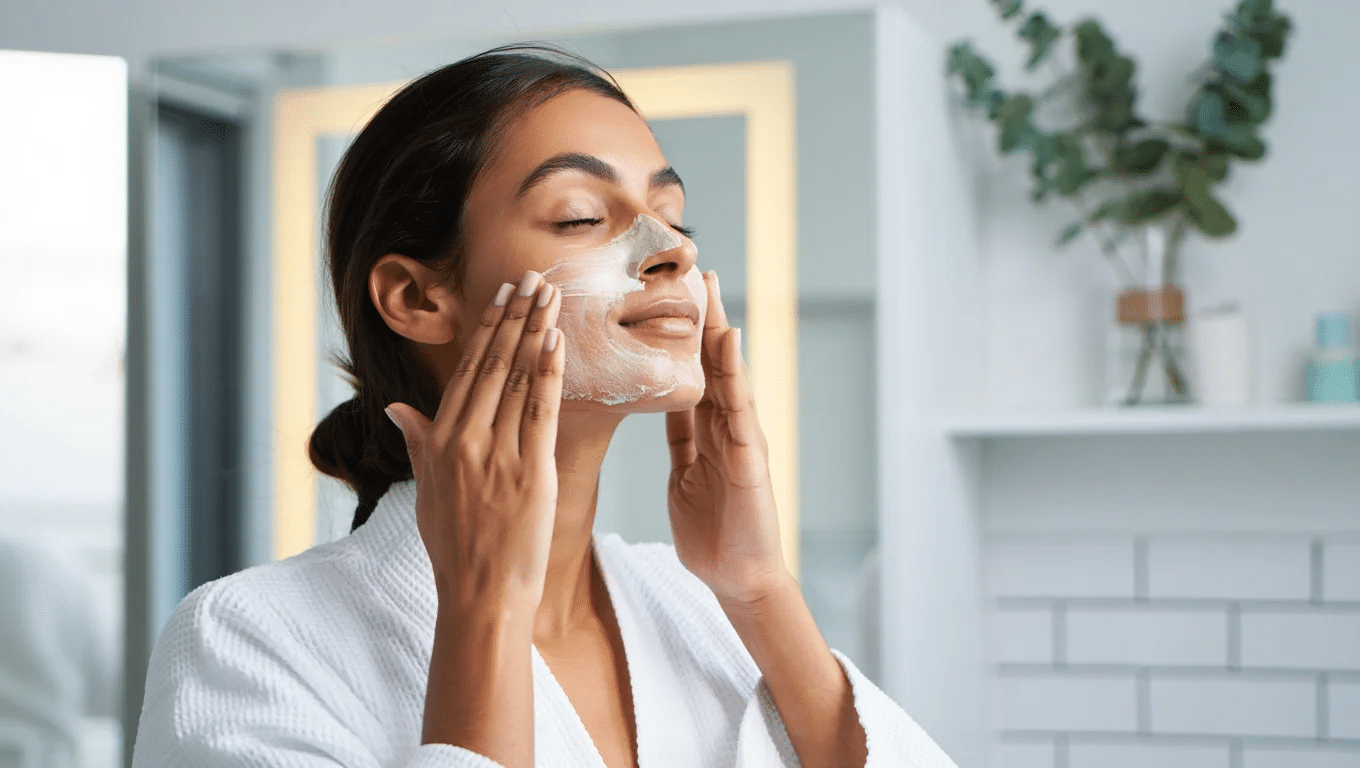
Step 1: Double Cleansing for a Fresh Start

Double cleansing removes makeup, sunscreen, and impurities for a clean base. Start with an oil-based cleanser to dissolve oils, then use a water-based cleanser to wash away residue.
This two-step process ensures your skin is thoroughly cleansed and ready for the next steps.
Step-by-Step:
- Begin with dry skin and apply an oil-based cleanser.
- Massage gently to dissolve makeup and sunscreen.
- Rinse with lukewarm water.
- Follow with a water-based cleanser suited to your skin type.
- Massage in circular motions, then rinse thoroughly.
- Pat face dry with a soft towel.
Step 2: Gentle Exfoliation to Unclog Pores
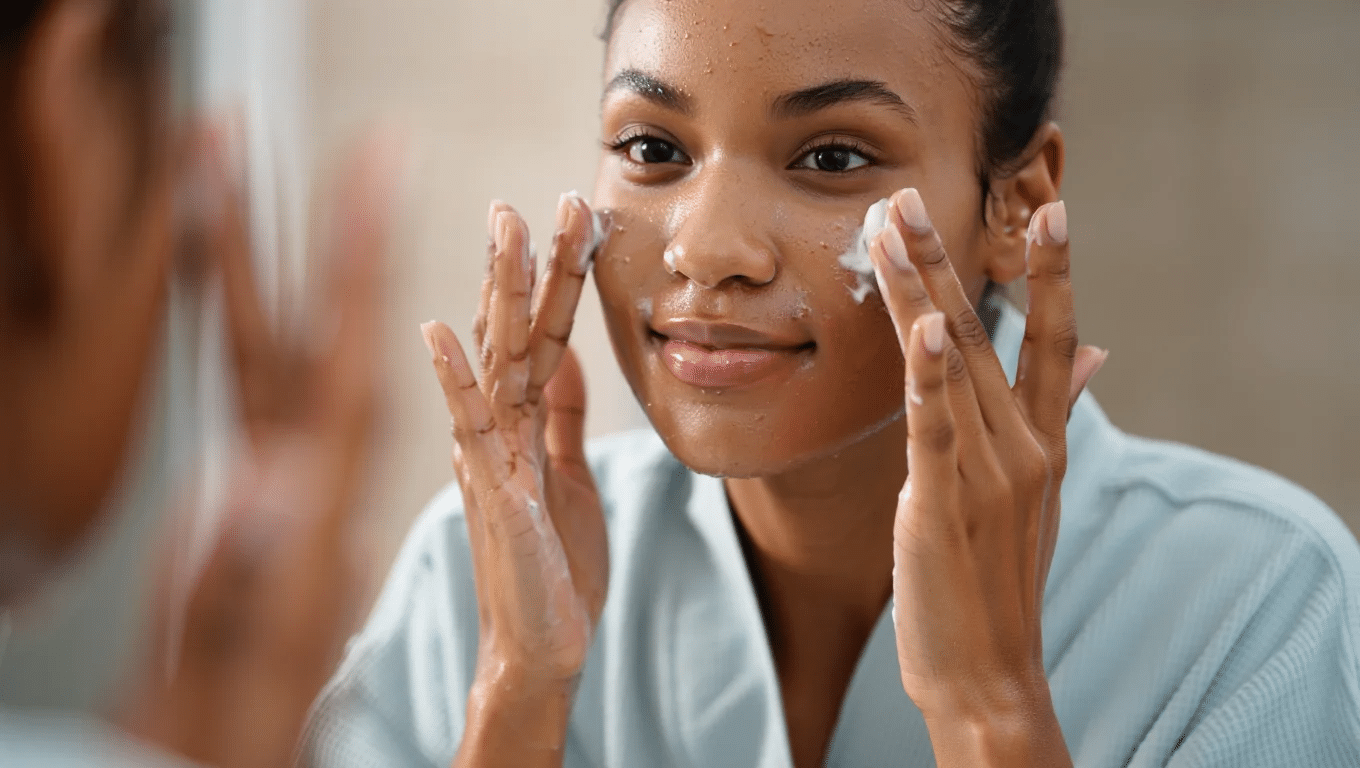
Exfoliation removes dead skin cells, unclogs pores, and preps skin for deeper treatment. Choose a gentle exfoliator for sensitive skin or a mild scrub for normal skin. Avoid over-exfoliating to prevent irritation.
Step-by-Step:
- Select a gentle exfoliant for your skin type.
- Apply to damp skin, avoiding the eye area.
- Massage in light, circular motions for 30 seconds.
- Rinse thoroughly with lukewarm water.
- Use 1-2 times per week for best results.
Step 3: Steam Your Face for Deep Cleansing
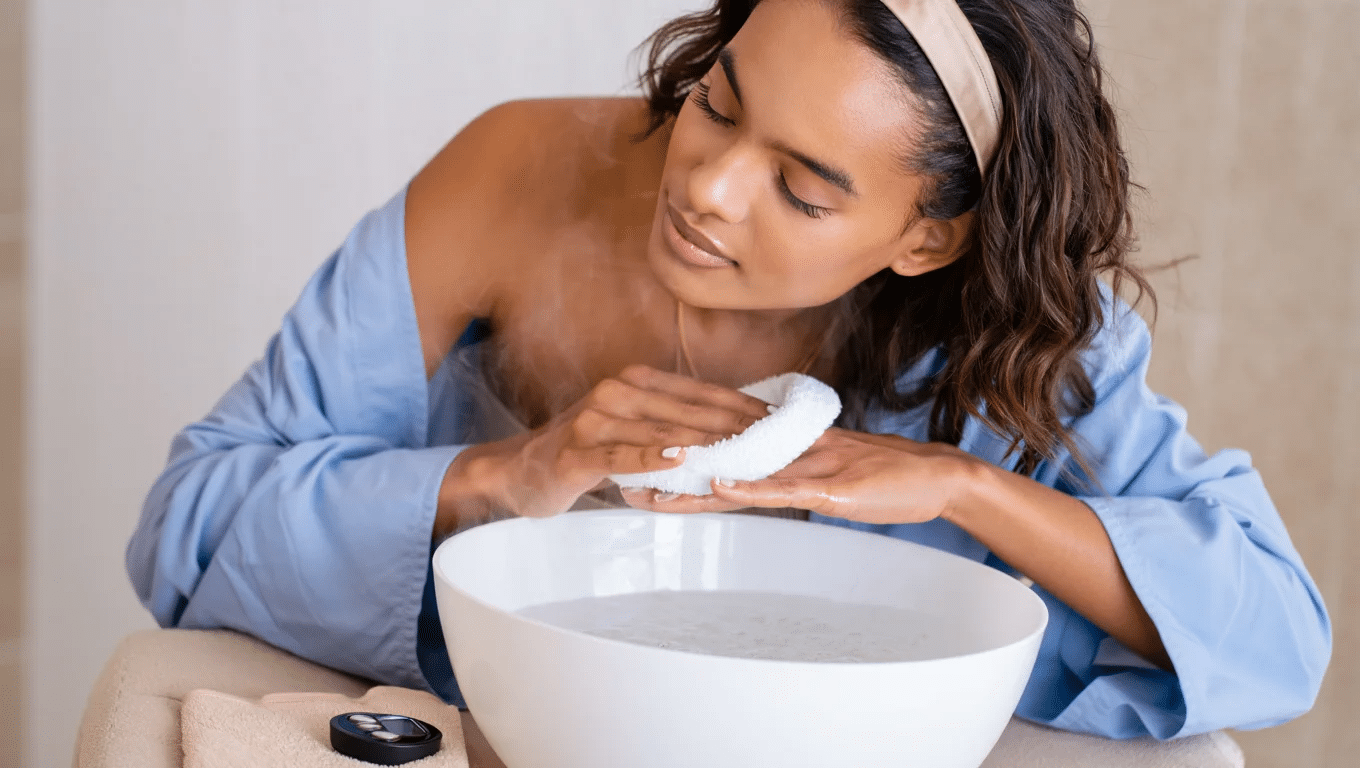
Steaming opens pores, loosens debris, and increases absorption of skincare products. It also promotes circulation for a healthy glow. Use safe, simple methods at home for effective results.
Step-by-Step:
- Boil water and pour it into a large bowl.
- Let cool slightly to avoid burns.
- Drape a towel over your head and lean over the bowl.
- Steam face for 5-10 minutes, keeping a safe distance.
- Pat your skin dry gently afterward.
Step 4: Apply a Targeted Face Mask
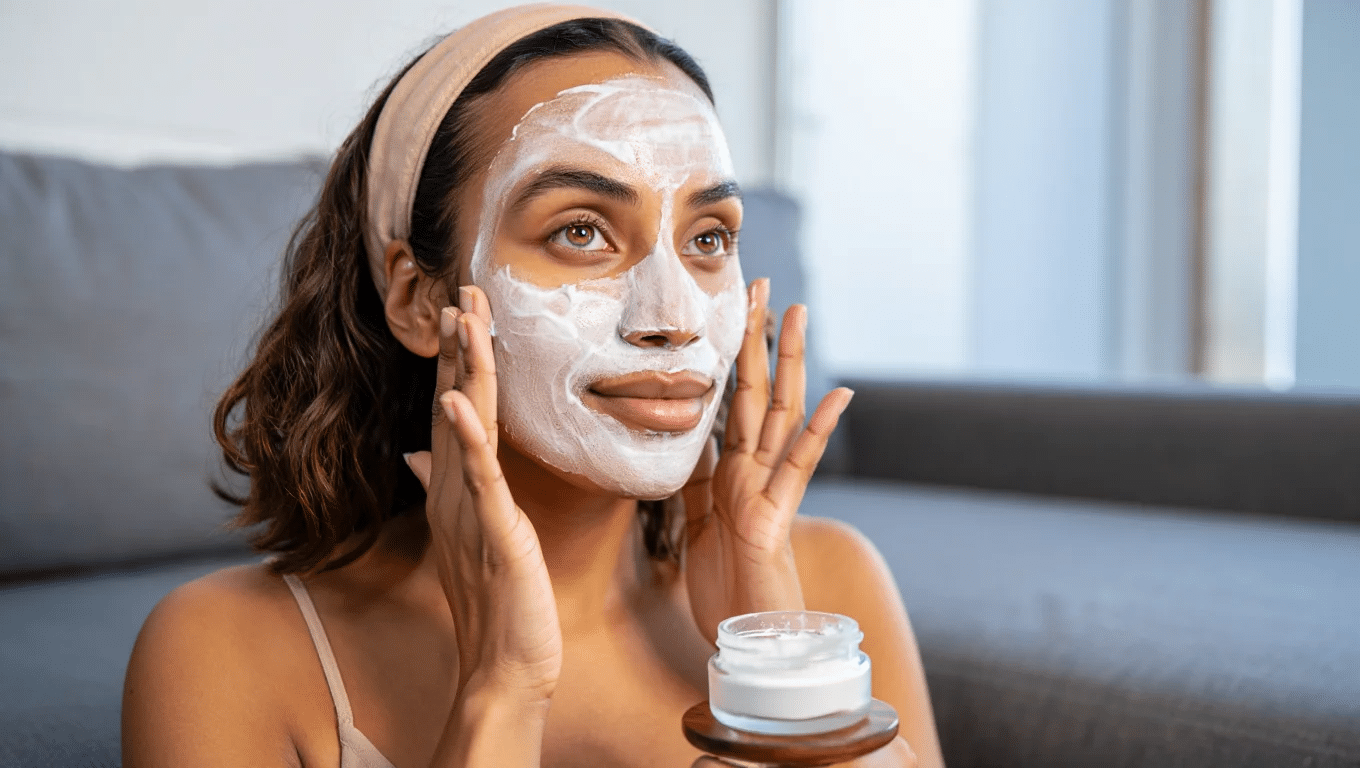
Face masks address specific skin concerns, such as hydration, clarity, or soothing. Choose a mask based on your needs and follow application tips for maximum benefits.
Step-by-Step:
- Select a mask for your skin concern (hydrating, clarifying, soothing).
- Apply an even layer to clean, dry skin.
- Avoid the eye and lip areas.
- Leave on for the recommended time (usually 10-15 minutes).
- Rinse off thoroughly and pat skin dry.
Step 5: Facial Massage for Improved Circulation
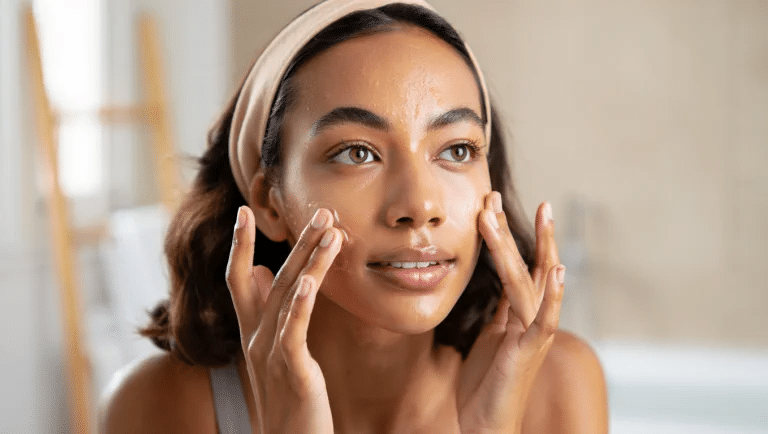
Facial massage boosts circulation, relaxes muscles, and increases product absorption. Use gentle techniques with oils or serums for added benefits.
Step-by-Step:
- Apply a few drops of facial oil or serum.
- Use fingertips to massage in upward, circular motions.
- Focus on cheeks, forehead, and jawline.
- Massage for 3-5 minutes for relaxation and glow.
- Wipe off excess oil if needed.
Step 6: Toning to Balance and Refresh
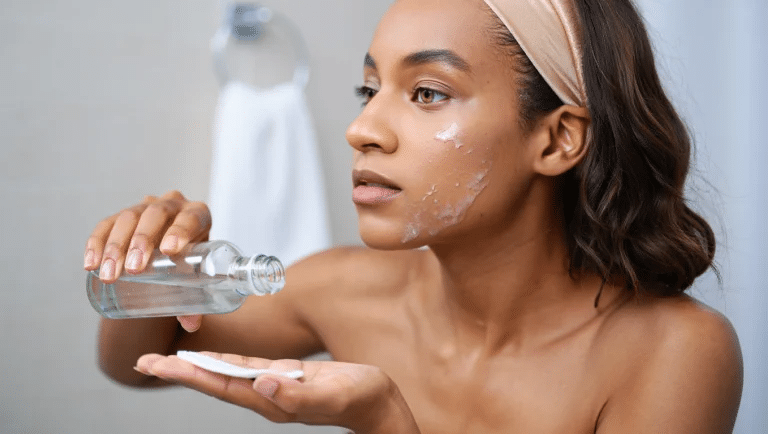
Toner restores skin’s pH, removes leftover impurities, and preps skin for hydration. Select a toner that suits your skin type for optimal results.
Step-by-Step:
- Pour toner onto a cotton pad or into your palms.
- Gently sweep or pat onto face and neck.
- Allow to absorb fully before the next step.
- Use daily after cleansing and exfoliating.
Step 7: Hydrate with Serum and Moisturizer
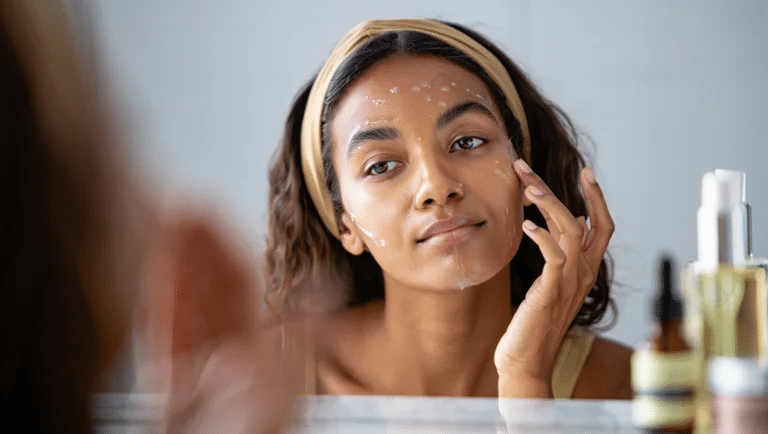
Layering serum and moisturizer delivers deep hydration and locks in moisture. Tailor products to your skin’s needs for optimal results.
Step-by-Step:
- Apply a few drops of targeted serum to the face and neck.
- Gently press into skin until absorbed.
- Follow with a moisturizer suited to your skin type.
- Massage in upward strokes for even coverage.
- Use morning and night for best hydration.
Step 8: Special Care for Eyes and Lips
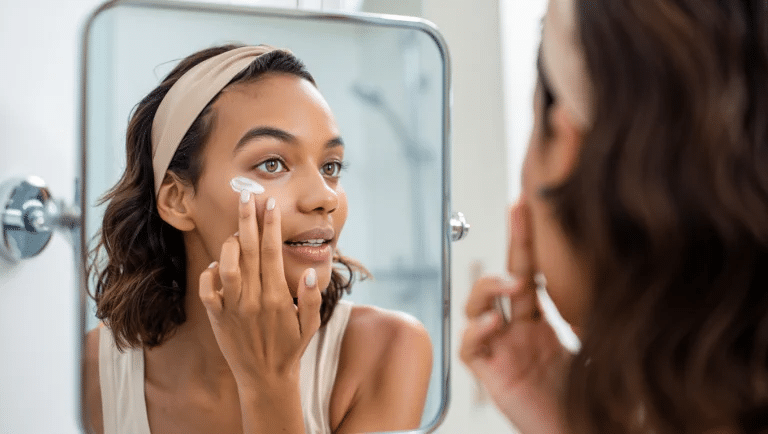
Eyes and lips need targeted care due to their delicate skin. Use specialized products to nourish and protect these areas.
Step-by-Step:
- Dab a small amount of eye cream around the orbital bone.
- Gently tap with the ring finger to absorb.
- Apply a hydrating lip balm to your lips.
- Reapply as needed throughout the day for protection.
Use Sunscreen daily to protect your skin from sun damage. Sunscreen makes your skin age more slowly while protecting it from sun spots and many other skin diseases.
Pro Tips For a Professional Facial Steps at Home
A flawless professional facial isn’t just about following steps; it’s about mastering technique, personalizing the experience, and maximizing results.
Here are expert-backed pro tips for your at-home facial routine for truly radiant skin:
- Always start with a thorough skin analysis to understand your skin’s needs and choose products accordingly.
- Double cleanse to ensure all makeup, sunscreen, and impurities are completely removed, setting the stage for deeper treatment.
- Use lukewarm water and gentle, upward strokes during cleansing and exfoliation to avoid tugging or damaging the skin.
- Exfoliate according to your skin typechemical exfoliants for sensitive skin, physical scrubs for more resilient types, and never over-exfoliate.
- Steam your face for 5-10 minutes to open pores and increase product absorption, but avoid prolonged steaming to prevent dehydration.
- During facial massage, use light, upward motions to boost circulation, relieve tension, and help products penetrate deeper.
- Always apply masks and serums tailored to your current skin concerns, and allow adequate time for each to work.
- Finish with a hydrating moisturizer and broad-spectrum SPF (during the day) to lock in benefits and protect your skin.
- Clean and disinfect all tools and materials after each use to maintain hygiene and prevent breakouts.
- Practice consistency, regular facials (every 2-4 weeks) yield the best long-term results
Common Mistakes and How to Avoid Them
A professional facial can transform your skin, but common mistakes can lead to irritation, breakouts, or even lasting damage.
1. Combining Too Many Active Ingredients
Layering multiple actives like retinols, acids, and niacinamide can overwhelm your skin, leading to sensitivity, inflammation, or burns. Stick to one active ingredient per session and focus on soothing, hydrating products to minimize the risk of irritation.
2. Using Unsuitable or Harsh Products
Applying products not suited to your skin type or using harsh formulas can trigger reactions.
Always patch-test new products on your inner elbow and choose gentle, non-irritating options tailored to your specific skin concerns for optimal results.
3. Over-Exfoliating the Skin
Exfoliating too often or using abrasive scrubs can damage your skin barrier, resulting in redness, dryness, or increased sensitivity.
Limit exfoliation to once or twice a week and select mild exfoliants appropriate for your skin type to maintain balance.
4. Not Properly Cleansing Hands and Tools
Starting your facial with dirty hands or unsanitized tools can transfer bacteria to your face, causing breakouts or infections. Always wash your hands thoroughly and disinfect all tools before use to ensure a hygienic facial experience.
5. Skipping Makeup Removal Before Starting
Failing to remove all traces of makeup, especially around the eyes, prevents proper cleansing and can clog pores. Make sure your skin is completely makeup-free before beginning your facial for the best possible results.
6. Overdoing Home Skincare Right Before a Facial
Using new or harsh products in the days leading up to your facial can leave your skin sensitive and more prone to irritation.
Stick to your routine and avoid aggressive treatments before your facial to keep your skin calm and receptive.
The Bottom Line
Taking care of your skin doesn’t have to break the bank. These professional facial steps prove that spa-quality results are possible right in your bathroom. You control every ingredient that touches your face.
Start with just the basic steps if you’re new to home facials. Your skin will thank you after the first treatment. Most people see improvements within a week of following this routine consistently.
Share your results in the comments below. We love hearing about your skincare wins!