Regular polish chips after two days.
Gel needs UV lights.
Acrylics smell strong and require heavy filing.
Dip manicures avoid most of those issues. They last weeks without lamp curing and feel way lighter than acrylics. That’s why salons everywhere now push dip powder as their top pick.
Let’s take a deeper look.
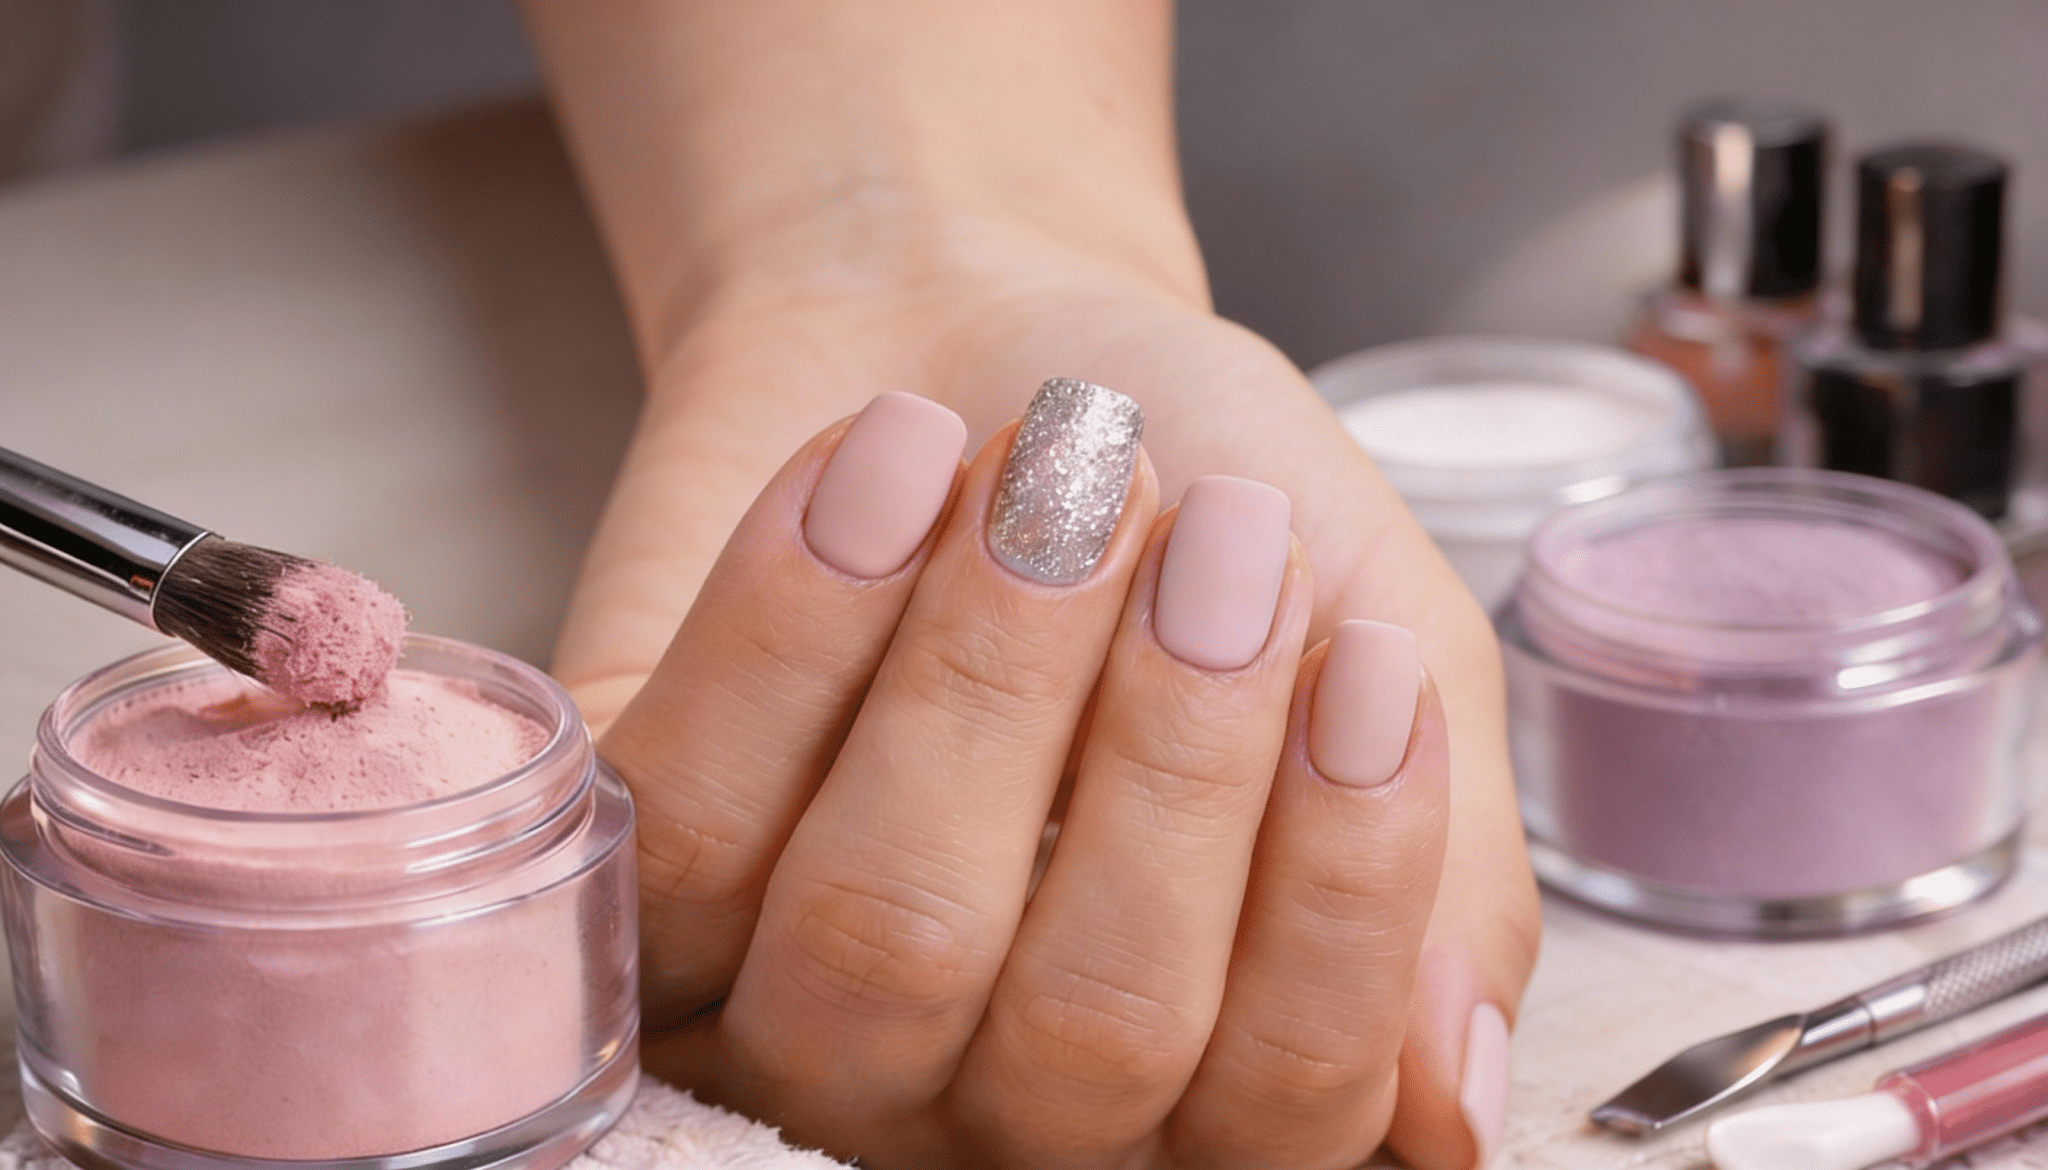
What is a Dip Manicure?
A dip manicure uses fine colored powder instead of regular nail polish.
The process is pretty straightforward. Your nail technician applies a base coat, then dips your nail into a jar of powder.
The powder sticks to the wet base and hardens as it dries. This happens in layers.
Base coat, dip, repeat.
Usually, three or four rounds until the color looks solid and even. After the final dip, a sealant goes on top to lock everything in and create that glossy shine.
The powder itself is made from acrylic materials, but the application method is totally different from acrylic nails.
No mixing liquids, no sculpting with brushes, and definitely no strong fumes filling the room.
It’s a cleaner process that builds up color and strength at the same time.
How Long Does a Dip Manicure Last?
Most dip manicures last three to four weeks before needing a fill or removal.
That’s double what gel offers and way longer than regular polish. Your daily habits matter.
Typing, washing dishes without gloves, or heavy hand use wears down faster.
Nail growth speed varies, too, so lifting at the cuticle shows up sooner for some people. Application quality also plays a role.
Rushed jobs with thin layers might only last two weeks, while proper coats hold strong for a month. Schedule appointments at the three-week mark to avoid that awkward grown-out phase.
Pros and Cons of a Dip Manicure
Dip manicures come with tangible benefits, but they’re not perfect for everyone.
| Pros | Cons |
|---|---|
| Lasts 2-3 weeks without chipping, longer than regular polish or gel | Removal takes 10-15 minutes of acetone soaking and careful scraping |
| No UV lamp needed, everything air-dries naturally | Shared powder jars can spread bacteria if salons don’t use the brush-on method. |
| Faster application than acrylics, usually under an hour | Limited options for intricate nail art compared to gel |
| Feels lightweight and natural, not thick like acrylics | Bonding liquids can irritate sensitive skin or cause reactions |
| Strengthens weak or brittle nails without adding bulk | Smaller salons may have limited color selections in powder form |
Pro tip: Always ask your salon about their sanitation practices before getting dip powder done. A good salon will either use the brush-on method or have individual powder pots for each client.
How Does a Dip Manicure Work?
The dip powder process looks different from regular polish or gel. Instead of painting color onto your nails,
you’re building layers with powder and liquid. It’s faster than acrylics and doesn’t need UV lights like gel.
Nail Prep
Your nail tech starts by pushing back cuticles and filing your nails into shape.
They’ll lightly buff the surface to remove shine. This rougher texture helps the powder stick better.
Then they wipe nails clean with alcohol or a dehydrator to get rid of oils.
Pro tip: Skip lotion on your hands the day of your appointment. Any oils or moisture will mess with how well the layers bond.
Base Coat Application
A clear bonding liquid goes on first. Think of it like primer before paint.
This base coat is sticky and dries fast, so the nail tech works on one finger at a time.
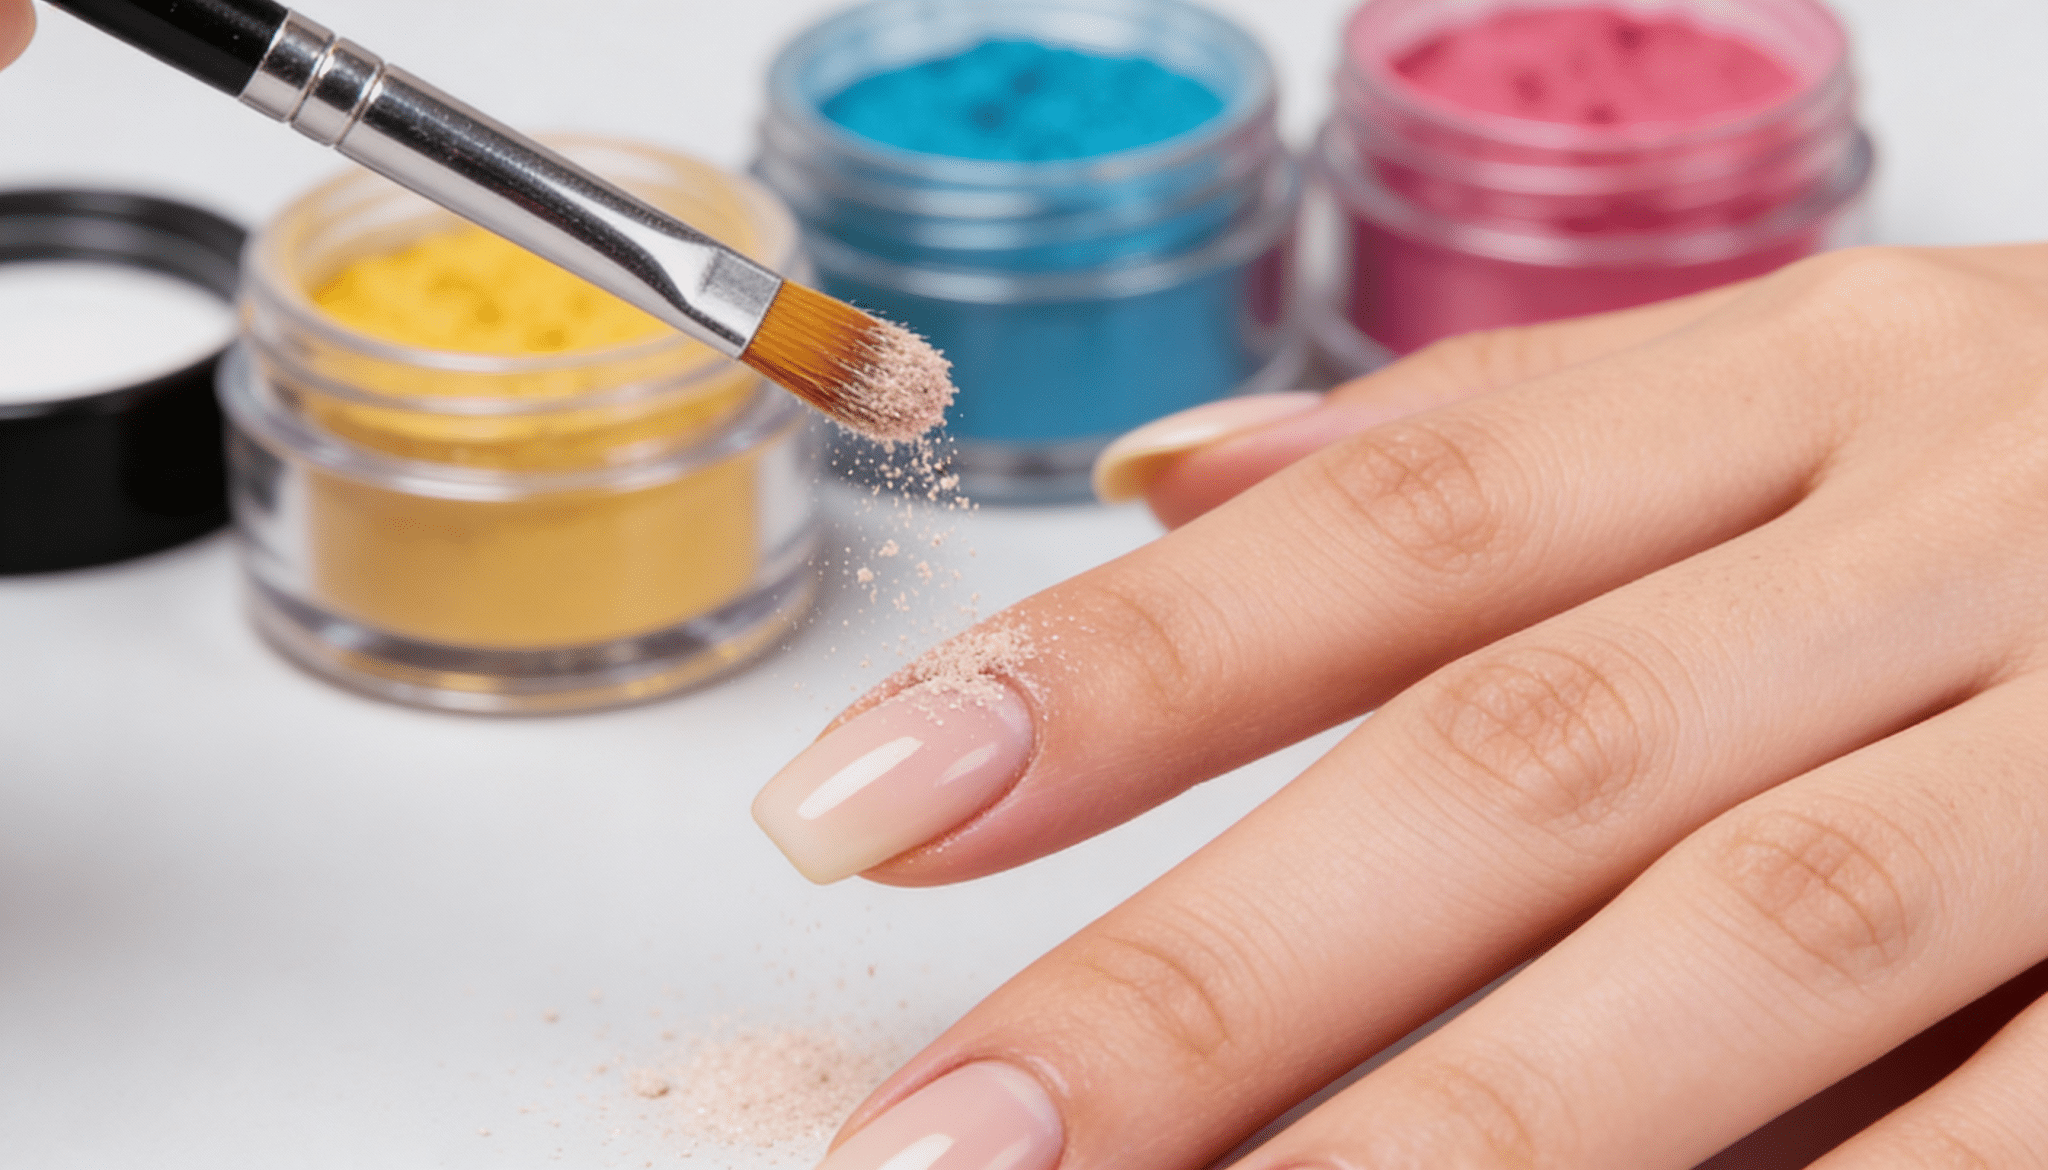
The Dipping Process
Here’s where it gets interesting. Right after applying the base coat, your finger gets dipped straight into a jar of colored powder.
The powder sticks to the wet base instantly.
Your tech taps off the excess and moves to the next nail.
Some salons brush powder onto nails instead of dipping to avoid contamination issues. Both methods work the same way.
Building Layers
One dip isn’t enough for full coverage.
The process repeats two or three times: base coat, dip in powder, tap off excess. Each layer adds color depth and strength. By the third round, the color looks solid and opaque.
Activator Application
Once the color layers are done, an activator liquid goes on top.
This stuff hardens the powder and bonds everything together.
It smells a bit like nail glue but isn’t as strong as acrylic fumes. The activator needs a minute to dry completely.
Shaping and Smoothing
After the activator dries, your tech files and shapes the nails again. The powder creates a slightly textured surface, so buffing smooths everything out.
This step makes the difference between lumpy nails and a sleek finish.
Top Coat and Final Cure
A glossy top coat seals everything in. Some salons use two layers for extra shine.
Unlike gel, this top coat air-dries without needing a UV lamp. Within a few minutes, your nails are dehydrated and ready to go.
The whole appointment usually takes 45 minutes to an hour, which is quicker than a complete acrylic set.
Dip Manicure vs Gel Nails
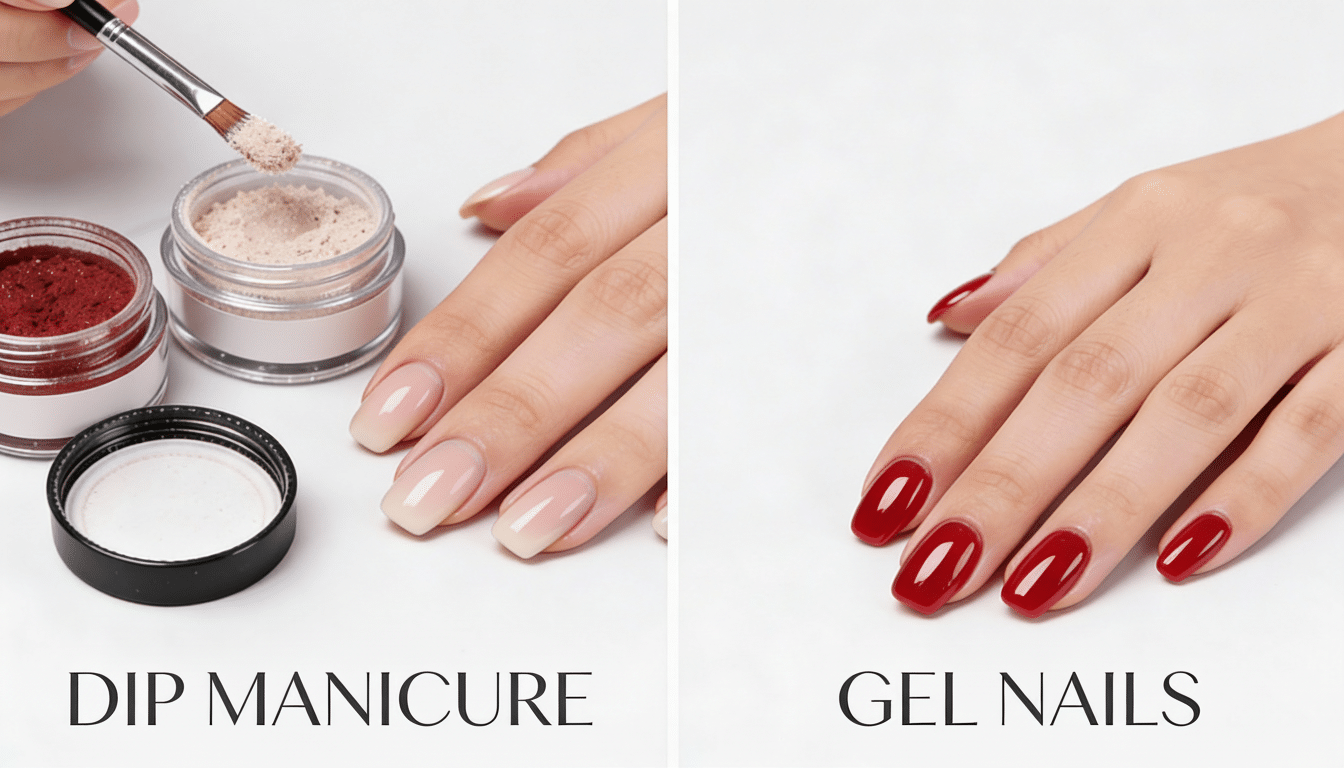
Choosing between dip and gel usually comes down to what bothers you most about manicures.
| Feature | Dip Manicure | Gel Nails |
|---|---|---|
| Application Process | Powder dipped or brushed onto nails with bonding liquid | Polish was painted on and cured under a UV/LED lamp |
| Durability | Lasts 3-4 weeks without chipping | Lasts 2-3 weeks before lifting or chipping |
| Drying Time | Air-dries in 5 minutes | Instant cure under lamp (30-60 seconds per layer) |
| Cost | $45-$65 on average | $35-$50 on average |
| Removal Process | Soak in acetone for 10-15 minutes, scrape off powder | Soak in acetone for 10-15 minutes, wipe off softened gel |
| Nail Damage Risk | Can weaken nails with rough filing or frequent application | Can thin nails if over-filed or soaked off improperly |
Both outlast regular polish, but dip lasts an extra week compared to gel.
Gel feels lighter and more natural on nails. Choose dip if you want maximum durability without UV lamps.
Pick gel if you prefer thinner nails and don’t mind more frequent salon visits.
Dip Manicure Removal: What to Expect
Getting dip powder off takes effort. Salons use pure acetone-soaked cotton wrapped in foil around each nail for 10 to 15 minutes. The acetone softens the layers so they turn gummy.
- Your nail tech gently pushes softened powder off with a cuticle pusher
- If it doesn’t slide easily, they soak longer instead of forcing it
- Aggressive scraping does more harm than the acetone itself
- Nails and cuticles feel dry and tight afterward since acetone strips moisture
- Cuticle oil and hand cream help, but nails need days to recover fully
- At-home removal uses the same method but takes longer and gets messier
Pro tip: Don’t peel or pry early. That rips off natural nail layers and causes damage.
Removal isn’t gentle, which raises an important question: Is all this soaking actually safe for your natural nails?
Is it Safe for Natural Nails?
Dip manicures won’t wreck your nails if done right.
Problems start when nail techs file too hard during prep or scrape off powder before it’s fully softened.
That tears away layers of your natural nail.
Acetone soaks also dry out nails over time. Taking breaks between manicures helps them recover. Watch for salons that dip everyone’s fingers in the same powder jar. That spreads bacteria.
Ask for the brush method instead. Make sure removal involves patient soaking, not aggressive scraping. With proper technique and occasional breaks, dip stays safe for natural nails.
Aftercare Tips for Nail Recovery
Dip manicures don’t wreck your nails, but the removal process can leave them dry and weak.
A little care between appointments helps them bounce back faster.
- Moisturize cuticles daily – Cuticle oil or thick hand cream keeps the nail bed flexible and prevents peeling around the edges.
- Skip back-to-back manicures – Give nails at least a week off between dip applications so they can breathe and rebuild strength.
- Use a nail strengthener – Apply a clear strengthening polish during your break weeks to add a protective layer without chemicals.
- Avoid picking or peeling – If the dip starts lifting, resist the urge to peel it off yourself. That rips layers off your natural nail.
- Keep nails shorter during recovery – Trim them down a bit while they’re rebuilding. Shorter nails break less easily and grow back healthier.
Pro tip: Take biotin supplements or eat more eggs, nuts, and salmon. Your nails grow from the inside out, so nutrition actually makes a difference in how fast they recover.
Ready to Try Dip?
Dip manicures deliver solid color that lasts three weeks without UV lamps or acrylic fumes.
They’re not perfect for everyone, but they work well if you want durability on natural nails without heavy damage.
The process is straightforward, removal takes patience, and proper aftercare keeps your nails healthy between appointments.
Whether dip beats gel or acrylic depends on your priorities: length, cost, or longevity.
Now that you know what a dip manicure is and how it stacks up, you can walk into your next salon visit knowing exactly what to ask for.