Most people struggle with confusing emotions that seem to come from nowhere. You feel angry, sad, or anxious but can’t figure out why. There are specific exercises that can help you understand these mysterious emotional patterns. When you learn to work with your hidden self, you gain clarity about why you feel the way you do. This blog will show
Most Popular
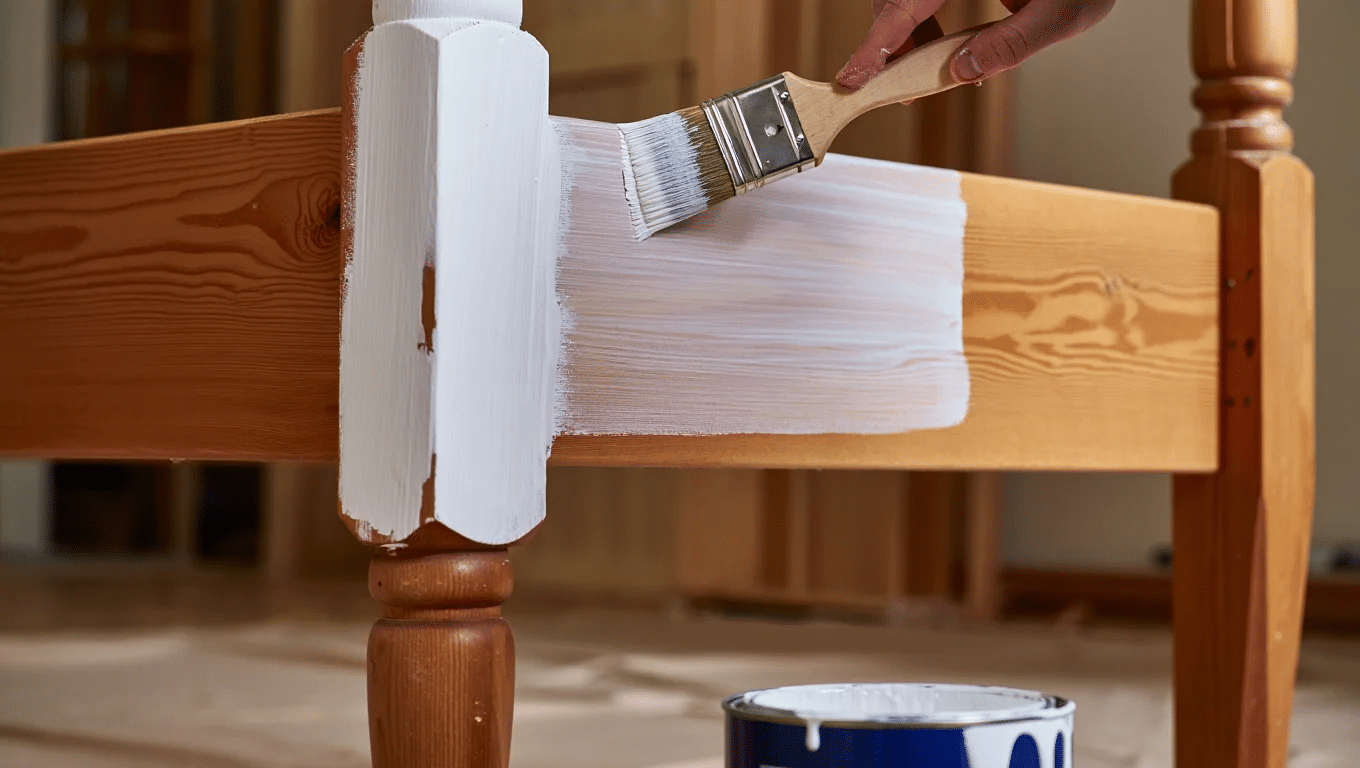
Tired wooden bed frames don’t have to stay that way forever. Many homeowners think replacing furniture is their only option when pieces start looking worn or outdated. But painting a wooden bed frame offers three major benefits that make it worth the effort. First, it’s incredibly budget-friendly compared to buying new furniture. Second, it allows for complete creative customization to match any decor style. Third, it actually helps preserve the wood for years to come. Whether someone is a complete beginner or has some DIY experience, learning how to paint a wooden bed frame can change their bedroom without breaking the bank. Picking the Perfect Paint and Primer Combo When learning how to paint a wooden bed frame, paint selection can make or break the final result. Here’s a complete reference guide: Paint Type Primer Type Best For Finish Options Latex Paint Bonding Primer Smooth, non-porous surfaces Matte, Satin, Glossy Chalk Paint No-Prep Primer Distressed or vintage look Matte, Flat Acrylic Paint Wood Primer Wood surfaces with heavy staining Satin, Glossy Oil-Based Paint Oil-Based Primer High durability for wood surfaces Gloss, Semi-Gloss Milk Paint Milk Paint Primer Eco-friendly, vintage finishes Matte, Eggshell Special Considerations: Primer becomes essential when covering dark wood or existing stains. It prevents bleed-through and helps paint stick better. Skip primer only on previously painted, light-colored surfaces in good condition. Families with children or pets should choose low-VOC or zero-VOC paints. These options reduce harmful fumes while still providing excellent coverage and color options. Tools and Materials Checklist Drop cloths: To protect the floor and the surrounding area Screwdriver or Allen wrench: For disassembling the bed frame Sandpaper (120–220 grit): To smooth and prep the wood surface Tack cloth: remove dust after sanding Wood filler: To patch cracks or dents Primer (preferably shellac-based): To prepare the surface for better paint adhesion Paint (latex, chalk, or acrylic): To provide the final color finish Paintbrushes and foam rollers: For applying paint evenly on various surfaces Painter’s tape: To protect areas you don’t want painted Clear sealant (polycrylic or polyurethane): To protect the paint finish Stir stick: To mix paint thoroughly Damp cloth: For wiping off grime and fingerprints Step-by-Step to Paint a Wooden Bed Frame Now comes the fun part, where all that prep work pays off. Following these steps in order ensures smooth, professional-looking results that anyone can achieve at home. Step 1: Disassemble the Bed Frame Tip: Use a labeled bag or small container to keep all screws and bolts organized. Remove the mattress and bedding, then use a screwdriver or Allen wrench to take apart the frame. Place each part on a drop cloth in a well-ventilated area. Step 2: Repair and Prep Tip: Avoid overworking filler; apply thinly, let dry, then sand smoothly. Use wood filler to patch dents, cracks, or nail holes. Once dry, sand those areas smooth and apply painter’s tape to protect areas you don’t want painted. Step 3: Prime the Frame Tip: Use short, overlapping strokes for even coverage, and let the primer cure fully. Apply a thin coat of primer with a brush or foam roller. Allow it to dry completely before moving to the next step. Step 4: Paint with Patience Tip: Use light pressure and thin coats; like layering pastels, build gradually. Apply paint using a foam roller for flat surfaces and a brush for edges. Let each coat dry fully before adding the next. Most frames need two to three coats. Step 5: Seal and Reassemble Tip: Seal only once the paint has cured for 24–48 hours. Apply a clear sealer for protection and durability. Let it dry according to manufacturer’s instructions, then carefully reassemble the frame. For a more detailed tutorial on how to paint a wooden bed frame, check out the video below: Common Mistakes and How to Fix Them Even experienced painters face problems during projects. When learning how to paint a wooden bed frame, the good news is that most issues have simple fixes that don’t require starting completely over. 1. Drips, Brush Marks, and Uneven Color These problems happen when paint gets applied too thick or too slowly. For wet drips, smooth them out immediately with a clean brush. For dried drips, sand lightly and touch up with thin coats. Fix brush marks by switching to a foam roller or adding paint conditioner. Uneven color needs a second thin coat applied in the opposite direction. 2. Bubbling Paint or Peeling Finish Bubbles and peeling mean moisture got trapped or the surface wasn’t clean. Remove loose paint with a scraper, sand smooth, clean thoroughly, and let dry completely. Apply primer before repainting. 3. When Primer Bleeds Through Dark stains sometimes show through primer. Apply a second primer coat or use stain-blocking primer for stubborn spots. Let each coat dry completely before adding the next. Most fixes take patience, not perfection. Styling Your Bed Frame Post-Paint Once the paint dries, the real fun begins. Choosing the right color can make or break how well the bed frame fits with the room’s overall style and mood. Modern and Vintage Bedroom Color Ideas Style Color Combo Best For Modern Matte Black & White Sleek, minimalist bedrooms Charcoal Gray & Soft Taupe Urban, industrial-inspired rooms Deep Navy & Silver Accents Contemporary, coastal-inspired rooms Vintage Soft Mint Green & Cream Vintage or shabby-chic rooms Dusty Rose & Antique White Cozy, romantic spaces Olive Green & Off-White Rustic or boho vintage rooms Tips for Vibe and Decor Considerations Your bed is often the biggest piece of furniture in the room, so this decision really matters. The color you pick will set the mood and tie everything together beautifully. Choose clean, crisp colors – White, light gray, and soft black create that fresh, minimalist vibe modern spaces need. Add drama with bold neutrals – Navy or charcoal gray bring depth without making the room feel heavy or overwhelming. Stick with neutral tones – These colors won’t clash when you change your decor or add new furniture pieces later. Factor in your lighting – Room brightness affects how paint colors look, so test samples in different lighting conditions. Match undertones with furniture – Make sure your paint’s warm or cool undertones work well with your existing pieces. Paint Color Suggestions for a Bed Frame Here are some tried-and-true options that work well for bed frame painting projects, from subtle neutrals to bold statement colors. Neutral Shades: Neutral colors offer the most flexibility when it comes to changing bedroom decor over time. These shades work well with almost any style and won’t clash with future bedding or furniture choices. SW Alabaster: This soft, warm white offers brightness without feeling cold. With an LRV of 82, it reflects plenty of light while maintaining cozy undertones perfect for bed frame painting. The balanced warmth makes bedrooms feel peaceful. Benjamin Moore Annapolis Gray: This effortless neutral brings just a blush of color without overwhelming bedroom spaces. With an LRV of 50.72, it strikes the perfect balance for bed frame painting projects. The subtle warmth works with changing decor styles over time. Sherwin Williams Agreeable Gray: Sherwin Williams’ best-selling color brings subtle beige undertones that complement any decor. With an LRV of 60, this versatile gray provides good depth for bed frame painting while staying light enough for smaller bedrooms. Benjamin Moore Balboa Mist: This pale gray with a warm cast works with virtually any color scheme. At LRV 65.53, it offers good light reflection with just enough depth for bed frame painting projects. Sherwin Williams Warm Stone: This deeper gray brings hearth-and-home vibes with rich, earthy tones. With an LRV of 20, it creates dramatic contrast perfect for bed frame painting in rooms with plenty of natural light. Bold Colors: For those who want their bed frame to be the star of the room, bold colors create instant drama and personality. These deeper shades work especially well in bedrooms with good natural light or when paired with lighter wall colors. Benjamin Moore Bear Creek: Smoky brown undertones make this deep, woodsy neutral perfect for cozy bedroom retreats. With an LRV of 16.11, it adds significant depth for bed frame painting projects. Sherwin Williams Porpoise: This dreamy dark gray bronze creates bold, luxurious statements. At LRV 13, it provides dramatic contrast ideal for bed frame painting when paired with lighter walls. Benjamin Moore Kendall Charcoal: Rich, varied undertones make this dark neutral incredibly versatile for bed frame painting. With an LRV of 14.61, it works beautifully with both warm and cool palettes. Sherwin Williams Urbane Bronze: This brownish gray evokes natural tranquility with subtle sophistication. At LRV 8, it creates the most dramatic contrast for bed frame painting while bringing down-to-earth calmness. Wrapping Up Learning how to paint a wooden bed frame opens up endless possibilities for bedroom makeovers. This project proves that anyone can create beautiful, personalized furniture without spending hundreds on replacements. So what makes this worthwhile? A freshly painted bed frame becomes the focal point that ties the whole room together. Plus, there’s real satisfaction in saying “I did that myself” when guests admire the results.
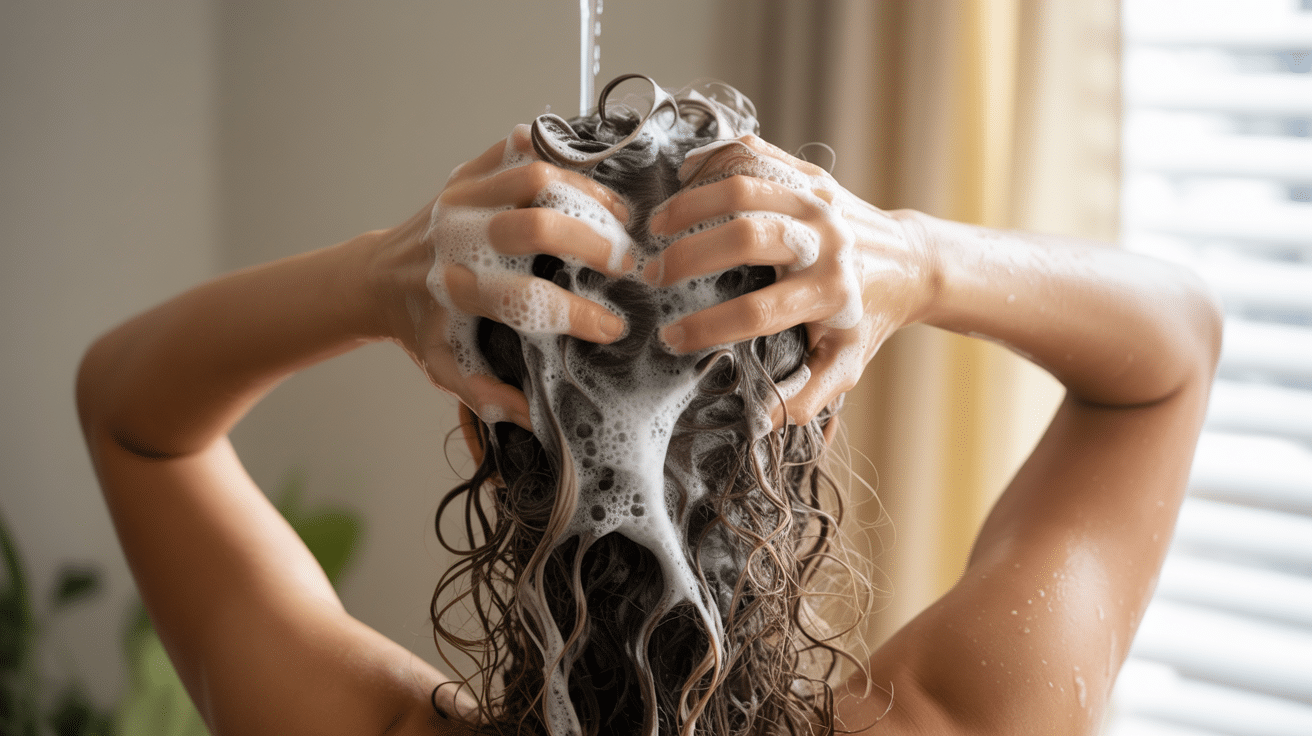
Curly hair faces unique challenges that straight hair simply doesn’t deal with. Product buildup, natural oils, and environmental residue cling to curls more stubbornly. This creates dull, weighed-down hair that lacks bounce and definition. The right clarifying shampoo can restore your curls to their natural glory. But here’s the catch: not all clarifying shampoos work the same for every curl type. This blog breaks down clarifying shampoo for curly hair that works best for 2A waves, 3B spirals, 4C coils, and everything in between. You’ll learn how often to clarify, key ingredients, pros and cons for each shampoo, and mistakes to avoid during using clarifying shampoos. What Does Clarifying Shampoo Do for Curly Hair? Clarifying shampoo for curly hair is specially formulated to deeply cleanse curly hair by removing product buildup, excess oils, hard water minerals, and environmental impurities that regular shampoos often leave behind. This process helps to “reset” your curls, restoring their natural bounce and definition. By eliminating residue that can weigh curls down, clarifying shampoo allows moisture and conditioning treatments to penetrate more effectively, resulting in healthier, fuller, and more manageable curls. Using a clarifying shampoo occasionally is essential for curly hair, especially if you use styling products regularly, as it helps maintain scalp health and prevents limp or dull-looking curls. Choosing the Best Clarifying Shampoo for Curly Hair Choosing the best clarifying shampoo for your curl type means looking for a formula that cleanses thoroughly without stripping away essential moisture. For tighter curls, opt for sulfate-free shampoos with hydrating oils and butters, while looser curls may tolerate gentle surfactants. Always check for ingredients that balance cleansing power with hydration, such as aloe, argan, or coconut oil, to keep curls healthy and defined. Before jumping into the best clarifying shampoo, take a look at our blogs on the Best Conditioning Hair Mask for Men and Best Conditioning Hair Masks for Women in 2025 because hair masks are a very crucial part of a curly hair routine. The following are a few top clarifying shampoos for curly hair. 1. Pattern Beauty Clarifying Shampoo Pattern Beauty Clarifying Shampoo delivers a deep cleanse for curly hair, effectively removing product buildup and residue while preserving natural oils. It’s specially formulated for type 3 and 4 curls, leaving hair refreshed, soft, and ready to absorb moisture. Suitable Curl Type: Type 3 and 4 curls, coily, and textured hair. Key Ingredients: Matcha green tea, aloe vera, panthenol (vitamin B5), shea butter, coconut oil, sunflower seed oil. Pros: Deep cleans without stripping, promotes strong hair, softens curls, pleasant fragrance, sulfate-free. Cons: May not be clarifying enough for fine or oily curls, higher price point. 2. Avalon Organics Clarifying Lemon Shampoo Avalon Organics Clarifying Lemon Shampoo uses organic botanicals and lemon essential oil to gently remove dulling buildup. It revitalizes curls, leaving hair feeling clean, refreshed, and naturally shiny without harsh chemicals. Suitable Curl Type: Wavy to curly hair (Type 2–Type3), especially for those with product buildup. Key Ingredients: Lemon essential oil, aloe vera, chamomile, vitamin E, quinoa protein. Pros: Organic, vegan, cruelty-free, gentle formula, fresh citrus scent. Cons: Can be drying for very dry or high-porosity curls, not sulfate-free. 3. Ouai Detox Shampoo Ouai Detox Shampoo is a powerful clarifier that removes heavy buildup from styling products, hard water, and excess oil. It’s formulated with apple cider vinegar and keratin to leave curls bouncy, shiny, and residue-free. Suitable Curl Type: All curl types, especially those using lots of styling products or exposed to hard water. Key Ingredients: Apple cider vinegar, hydrolyzed keratin, chelating agents. Pros: Removes stubborn buildup, leaves hair soft and shiny, pleasant scent. Cons: Contains sulfates, may be too strong for sensitive or very dry curls. 4. Olaplex No. 4C Bond Maintenance Clarifying Shampoo Olaplex No. 4C Bond Maintenance Clarifying Shampoo deeply cleanses while repairing and protecting hair bonds. It’s designed to remove impurities and buildup without stripping moisture, making it ideal for curly and color-treated hair. Suitable Curl Type: All curl types, including color-treated and damaged curls. Key Ingredients: Olaplex Bond Building Technology, non-sulfate surfactants, glycerin. Pros: Repairs and strengthens hair, color-safe, non-drying, removes hard water minerals. Cons: Expensive, may not lather as much as traditional clarifiers. 5. Bumble and Bumble Sunday Shampoo Bumble and Bumble Sunday Shampoo is a weekly clarifier that deeply cleanses hair and scalp, removing product, oil, and pollutants. It leaves curls feeling light and refreshed, perfect for a weekly reset. Suitable Curl Type: Wavy and curly hair (2A–3C), best for non-color-treated hair. Key Ingredients: Glycerin, rosemary leaf extract, sage leaf extract. Pros: Deep cleans, lightweight feel, removes stubborn residue. Cons: Not recommended for color-treated or very dry hair, contains sulfates 6. Carol’s Daughter Wash Day Delight Water-to-Foam Sulfate Free Vegan Shampoo Carol’s Daughter Wash Day Delight transforms from water to foam, making wash days easier for curly hair. It gently cleanses without stripping, detangles as you wash, and leaves curls feeling light, soft, and refreshed after every use. Suitable Curl Type: All curl types, especially type 3 and 4 curls, are prone to tangling. Key Ingredients: Aloe vera, glycerin, coconut-derived surfactants, castor oil. Pros: Lightweight, easy detangling, sulfate-free, vegan, pleasant scent. Cons: May not remove heavy buildup, watery texture can be tricky to apply. 7. Dove Scalp + Hair Therapy Sulfate Free Shampoo Density Boost Clarifying Shampoo Dove Scalp + Hair Therapy Density Boost Clarifying Shampoo provides a gentle, sulfate-free cleanse that removes buildup while supporting scalp health. It’s designed to boost hair density and leave curls feeling fuller and revitalized after each wash. Suitable Curl Type: Fine to medium curls (2A–3B), especially those seeking volume. Key Ingredients: Niacinamide, caffeine, glycerin, and coconut-derived cleansers. Pros: Boosts volume, gentle on scalp, sulfate-free, affordable. Cons: May not clarify heavy buildup, not ideal for very thick or coarse curls. 8. Mizani Moisture Fusion Gentle Clarifying Shampoo Mizani Moisture Fusion Gentle Clarifying Shampoo cleanses away buildup while infusing moisture, making it ideal for dry, curly, and textured hair. It leaves curls soft, hydrated, and manageable without stripping away essential oils. Suitable Curl Type: Dry, curly, and coily hair (3A–4C). Key Ingredients: Coconut oil, charcoal, glycerin, citrus extracts. Pros: Moisturizing, gentle formula, sulfate-free, pleasant scent. Cons: May be too mild for heavy product users, higher price point. 9. Acure Curiously Clarifying Shampoo Acure Curiously Clarifying Shampoo uses natural ingredients to deeply cleanse and refresh curls. It’s gentle enough for regular use and leaves hair feeling clean, light, and free of buildup, while maintaining softness and shine. Suitable Curl Type: Wavy and curly hair (2A–3B), normal to oily scalps. Key Ingredients: Lemongrass, argan oil, aloe vera, chamomile extract. Pros: Natural, vegan, affordable, fresh scent, suitable for frequent use. Cons: Can be drying for very dry or high-porosity curls, not deeply moisturizing. 10. Goop G. Tox Himalayan Salt Scalp Scrub Shampoo Goop G. Tox Himalayan Salt Scalp Scrub Shampoo exfoliates the scalp and clarifies hair using mineral-rich Himalayan salt. It removes buildup, stimulates circulation, and leaves curls feeling exceptionally clean and refreshed after each use. Suitable Curl Type: All curl types, especially those with scalp buildup or flakes. Key Ingredients: Himalayan pink salt, moringa oil, rosehip oil, coconut oil. Pros: Deep exfoliation, invigorating feel, natural ingredients, sulfate-free. Cons: Pricey, salt granules may be harsh for sensitive scalps. 11. Eden BodyWorks Natural Shampoo in Peppermint Tea Tree Eden BodyWorks Peppermint Tea Tree Shampoo provides a refreshing, clarifying cleanse for curls. It soothes the scalp, removes buildup, and invigorates hair with a cooling sensation, leaving curls clean, soft, and full of life. Suitable Curl Type: All curl types, especially those with scalp concerns or buildup. Key Ingredients: Peppermint oil, tea tree oil, aloe vera, and coconut-derived cleansers. Pros: Refreshing tingle, soothes scalp, affordable, natural ingredients. Cons: Strong scent may not suit everyone, can be drying if overused. How Often Should You Use Clarifying Shampoo on Curly Hair? How often you should use clarifying shampoo on curly hair depends on your hair’s needs, but most experts recommend clarifying every 4–6 weeks to remove buildup and keep curls fresh without causing dryness. If you use heavy styling products, live in a hard water area, or notice limp, dull curls, you may need to clarify every 2–3 weeks. For those with fine curls or oilier scalps, clarifying once every 4–5 washes can help maintain bounce and definition. Always follow with a deep conditioner to restore moisture, and adjust frequency based on how your curls look and feel. Common Mistakes to Avoid When Using Clarifying Shampoo Clarifying shampoo for curly hair is essential for removing buildup from curly hair, but improper use can lead to dryness, breakage, or lackluster curls. Avoiding common mistakes ensures your clarifying routine enhances curl health rather than causing damage. Here are key pitfalls to watch out for: Overusing Clarifying Shampoo: Using clarifying shampoo too often can strip natural oils, leaving curls dry and brittle Choosing the Wrong Formula: Selecting shampoos with harsh sulfates or those not suited for curly hair can cause excessive dryness and frizz Skipping Conditioner or Deep Treatment: Failing to follow up with a rich conditioner or mask after clarifying can leave curls parched and prone to breakage Not Focusing on the Scalp: Only applying shampoo to the hair strands instead of massaging the scalp misses the main area where buildup accumulates Using Hot Water: Washing with hot water can further dry out curls and strip essential moisture Applying Too Much Product: Using excessive shampoo can overwhelm curls, leading to dryness and product waste Neglecting to Adjust Frequency: Not tailoring clarifying frequency to your curl type, product use, or environment can lead to either buildup or over-cleansing. The Bottom Line Finding the right clarifying routine transforms curly hair care from frustrating to simple. Each curl type has specific needs, and now you know exactly what works for yours. Start slowly with your new clarifying schedule. Pay attention to how your curls respond and adjust accordingly. Your hair will tell you when it needs clarification through signs like product buildup or lack of curl definition. Try the clarifying shampoo for curly hair commended for your curl type this week. Share your before and after results in the comments below.