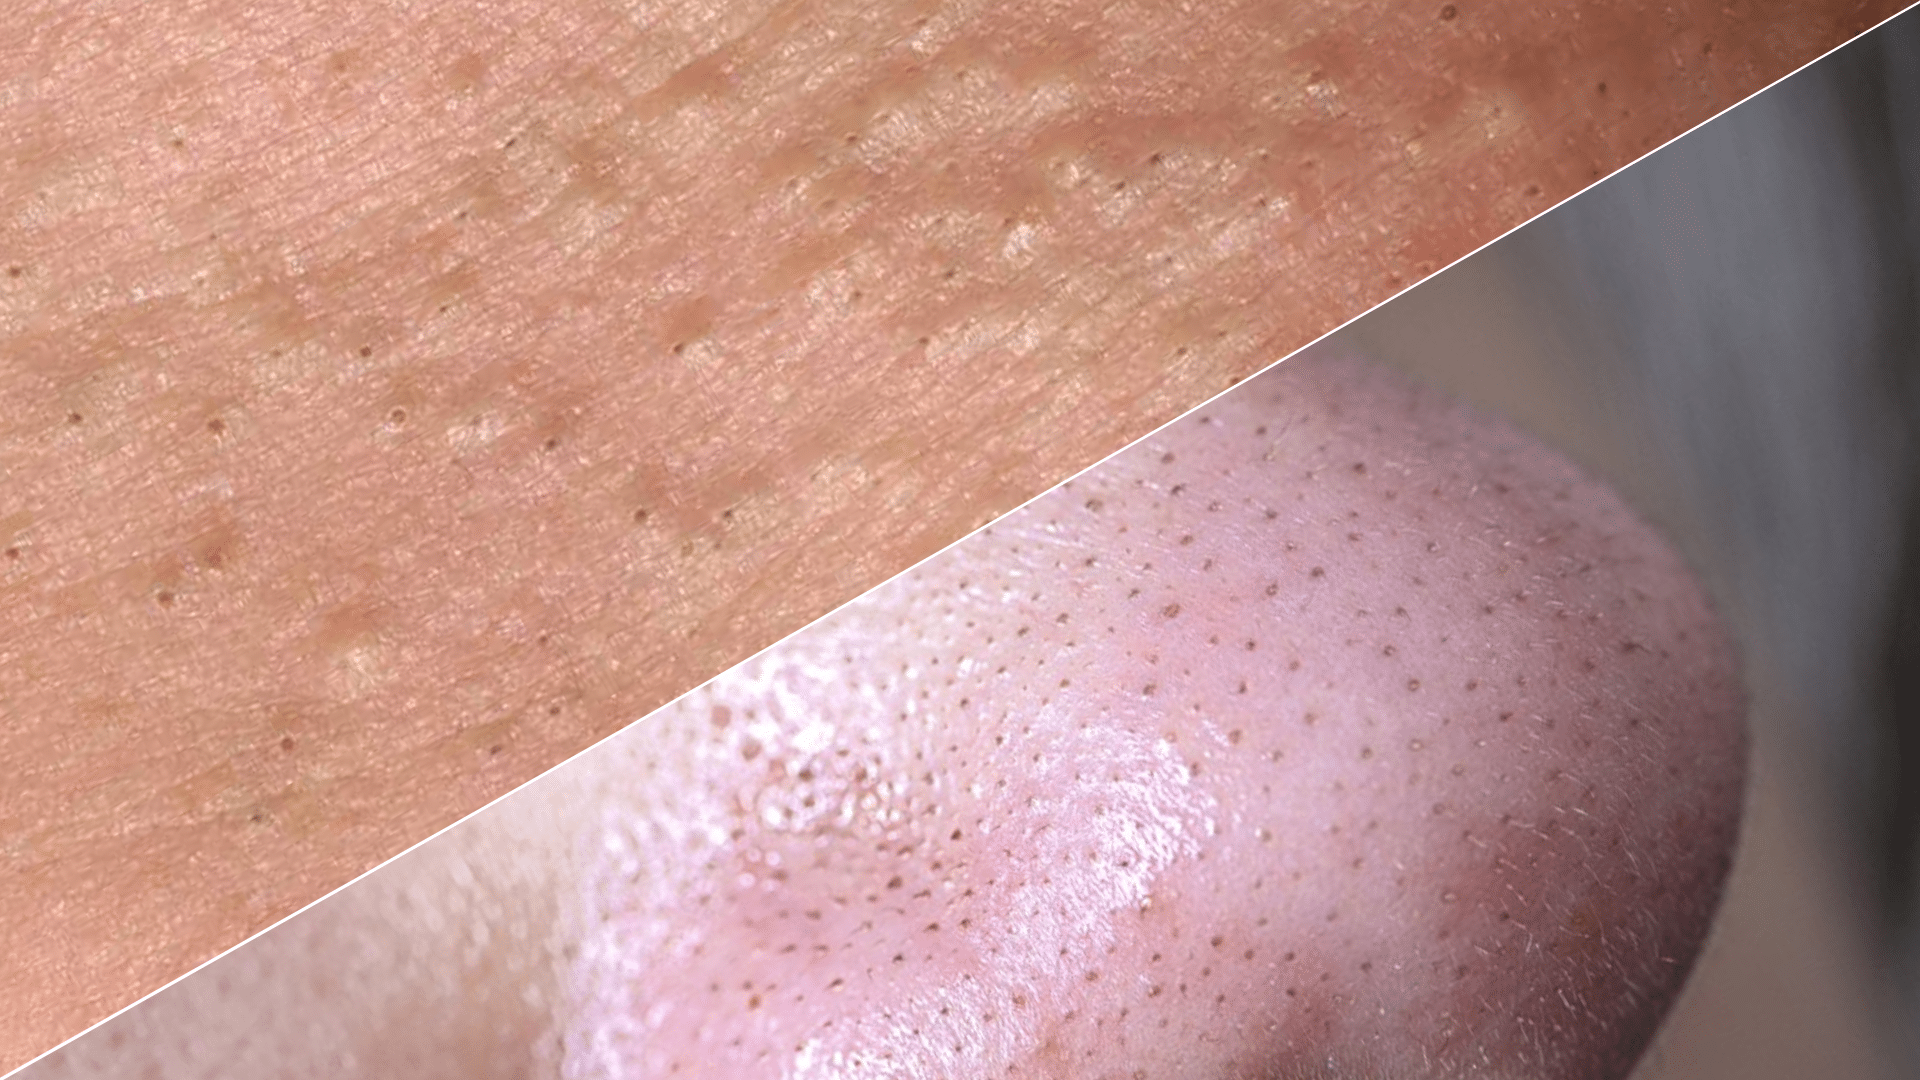
Whiteheads vs Blackheads? Many people can’t tell them apart. They try random products that don’t work. Their skin gets worse, not better. It’s frustrating and expensive. These two types of acne form in completely different ways. One sits open at the surface. The other stays closed under the skin. Once someone knows which is which, treatment becomes simple. This blog
Most Popular
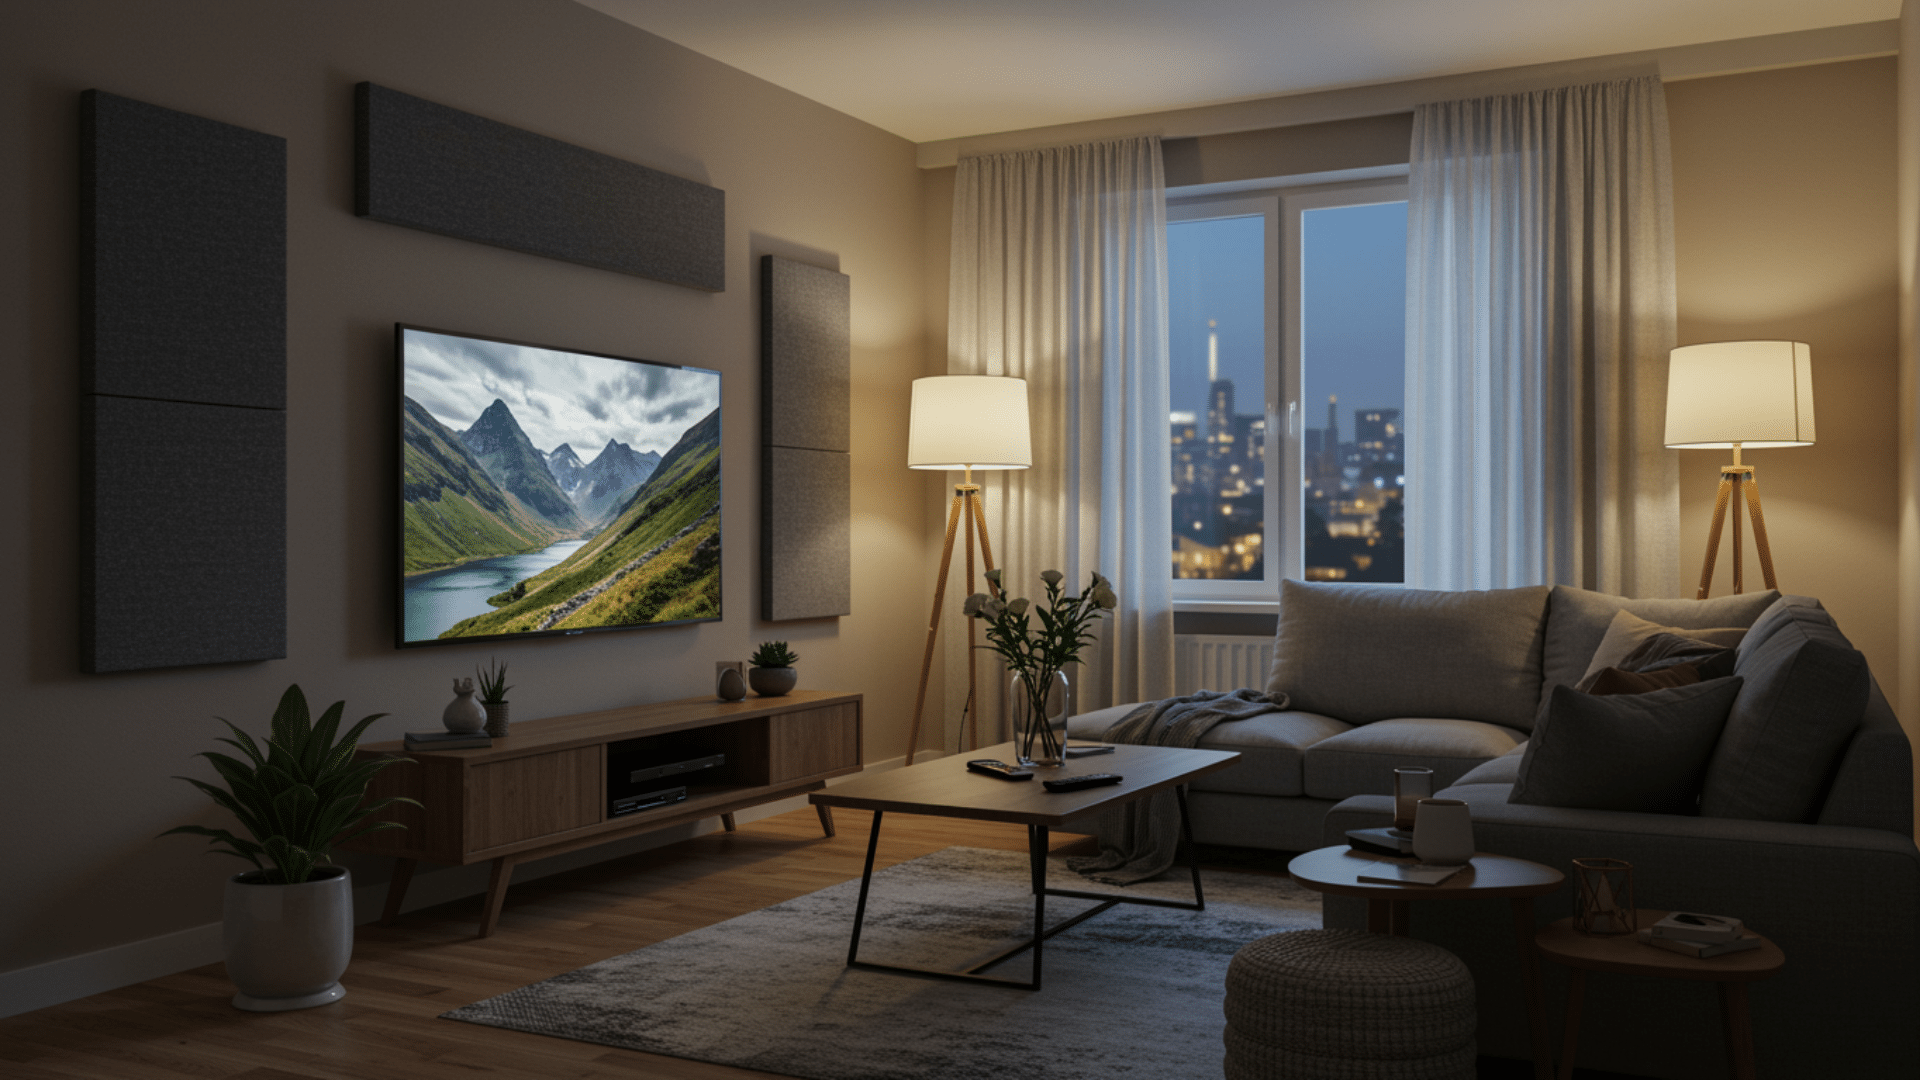
Do you feel frustrated by poor sound quality in your space, where conversations are hard to follow or music sounds muffled? A common issue is sound waves bouncing off hard walls, which creates annoying echoes, and acoustic panels can help solve this issue. This blog provides a straightforward method for creating DIY acoustic panels that solve this sound pollution problem. What are Acoustic Panels? Acoustic panels are simply sound-absorbing tools designed to improve the quality of sound within a room. They don’t block sound from escaping, that’s soundproofing; instead, they control and limit unwanted internal reflections, like echo and flutter. These panels are typically made with a porous core material, like mineral wool or dense foam, which takes in sound energy and converts it into a small amount of heat. This leads to much clearer audio, making the space better for recording, listening to music, or just having a conversation. DIY Acoustic Panels With a bit of planning, you can significantly upgrade your space’s sound quality in a matter of hours. The following steps explain the construction process simply and clearly. Step 1: Gather Materials and Prepare the Frame Before starting, it’s wise to have all the necessary supplies ready, like wooden boards for the frame, sound-absorbing material, like mineral wool, and fabric. First, cut the wooden boards into the desired frame pieces. Apply wood glue to the ends and then secure the frame using screws. It is important to make sure the corners are square so the panel sits flat against the wall. Remember to measure twice and cut once for the best results. Step 2: Install the Sound Absorbing Core Once the wooden frame is constructed, the next step is to place the dense acoustic material inside. The sound absorber should fit snugly within the frame. If the material is slightly too large, carefully cut it down to size using a utility knife. Make sure the material sits flush with the frame’s edges. Wear gloves and a mask when working with mineral wool or fiberglass to prevent irritation Step 3: Wrap the Frame with Fabric With the core material set, it’s time to add the fabric cover. Lay the chosen breathable fabric face down on a clean surface. Place the frame with the sound core inside on top of the fabric. Pull the fabric taut over one long side and use a staple gun to secure it to the back of the frame. Then, move to the opposite side, pull the fabric tight, and staple it down. The fabric needs to be tight to achieve a neat, professional appearance. Step 4: Finish the Corners and Final Securing Next, focus on folding and stapling the fabric corners to give the panel a clean finish. The goal is to create sharp, smooth edges, similar to wrapping a gift box. After securing the corners, finish stapling the remaining two sides of the fabric to the back of the frame, maintaining tension as you go. Step 5: Mount the Panels The final step is to put your new DIY acoustic panel up on the wall. Generally, panels should be mounted at the first reflection points, the spots where sound initially hits the wall. A simple way to locate these is using a mirror: if you can see your speakers in the mirror while sitting in your listening position, that’s a reflection point. Attach suitable hanging hardware to the back of the frame, then secure the panel firmly to the wall. Do Acoustic Panels Really Work? Yes, acoustic panels definitely work because they address the root cause of poor sound quality: sound reflections. The materials used, usually a dense fiberglass or rockwool core, are exceptionally good at absorbing sound waves rather than letting them bounce off hard wall surfaces. This absorption dramatically reduces reverb and echo, which are the main problems in untreated rooms. The result is a much tighter, cleaner sound, making them a very effective treatment for any space used for listening or recording. Best Places to Install DIY Acoustic Panels in Your Space Knowing where to put your finished acoustic panels is just as important as building them well. Strategic placement maximizes their sound-controlling power. 1. First Reflection Points on Walls The most important spots are where sound first bounces off the side walls and ceiling. Put panels at these first reflection points to stop early echoes and improve stereo imaging for clearer sound. 2. Behind the Speakers Placing panels on the front wall, directly behind the main loudspeakers, helps to control bass frequencies and prevents sound from immediately reflecting into the room, tightening the low-end. 3. Ceiling Cloud If you have a particularly high ceiling, mounting a panel overhead. Adding a DIY acoustic cloud is highly effective. It controls vertical reflections, which significantly reduces the overall echo in the space. 4. Back Wall The rear wall is often a major source of reflections that cause a general muddle in the sound. Placing thicker panels or bass traps here reduces flutter echo and smooths out the room’s frequency response Wrapping It Up This DIY acoustic panel helps to achieve a much better-sounding environment. You now have high-quality sound treatment built with your own hands, and you avoided the high cost of buying commercial panels. Remember that controlled sound makes all the difference, whether you are trying to mix music, hold professional meetings, or simply enjoy a quiet movie night. With the basic skills from framing to careful placement, you are ready to apply these techniques to other spaces that might benefit from clearer acoustics. Don’t forget to let us know the difference DIY acoustic panels make in your space.
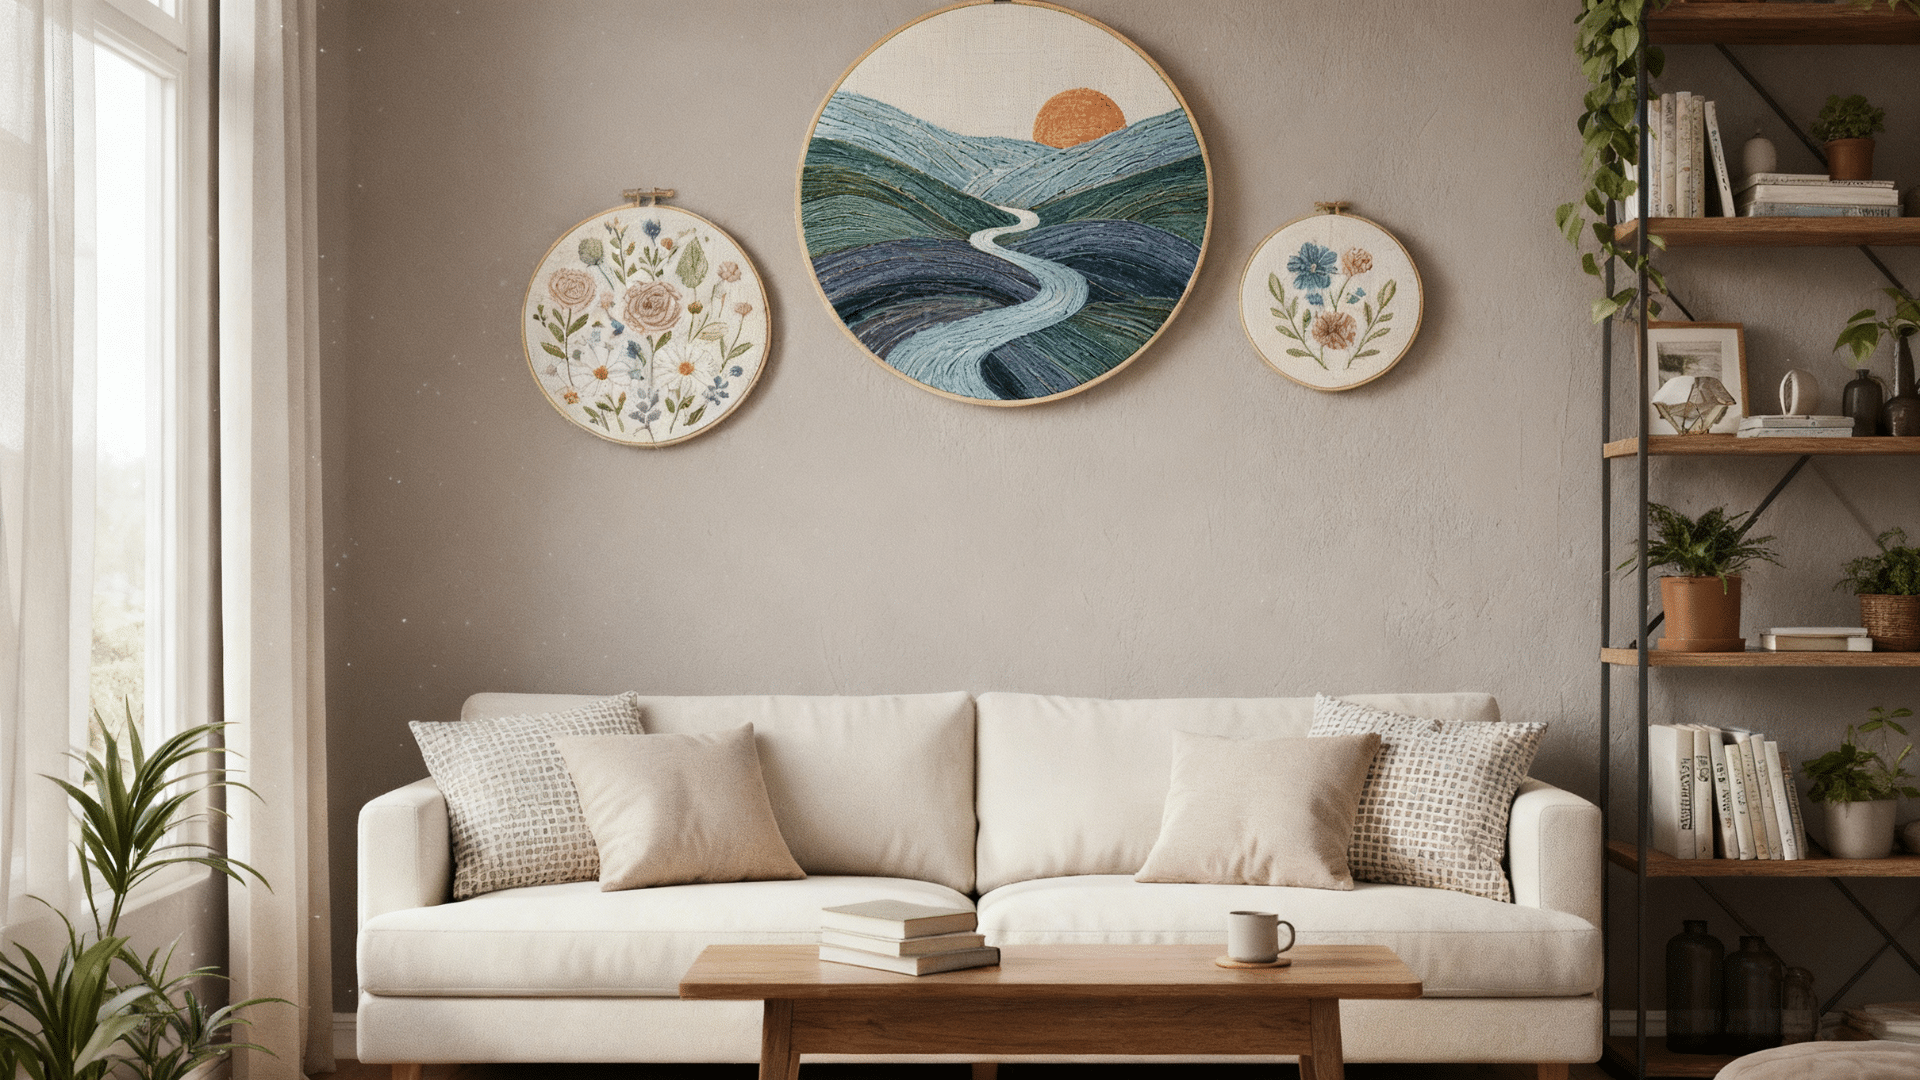
It’s frustrating when walls feel boring, yet finding affordable, appealing decor seems nearly impossible. That feeling of an incomplete space can be hard to shake off. This blog promises straightforward, creative DIY wall decor ideas that are easy to complete. You will find out ideas on textured wall hangings, simple customized frames, and clever shelving options using common materials. It’s time to give those walls a fresh, inspiring look. Inspiring DIY Wall Decor Ideas With a little creativity and some everyday materials, you can design a wall that reflects what you love. The following are ideas to inspire your next weekend project. 1. Fabric Wall Art Stretch fabric over wooden frames for an easy pop of color. You can mix patterns, textures, and hues to suit any room. It’s a great way to use leftover fabric and can easily be swapped out for new looks whenever you redecorate. 2. Macramé Wall Hanging Create a macramé wall hanging using cotton cords and wooden dowels. With simple knots, you can craft intricate boho designs. The soft texture introduces movement to plain walls, making this a perfect handmade statement piece for bedrooms or living areas. 3. Framed Botanical Prints Press leaves or flowers between books and frame them in minimalist frames. This brings natural beauty indoors and adds freshness to your decor. You can use matching frames for a mix of sizes for a gallery wall effect. 4. Wooden Pallet Shelf Repurpose old wooden pallets into small floating shelves. Sand and stain the wood for a rustic finish, then use it to display plants, candles, or books. Perfect for those who love farmhouse-inspired interiors and sustainable DIY projects that reuse existing materials. 5. Washi Tape Geometric Design Use colorful washi tape to create geometric patterns directly on your wall. It’s removable, so you can experiment freely with shapes and lines. Choose colors that contrast with your wall for bold designs or stick with subtle shades for a minimalist aesthetic. 6. Yarn Wall Art Wrap colorful yarn around nails or hooks to create unique patterns. From hearts to abstract shapes, this craft is both easy and customizable. Experiment with gradient colors or mix yarn thicknesses for a striking piece that shows off your creativity. 7. Mirror Mosaic Wall Break old mirrors into small pieces and glue them in a pattern on a wooden base, or you can paste tapes in random lines for the effect.. Once finished, hang it for a dazzling reflective effect that brightens any room. This DIY is perfect for hallways, bathrooms, or entryways that could use a little sparkle and light. 8. Hanging Planter Wall Use small macramé holders or wooden brackets to hang potted plants on your wall. Choose trailing plants for a cascading green effect. Perfect for plant lovers who want a relaxing, earthy vibe without taking up valuable floor space in smaller rooms. 9. Photo String Display String photos along a line of twine using mini clothespins. It’s a simple yet heartwarming decor idea that personalizes your space instantly. Perfect for bedrooms, dorm rooms, or home offices where memories deserve an easy-to-update spotlight on your walls. 10. Wooden Letter Signs Cut out or purchase wooden letters to spell motivational words or family names. Paint or stain them to fit your style: rustic, vintage, or modern. Ideal for entryways, kitchens, or bedrooms needing personality through meaningful words. 11. Framed Wallpaper Panels Instead of covering an entire wall, frame sections of wallpaper for an artistic look. Choose bold prints for drama or soft pastels. The framed sections act like oversized art pieces, providing visual rhythm and allowing frequent style changes with minimal effort. 12. Framed Vinyl Records Display your favorite vinyl covers in matching square frames for a retro vibe. You can rotate albums seasonally for variety. This idea fits perfectly in entertainment areas, music studios, or any home with vintage flair and nostalgic appreciation for classics. 13. Chalkboard Wall Section Paint part of your wall with chalkboard paint for a decor option. Draw quotes, doodles, or weekly plans for a fun, interactive feature. Ideal for kitchens, kids’ rooms, or offices. This DIY turns walls into spaces for expression, creativity, and practicality while adding a contemporary touch. 14. String Art Designs Hammer small nails into a wooden board in your desired shape, then weave colorful string between them. It’s a striking blend of geometry and artistry. Whether it’s a heart, state outline, or abstract pattern, this project looks professional and handcrafted simultaneously. 15. Fabric Garland Wall Sew or tie small fabric triangles or strips onto a long cord and hang it across a wall. You can mix patterns, use leftover fabric scraps, or stick to monochrome tones for simplicity. It’s lightweight, customizable, and easy to change with the seasons. 16. Gallery Wall of Memories Mix photos, quotes, art prints, and small trinkets within various frame styles. Arrange them in a grid or freestyle layout. It’s easy to refresh over time and becomes an evolving art wall. Perfect for hallways or living rooms craving personalization. 17. Painted Canvas Quotes Use blank canvases to paint inspirational quotes or song lyrics. Add watercolor backgrounds, metallic accents, or abstract designs for depth. These statement pieces brighten your mood every day. They’re simple to make yet feel meaningful and personal. 18. DIY Canvas Collage Cut magazine clippings, photos, and patterns, then arrange them onto a stretched canvas. Seal with Mod Podge for a glossy finish. This project mixes textures and ideas, allowing total creative freedom. Hang your collage in creative spaces where imagination thrives. 19. Hanging Photo Ledge Build a narrow wooden ledge and hang it using leather straps or sturdy ropes. Display small framed pictures, plants, or candles on it. It’s great for people who want flexible decor without drilling multiple holes or committing to permanent wall changes. 20. Paint Swatch Wall Art Collect paint sample cards from hardware stores and arrange them into colorful gradients. Glue them onto a large board or frame. It’s perfect for playrooms, studios, or any space that celebrates color. The clean geometric design also gives modern rooms an artistic look. 21. Vintage Plate Display Hang decorative plates in clusters or patterns for a nostalgic look. Mix vintage finds with modern pieces to balance old and new. This classic decor idea suits dining rooms or kitchens beautifully, adding personality and charm while showcasing collections. 22. Basket Wall Arrangement Hang woven baskets of different shapes, sizes, and patterns for a boho-chic aesthetic. This arrangement adds natural texture to neutral rooms. The variety in depth and weave gives the wall dimension and authenticity, perfect for living spaces or artistic home interiors. 23. Peg Rail Display Install a wooden peg rail along your wall and hang hats, plants, or artwork from it. This minimalist Scandinavian-inspired design combines utility and beauty. Ideal for entryways, bedrooms, or creative spaces, it keeps things organized while maintaining a clean, stylish, and adaptable wall look. 24. Map Wall Mural Use an oversized world map decal or wallpaper to transform your wall into a travel-inspired display. Mark destinations with pins or small photos for a personal touch. Perfect for home offices or study spaces, it’s an engaging piece that reflects your wanderlust and storytelling spirit beautifully. 25. Gradient Painted Wall Paint your wall in an ombre effect, fading from one color to another. Use complementary shades for a calming vibe or contrasting hues for bold impact. This modern DIY technique changes plain walls into interesting backdrops, perfect for bedrooms, living rooms and art studios. 26. Woven Basket Frame Use small wicker or seagrass baskets as frames for photos or art prints. It’s a unique way to refresh ordinary frames and bring a touch of naturalness to any space, especially earthy, bohemian-style interiors. 27. Book Page Collage Tear pages from old books or sheet music and paste them across a wall or large board. Overlap them randomly for a vintage, textural effect. The neutral tones of aged paper complement most interiors; it is ideal for libraries, studies, or reading nooks. 28. Clay Wall Ornaments Shape small clay designs like moons, stars, or abstract forms, then paint and hang them in clusters. Air-dry clay makes it beginner-friendly and budget-conscious. These ornaments create a modern, organic aesthetic that fits well in bedrooms or Scandinavian-style interiors. 29. Wall-Mounted Candle Holders Craft candle holders using wood scraps, metal hooks, or mason jars. Mount them safely and arrange candles for warm evening lighting. Choose rustic or industrial finishes depending on your decor style. Ideal for dining areas or patios, it makes your space glow with handcrafted intimacy. Things to Avoid When it comes to refreshing a wall, sometimes knowing what not to use is just as important as knowing what to use. People often aim for a clean, personal look, but a few common missteps can detract from the overall goal. Adding too many small, scattered pieces makes the area look cluttered. Selecting art that is the wrong size makes the wall seem unbalanced. Using temporary adhesive options on heavy items that might fall. Copying a style that doesn’t fit the existing room’s purpose or mood. Leaving large, blank voids between decor items creates an awkward space. Mixing too many competing colors or textures in one small section The DIY wall decor ideas shared prove that creating a personalized, inspiring home is completely within reach. When someone customizes their space, it results in a home that feels truly welcoming. Don’t worry about perfection; just enjoy the process of making things by hand and let us know which ideas you are going to try on your walls.