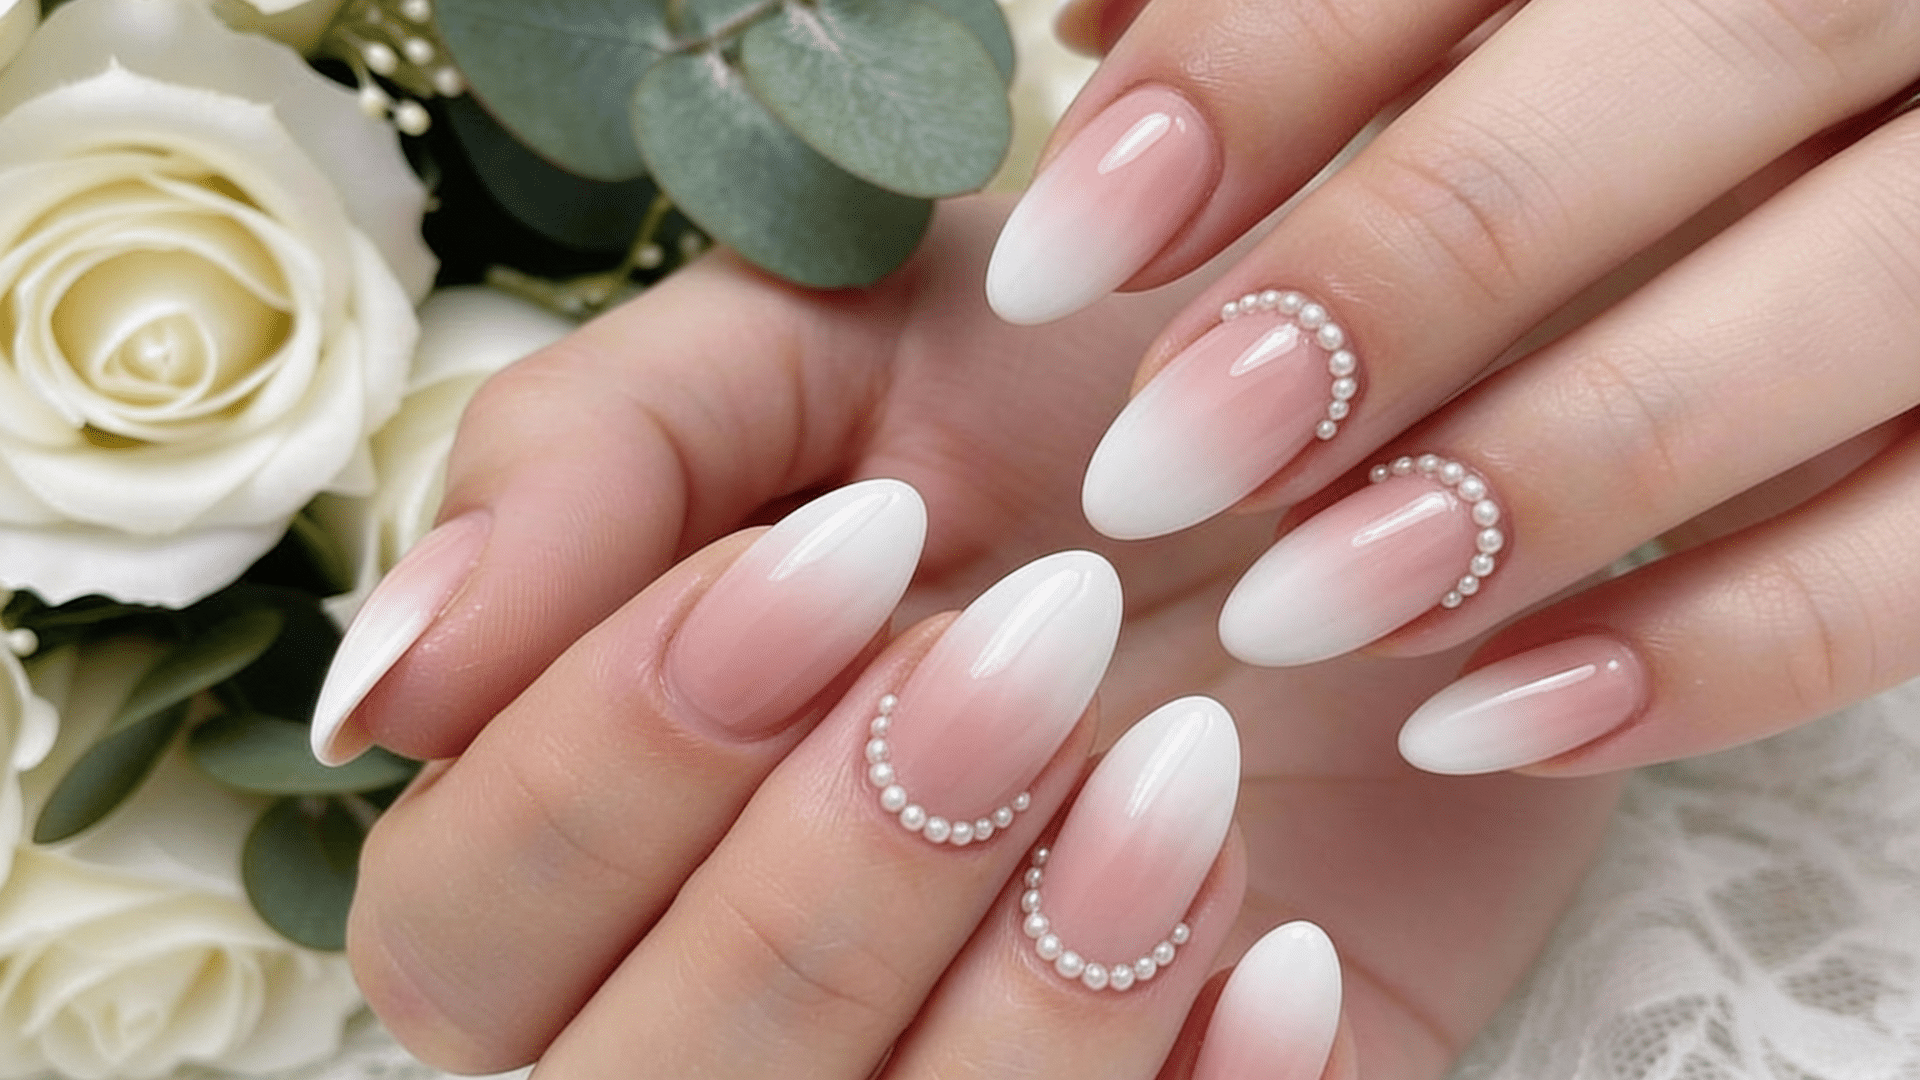
Your hands will be in every wedding photo. Think about it. The ring shots, the bouquet toss, the cake cutting. Your nails appear in dozens of important moments. So they need to look good without drawing too much attention. These designs hit that sweet spot perfectly. They’re refined enough for close-up shots but won’t overshadow your dress or jewelry. Simple
Most Popular
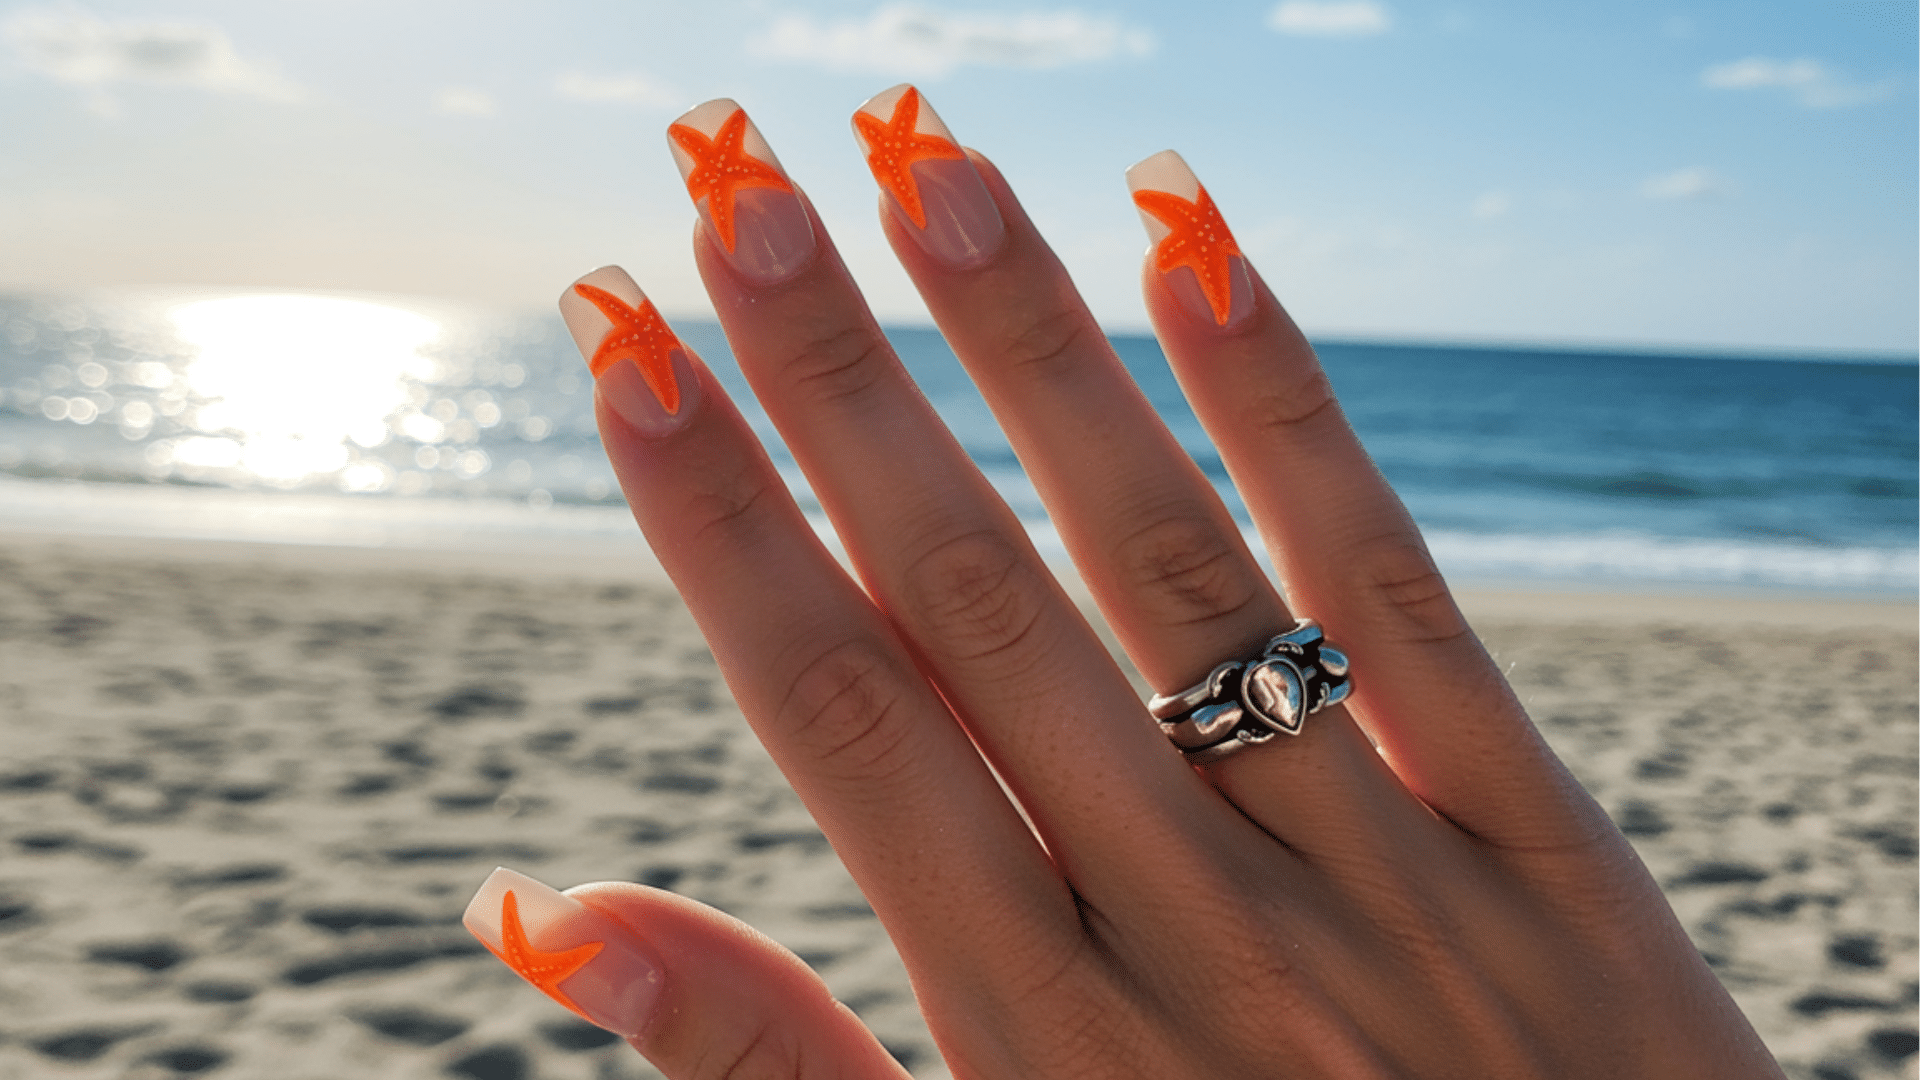
Acrylic nails look stunning fresh from the salon. But that perfect appearance doesn’t last forever. Most people start seeing lifting or growth lines within weeks. Your daily activities affect your nails more than you think. Washing dishes, typing, and even how you sleep can affect longevity. You can make them last longer with the right care approach. This blog covers realistic timeframes and what causes early damage. You’ll learn maintenance tricks that actually work. What are Acrylic Nails? Acrylic nails are artificial nail extensions applied over your natural nails. They’re made by combining a liquid monomer with a powder polymer. This mixture creates a hard, protective layer that can be shaped and filed. The technician sculpts them directly onto your nails or uses tips as a base. Once the acrylic hardens, it becomes durable and strong. You can paint them any color or add designs. Many people choose acrylics because they provide length and strength that natural nails can’t offer. How Long Do Acrylic Nails Last? Acrylic nails typically last between 2-3 weeks with proper care. After this period, you’ll notice visible growth at the base of your nails. The gap between your cuticle and the acrylic becomes obvious. Most nail technicians recommend getting a fill every 2-3 weeks to maintain the look. The exact timeframe depends on how fast your natural nails grow. It also varies based on your lifestyle and daily activities. People who use their hands heavily may need fills sooner. With regular maintenance appointments, the same set of acrylics can last for months. How Long Do Acrylic Nails Without Fill-Ins Last? Without fill-ins, acrylic nails can technically stay on for 6-8 weeks. However, they won’t look good for that entire time. After three weeks, the growth gap becomes very noticeable and unattractive. The longer you wait, the higher the risk of damage. Lifting can occur at the edges, which allows moisture and bacteria underneath. This creates potential for infections or nail fungal problems. The structural integrity weakens over time as well. Your nails become more prone to breaking or snagging on things. Factors that Influence the Longevity of Acrylic Nails Several things determine how long your acrylic nails stay in great condition. Some factors you can control, while others depend on your body’s natural processes. 1. Natural Nail Growth Rate Your natural nails grow at different speeds depending on genetics and health. Faster growth means you’ll see the gap at your cuticle line sooner. This makes fillers necessary more frequently to maintain appearance. 2. Quality of Application A professional application makes a huge difference in longevity. Proper prep work, correct product ratios, and skilled technique prevent early lifting. Poor application leads to separation, air bubbles, and premature breakage within days. 3. Daily Activities and Hand Use How much you use your hands directly impacts nail durability. Typing, cleaning, cooking, and manual work put stress on acrylics. People with desk jobs typically get longer wear than those doing physical tasks. 4. Nail Care Routine Regular maintenance keeps acrylics looking fresh and lasting longer. Moisturizing cuticles, avoiding harsh chemicals, and being gentle with your nails helps. Neglecting aftercare leads to dryness, lifting, and damage that shortens their lifespan significantly. 5. Water Exposure Frequent contact with water weakens the bond between acrylic and natural nails. Long showers, swimming, and dishwashing without gloves cause problems. The moisture seeps underneath, leading to lifting and potential fungal growth over time. 6. Product Quality The brands and materials your technician uses matter considerably. High-quality acrylic products create stronger bonds and resist yellowing better. Cheap products may chip easily, discolor quickly, or fail to adhere properly to nails. 7. Nail Shape and Length Longer nails break more easily than shorter ones because of leverage. Extreme shapes like stilettos are more fragile than rounded styles. Selecting practical lengths and shapes helps your acrylics withstand daily wear better. Can they Cause Damage to The Natural Nails? Yes, acrylic nails can damage natural nails if applied or removed incorrectly. Improper application techniques, harsh removal methods, and wearing them too long cause problems. The most common damage includes thinning, peeling, and brittleness of natural nails. Aggressive filing during prep work removes too much of the nail plate. Forcing acrylics off instead of soaking them properly tears nail layers. Infections from moisture trapped underneath also weaken natural nails significantly. However, when applied correctly by trained professionals and maintained properly, damage is minimal. Inspirations for Acrylic Nails That Work for Every Season Acrylic nails offer endless creative possibilities for expressing your personal style. From subtle to bold statements, there’s a design for every occasion and preference. Chrome Metallic chrome finish creates a mirror-like reflective surface that catches light beautifully. This futuristic look works in silver, gold, or holographic shades for maximum impact. Nail Length: Medium to Long Nail Shape: Almond, Stiletto, Coffin Tiny Heart Acrylic Nails Tiny hearts are scattered across nails in various colors and placements. This sweet design suits romantic occasions or everyday wear perfectly. Hearts can be solid, outlined, or filled with glitter. Nail Length: Short to Medium Nail Shape: Round, Oval, Almond Polka Dot Accent Polka dots create a playful, retro look on accent nails or all fingers. Dots can be uniform or varied in size and in color for a different look. This design works with any color combination chosen. Nail Length: Short to Long Nail Shape: Round, Square, Oval, Almond Rose Quartz Soft pink tones with milky translucence mimic the natural gemstone appearance. This gentle, feminine design adds subtle design without being overly flashy or attention-grabbing. Nail Length: Short to Medium Nail Shape: Oval, Round, Almond You Might Find Interesting: Pink Rose Gold Ombre Nail Designs Aura Nails Soft, blurred color transitions radiate from the cuticle outward like glowing halos. This effect creates a beautiful look that’s both trendy and surprisingly wearable for everyday. Nail Length: Medium to Long Nail Shape: Almond, Oval, Coffin Velvet Touch Matte finish combined with soft, touchable texture creates a luxurious velvety appearance. This non-shiny alternative to glossy nails feels classy and works beautifully in jewel tones. Nail Length: Short to Long Nail Shape: Coffin, Square, Almond Gradient Glam Smooth color transitions blend from light to dark or between multiple shades. Also called ombre, this technique creates depth and visual flow across all your nails together. Nail Length: Medium to Long Nail Shape: Almond, Coffin, Stiletto Do Acrylic Nails Turn Yellow when Exposed to Sunlight? Yes, acrylic nails can turn yellow when exposed to sunlight over time. UV rays break down the acrylic material and cause discoloration. This happens gradually, not overnight. The yellowing becomes more noticeable on lighter colors and clear acrylics. However, sunlight isn’t the only culprit. Smoking, certain beauty products, and nail polishes also contribute to yellowing. Quality acrylic products resist this better than cheaper alternatives. Wearing sunscreen on your hands helps protect them. Top coats with UV protection add another layer of defense. Most people notice yellowing after several weeks of regular sun exposure outdoors. When to Remove Your Acrylic Nails? Your acrylic nails won’t last forever, and ignoring warning signs can damage your natural nails. Knowing when to remove or refill them protects your nail health. 1. Visible Growth Gap A large gap between your cuticle and the acrylic base looks unprofessional. When this space exceeds a quarter inch, it’s time for maintenance. The gap also weakens the nail structure and increases breakage risk significantly. 2. Lifting at the Edges When acrylic separates from your natural nail, you’ll see or feel lifting. This creates pockets where dirt, moisture, and bacteria can get trapped underneath. Lifting that isn’t addressed quickly can lead to infections. 3. Cracks or Chips Visible damage like cracks and chips compromises the protective barrier acrylics provide. These weak spots can snag on clothing or hair easily. Damaged acrylics also allow water penetration, which weakens the entire nail structure over time. 4. Pain or Discomfort Any pain, tenderness, or throbbing around your nails signals a problem. This could indicate infection, too-tight application, or damage to your natural nail. Don’t ignore discomfort; it requires immediate professional attention and possibly removal. 5. Discoloration Yellowing, green spots, or dark patches indicate potential fungal or bacterial growth. These color changes mean moisture got trapped underneath the acrylic. Green discoloration especially suggests a Pseudomonas bacterial infection that needs treatment immediately. 6. Foul Odor A bad smell coming from under your acrylics isn’t normal at all. This indicates bacterial growth or infection beneath the artificial nail. Remove the acrylics immediately and consult a doctor if the odor persists after removal. 7. Excessive Thickness Over time, multiple fills create thick, bulky nails that look unnatural. When acrylics become too heavy, they put pressure on your natural nails. This thickness also makes them more prone to catching on things and breaking off. Can You Remove Acrylic Nails at Home? Professional removal is always safer and faster. Home removal works in emergencies but carries risks if done incorrectly or rushed. But yes, you can remove acrylic nails at home, but it requires patience and care. The safest method involves soaking them in acetone for 30-40 minutes. You’ll need pure acetone, not regular nail polish remover. Wrap each nail in foil after applying acetone-soaked cotton balls. This helps the acrylic soften properly. After soaking, gently push off the softened acrylic with a wooden stick. Never force or pry them off, as this damages your natural nails severely. To know a more detailed step-by-step way to remove acrylic nails, check out our blog How to Take Off Acrylic Nails. What Do People Think About Acrylic Nails? Most people on Reddit say their acrylic nails last about 2-3 weeks before needing a fill, but it really depends on how fast your nails grow and how well they’re applied. Some lucky folks can stretch them to 4 weeks or even longer, especially if their nail tech is good and they take care of them. A few users mention their set lasts up to 6-8 weeks if they keep up with fills, but after that, the risk of lifting or breakage goes up. For the best look, regular maintenance is key; otherwise, you’ll start seeing gaps or lifted edges pretty quickly. Tips for Making Acrylic Nails Last Longer Getting the most out of your acrylic nails saves you time and money. With proper care and smart habits, you can extend their lifespan significantly. Moisturize Your Cuticles Daily Dry cuticles cause lifting and cracking around the nail base. Apply cuticle oil or hand cream every day to keep the area hydrated. This maintains flexibility and prevents the acrylic from separating from your natural nail bed. Wear Gloves for Household Chores Cleaning products and prolonged water exposure weaken acrylic bonds quickly. Always wear rubber gloves when washing dishes, cleaning, or doing laundry. This simple step prevents chemical damage and keeps moisture from seeping underneath the nails. Avoid Using Nails as Tools Don’t use your nails to open cans, peel stickers, or scratch things off. Treating them roughly causes chips, cracks, and breakage fast. Use proper tools instead, and your acrylics will stay intact much longer than expected. Keep Nails at a Practical Length Shorter nails withstand daily activities better than extremely long ones. They’re less likely to catch on things or break from pressure. Choose a length that fits your lifestyle for maximum durability and fewer repair visits. Apply a Top Coat Regularly Adding a clear top coat every few days adds extra protection. It seals the acrylic and prevents minor scratches from becoming bigger problems. This also helps maintain shine and reduces yellowing from sun exposure and daily wear. File Down Rough Edges Immediately When you notice a snag or rough spot, file it smooth right away. Leaving rough edges lets them catch on fabric and hair easily. This causes the damage to spread quickly, leading to larger chips or complete nail breakage. Final Word Acrylic nails offer beautiful, long-lasting results when you understand what affects their durability. Watch for warning signs like lifting, discoloration, or pain that indicate removal time. Simple practices like moisturizing cuticles, wearing gloves, and avoiding harsh chemicals extend their life considerably. Choose experienced technicians and quality products for the best results. Always take breaks between sets to let your natural nails breathe and recover.
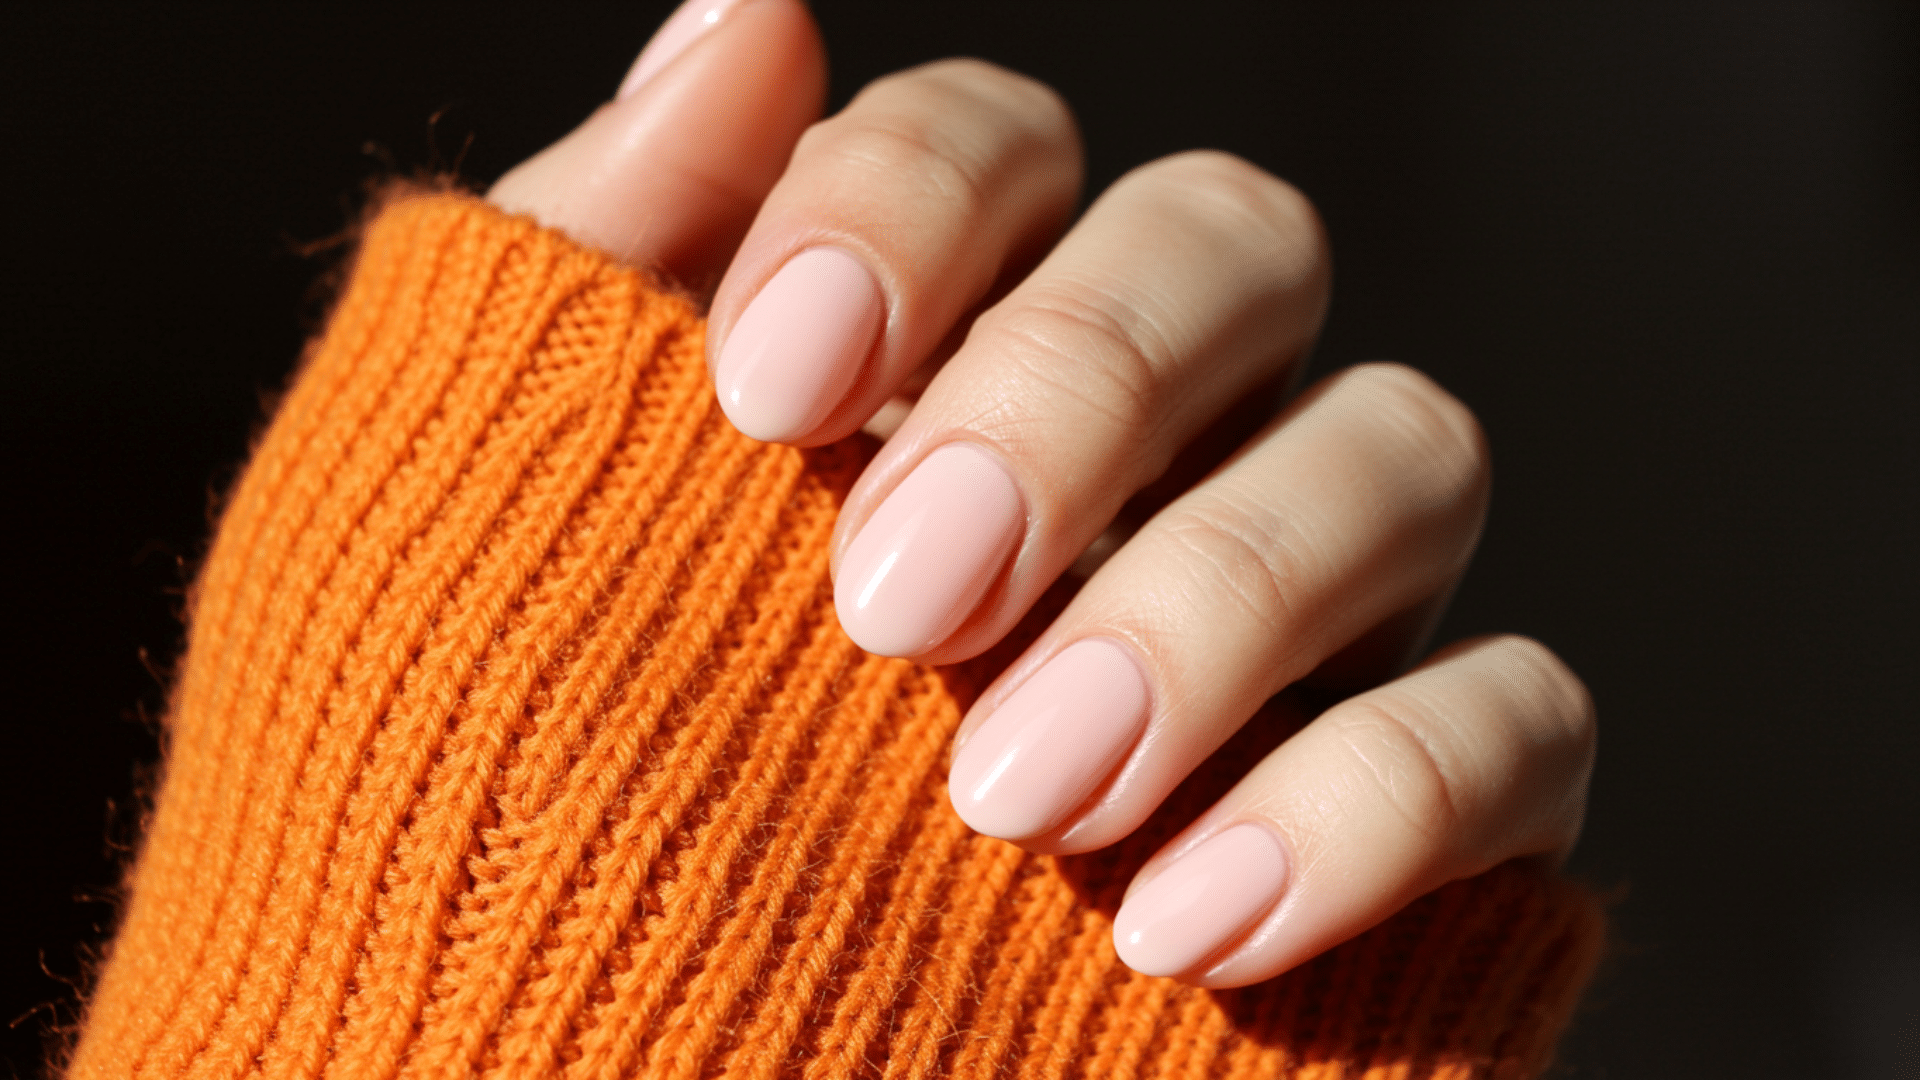
Builder gel nails are a type of nail enhancement that adds strength and length to your natural nails. They use a thick gel formula that’s cured under a UV or LED light. Unlike regular gel polish, builder gel has a thicker consistency. It can repair broken nails and create extensions. The gel bonds directly to your nail bed, forming a protective layer. This makes your nails more resistant to breaks and chips. Builder gel feels lighter than acrylics but offers similar durability. Benefits of Builder Gel Nails Builder gel nails offer several advantages over traditional nail treatments. They combine strength with flexibility, making them a popular choice. Long-Lasting Durability Builder gel nails can last three to four weeks without chipping or lifting. The thick formula creates a strong protective layer over your natural nails. You won’t need to worry about your manicure looking worn out after just a few days. Strengthens Natural Nails The gel acts as a shield for weak or brittle nails. It prevents breaking and splitting while your natural nails grow underneath. The added strength lets you grow your nails longer than before without constant breakage or damage. Flexible and Natural Feel Unlike acrylics, builder gel has some flexibility to it. This means your nails won’t feel stiff or uncomfortable. They move naturally with your fingers, reducing the risk of cracks. The lightweight formula feels more like your own nails. You can type, text, and do daily tasks without any awkward adjustment period. Minimal Damage to Natural Nails Builder gel doesn’t require harsh filing or drilling of your nail bed. The removal process is gentler compared to acrylic nails. You soak them off with acetone, which causes less trauma. Your natural nails stay healthier throughout the process. This makes builder gel a better option for long-term nail health and maintenance. Styling Options You can create various looks with builder gel nails. Add length, fix breaks, or simply strengthen what you have. They work as a base for nail art, colors, and designs. The gel provides a smooth surface for polish application. Whether you want short natural nails or long extensions, builder gel adapts to your style preferences easily. Do Builder Gel Nails Damage Natural Nails? Builder gel nails cause minimal damage when applied and removed correctly. The key is proper technique. If a technician overfiles your natural nail or removes the gel too aggressively, damage can occur. Soaking off the gel properly prevents most issues. Your nails might feel slightly weaker after removal, but this is temporary. Taking breaks between applications helps your nails recover. Overall, builder gel is gentler than acrylics and won’t ruin your natural nails if handled with care. Confused About How to Apply Builder Gel Nails? We’ve Got You! Applying builder gel nails takes practice and patience. The process involves several steps to ensure proper adhesion and longevity. Here’s how professionals do it. Step 1: Prep Your Natural Nails Start by pushing back your cuticles gently with a cuticle pusher. File your nails to your desired shape and length. Buff the surface lightly to remove shine. This helps the gel stick better. Wash your hands thoroughly and dry them completely. Clean each nail with rubbing alcohol to remove oils and debris. Step 2: Apply a Base Coat Use a thin layer of base coat gel on each nail. Make sure to cap the free edge for a better seal. Cure the base coat under a UV or LED lamp for the recommended time. This usually takes 30 to 60 seconds. The base coat creates a foundation for the builder gel to adhere properly. Step 3: Apply the Builder Gel Take a small bead of builder gel on your brush. Place it in the center of your nail and gently spread it outward. Work quickly but carefully to avoid bumps or uneven areas. Make sure the gel reaches close to your cuticles without touching them. Apply a slightly thicker layer than regular gel polish for strength. Step 4: Cure Under the Lamp Place your hand under the UV or LED lamp immediately. Cure for the time specified by your gel brand, typically 60 seconds. Don’t move your hand during curing to prevent smudging. Check if the gel feels hard and smooth after curing. If it’s still tacky, that’s normal for some gels. Step 5: Build Additional Layers Most builder gel applications need two or three layers for proper strength. Apply the second coat the same way as the first. Focus on building thickness at the stress point of your nail. Cure each layer completely before adding the next one. This creates the durable structure that makes builder gel so strong. Step 6: Shape and Refine Once all layers are cured, file the nails to perfect the shape. Smooth out any bumps or uneven spots with a fine-grit file. Buff the surface gently to create an even texture. Remove all dust with a clean brush or lint-free wipe. This step ensures your nails look professional and polished before the final coat. Step 7: Apply Top Coat and Finish Brush on a thin layer of gel top coat over each nail. Cap the free edges again for extra protection and shine. Cure under the lamp for the final time, usually 60 seconds. Wipe off the sticky residue with rubbing alcohol if your top coat has one. Apply cuticle oil to hydrate and finish the look beautifully. Builder Gel Manicure Cost The cost of builder gel manicures varies based on several factors. Location, salon reputation, and services included all affect the price. Service Type Average Cost Duration Full Set Application $50-$80 60-90 minutes Fill/Maintenance $35-$55 45-60 minutes Removal Only $15-$25 20-30 minutes Removal + New Set $60-$90 90-120 minutes At-Home Kit $30-$60 One-time purchase UV/LED Lamp $20-$100 One-time purchase Builder Gel Bottle $15-$35 Multiple uses Nail Art Addition $5-$20 per nail Varies Luxury Salon $80-$150 90-120 minutes Budget Salon $30-$50 45-60 minutes How Long do Builder Gel Nails Last? Builder gel nails typically last three to four weeks with proper care. Some people get even longer wear, up to five weeks. The longevity depends on your daily activities and how fast your nails grow. If you’re hard on your hands, they might wear out sooner. Regular maintenance helps extend their life. Most people schedule fills every two to three weeks to maintain the look. With good application and care, builder gel outlasts regular gel polish significantly. How to Remove Builder Nails? Removing builder gel nails requires acetone and patience. First, file off the shiny top coat layer to help the acetone penetrate. Soak cotton balls in pure acetone and place them on each nail. Wrap your fingertips in aluminum foil to keep the acetone in place. Wait 15 to 20 minutes for the gel to soften. Gently push off the gel with a cuticle pusher. Don’t force it off, as this damages your natural nails. Buff lightly and apply cuticle oil afterward. Builder Gel vs. Regular Gel Nails: Which is Better? Both builder gel and regular gel nails have their place in nail care. The right choice depends on what you need from your manicure. Feature Builder Gel Nails Regular Gel Nails Thickness Thick, viscous formula Thin, polish-like consistency Strength Very strong, adds structure Light strength, mainly for color Durability Lasts 3-4 weeks Lasts 2-3 weeks Application Requires building in layers Quick, simple application Best For Weak nails, extensions, repairs Healthy nails, color only Flexibility Flexible but strong More flexible, less rigid Removal Time 15-20 minutes 10-15 minutes Cost More expensive Less expensive Damage Risk Minimal with proper removal Minimal with proper removal Natural Nail Growth Protects and supports growth Doesn’t add strength Make Your Builder Nails Last Longer with These Tips Wear gloves when cleaning: Household cleaners and hot water weaken the gel bond. Protect your nails during dishes and cleaning tasks to prevent lifting. Moisturize your cuticles daily: Apply cuticle oil every night to keep the area hydrated. Dry cuticles can cause lifting at the base of your nails. Keep hands out of hot water: Long soaks in hot tubs can soften the gel. Limit exposure to very hot water when possible for better longevity. File edges gently if needed: If you notice a small chip, file it smooth immediately. This prevents the damage from spreading and keeps nails looking neat. Reapply top coat weekly: Adding a fresh layer of gel top coat at home helps maintain shine and seals any micro-cracks that might be forming. Schedule fills on time: Don’t wait too long between maintenance appointments. Going past four weeks increases the risk of lifting and breakage significantly. Wrapping It Up Builder gel nails offer a practical solution for anyone wanting strong, long-lasting manicures. They protect your natural nails while giving you the length and durability you need. Yes, they cost more than regular polish. But the three to four weeks of wear make them worth it. Take care of your builder gel nails with daily cuticle oil and gloves during cleaning. If you want nails that look great and stay strong, builder gel might be exactly what you need. Give them a try and see the difference yourself.