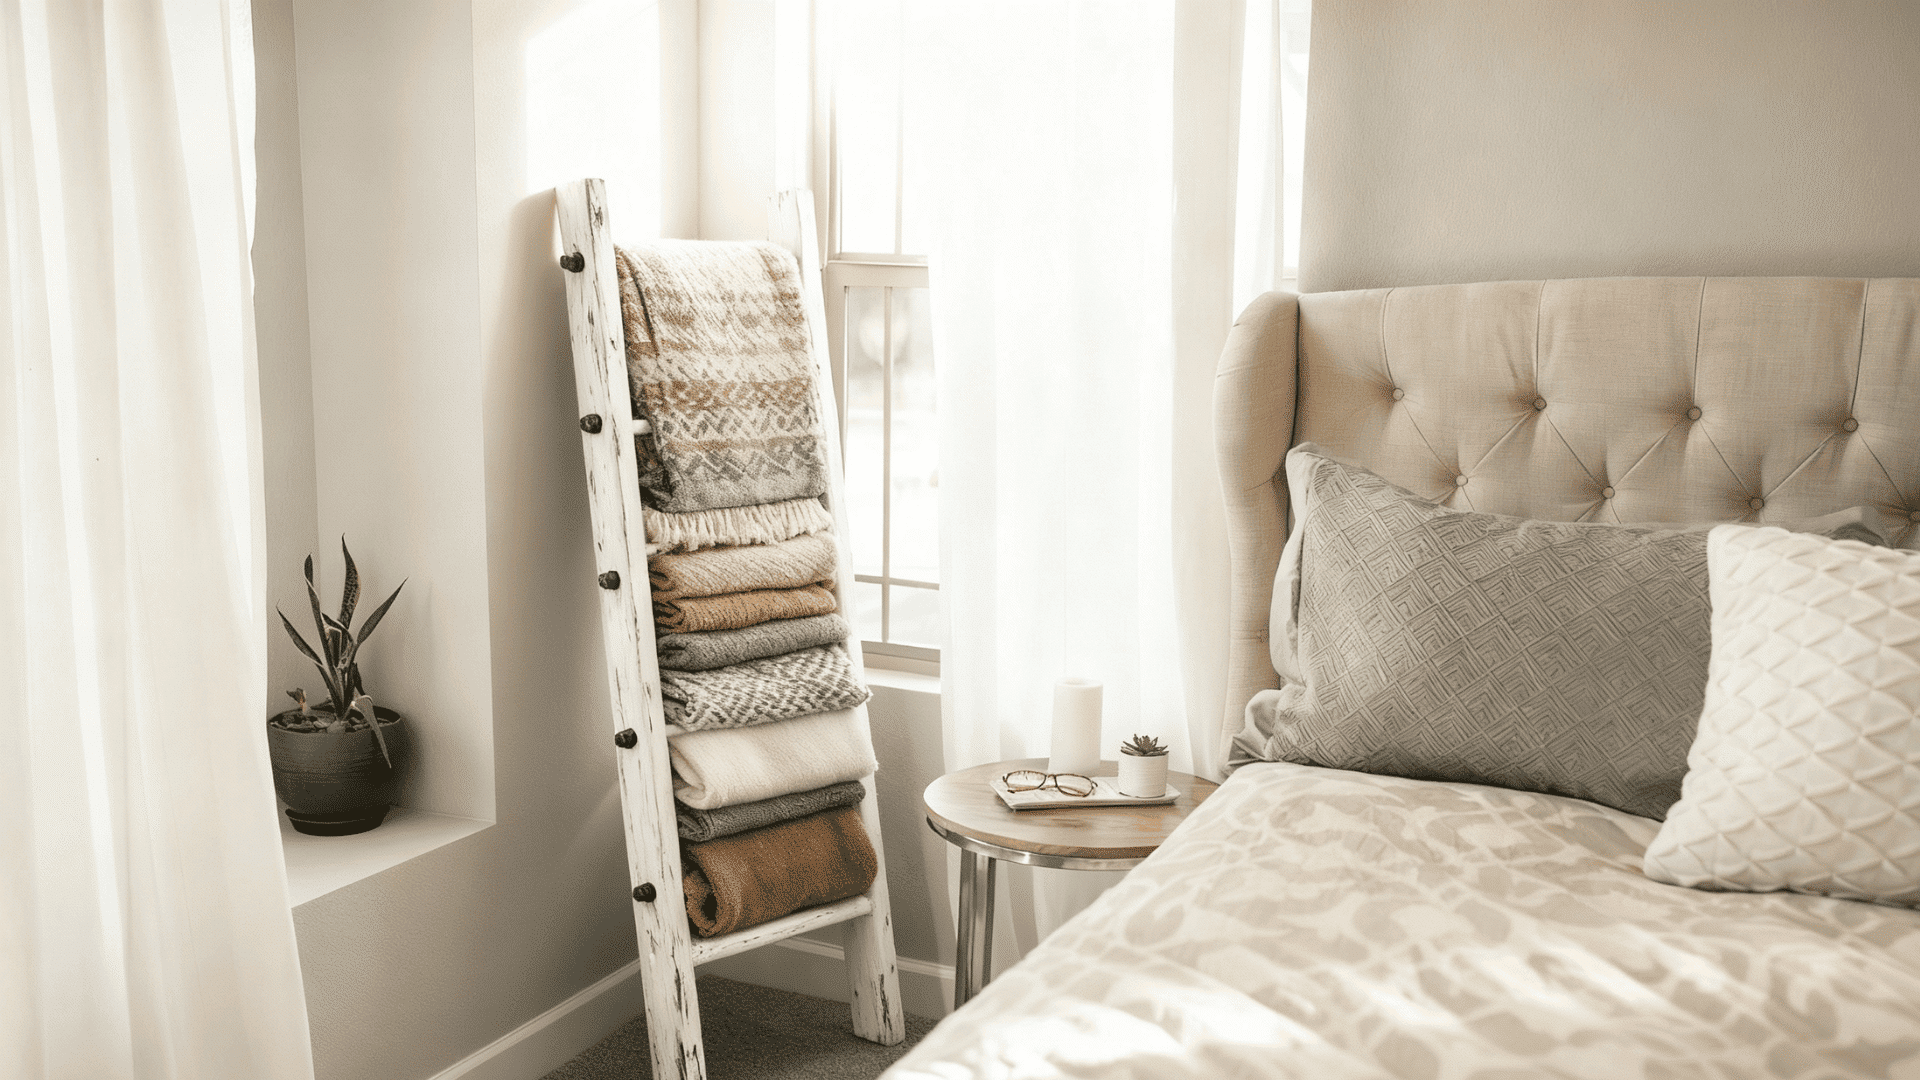
Blankets everywhere, you know the struggle. They pile up on your couch, get stuffed in closets, and still end up on the floor.
The solution is a blanket ladder. Just a few pieces of wood leaned against your wall, and suddenly, your blankets have a home. You can build one yourself this weekend.
This blog shows you exactly how to do a blanket ladder DIY, step-by-step, plus budget-friendly options and decor tips.
Why Build Your Own Blanket Ladder
Building your own blanket ladder saves money and gives you exactly what you want.
Store-bought ladders cost $50 to $200. DIY versions cost $20 to $40. You get the same thing for much less. You can build yours to fit your exact space instead of buying set sizes.
You control how it looks. Pick the wood, stain, and finish to match your room. Rustic or modern, you decide.
You build it strong instead of buying something flimsy.
Blanket ladders are easy to make. Simple cuts and basic assembly. Perfect for beginners. Add as many rungs as you need and space them how you want.
Building your own saves money and gives you something you’re proud of.
Tools & Materials and Cost Breakdown
Here’s everything needed to build a blanket ladder, along with the cost.
| Item | Quantity | Estimated Cost |
|---|---|---|
| 1×4 wood boards (8 ft) | 2 pieces | $8-$12 |
| Wood dowels (1 inch diameter, 3 ft) | 3-4 pieces | $6-$8 |
| Wood glue | 1 bottle | $4-$5 |
| Wood screws (2 inch) | 1 box | $3-$4 |
| Sandpaper (various grits) | 1 pack | $3-$5 |
| Wood stain or paint | 1 can | $8-$12 |
| Clear finish/sealant | 1 can | $8-$10 |
| Total Estimated Cost | $40-$56 |
Step-by-Step Instructions for a DIY Blanket Ladder
Follow these simple steps to build your own blanket ladder, from measuring and cutting wood to final assembly and finishing.
Step 1: Measure and Cut Your Wood
Start by deciding how tall you want your ladder to be. Go with 6 feet.
Cut your two 1×4 boards to that length for the sides. Then cut your dowels to 18 inches each for the rungs. Measure twice, cut once.
Step 2: Mark Your Rung Placement
Lay your sideboards flat. Mark where each rung will go. Space them 12 inches apart, starting 10 inches from the bottom. Use a pencil and measuring tape.
Keep the marks even on both boards so your ladder sits straight.
Step 3: Drill Holes for the Rungs
Drill holes at each mark you made. The holes should match your dowel width, about 1 inch deep.
Go slow and steady. These holes will hold your rungs in place. Sand around them to remove any rough edges or splinters.
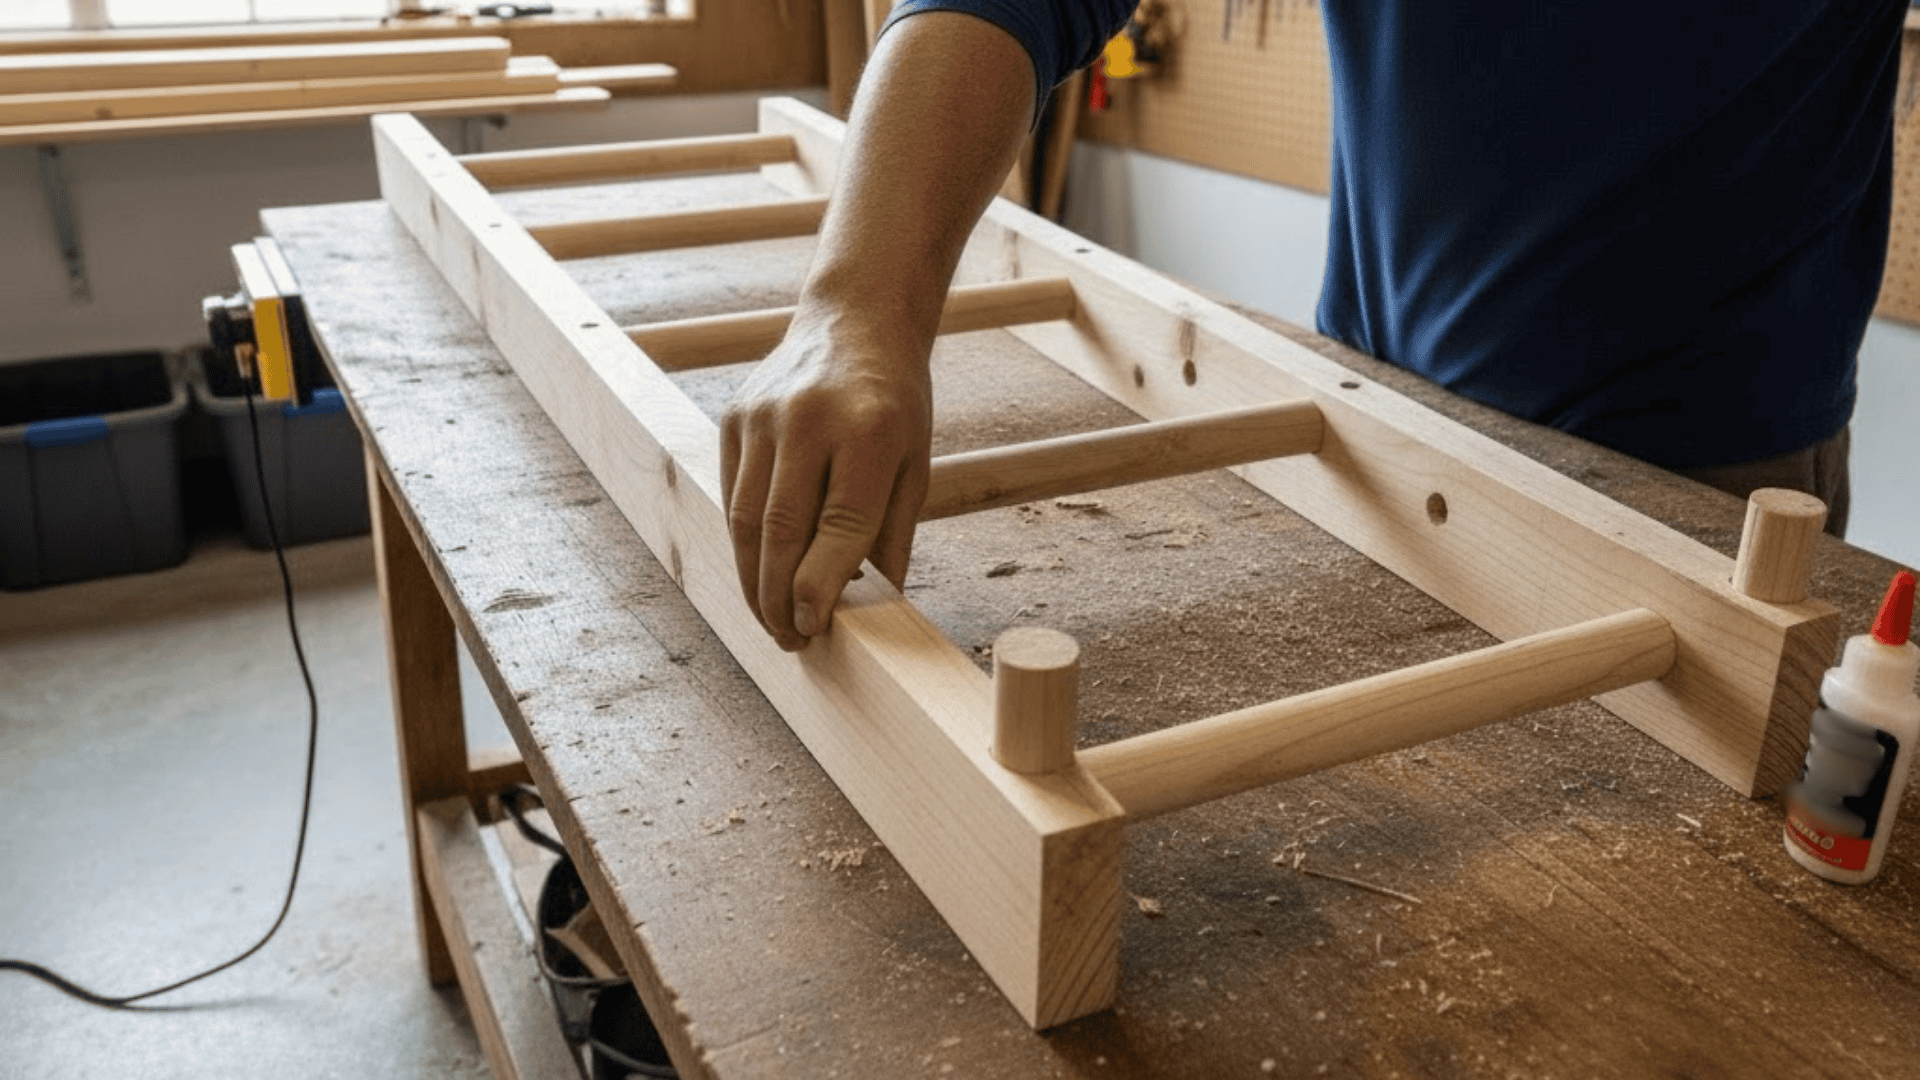
Step 4: Assemble the Ladder
Apply wood glue inside each hole. Insert the dowels into one side board first. Then attach the second sideboard. Add screws from the outside for extra strength.
Let the glue dry completely. This usually takes a few hours, so be patient.
Step 5: Sand, Stain, and Finish
Sand the entire ladder until smooth. Wipe away dust with a damp cloth.
Apply your chosen stain or paint. Use a dark walnut stain. Let it dry, then add a clear sealant. This protects the wood and extends its lifespan.
Other Budget-Friendly Options for Blanket Ladder DIY
If you want to save even more money or try something different, here are some alternative approaches that work well.
1. White Wood Ladder
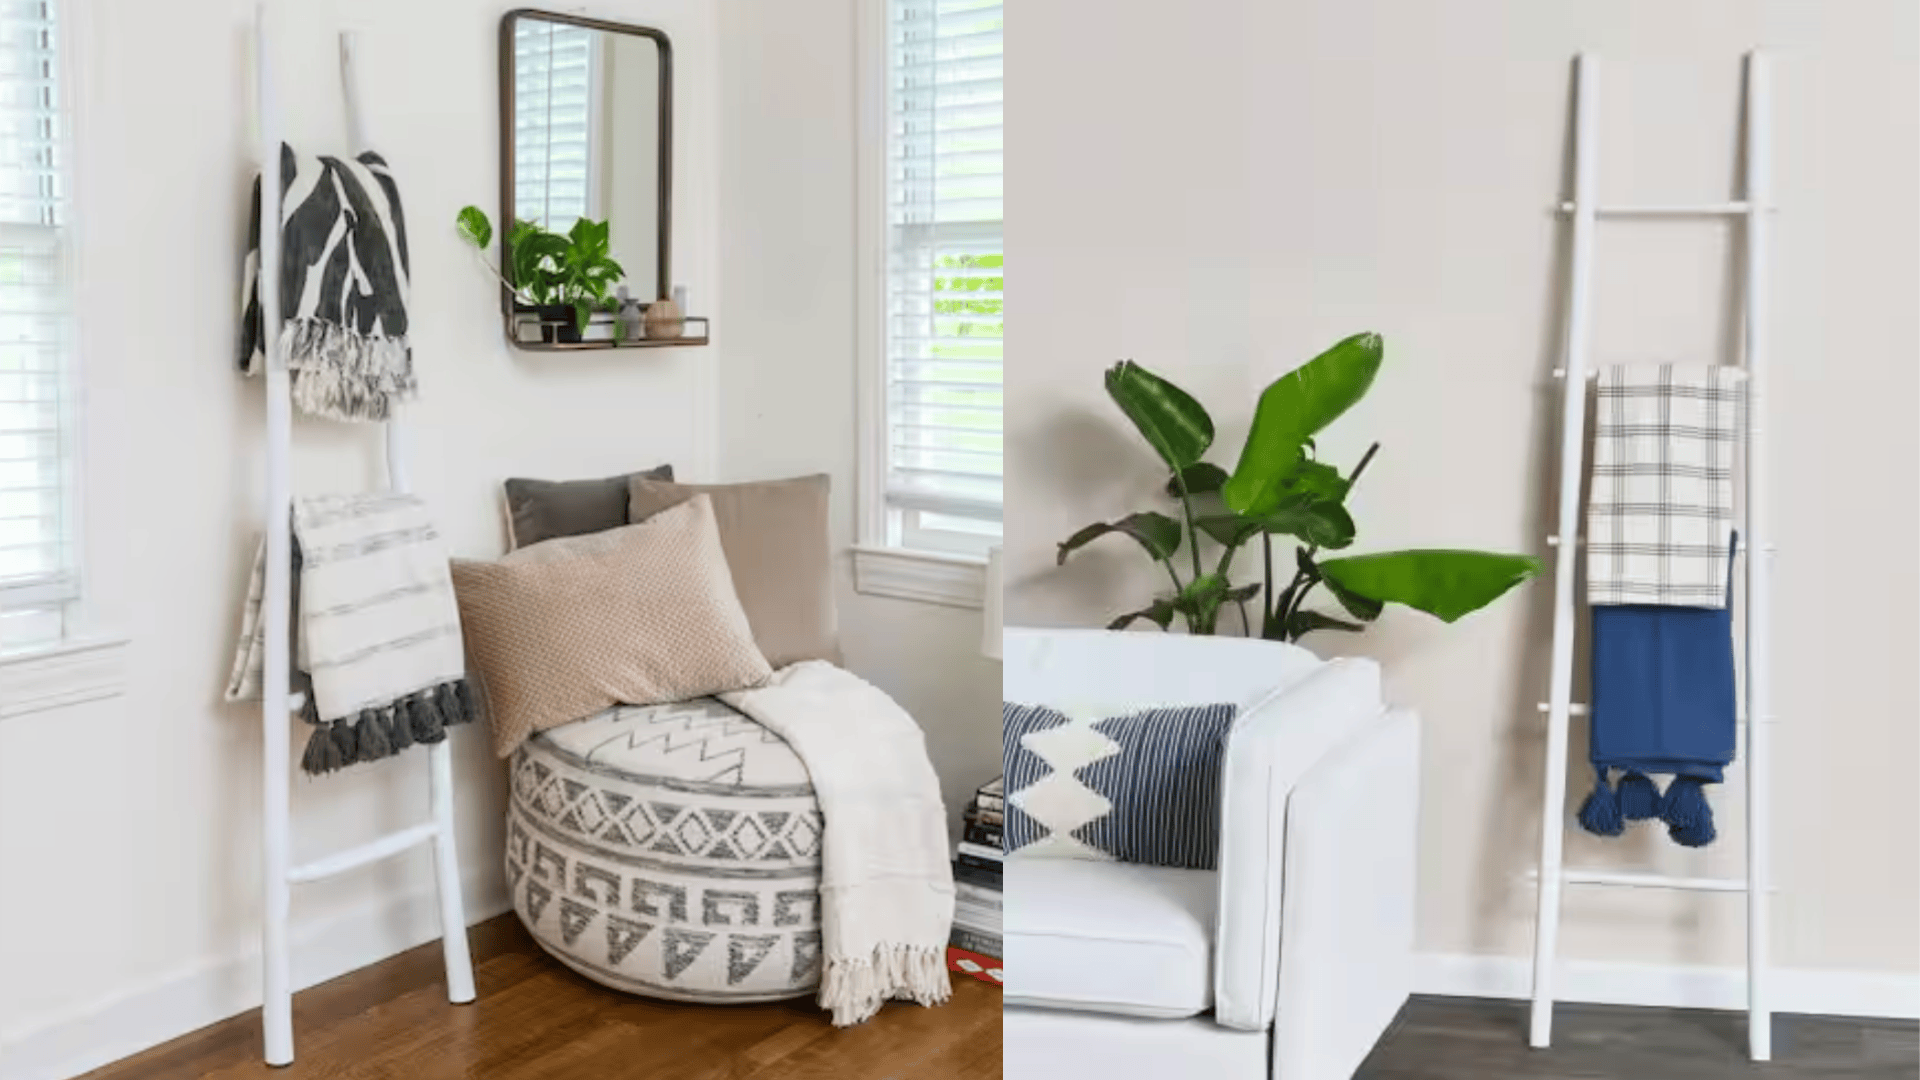
White Decorative Wood Ladder: The Home Depot
This white decorative blanket ladder offers a chic, space-saving storage solution.
It beautifully displays throws, like the plaid blankets shown, adding a touch of modern farmhouse style to your living room or bedroom.
2. Bamboo Blanket Ladder
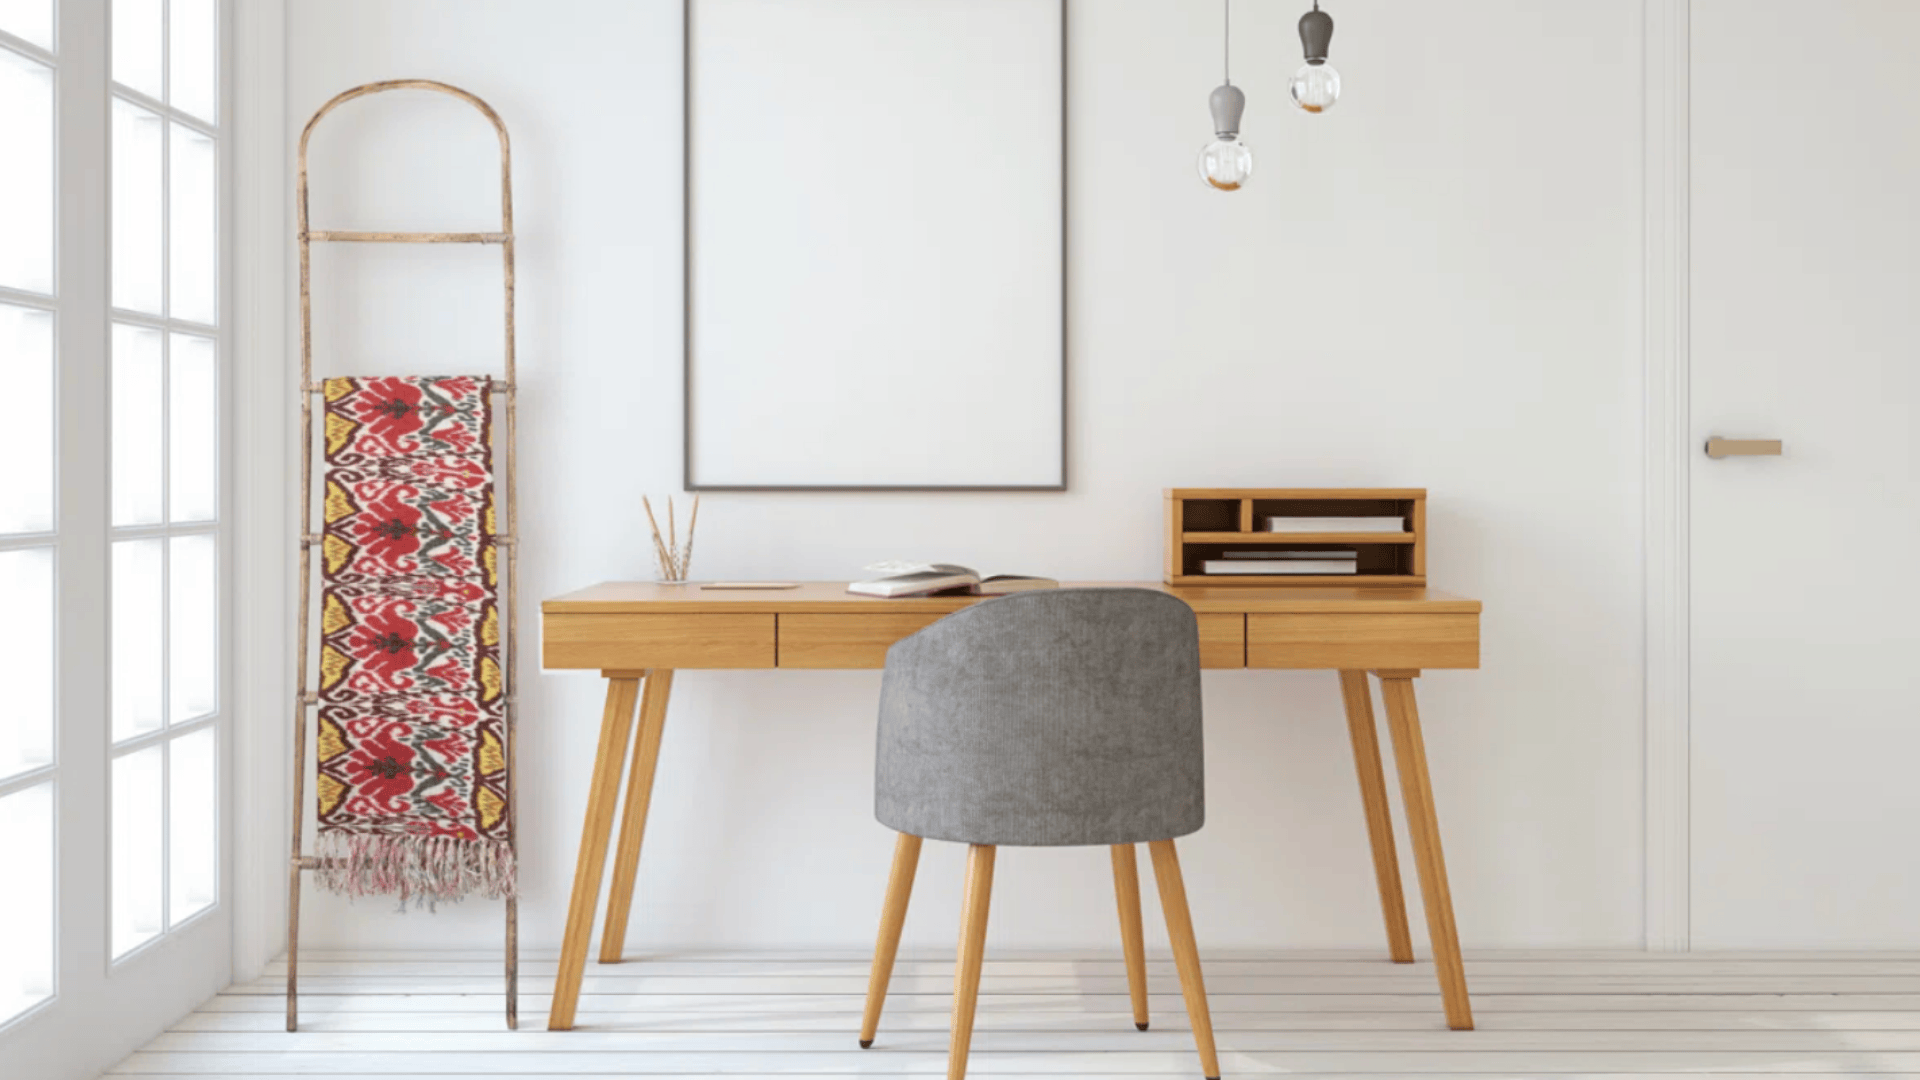
Arched Bamboo Blanket Ladder: Wayfair
This arched rattan blanket ladder brings a friendly, organic, and rural accent to any room.
It’s perfect for stylishly draping throws, such as the colorful ikat blanket shown, and turning blanket storage into a decorative focal point.
3. Shelf Metal ladder
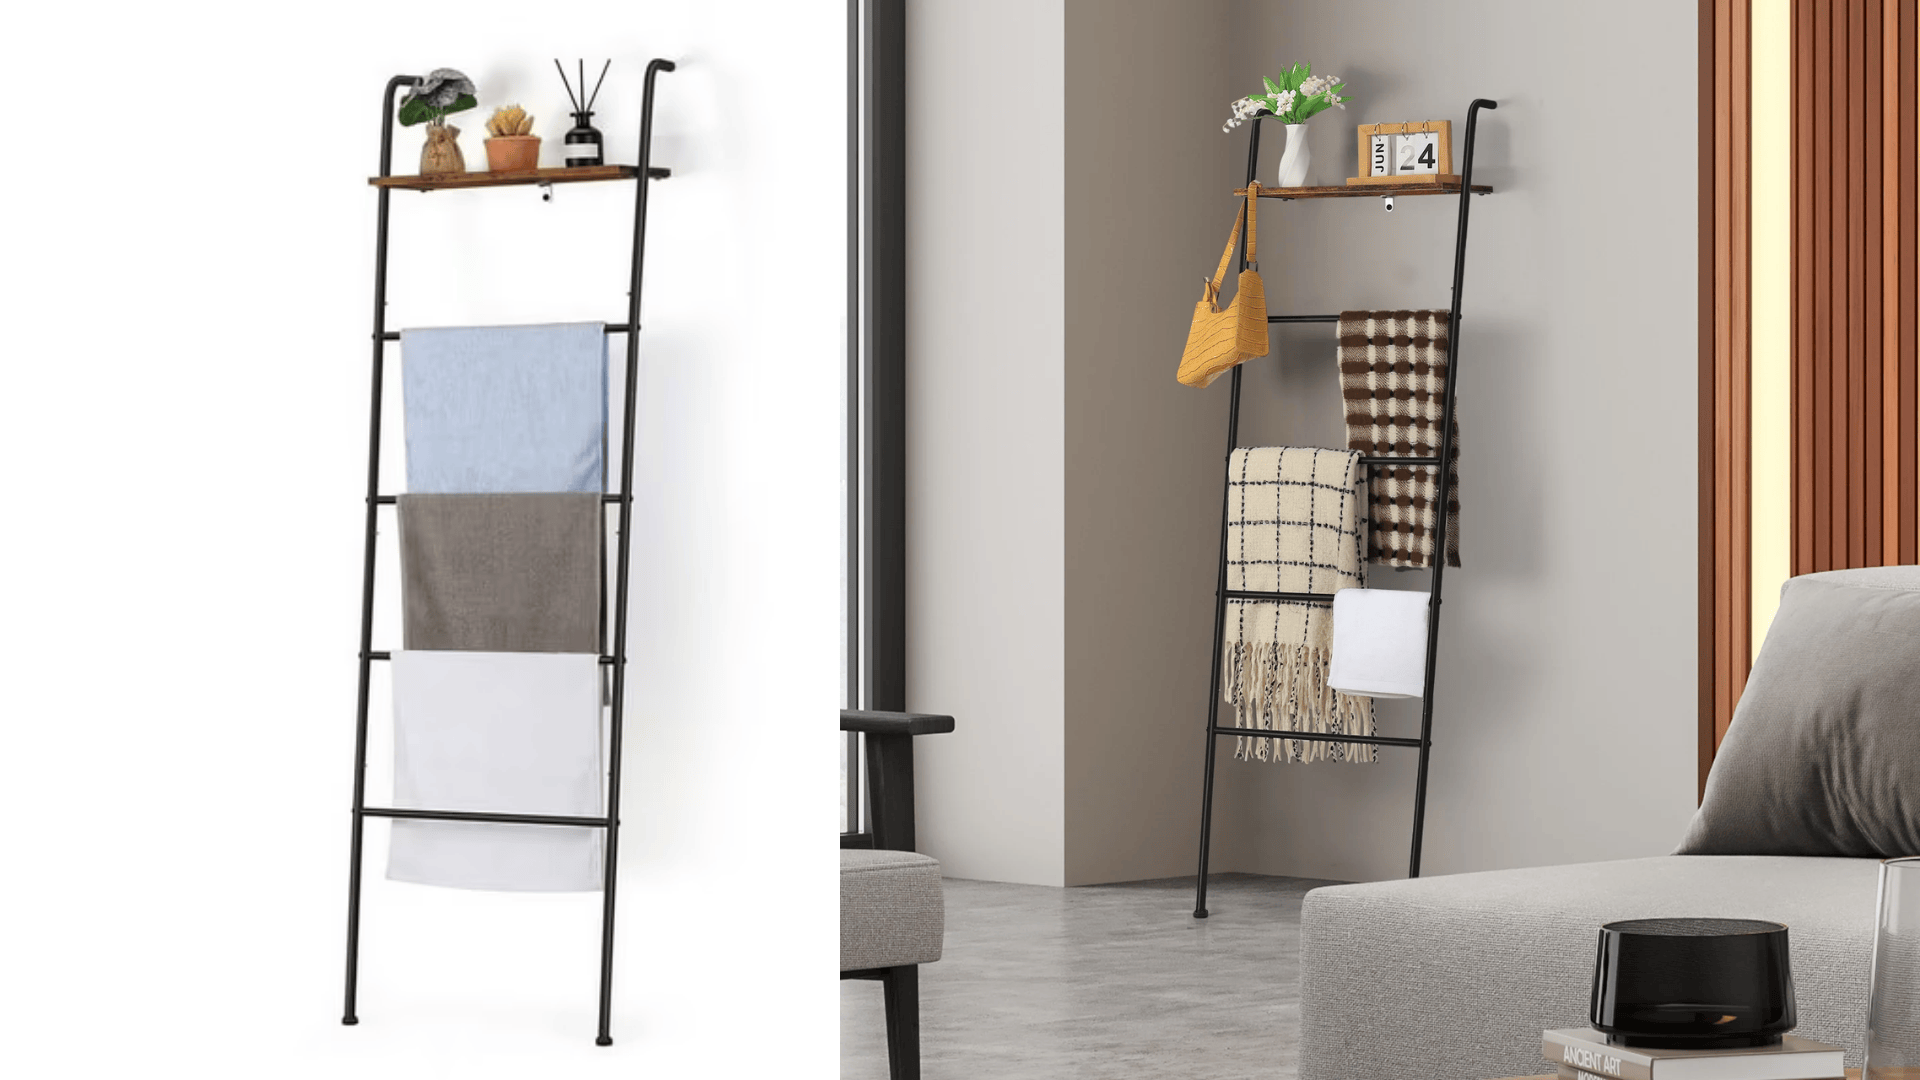
Blanket Ladder with Towel Rack: Walmart
This space-saving ladder features a modern industrial design with a black metal frame and a rustic wooden shelf.
Ideal for towels or blankets, the top shelf provides extra storage for small decorative items or bathroom essentials, merging style and utility.
4. Wood Blanket Ladder With Bottom Shelf
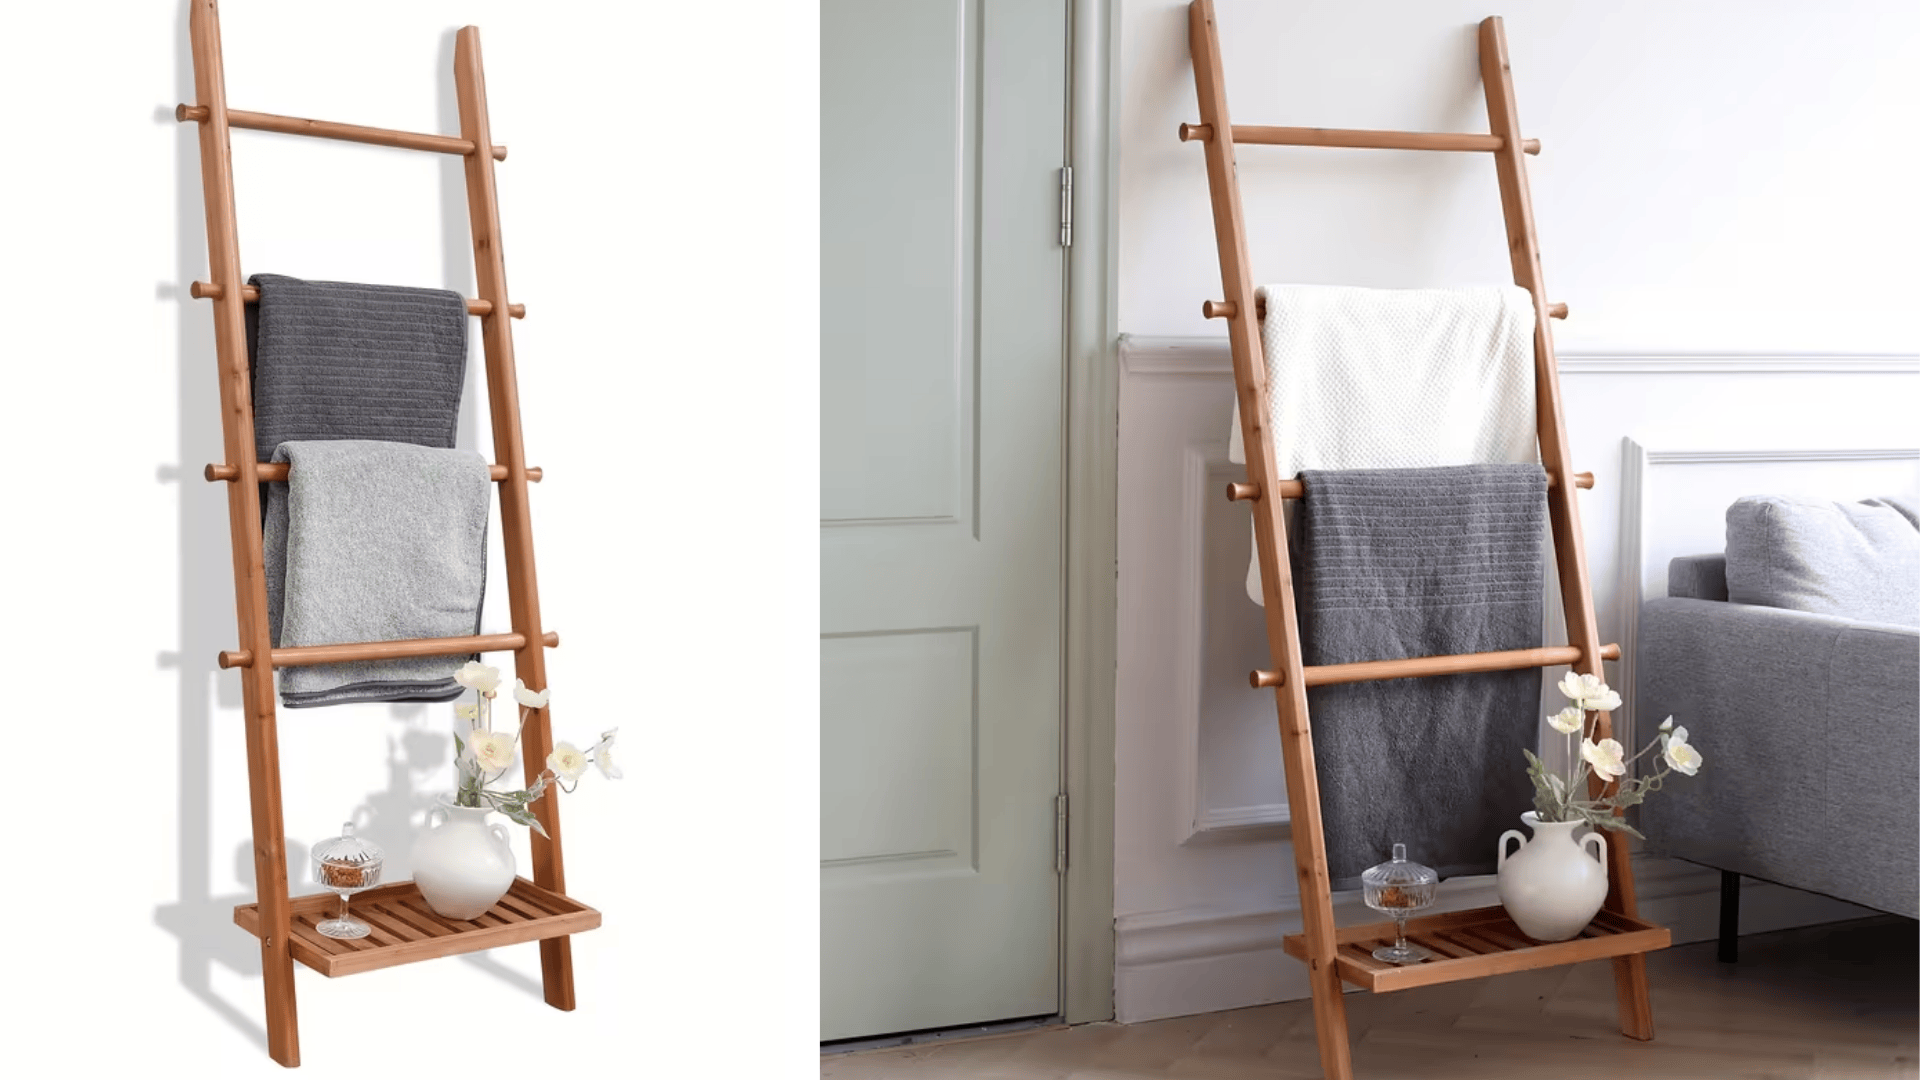
Wood Blanket Ladder With Bottom Shelf: Temu
Made from natural bamboo, this stylish ladder adds a spa-like vibe to your home.
It has multiple rungs for hanging towels or throws and a slatted base shelf for small decorative items or bathroom accessories, blending function with natural beauty.
Blanket Ladder DIY Decor Tips
- Choose the Right Location: Place your ladder in empty corners or beside furniture. Make sure it’s accessible but not blocking walkways.
- Layer Your Blankets: Put heavier blankets on lower rungs and lighter throws higher up. This creates visual balance.
- Mix Textures and Patterns: Combine chunky knits with smooth fleece or woven throws. Mix solid colors with subtle patterns. Keep bold patterns minimal.
- Coordinate Colors: Match blankets to your room’s color scheme. Neutral blankets work anywhere. Use accent colors that complement your decor.
- Don’t Overload It: Three to five blankets look best. Too many create clutter. Leave some rungs empty for a cleaner look.
- Add Seasonal Touches: Switch blankets seasonally. Light throws for spring and summer, heavy knits for fall and winter.
- Match the Ladder Finish: Dark stains suit rustic spaces, light finishes work in farmhouse decor, and natural wood fits minimalist styles.
- Create Height Variation: Fold some blankets fully, drape others loosely. This adds visual interest and prevents uniformity.
Final Thoughts
Now you know how to build your very own DIY blanket ladder from scratch.
This blog showed you that making furniture doesn’t have to be complicated.
You measured, cut, drilled, and assembled. Now you have something functional and beautiful in your home.
Every time you grab a blanket on a cold evening, you’ll remember that you made this. That’s worth more than any store-bought piece. Maybe you’ll build another one as a gift. Or try a different finish.


