Ever wondered why your regular nail polish chips after just two days? It’s frustrating, right?
Shellac nails can last up to two weeks without chipping. They combine the shine of gel with the ease of regular polish. You’ll save time on constant touch-ups.
Your nails will look salon-fresh for days. And the best part? Removal is easier than you think.
This blog gathers everything you need to know about these nails.
You will learn the process, benefits, how they work, what to expect, how they are different from other nail treatments, and whether they’re right for you. Your perfect manicure is just a few minutes away.
What are Shellac Nails?
Shellac is a brand name owned by CND. It’s a hybrid formula that sits between traditional polish and gel. Think of it as the middle ground, the formula bonds to your natural nail.
It cures under a UV or LED lamp. This creates a hard, glossy finish that resists chips and scratches.
Unlike gels, shellac is thinner. It feels more natural on your nails.
And it doesn’t damage them as much during removal. You’ll need a professional application at a salon.
The whole process takes about 30 to 45 minutes. The results they’re worth every minute.
Benefits of Shellac Nail Art
Here’s why so many people choose Shellac. The main benefits you’ll get.
- Long-Lasting Wear: Your manicure stays perfect for up to 14 days. You can go about your daily routine without constant fixes. It’s a real time-saver for busy schedules.
- High Shine Finish: The glossy look lasts from day one to day fourteen. Your nails keep that fresh-from-the-salon shine throughout, with no need for top coat reapplications.
- Quick Drying Time: Shellac cures instantly under the lamp. You walk out of the salon ready to use your hands. No smudges, no dents, no waiting around. It’s perfect when you’re in a rush.
- Gentler on Natural Nails: Shellac doesn’t require harsh filing or buffing. Your nail bed stays healthier compared to acrylics or hard gels. The removal process causes less damage, too. Your natural nails remain strong underneath.
How Shellac Nails are Applied
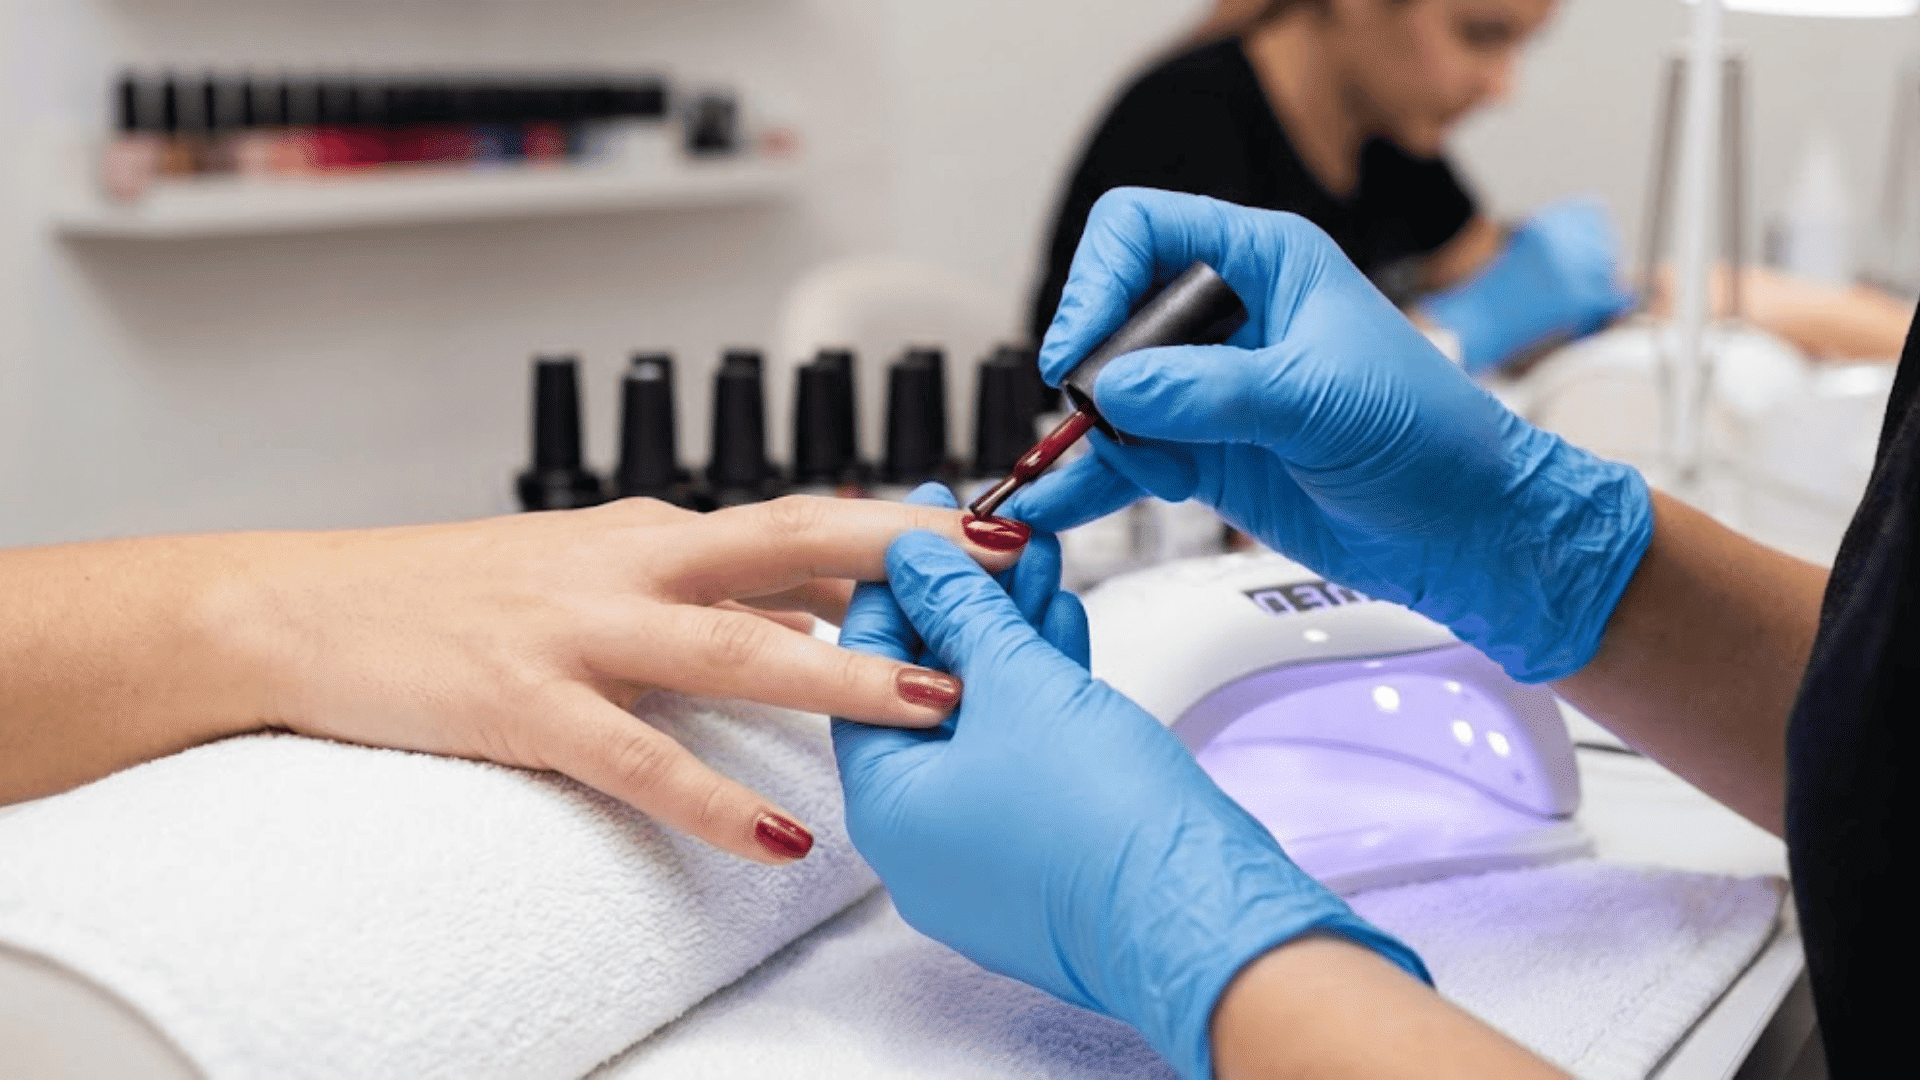
Here is the complete procedure for applying these nails:
Step 1: Nail Preparation
Your technician cleans and shapes your nails first. They push back your cuticles gently.
Then they lightly buff the surface. This helps the shellac stick better and last longer.
Step 2: Base Coat Application
A thin layer of base coat goes on each nail. This creates the foundation for color.
The technician then cures it under a UV or LED lamp for about 10 seconds.
Step 3: Color Application
Two coats of your chosen color are applied. Each layer is thin and even.
After each coat, your nails go under the lamp again. This ensures proper bonding and durability.
Step 4: Top Coat and Final Cure
The top coat seals everything in place. It gives you that signature glossy finish. One final cure under the lamp completes the process.
Your manicure is now ready to go.
Removing Shellac Nails Safely
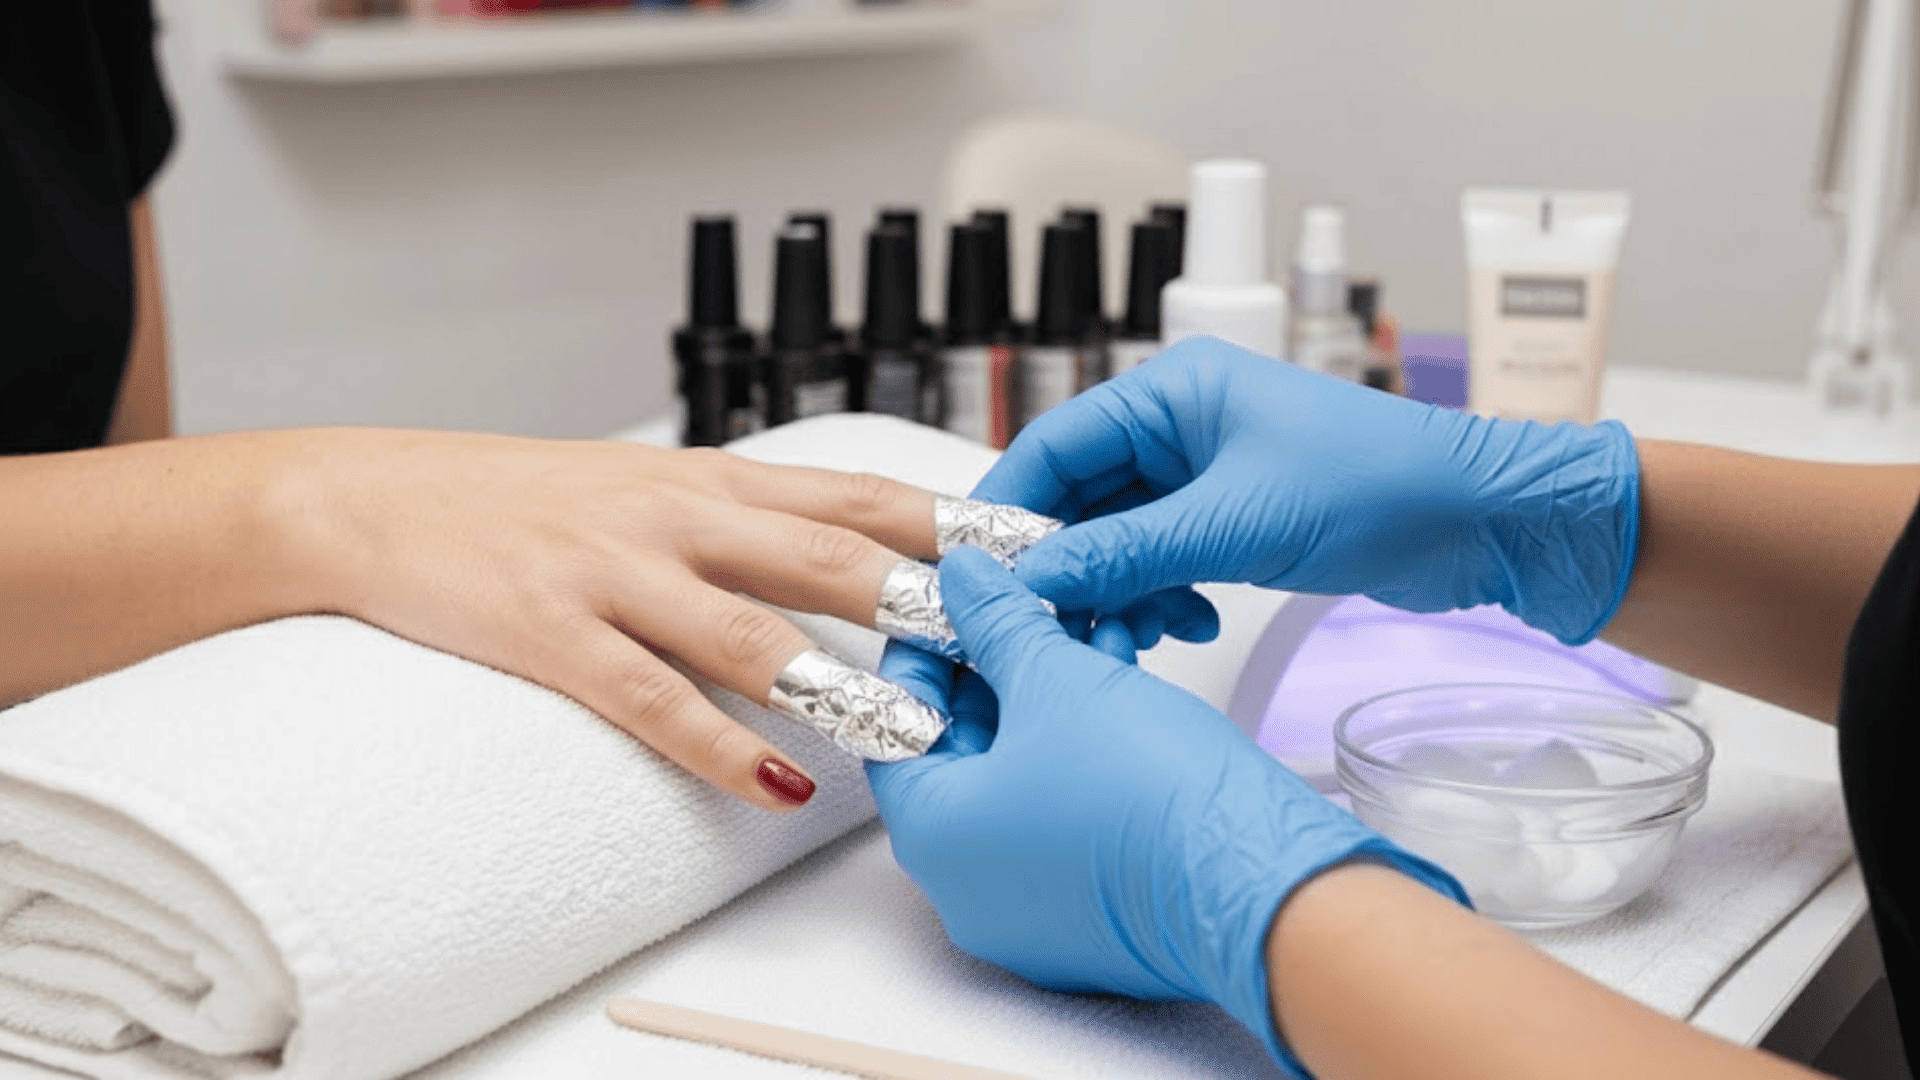
Removing shellac the right way protects your natural nails from damage. Here’s the safe method.
- Step 1: Gently file the top glossy layer to break the seal.
- Step 2: Soak cotton balls in pure acetone nail polish remover.
- Step 3: Place one soaked cotton ball on each nail.
- Step 4: Wrap each fingertip tightly with aluminum foil.
- Step 5: Wait 10 to 15 minutes for the shellac to soften, and remove the foil.
- Step 6: Use an orange stick to push off the softened shellac gently.
- Step 7: Buff your nails lightly to smooth any rough spots.
- Step 8: Wash your hands thoroughly with soap and hot water.
- Step 9: Apply cuticle oil and hand cream to rehydrate.
Shellac vs. Gel vs. Acrylic Nails
These three popular options have their pros and cons. Your choice depends on what you need most.
| Feature | Shellac | Gel | Acrylic |
|---|---|---|---|
| Application | Painted on like polish | Painted or sculpted | Mixed powder and liquid |
| Curing Method | UV/LED lamp | UV/LED lamp | Air dries |
| Thickness | Thin and light | Medium thickness | Thick and sturdy |
| Duration | 10-14 days | 2-3 weeks | 3-4 weeks |
| Removal | Soak off in 10-15 min | Soak off in 15-20 min | Filing and soaking |
| Damage Level | Low | Moderate | Higher |
| Flexibility | Natural feel | Less flexible | Rigid |
| Shine | High gloss | High gloss | Requires buffing |
| Price Range | $25-$45 | $35-$65 | $30-$60 |
Who Should Choose Shellac Nail Design?
Shellac works great for certain people and lifestyles. Here’s who benefits most.
- People who want a manicure that lasts longer than regular polish.
- Busy professionals who don’t have time for frequent nail appointments.
- Those with naturally strong nails that don’t need extra length.
- Anyone looking for a healthier alternative to acrylics.
- Individuals who type or use their hands frequently for work.
- People are planning vacations or special events coming up soon.
- Those who prefer a natural look over thick extensions.
Shellac Nails Design Ideas
Here are some popular modern design options to try for a refined look.
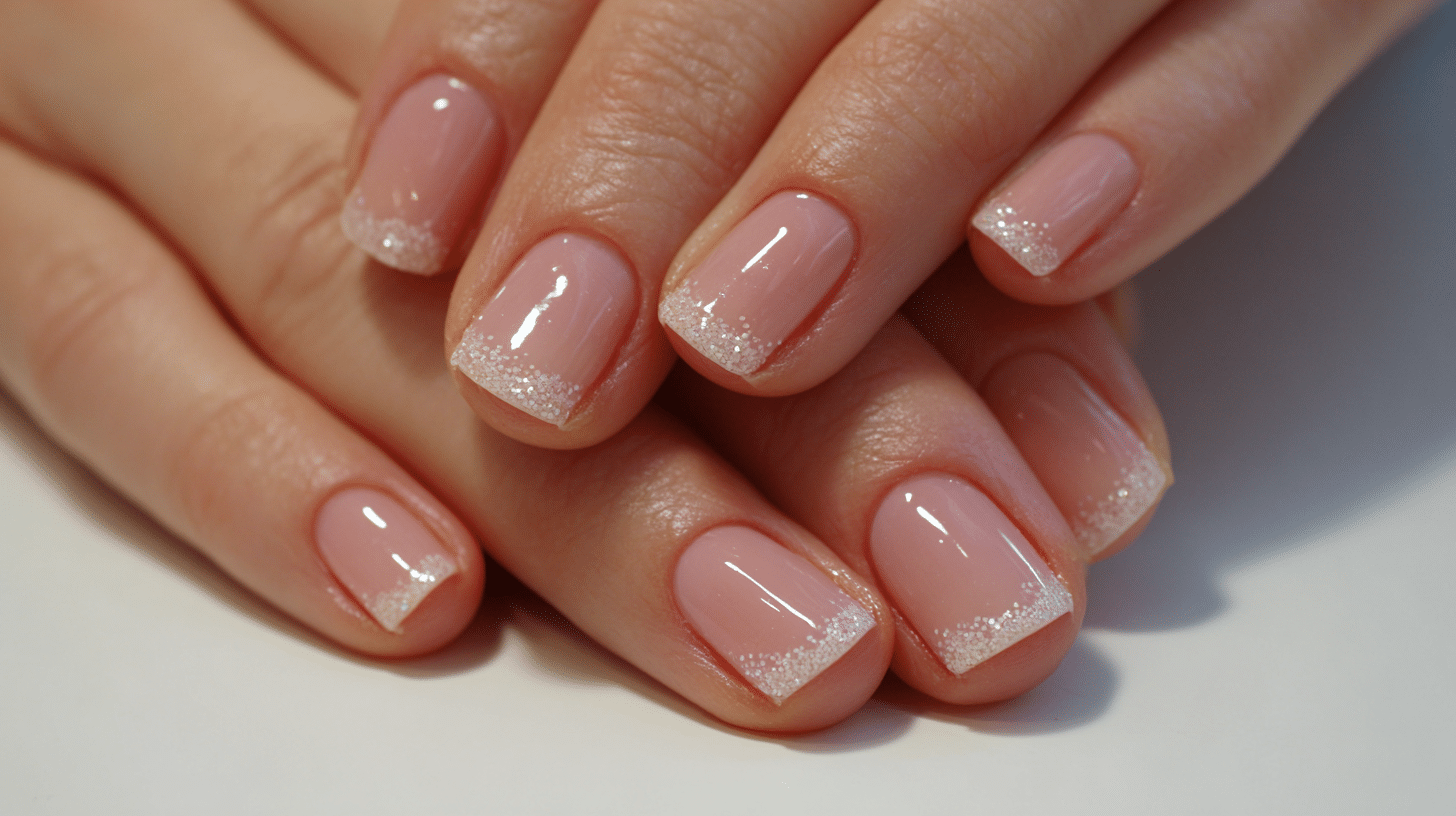
1. Classic French Tips
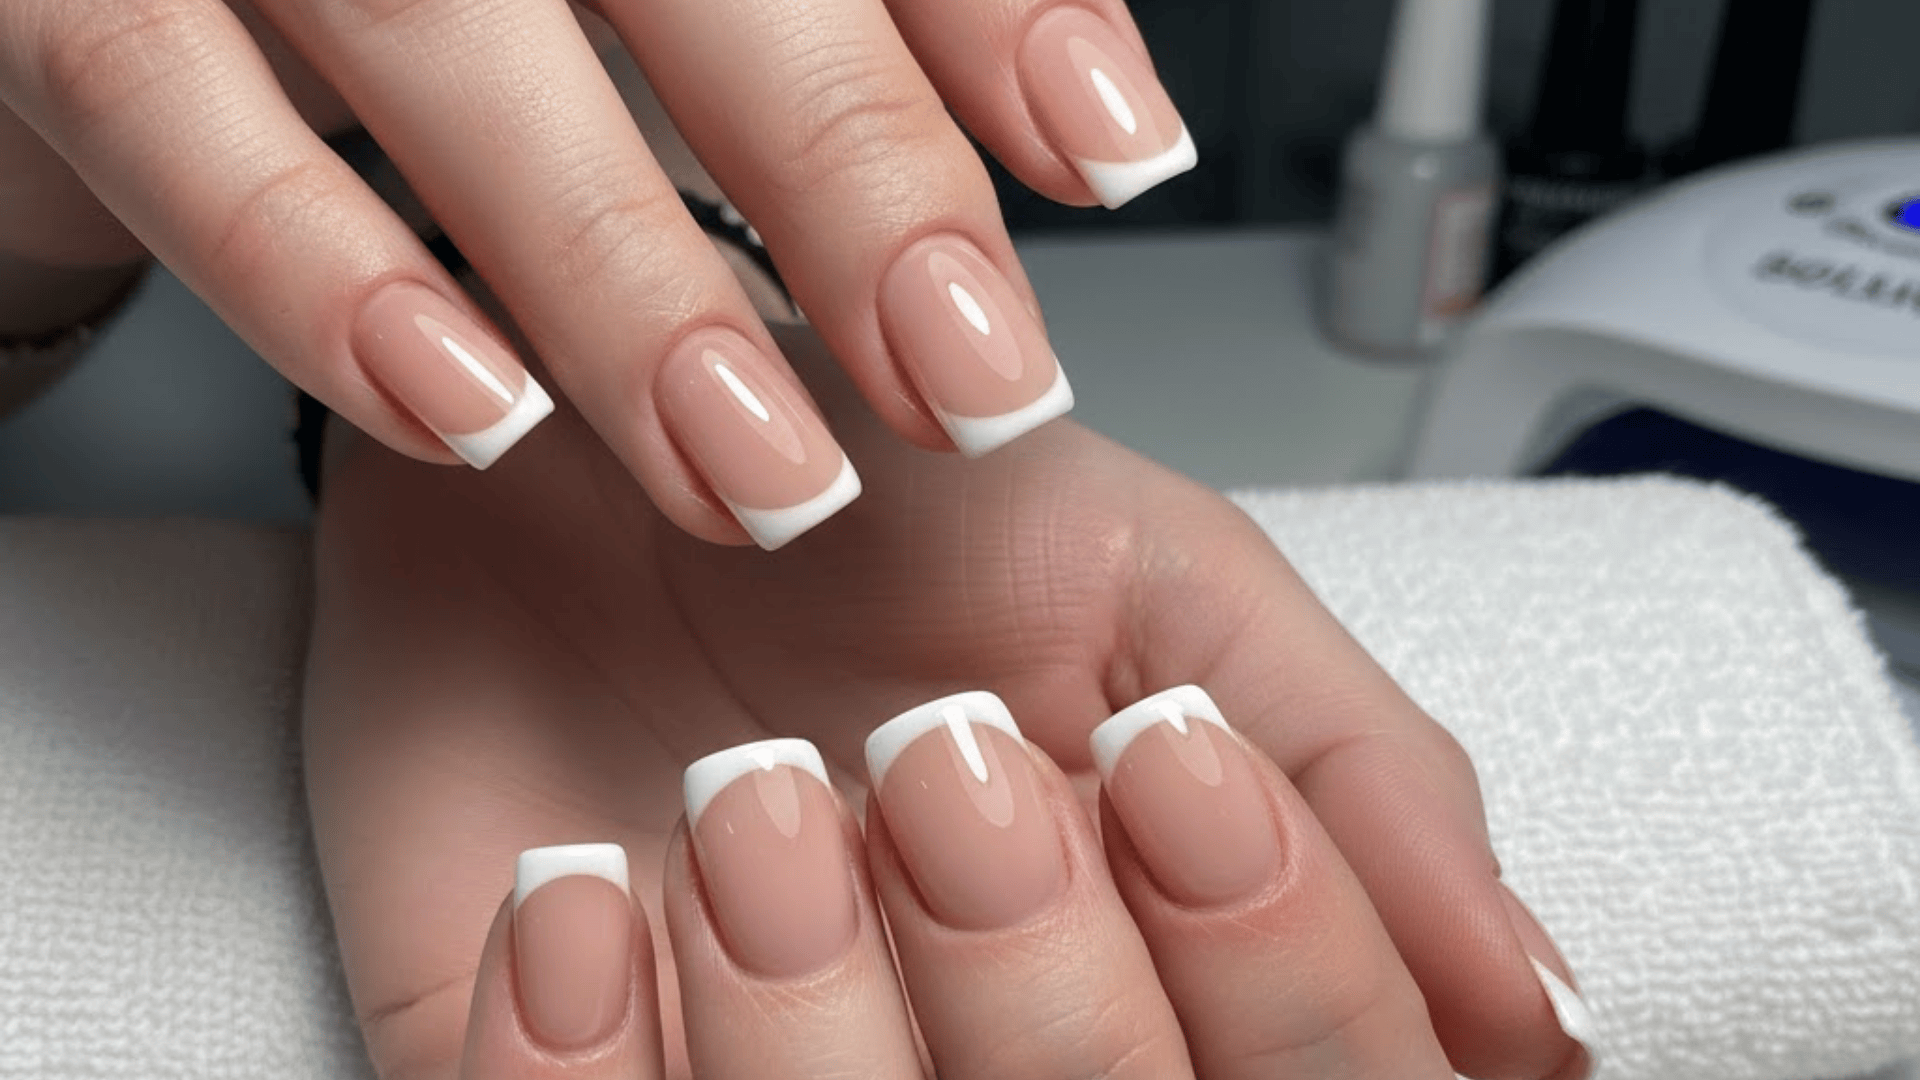
French manicures never go out of style. The clean white tips with nude base look professional and effortless.
You can wear them anywhere, from office meetings to special events. They’re urbane yet precise.
Pro Tip: Ask for slightly rounded tips instead of straight lines for a softer appearance.
2. Ombre Fade Effect
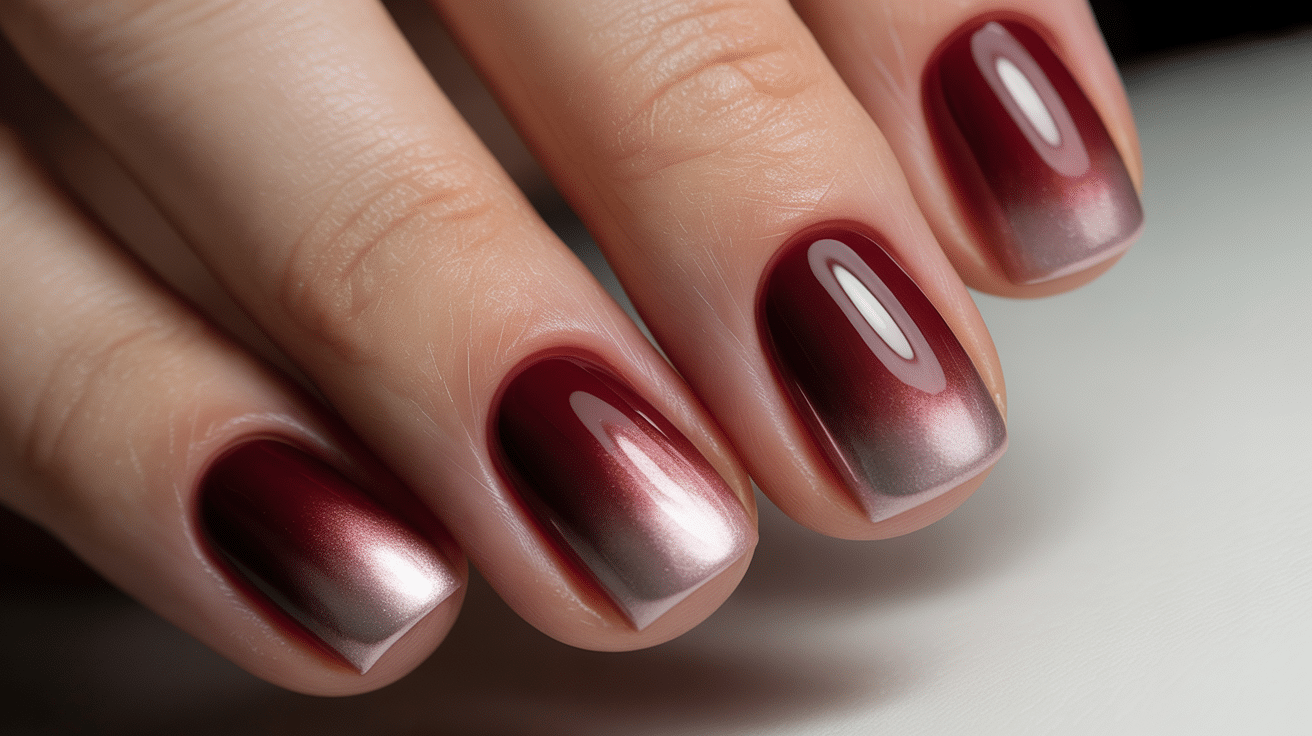
Two colors blend smoothly from base to tip. The gradient creates a modern, eye-catching look.
You can go bold with contrasting shades or keep it soft with similar tones. It’s a beautiful way to combine your favorite colors.
Design Hack: Choose colors from the same family for the smoothest blend.
3. Glitter Accent Nails
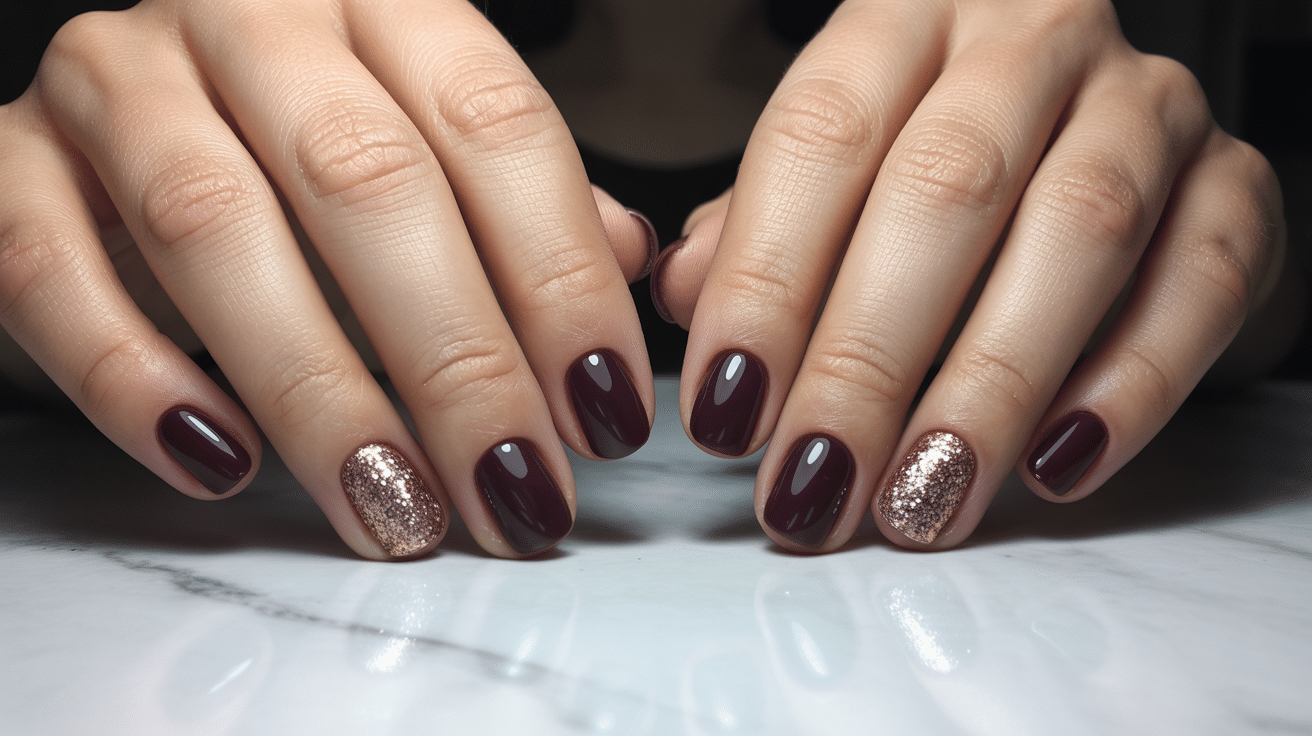
Add sparkle to one or two nails per hand. Keep the rest in solid color for balance.
This gives you just enough shine without going overboard. Perfect for parties or when you want something special.
Style Secret: Place glitter on your ring finger for maximum impact.
4. Geometric Patterns

Clean lines and shapes create a stylish feel.
Think triangles, stripes, or color blocks. These designs look artistic and unique. Your nails become tiny canvases of modern art.
Creative Touch: Use tape as a focus for perfectly straight edges.
5. Floral Details
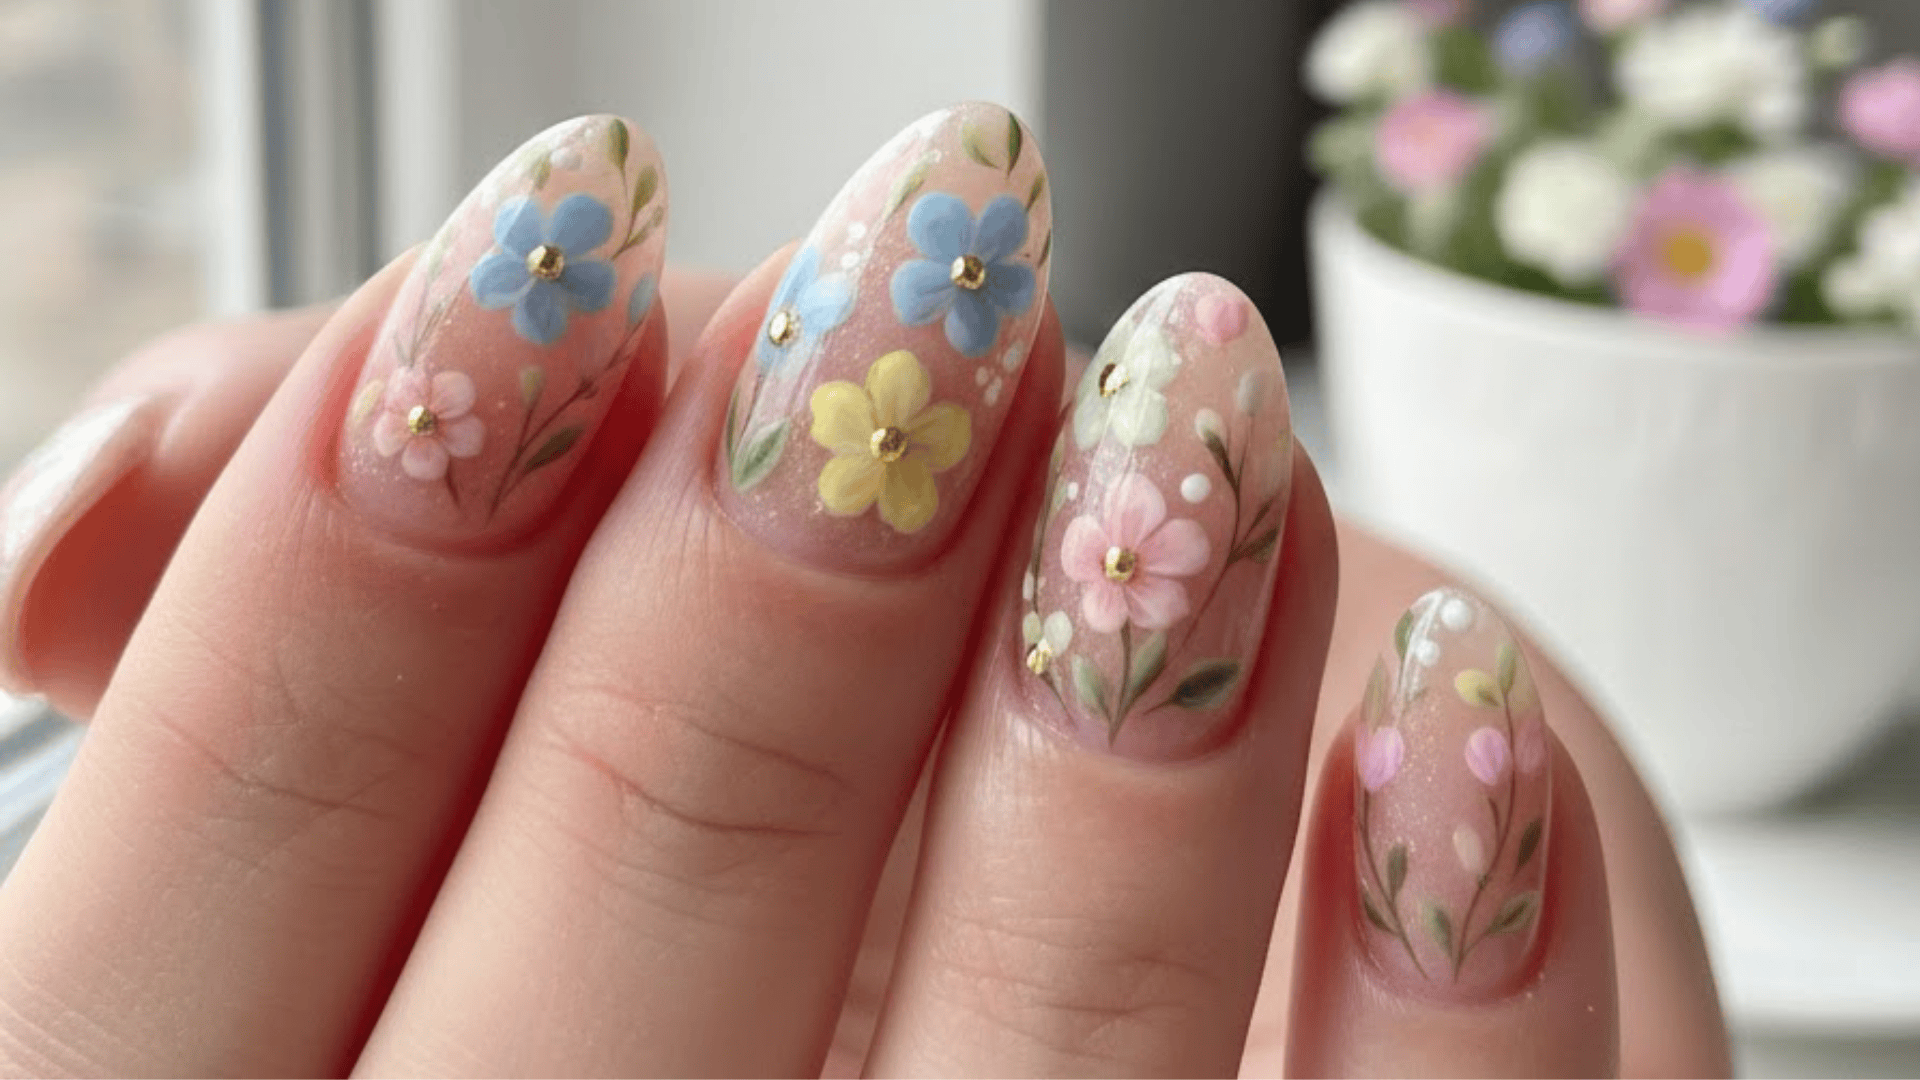
Small flowers add a feminine, delicate touch. They work great for the spring and summer months.
You can go with subtle blooms or bold tropical prints. Nature-inspired designs always feel fresh and pretty.
Artistic Approach: Request hand-painted flowers for a custom, one-of-a-kind look.
6. Minimalist Dots
Simple dots create a vital impact with the tiniest effort. Place them at the base, tips, or randomly scattered.
This design is playful yet grown-up. It’s perfect if you want something fun but not too busy.
Quick Trick: Gold or silver dots on a neutral base add instant class.
7. Matte Finish
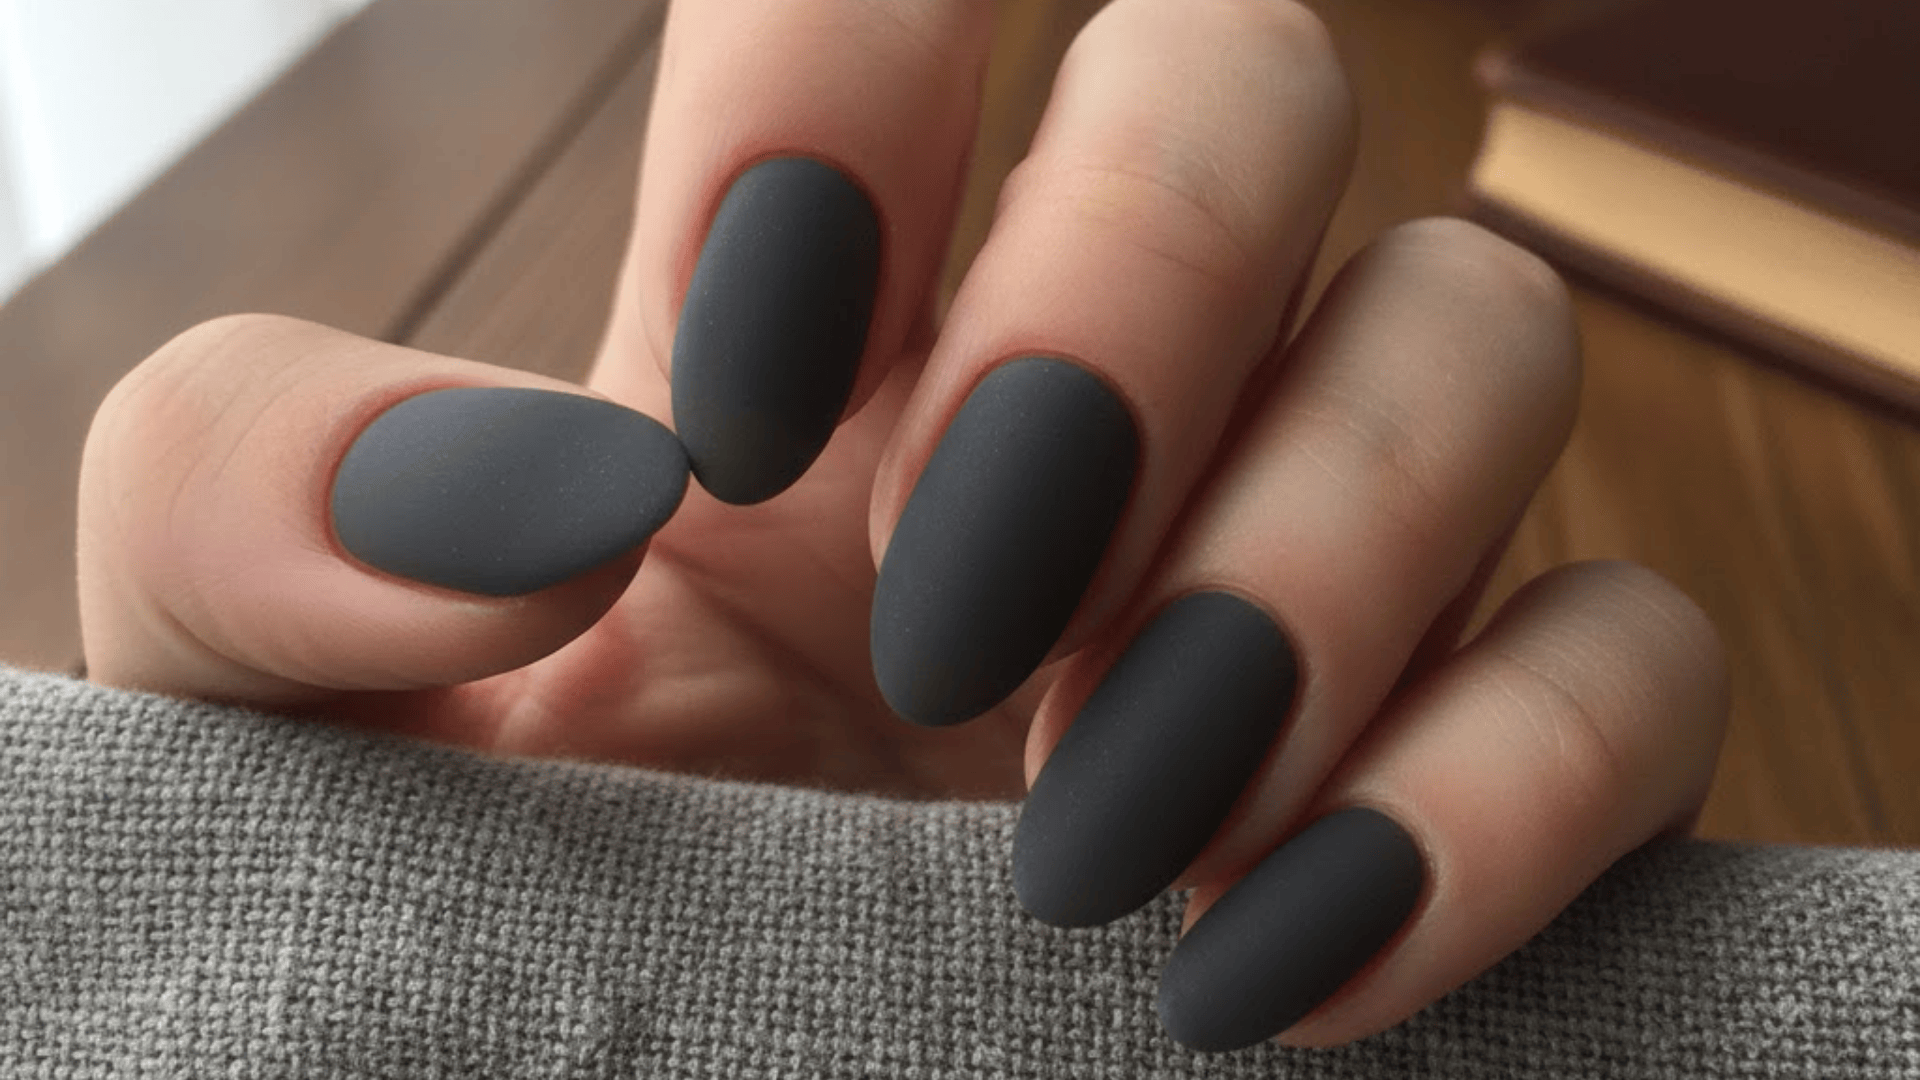
Skip the shine and go for a velvety texture.
Matte shellac looks modern and different from the usual gloss. It feels soft and refined at the same time. A refreshing change from standard finishes.
Finishing Touch: Apply matte top coat over any color for an instant change.
8. Two-Tone Split
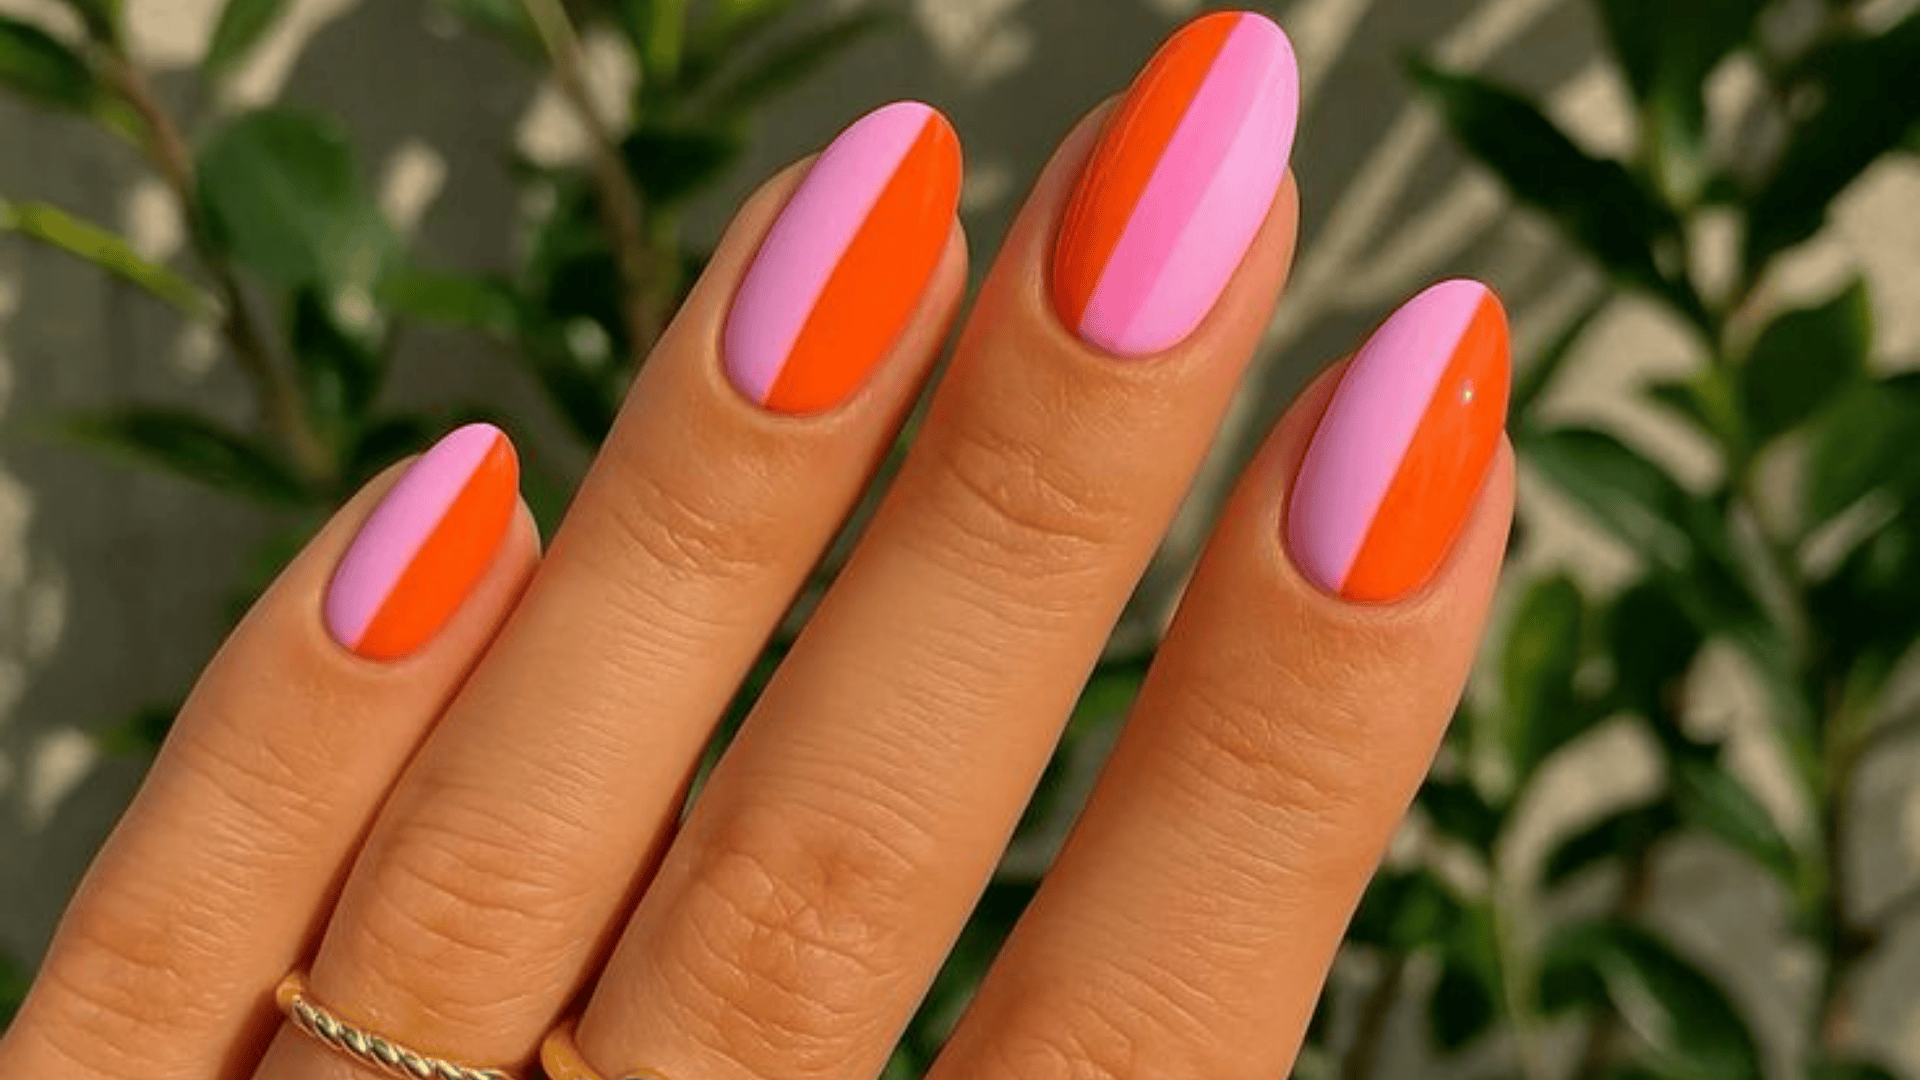
Divide the nail into two sections with different colors.
You can split vertically, horizontally, or diagonally. This creates a bold, fashion-forward statement. It’s like wearing two manicures at once.
Color Strategy: Pick complementary colors that play well together for the best results.
9. Metallic Shine
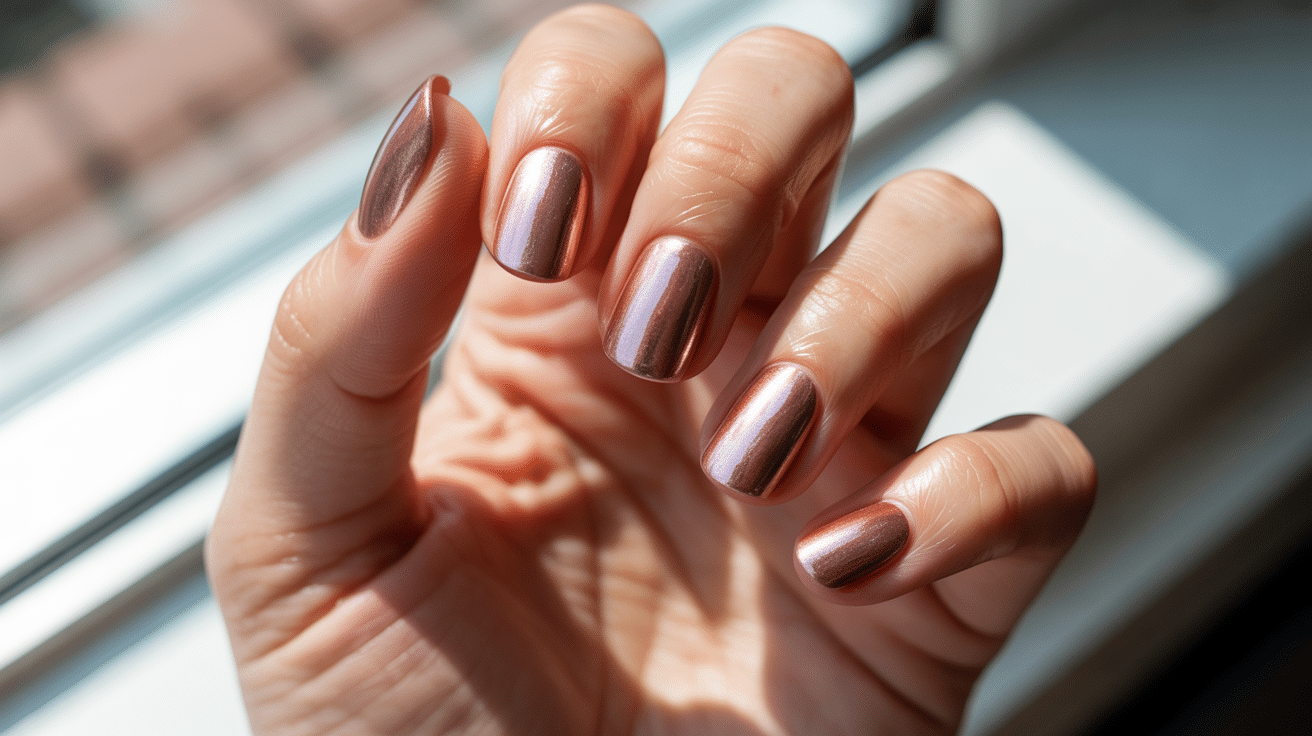
Gold, silver, or rose gold adds instant glamour. Metallic shades catch light beautifully throughout the day.
They’re fancy enough for celebrations but wearable daily too, a little luxury on your fingertips.
Shine Booster: Layer metallic over a similar base color for extra depth and richness.
Safety and Care Tips for Shellac Nails
- Apply sunscreen on your hands before UV lamp exposure to protect your skin.
- Never peel or pick off shellac, as it damages your natural nail surface.
- Moisturize your cuticles daily with oil to prevent dryness and cracking.
- Remove shellac professionally or follow proper soaking methods at home.
- Keep your hands hydrated with hand cream throughout the day.
- Don’t file or buff your natural nails too aggressively before application.
- Report any burning sensation during curing immediately to your technician.
- Wait the whole two weeks before removal for the best nail health.
Wrapping It Up
Shellac nails offer a practical solution for anyone wanting beautiful, long-lasting manicures.
They’re easier on your natural nails than acrylics and last longer than regular polish.
The key is finding a skilled technician and following proper care routines.
With the right approach, you’ll enjoy chip-free nails for up to two weeks. Try shellac for yourself and see the difference. You might find your new favorite nail treatment.
So, what’s your next step? Book an appointment at a trusted salon near you.