Finding the right hairstyle that works year-round can be tough. Kinky twists at shoulder length solve this problem. They protect natural hair while keeping you stylish in any season. Pair them with your winter concert looks or keep it simple for daily wear. This post covers trending shoulder length kinky twist hairstyles. Each style serves a different purpose. Some fit
Most Popular
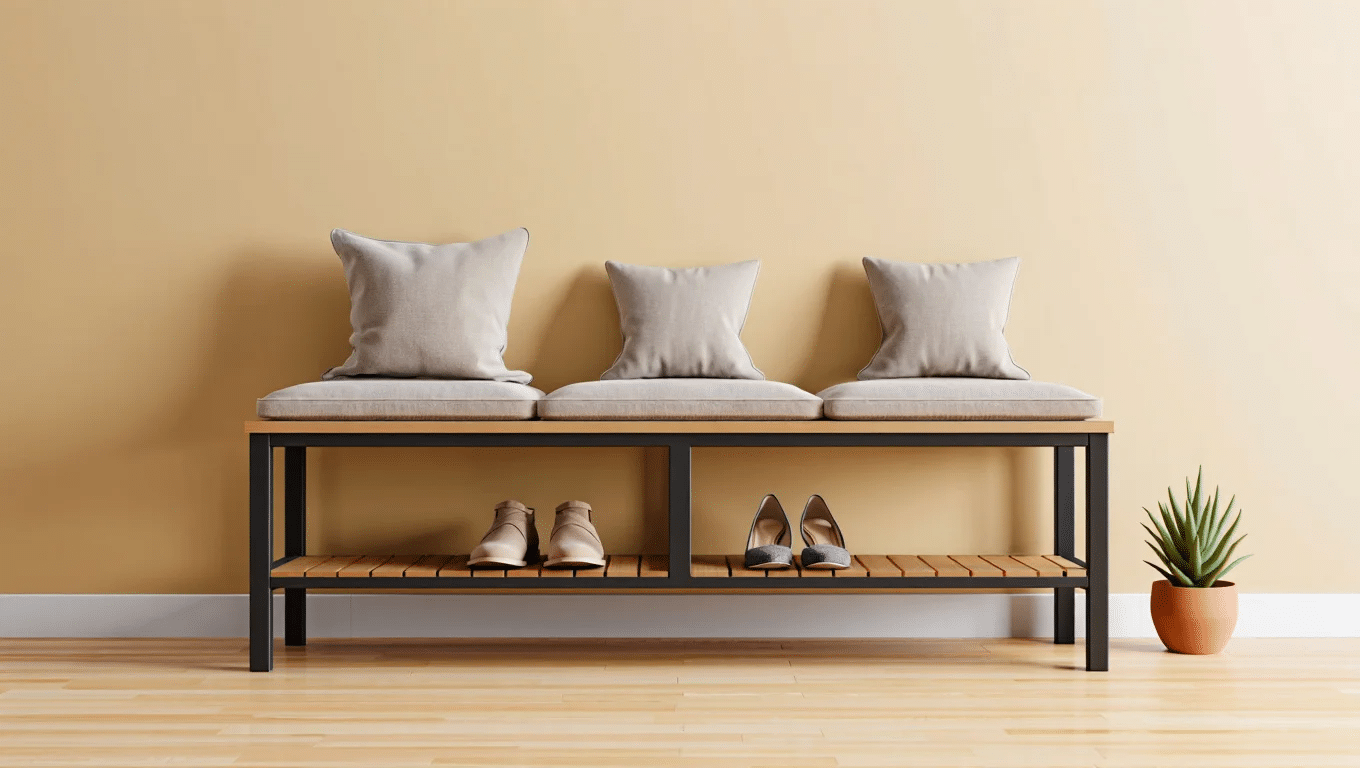
Did you know that most homeowners struggle with cluttered entryways? Most people walk into their homes and immediately face chaos – shoes scattered everywhere, coats thrown on chairs, and bags dumped by the door. A simple DIY entryway bench can solve this problem while adding style to your space. This post covers everything from selecting the right materials to finishing touches that make your bench look professionally made. Why is a DIY Entryway Bench Worth Building? Building your own entryway bench offers three major advantages that store-bought options simply can’t match. Custom Fit for Your Space You can build the exact size needed for your entryway. Whether you have a narrow hallway or a spacious foyer, a DIY bench fits perfectly without wasted space or awkward gaps. Complete Style Control Choose your own wood type, stain color, and design details. Match your existing furniture or create a statement piece that reflects your personal taste. No settling for whatever’s available in stores. Significant Cost Savings A quality entryway bench in stores costs $150-400. Building your own typically costs $30-80 in materials. That’s up to 80% savings while getting exactly what you want. Additional Benefits The satisfaction of creating something with your hands is priceless. Plus, you’ll have the skills and confidence to tackle other furniture projects. Friends and family will be impressed when they learn you built it yourself. Materials Required For DIY Entryway Bench Material Purpose ¾-inch plywood Main frame, cubbies, panels 1×3 or 1×4 boards Support beams, trim Pocket hole screws Joining panels securely Wood glue Reinforcing joints Brad nails Fastening trim (optional) Paint or stain Finish for appearance Polycrylic/sealant Protecting wood surface Recommended Tools Pocket hole jig Drill Miter saw or circular saw Sander Clamps Step-By-Step Instructions for Making a DIY Entryway Bench Refresh your entryway with this practical DIY bench project. This step-by-step guide walks you through building a sturdy, stylish bench with cubbies, trim, and hooks perfect for organizing shoes, coats, and daily essentials in any mudroom or hallway. Step 1: Cut the Main Bench Component Sand all cut edges smooth to prevent splinters during assembly. Keep your workspace organized by laying out pieces in order. Use one cut leg panel as a template for the remaining three to ensure all legs are exactly the same size and your bench sits level. Step 2: Measure and Mark Leg Placement For complex measurements like dividing 68½ inches into three equal parts, angle your measuring tape until it reads an easier number like 69, then divide by three for simpler math calculations. Step 3: Assemble Legs to Top Using Pocket Holes Work systematically, securing one leg at a time. Clamp each leg firmly during the screw-in process to prevent movement and ensure flush, tight joints. Wipe away excess glue immediately to avoid finish problems later. Step 4: Add Horizontal Panels Between Legs Apply wood glue to both connection points before positioning each panel. These horizontal pieces prevent the legs from wobbling and give your bench a solid, professional feel. Use a heavy object or temporary screws to hold panels in place while the glue sets completely, which saves time and creates stronger bonds. Step 5: Build the Overhead Cubbies Use pocket holes and wood glue to assemble, just like the main bench. Align the vertical panels with your bench layout below to create visual balance and a cohesive look. This storage space adds functionality while maintaining the clean lines of your design. Step 6: Fill, Prime, and Paint Finish with your chosen paint color, applying thin, even coats for best results. Sand lightly between coats with fine-grit sandpaper for an ultra-smooth finish. Never rush the drying process between coats patience creates a professional-looking finish that lasts years. Step 7: Install Cubbies and Bench in Wall If your space is particularly tight, consider building components in place to avoid having to remove door trim. Secure both pieces to the wall studs for maximum stability and safety. Step 8: Stain and Install Decorative Boards Apply stain to your 1×6 decorative boards using a chip brush for even coverage. Once dry, apply three coats of polycrylic finish using a foam brush to avoid streaks. Allow each coat to dry fully before applying the next. Attach the finished boards to your bench and wall using brad nails. These boards add visual interest and help tie the piece into your existing room design. Step 9: Create Access Panels Over Outlets Physical clips work better than magnets for reliable access to outlets when needed. This step ensures your bench looks seamless while maintaining practical access to electrical connections behind it. Step 10: Install Trim Attach the painted trim using brad nails, being careful to avoid splitting the wood. Fill any nail holes with wood filler and touch up with paint. The trim gives your bench a finished, professional appearance. Step 11: Add Functional Details Touch up any missed paint spots and clean up your work area. Step back and admire your completed mudroom bench you’ve created a functional piece of furniture that will serve your family for years to come. For a more detailed tutorial on how to make DIY entryway bench at home, check out the video below: Maintenance Tips for Your DIY Entryway Bench Proper maintenance ensures your DIY entryway bench stays sturdy and looks great for years. Follow these simple care tips to protect the finish, prevent wear, and keep your bench in top condition. Wipe weekly with a damp cloth to remove dust and dirt. Use mild soap and water for painted surfaces; avoid harsh chemicals. Reapply protective coating every 12–18 months; sand lightly before recoating. Check and tighten screws every few months to prevent wobbling. Keep away from direct sunlight and heating vents to avoid drying or fading. Sand and touch up scratches or dents promptly to prevent bigger issues. Conclusion Building a DIY entryway bench changes more than just your space it builds confidence in your abilities. This simple project proves that anyone can create beautiful, functional furniture with basic tools and materials. The bench will serve your family for years while saving hundreds of dollars compared to store-bought alternatives. Ready to start your first woodworking project? Gather your materials this weekend and begin building. Share your finished bench photos others need inspiration to start their own projects too.