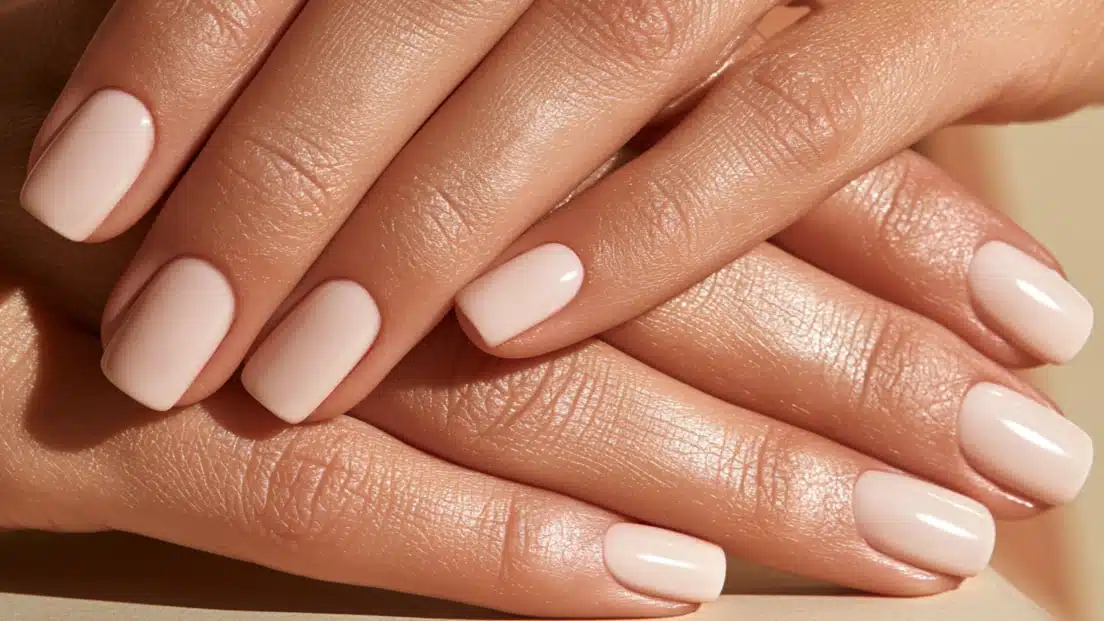
You must have seen those shiny, glazed nails all over your feed lately. Scroll through TikTok or Instagram for even a minute, and there they are.
Glossy, sheer, and glowing like a fresh pastry straight out of the display case.
That specific look has a name, and it traces back to one person.
Say hello to the Hailey Bieber glazed donut nails trend, one of the most copied manicures of the past few years.
Let’s find out how you can copy this minimal nail look.
Why This Nail Trend Became So Popular?
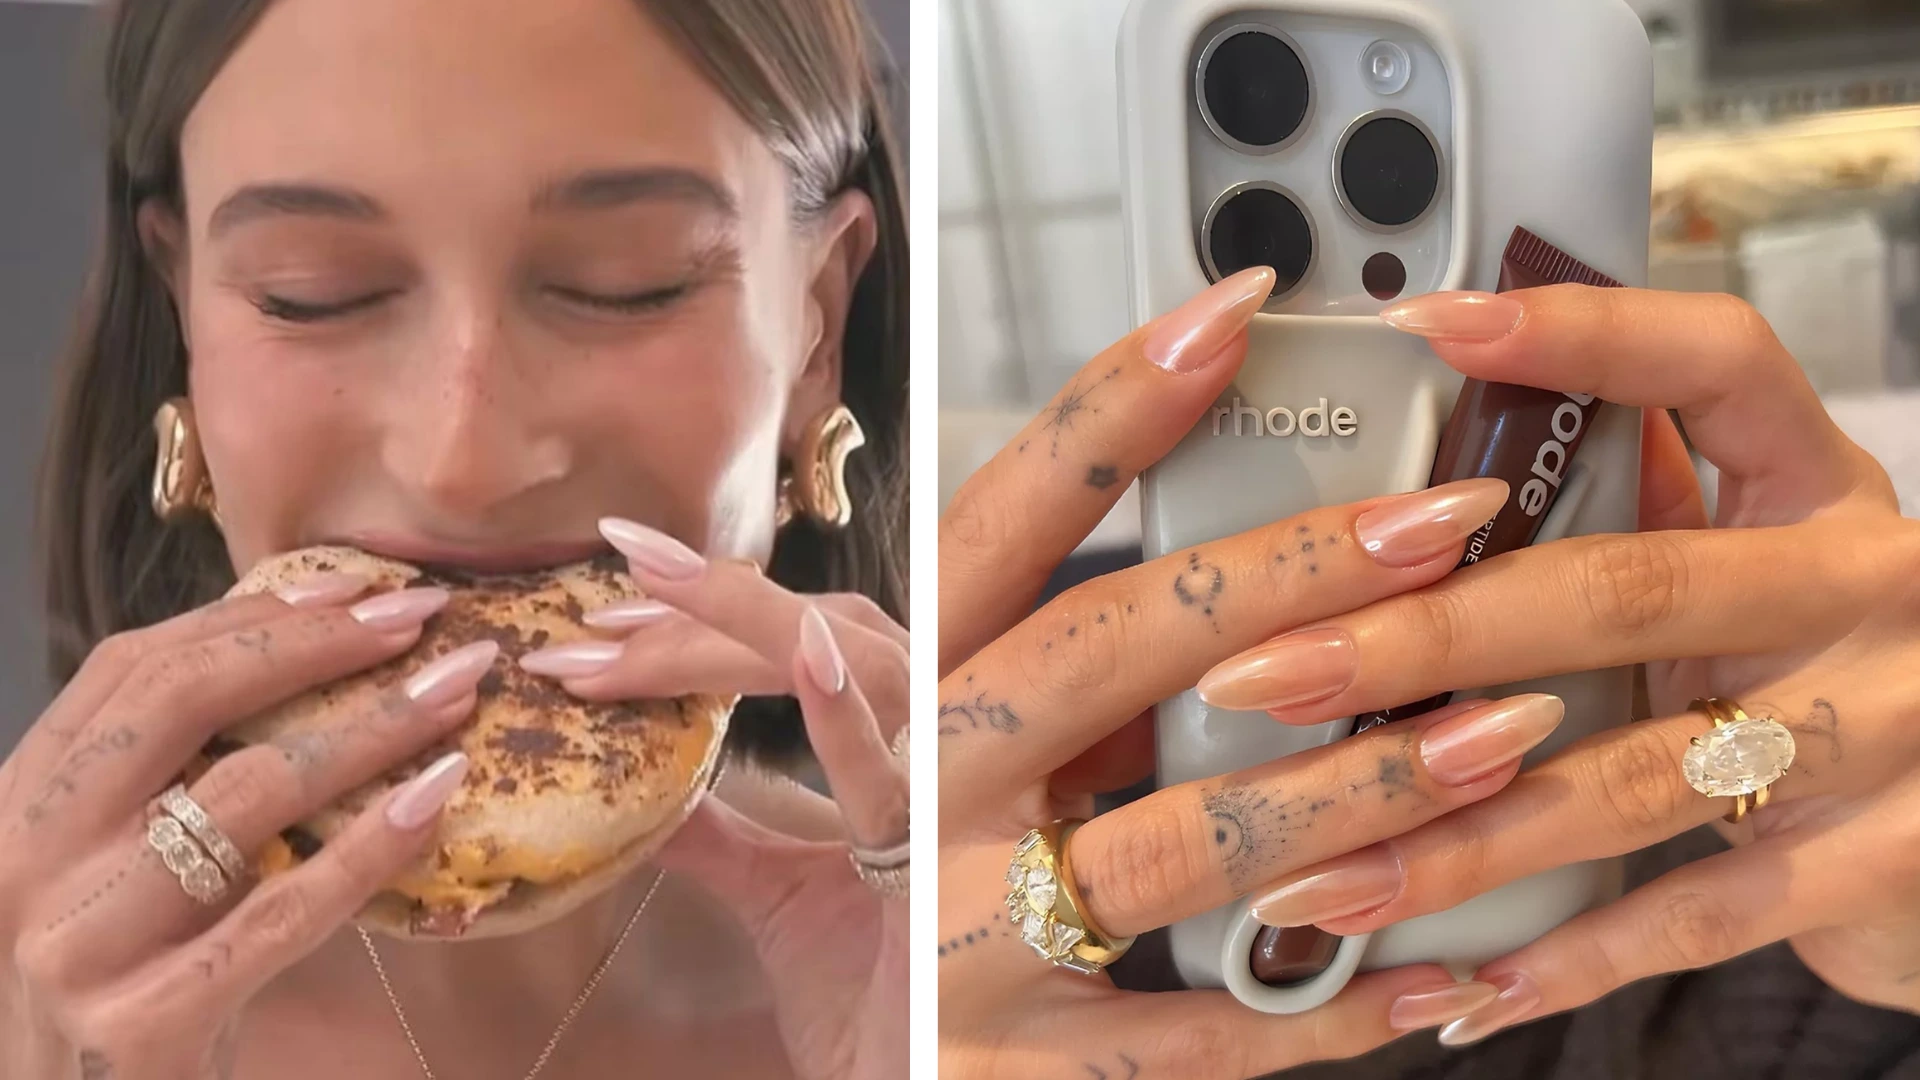
Hailey debuted it at the 2022 Met Gala, right as everyone was leaning into quiet, clean beauty, so Hailey Bieber glazed donut nails fit the mood perfectly.
It looked polished and pricey without ever trying too hard.
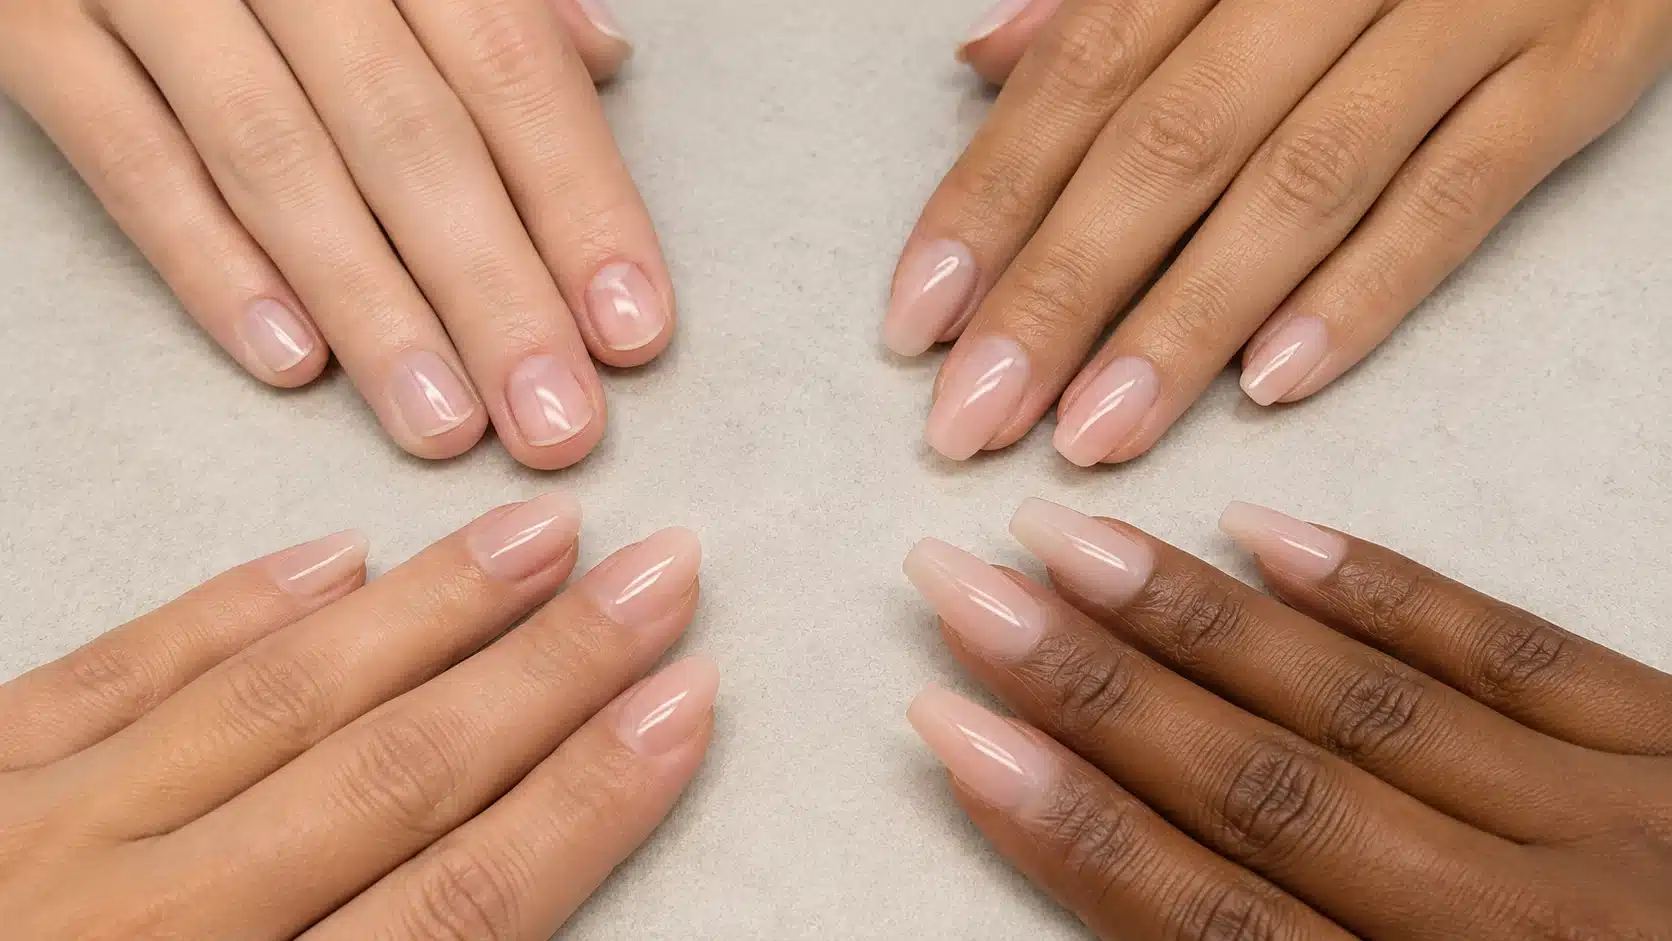
The real draw was how wearable it turned out to be, since you did not need long nails or bold color to pull it off. It flattered short nails, natural shapes, and every skin tone equally well.
Then nail artist Zola Ganzorigt shared how to recreate it; the tutorials spread fast, and the look kept evolving into new versions instead of fading away.
When talking about Hailey Bieber nails, the picture that comes to mind is of a fresh glaze covering a pastry and the dewy appearance of it lying on top, hence the name.
Step-By-Step Guide to The Hailey Bieber Glazed Donut Nails Look
Getting this look is easier than it appears, but it all boils down to how well you’re able to use the correct products in the correct order.
Below is the full walk-through, starting with what to grab before you begin.
Step 1: Gather Your Supplies
Before you touch a single nail, lay everything out so you are not scrambling mid-application. Here is your checklist:
- A gel base coat.
- A sheer or milky-white gel polish.
- Chrome powder, ideally a silver or pearl shade.
- A soft eyeshadow applicator or foam sponge.
- A no-cleanse top coat.
- An LED or UV lamp.
- Nail prep basics including a buffer, cuticle pusher, and a lint-free wipe.
Once your station is set, you are ready to prep.
Step 2: Prep Your Nails
Good preparation is something that everybody skips, but it’s what will determine just how long your manicure lasts. Keep your nails clean and move slowly at this step.
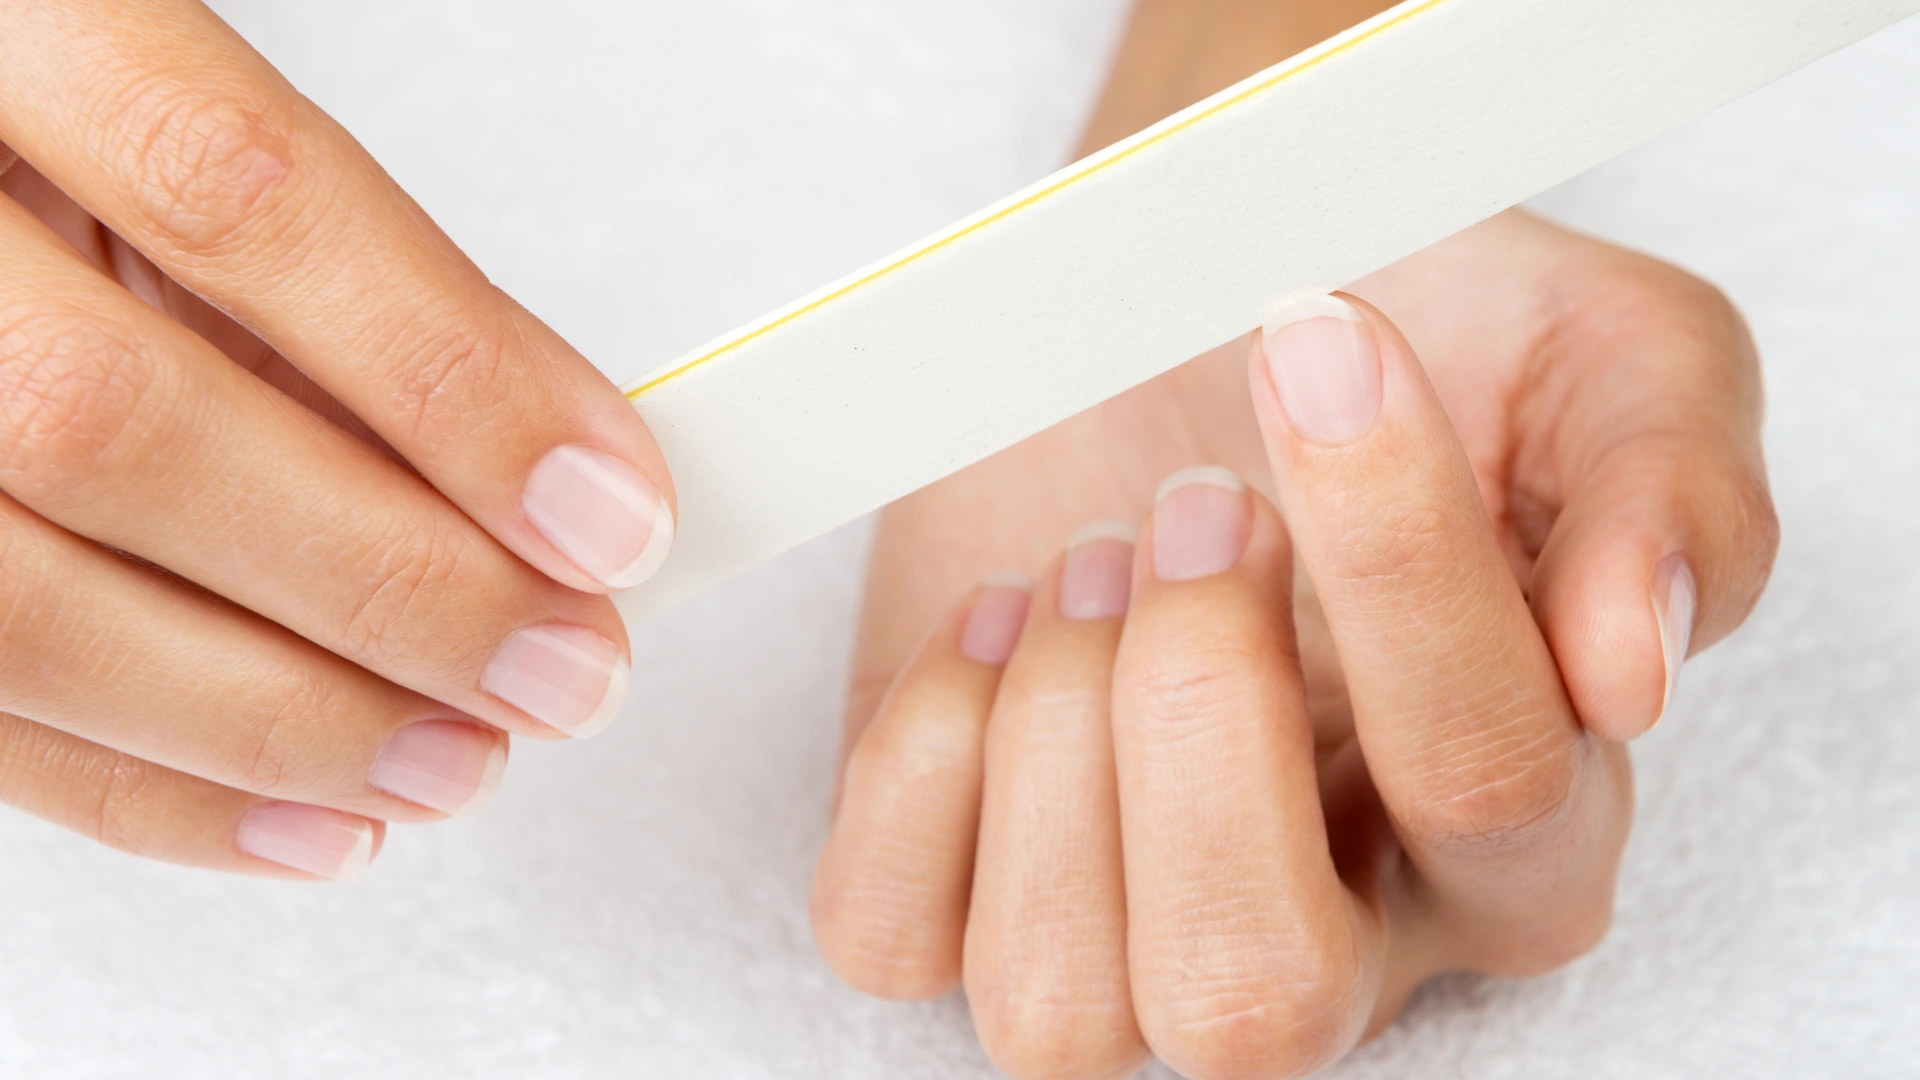
- Gently push back your cuticles and trim any extra skin so that the polish can sit flat.
- Buff each nail surface lightly until you lose all of the shine. It gives something for the base coat to adhere to.
- Cleanse each nail with a lint-free wipe and alcohol to remove oils and dust.
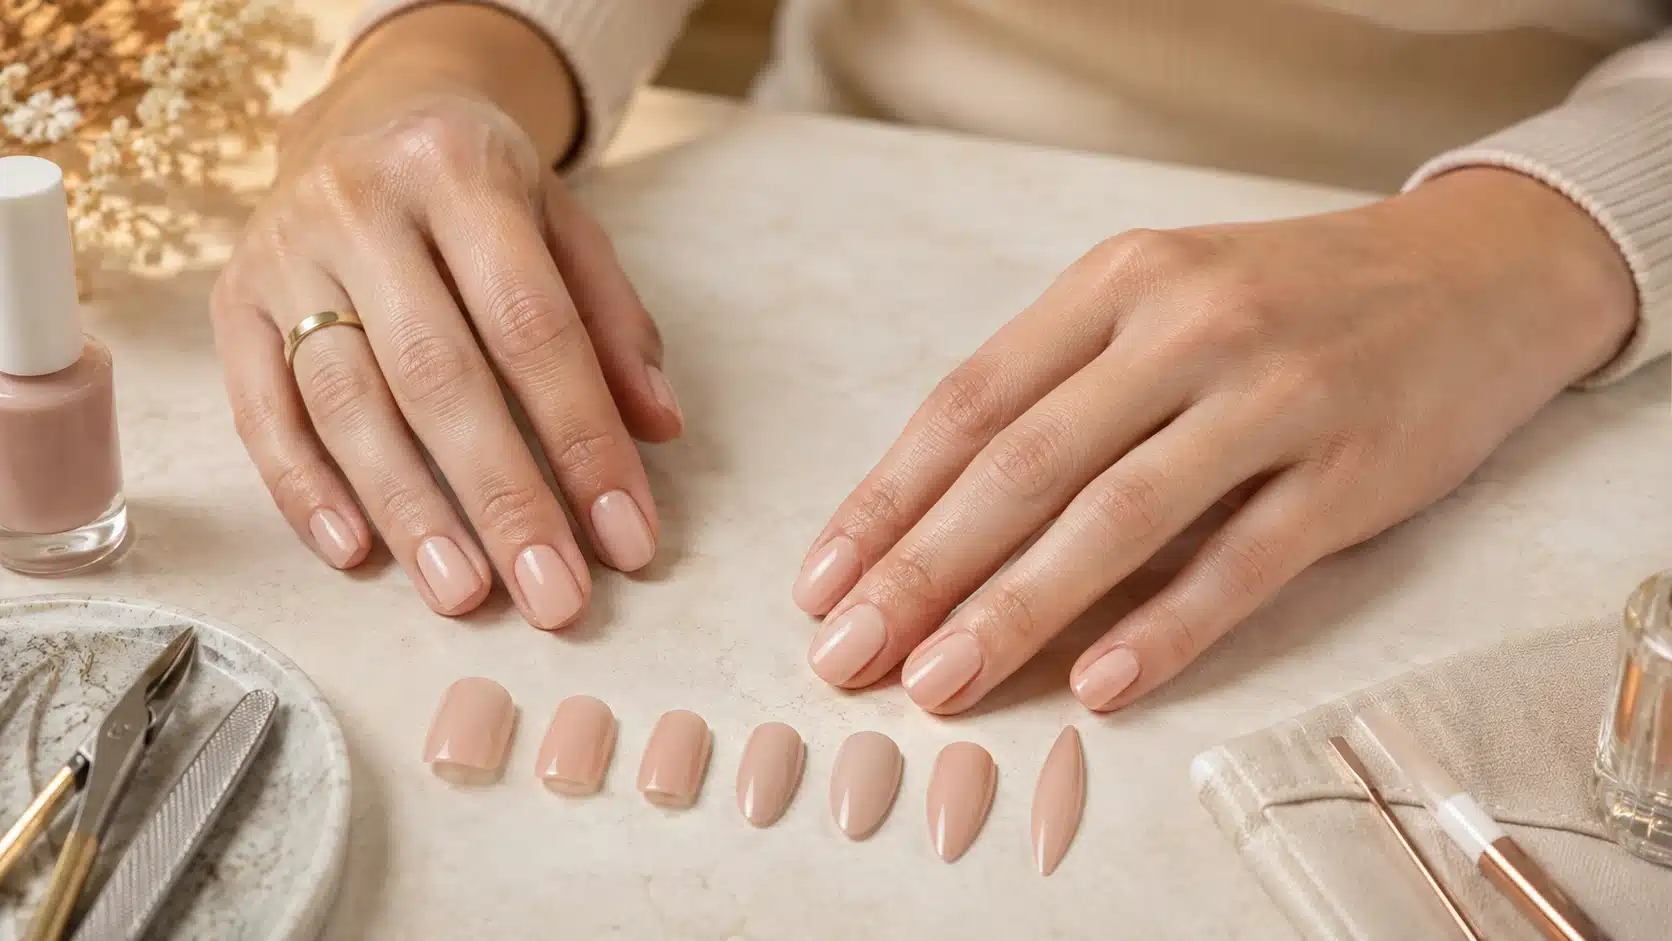
- You can shape your nails however you choose; both short, round, and softly almond-shaped nails work well for this style.
Once your nails feel dry and squeaky, apply a thin layer of gel base coat and cure it under your lamp. Do not flood the cuticles, since thick edges lift early.
Any shaping should happen during prep. Avoid filling after the chrome goes on s it scratches through the reflective layer and ruins the glassy effect.
Step 3: Apply the Base Color
Now for the milky glow that makes the whole thing work. Grab your sheer white gel and keep your coats thin.
- Brush on one light coat of the sheer polish, then cure it fully.
- Add a second coat for that soft, barely-there whiteness, and cure again.
Two thin coats almost always beat one heavy one.
The magic of Hailey Bieber glazed donut nails lives in that see-through, lit-from-within finish, so let a bit of your natural nail show through.
Step 4: Create the Glazed Finish
This is the step that turns a plain sheer manicure into the real thing. Do not cure yet, and take your time.
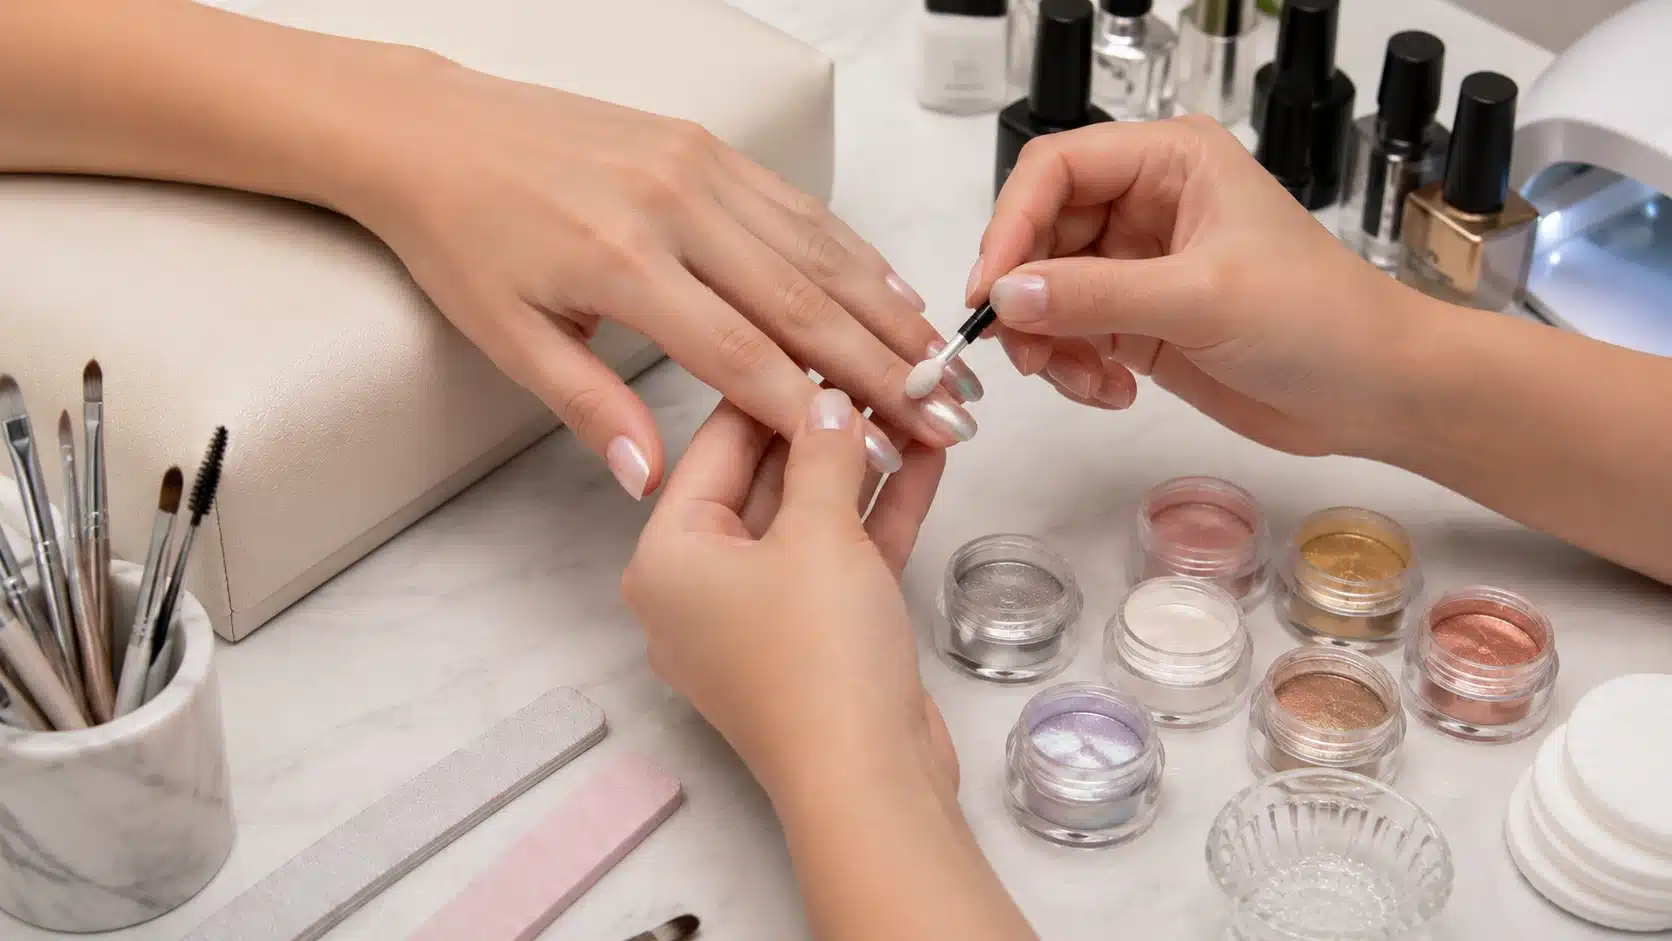
- Dip your soft applicator or sponge into the chrome powder.
- Press and rub it onto each nail using small circular motions, working from base to tip.
- Keep buffing until the surface turns mirror-like and reflective. The more you press, the shinier it gets.
- Dust off any loose powder with a clean brush before moving on.
Chrome only bonds over cured gel, so your base color needs to be set and slightly tacky-free before this. If the shine looks patchy, add a touch more powder and keep rubbing until it evens out.
Step 5: Seal and Finish
Almost there. This last step locks in that glass-like glow so it does not fade after a day.
- Apply a no-cleanse top coat, since a regular wipe-off one can dull the chrome.
- Cover the whole nail, including the free edge, to seal everything in.
- Cure one final time under your lamp.
- Once set, add a drop of cuticle oil and massage it in.
That is the full look, done. Your finished set should catch the light from every angle, which is exactly what makes glazed donut nails so satisfying to wear.
Make sure you are not touching your nails before the final cure. That soft, powdery surface picks up fingerprints and smudges instantly.
Best Glazed Donut Nail Color Variations
Once the trend took off, people started playing with the base color while keeping that signature chrome glow on top.
So if the plain version feels a little too safe for you, one of these spin-offs will likely hit the spot. Let us start with the one that began it all.
1. Classic Pearl White
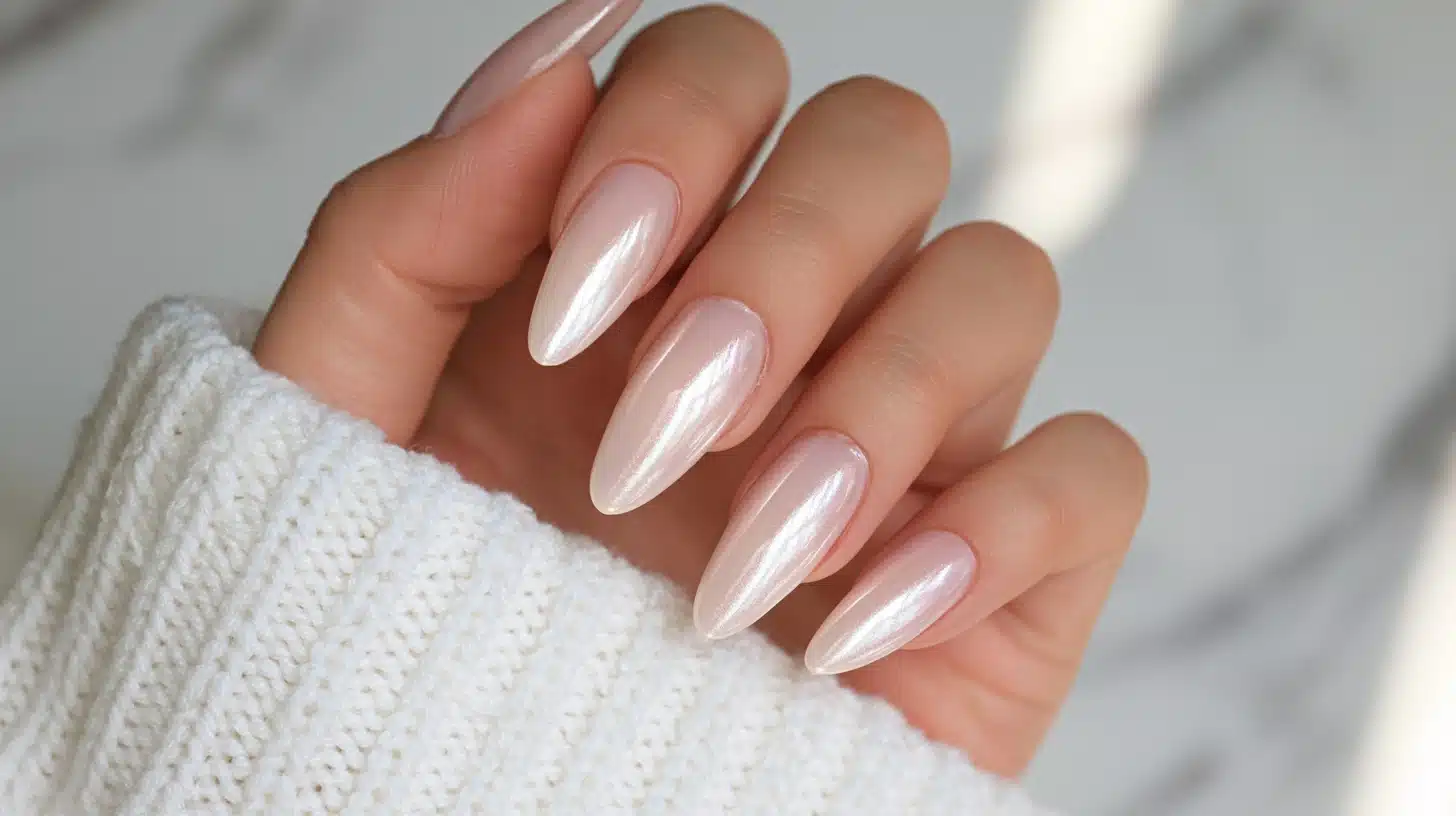
This is the original hailey beiber glazed donut nails, and honestly it is still the one most people reach for.
It is neutral without being boring, and it reads clean and pulled-together on pretty much everyone.
The cherry on the top is that It suits every skin tone, since the sheer base lets your natural nail peek through instead of masking it.
If you are trying the trend for the first time, start here. It is the safest, most flattering entry point, and it never really goes out of style.
2. Pink Glazed Nails
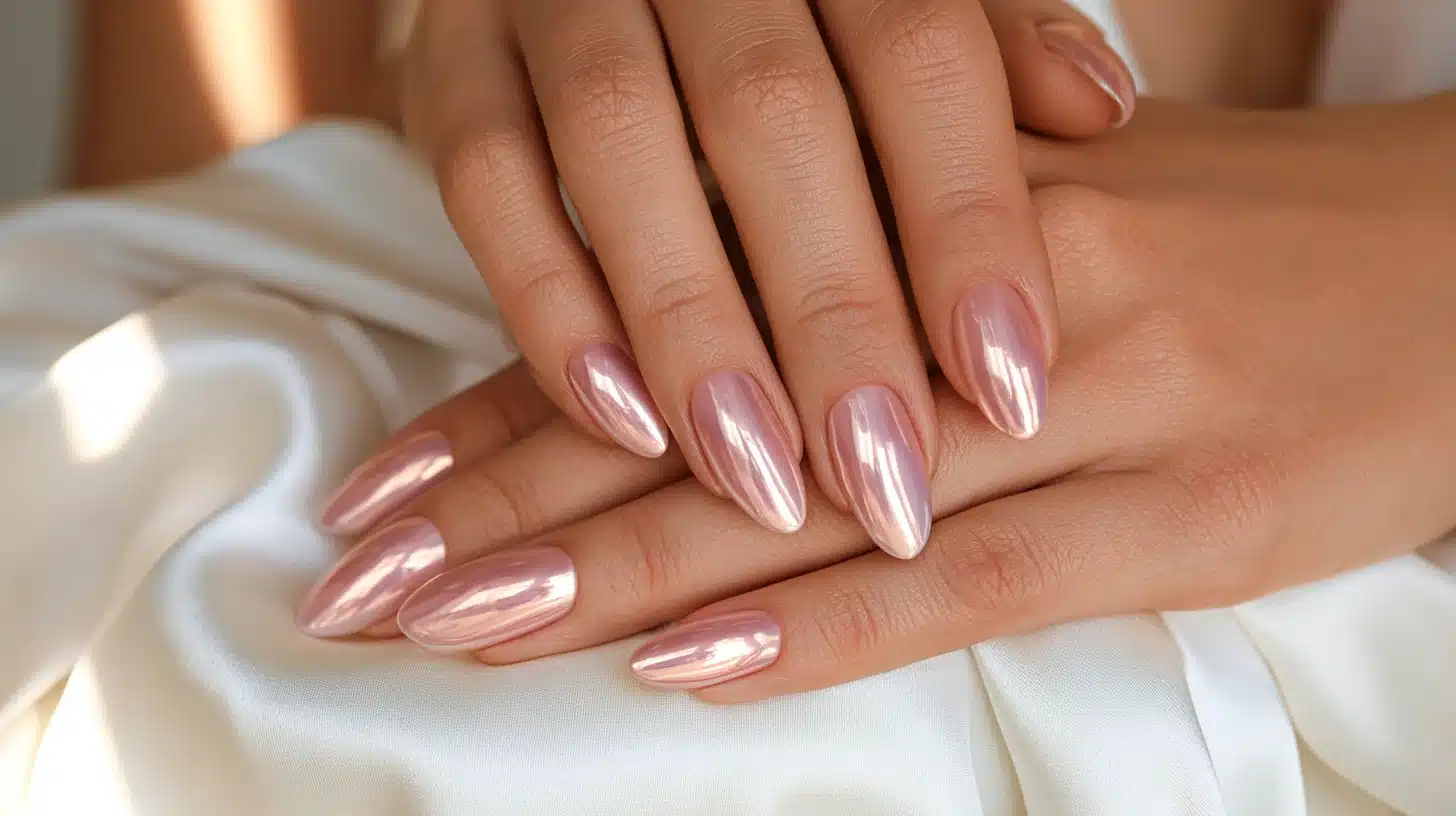
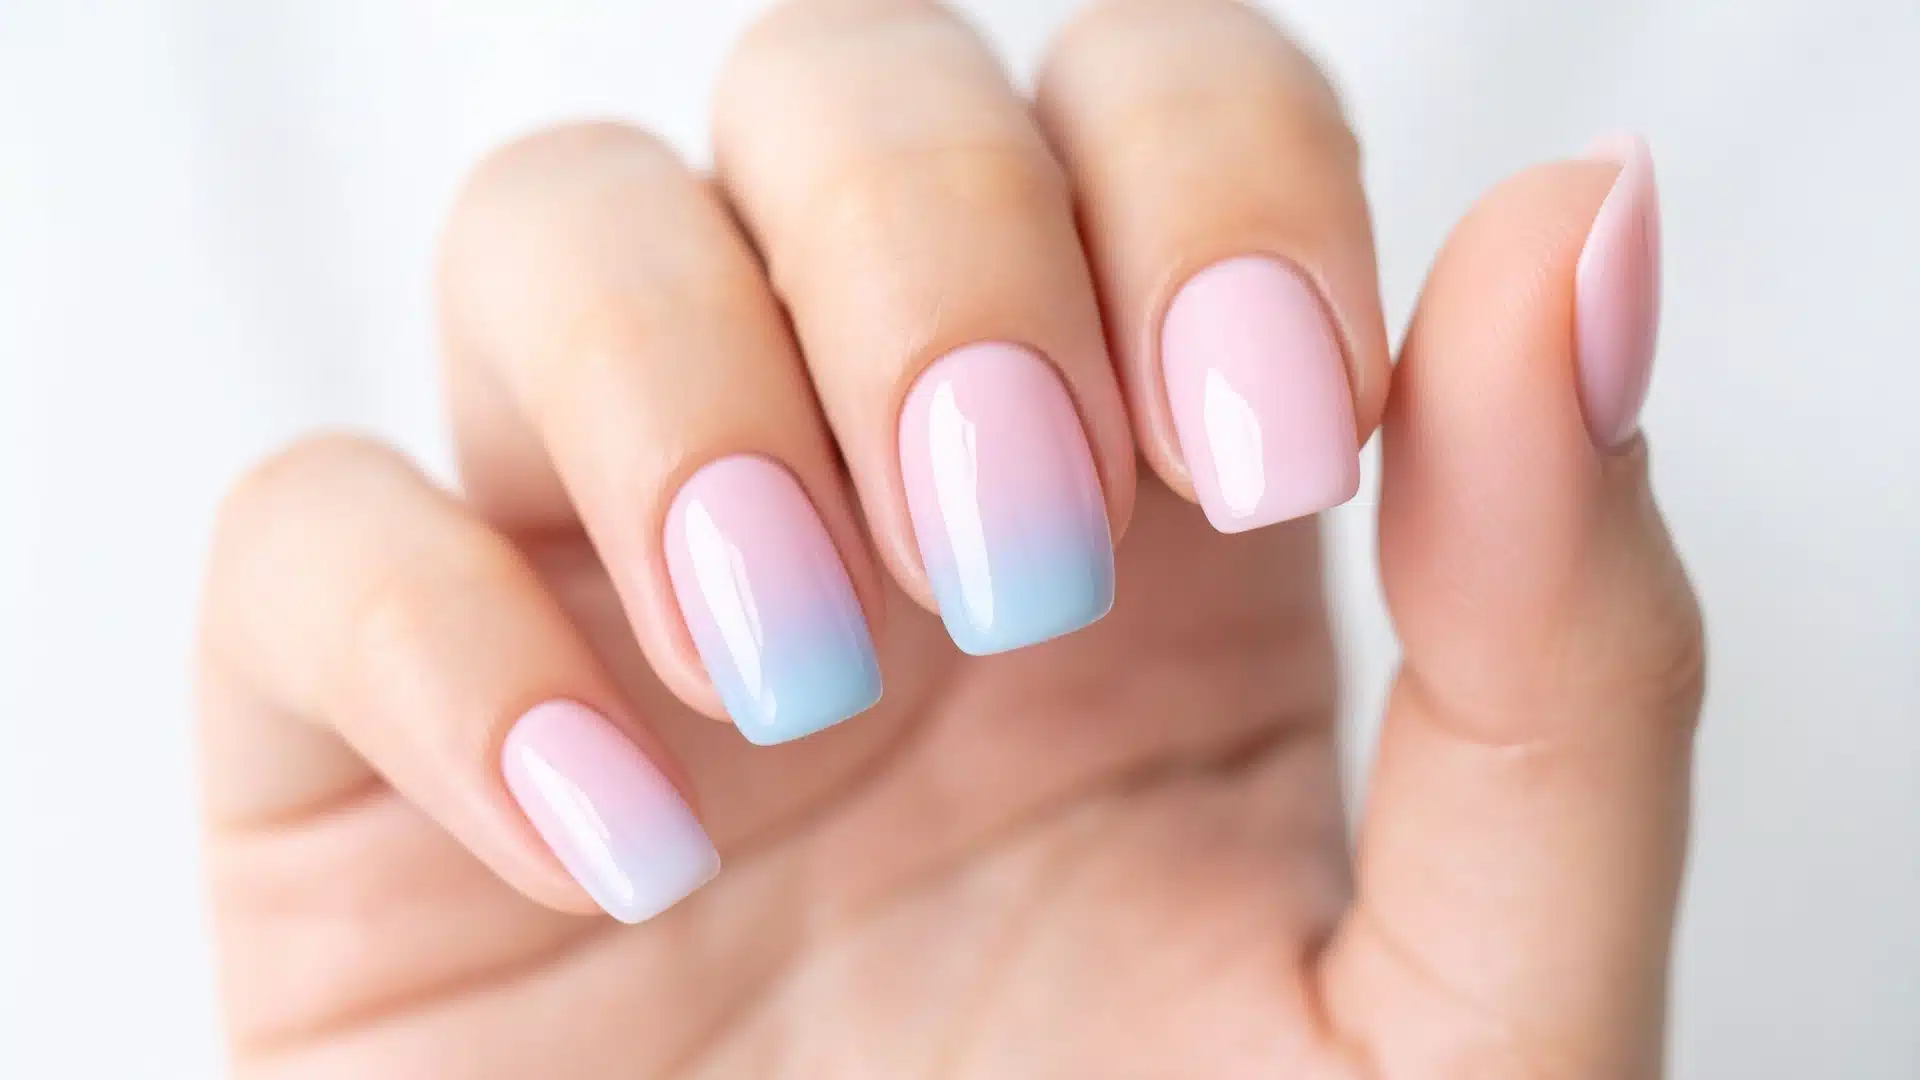
Swap the white base for a soft, sheer pink, and you get a sweeter, girlier take on the glaze.
It keeps that same wet chrome shine but adds a subtle warm flush that flatters most skin tones beautifully and feels playful yet still low-key, making it perfect for spring and summer.
Think cotton-candy vibes without going full-on bright or bold.
3. Chocolate Glazed Nails
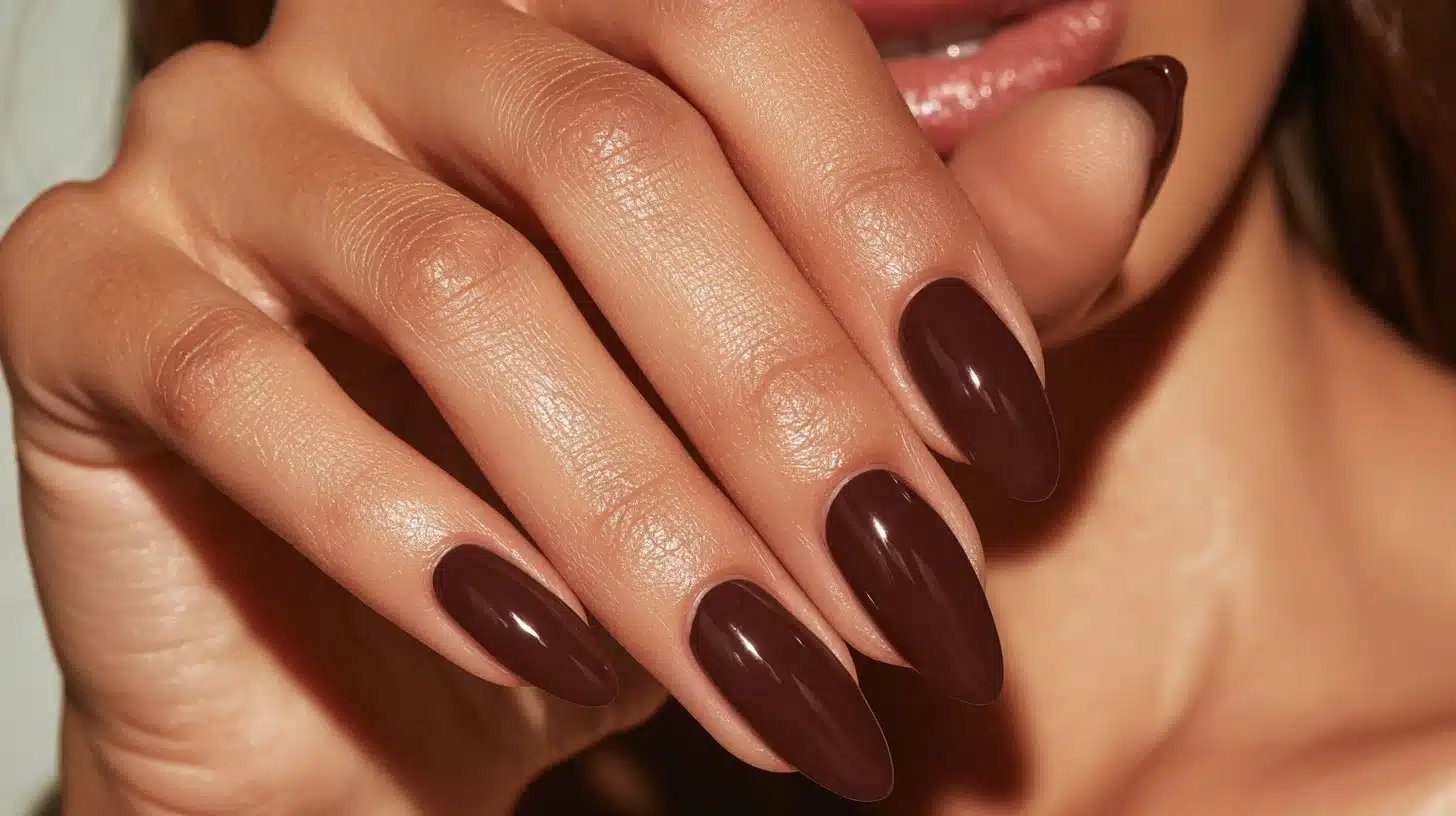
For anyone who loves a warmer, richer look, this one is a treat.
A sheer brown base gets that chrome topper, giving a glossy, caramel-like glow that reads cozy and expensive at once.
It is a favorite come fall, and it pairs gorgeously with deeper skin tones. Basically, it is your neutral mani, but leveled up for sweater season.
4. Strawberry Glazed Nails
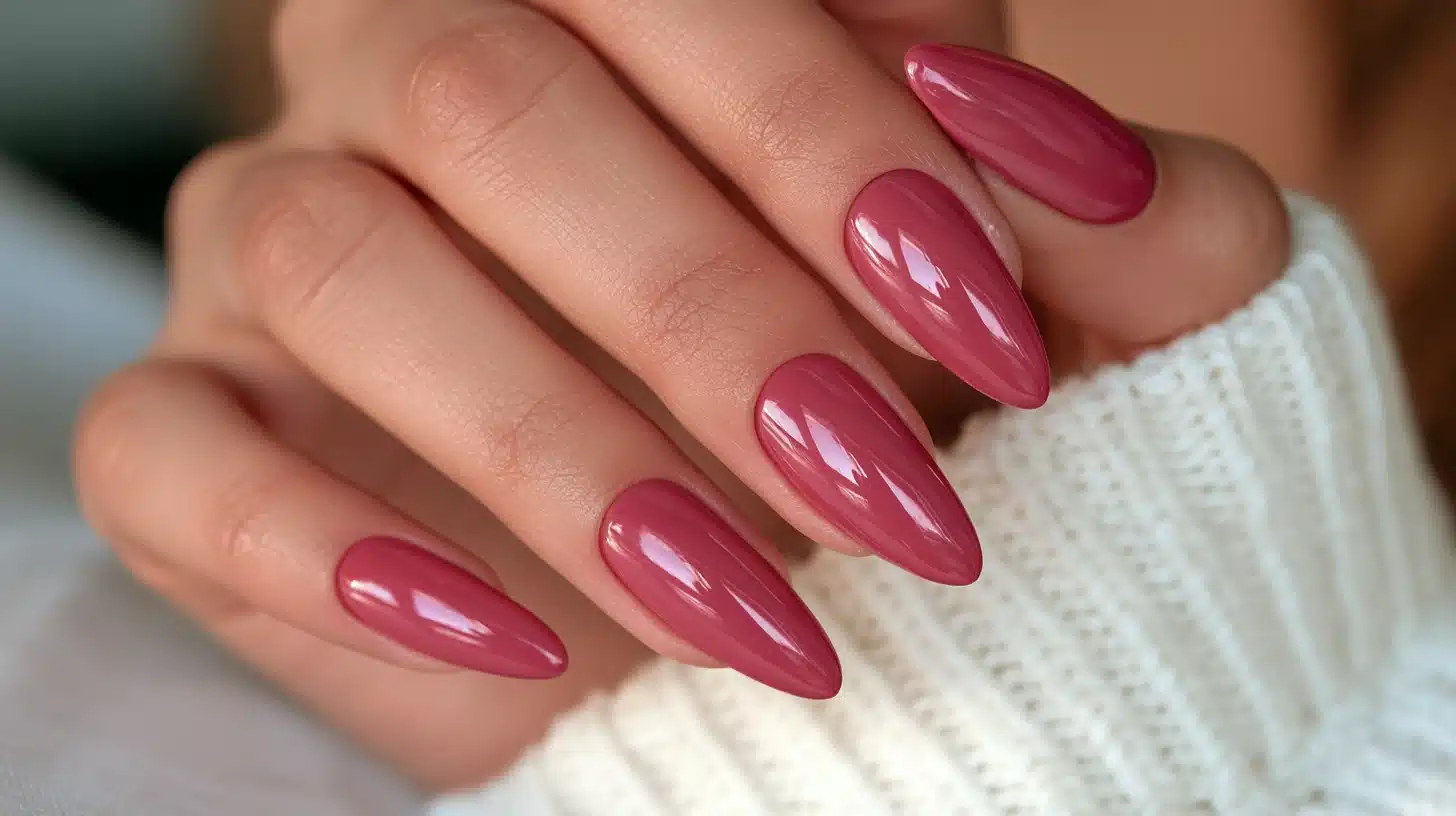
This is the pink version’s flirtier cousin.
A sheer, berry-tinted base topped with chrome gives a fresh, juicy finish that looks like sunlight hitting fruit.
If you want something a little more noticeable than pearl white but still soft, this hits that sweet middle ground perfectly.
5. Vanilla Chrome Nude
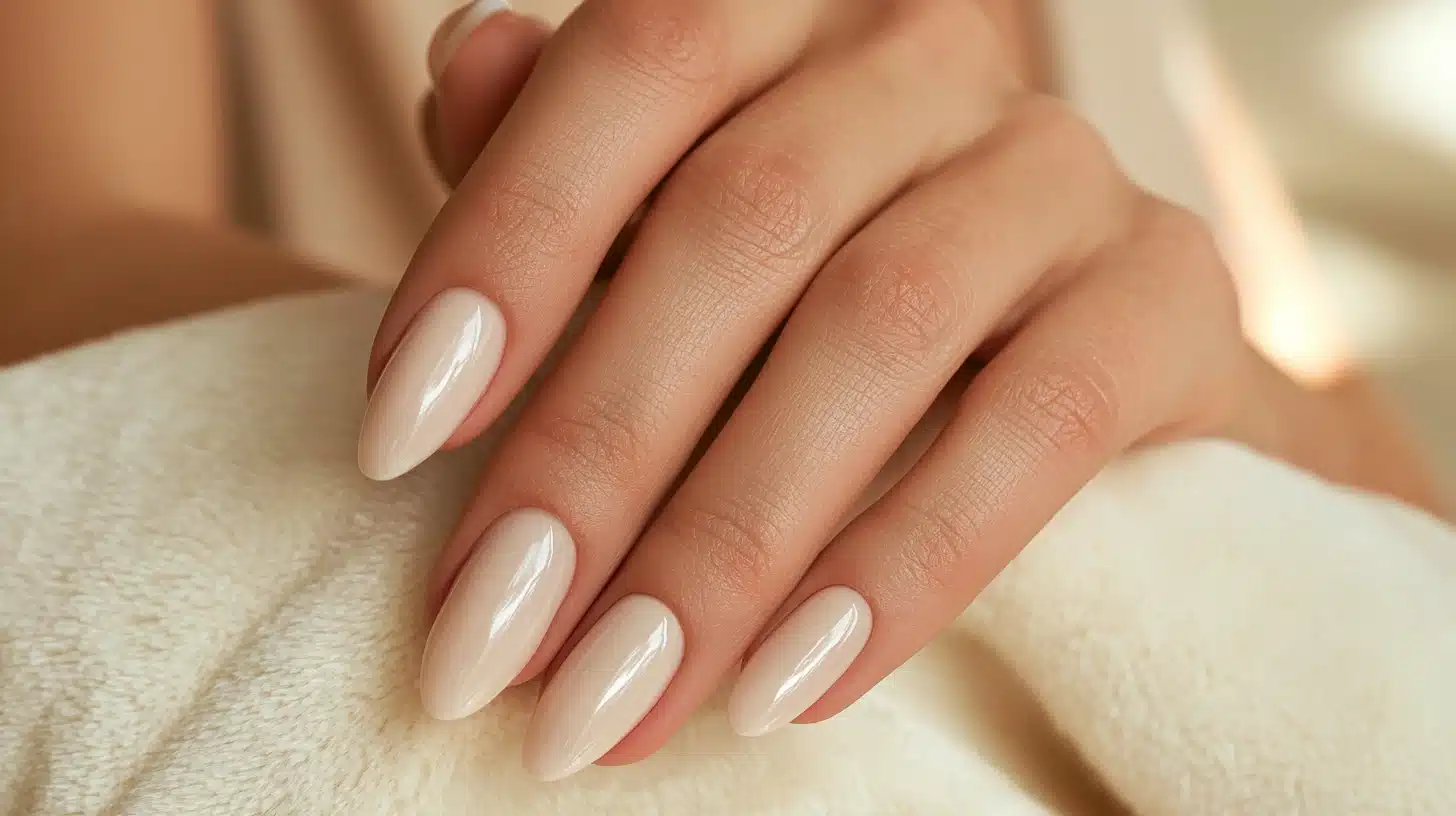
Think of this as the barely-there option. A creamy nude base with chrome on top gives a smooth, my-nails-but-better glow that suits any outfit or occasion.
It is understated, clean, and endlessly wearable, which makes it a go-to for people who like their manicures quiet.
Neutral lovers, this is the one you will reach for again and again.
6. Glazed French Manicure
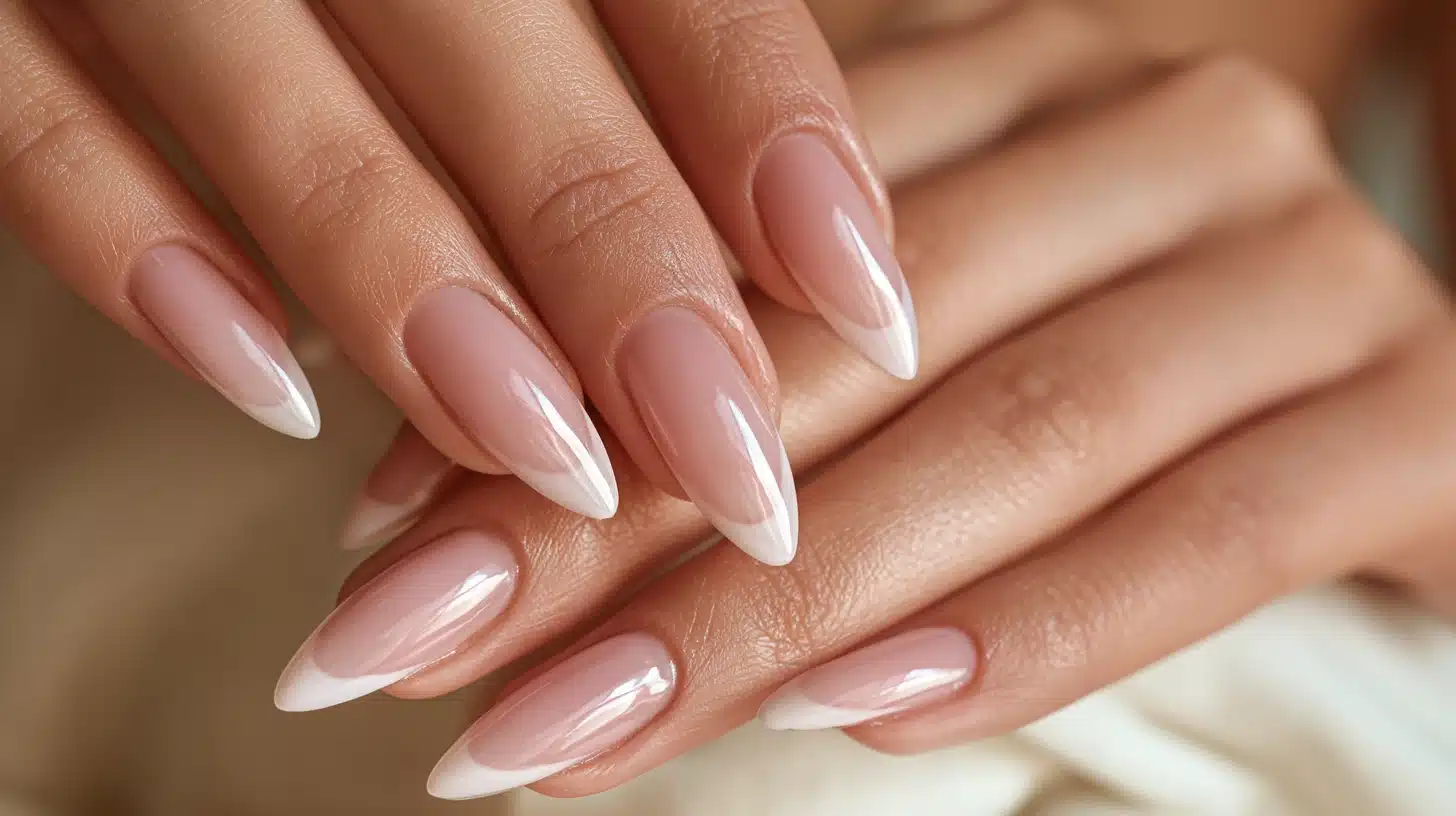
This spin fuses two big trends into one.
You keep a classic French tip, then brush chrome over the whole nail for that glossy, glazed sheen.
The result feels fresh and modern while still nodding to a timeless look. It is a great pick for weddings or events, when you want polish with a little extra shine.
Wrapping it Up
So there you have it.
What started as one Met Gala manicure turned into a look that just refuses to fade, and it is easy to see why.
Hailey Bieber’s glazed donut nails are simple, flattering, and endlessly wearable, whether you stick with the classic pearl or play around with a pink or chocolate twist.
The best part is that you can pull it off at home with the right tools and a little patience.
So go ahead and give that glazed glow a try.
Frequently Asked Questions (FAQs)
1. How Long Do Glazed Donut Nails Last?
Done with gel and chrome powder, they typically last two to three weeks before growth shows. Regular polish versions fade within a few days.
2. Can I Get Glazed Donut Nails without Gel?
Yes, but the shine will be softer and less mirror-like. Chrome powder needs a tacky gel top coat to truly bond and reflect.
3. Do Glazed Donut Nails Work on Short Nails?
Absolutely. The look flatters short, natural nails just as well as long ones, since the glow comes from the finish, not the length.