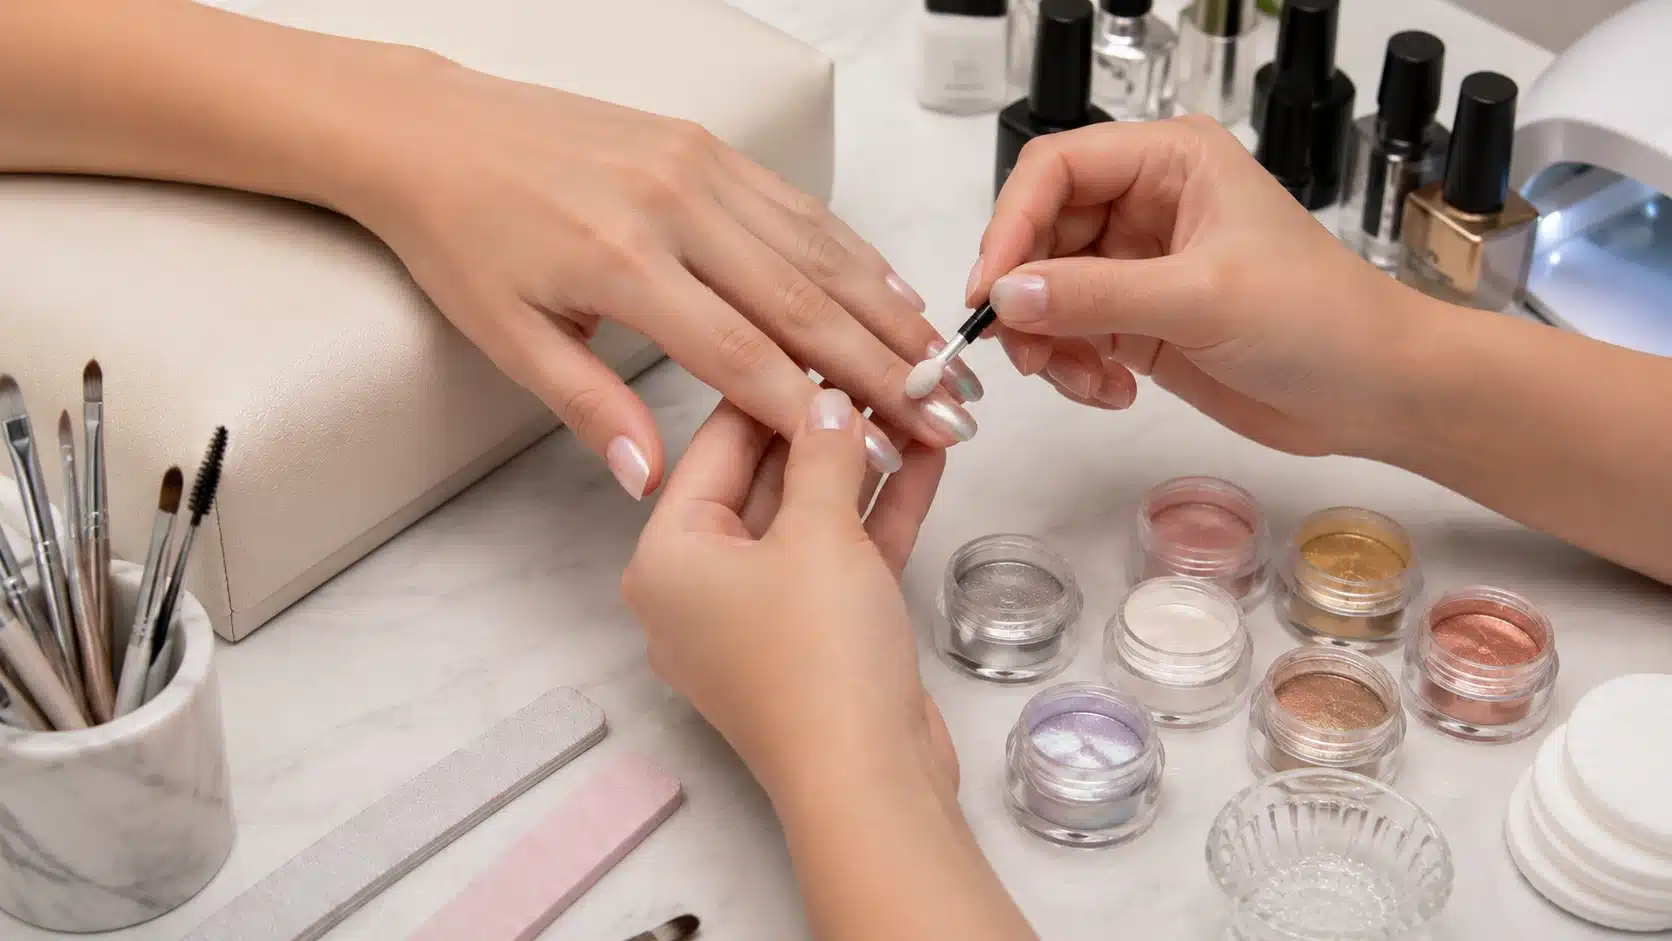
Ombre nails always look easy in photos, but the first attempt rarely goes the way it’s planned.
It almost always goes wrong with a sponge: way too much polish on it at once, and twenty minutes later, smudgy streaks and stained fingertips instead of a gradient.
Ombre is actually one of the easier nail art techniques once you know a few small tricks.
This covers how to do ombre nails properly, including the small details that usually get left out and how it is maintained in the long run.
What Are Ombre Nails?
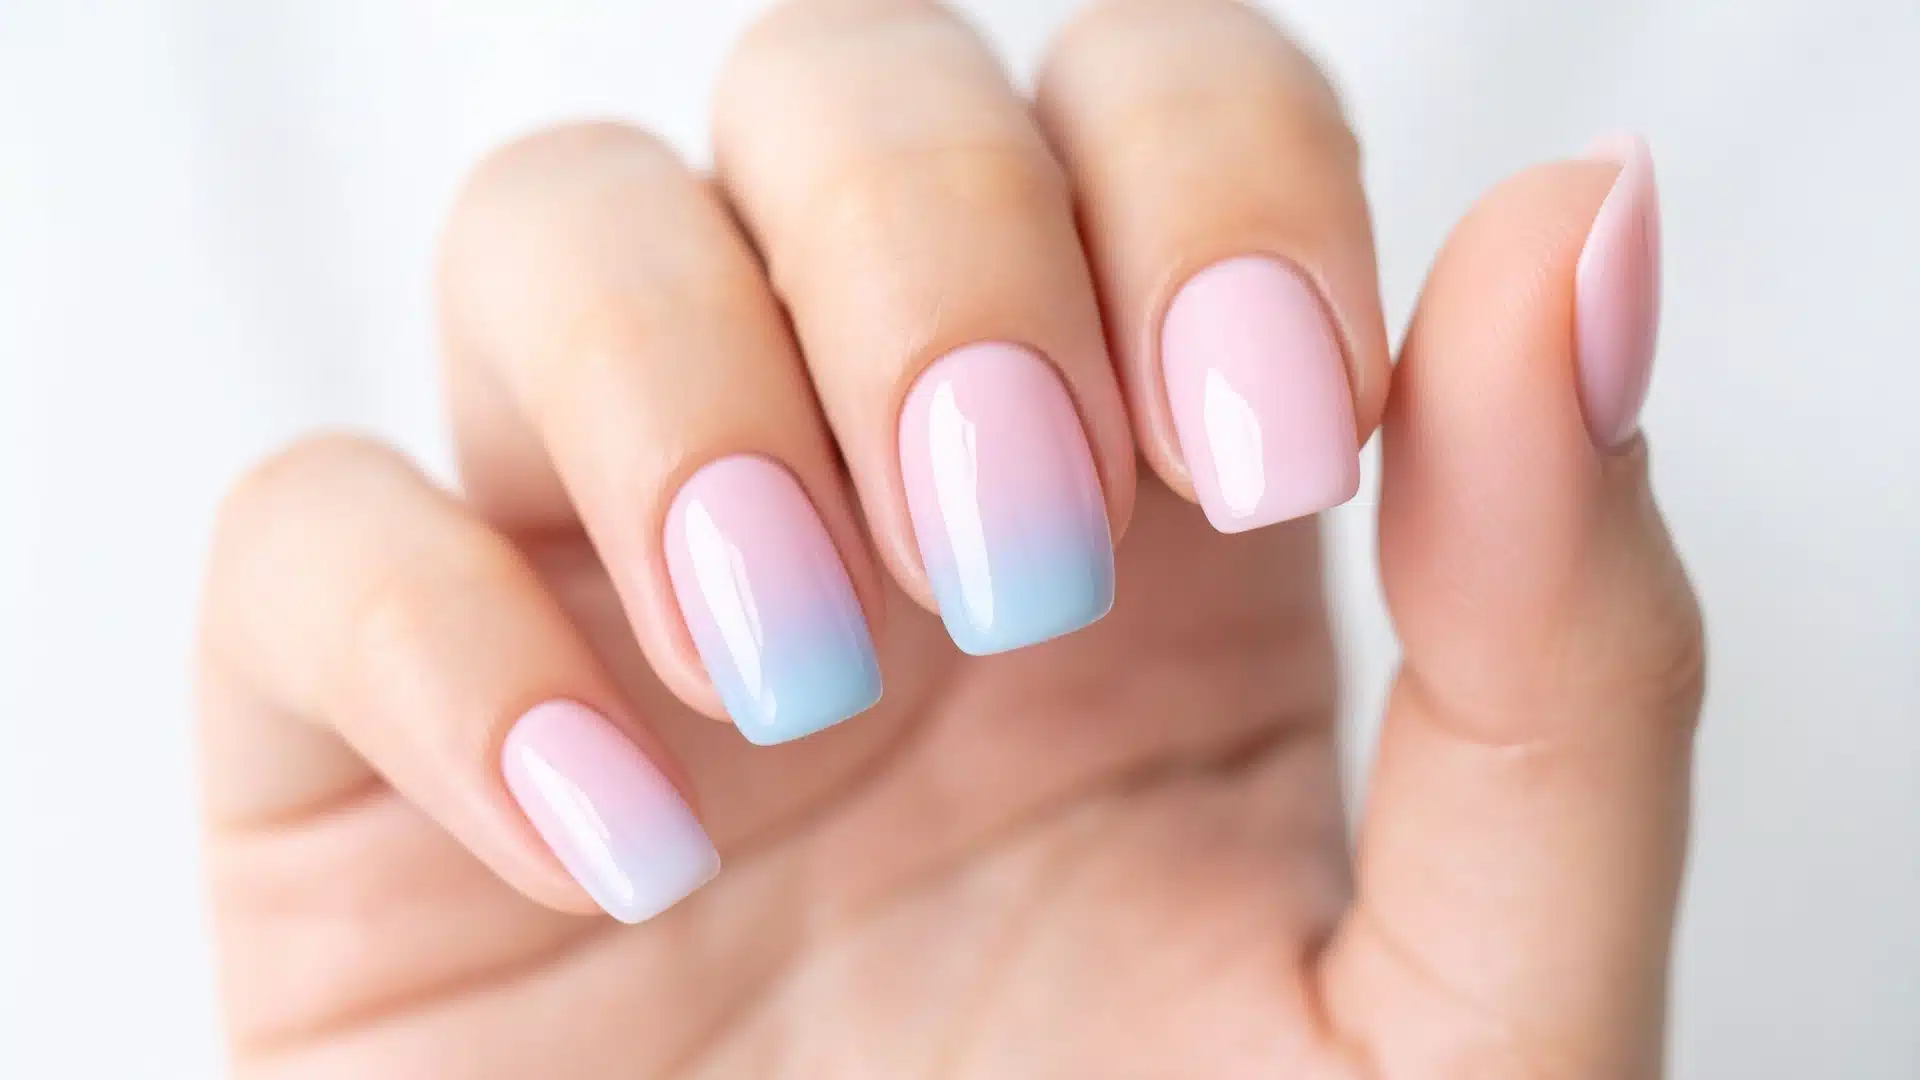
Ombre nails are a manicure where one color fades smoothly into another with no hard line between them, dark to light, light to dark, or two totally different shades blended together.
It works on almost any nail shape or length, which is part of why the look has stuck around for over a decade, giving a polished, intentional finish without needing the steady hand that detailed nail art demands.
The basics are simple and cover all three methods, so there’s no need to buy anything separate for each one.
A base coat, two to three polish shades (regular or gel, depending on the method), a dense wedge makeup sponge, and a small flat or ombre brush for the gel method.
A thick glossy top coat, nail polish remover with a small cleanup brush, and a UV/LED lamp if working with gel.
How to Do Ombre Nails?
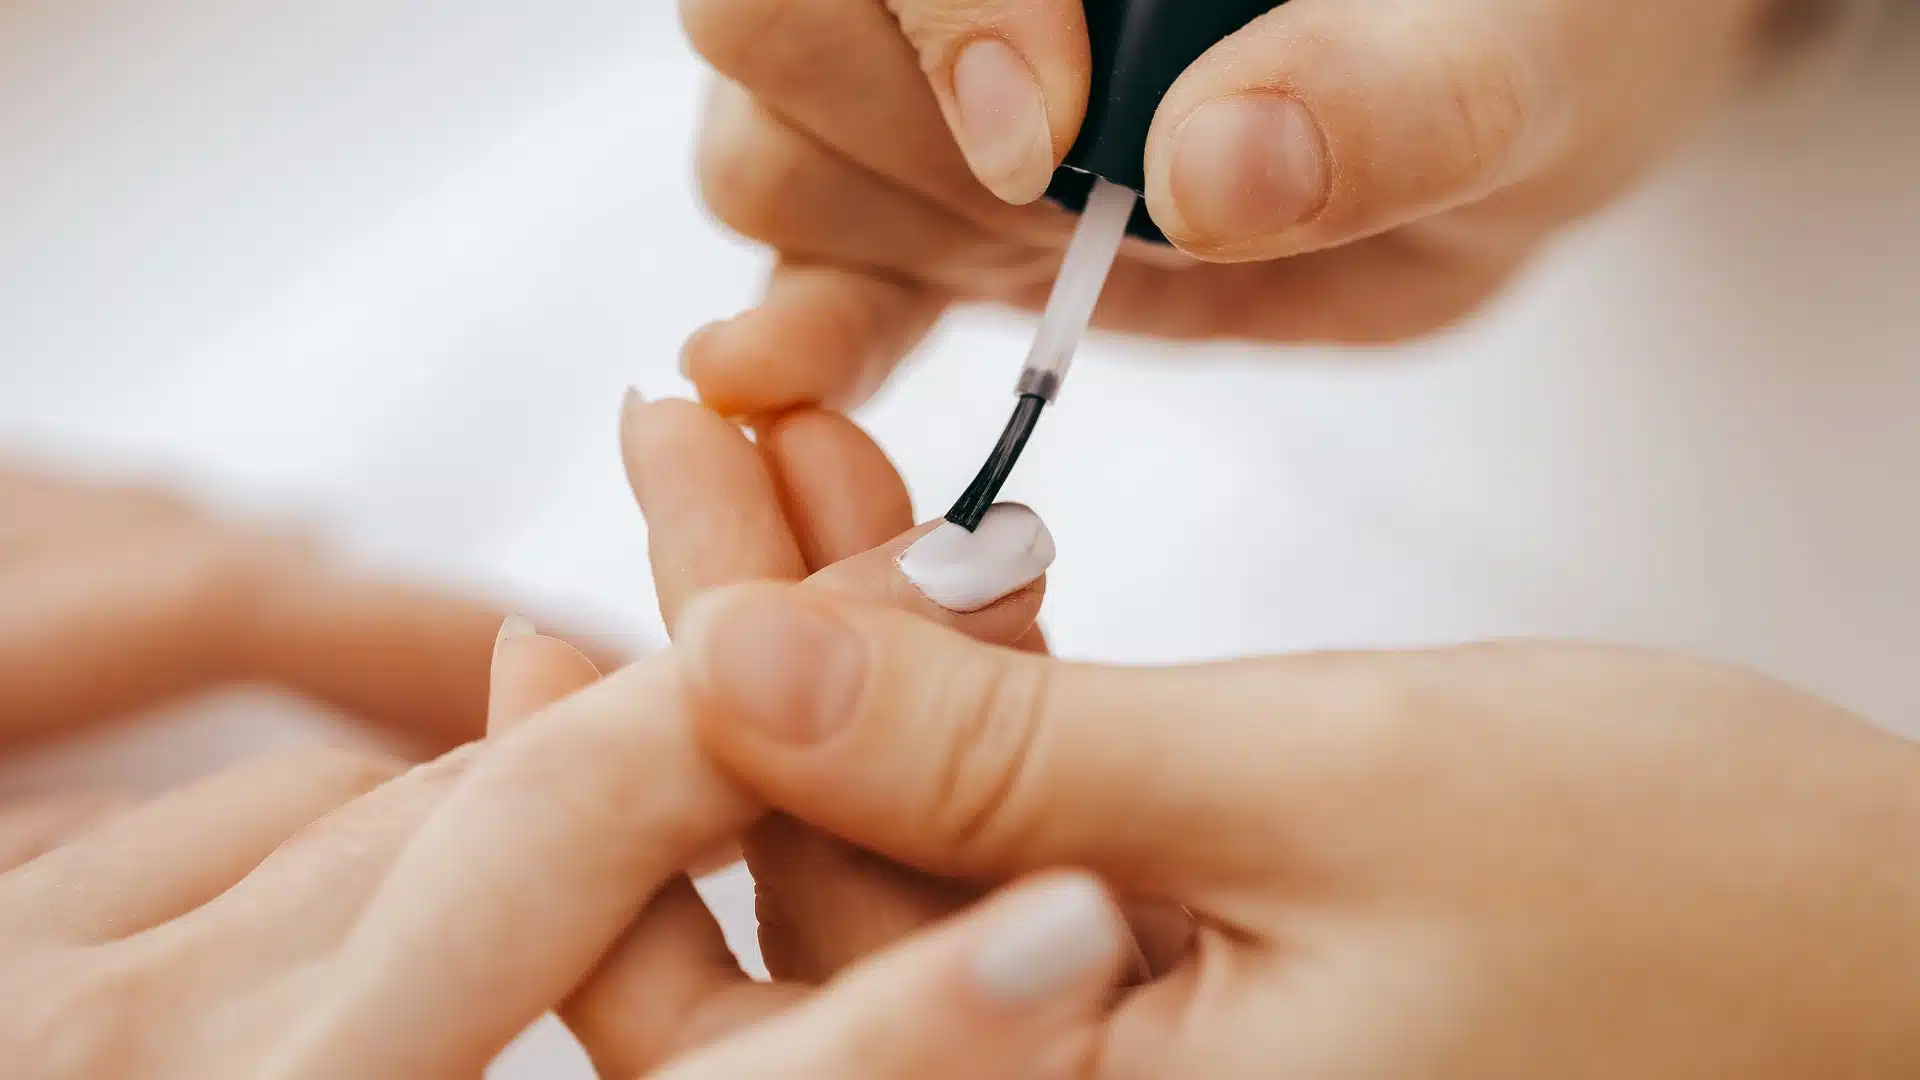
To create ombre nails, you need to know the steps for each method so you can decide what will work best for you.
1. Prep Your Nails
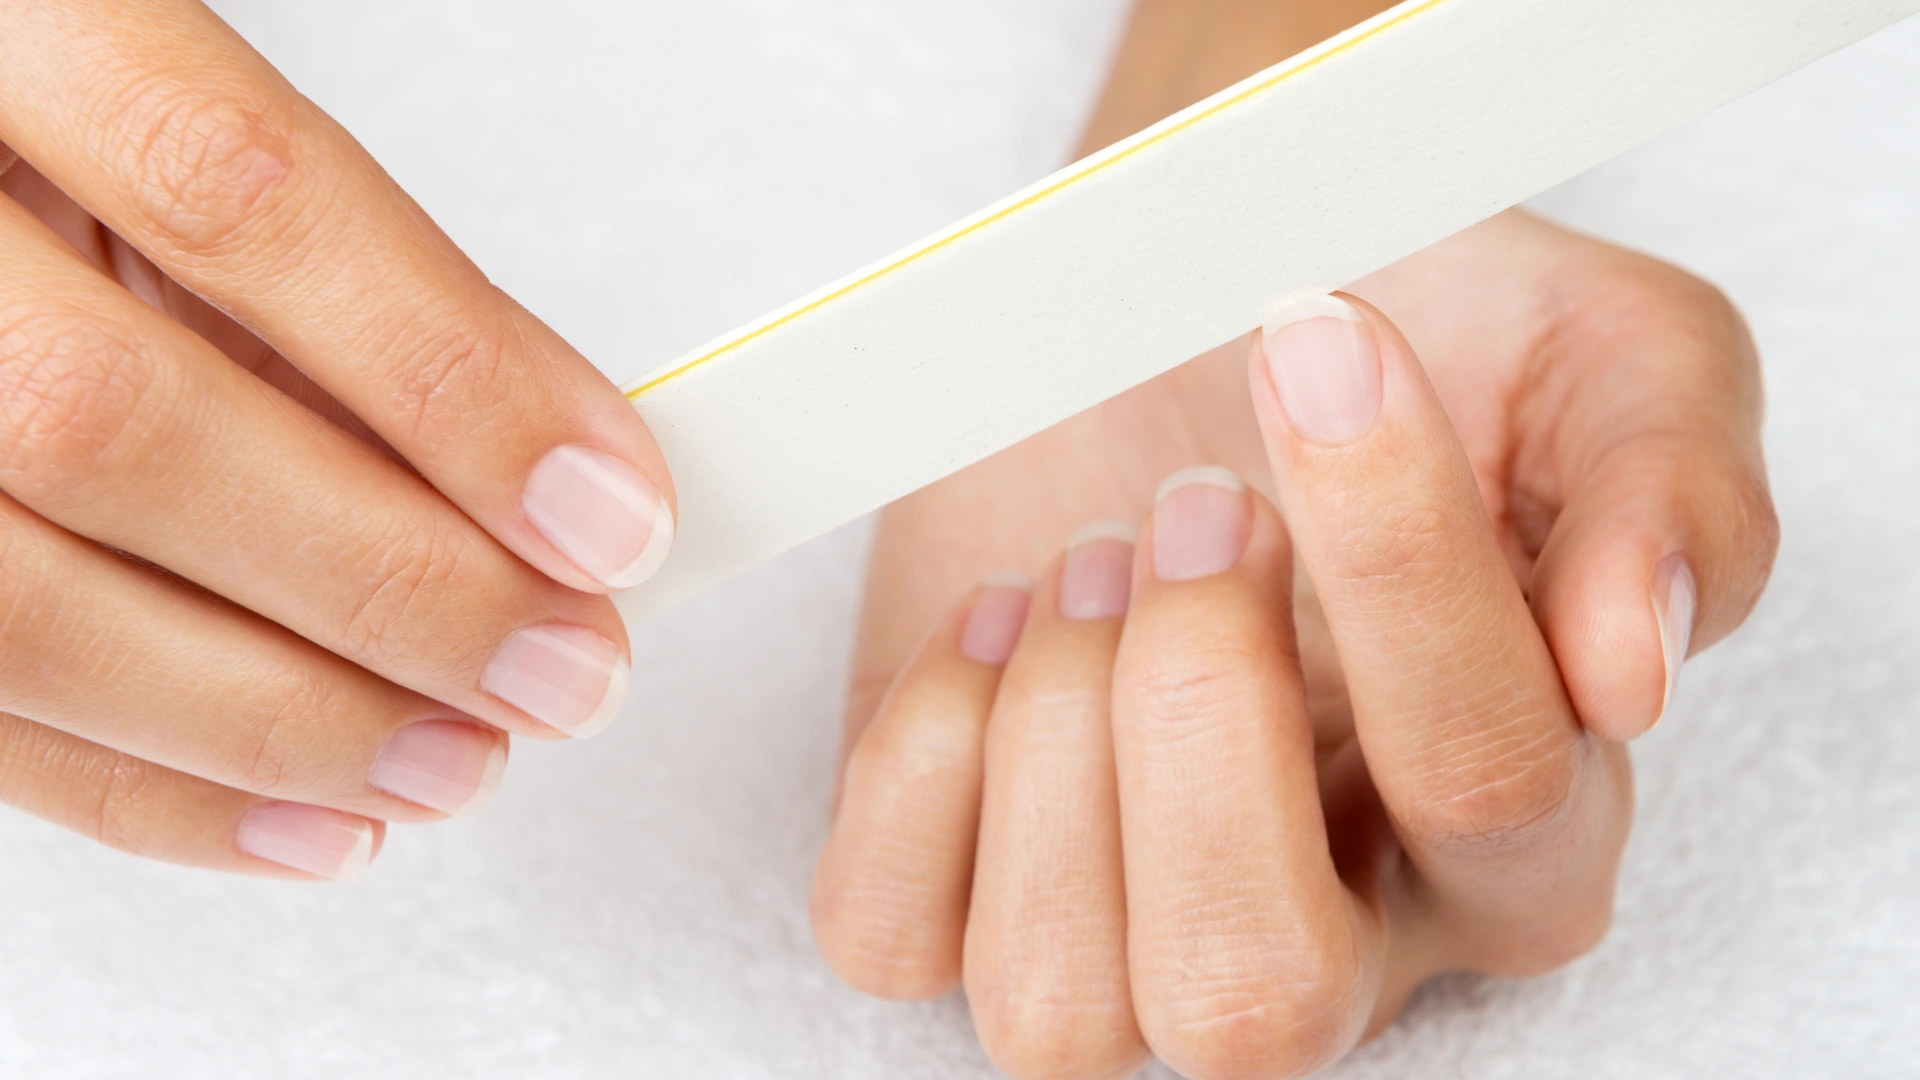
File the nails into shape, then lightly buff the surface so the base coat has something to hold onto.
Gently push cuticles back with a rubber tool.
Wipe the nail down with a bit of polish remover or alcohol to clear away any oils, then apply one thin base coat and let it dry all the way, not mostly dry, all the way.
2. Lay Down a Base Color
A light or neutral shade underneath helps the gradient colors look brighter once they’re layered on top, no matter which technique comes next.
This step is crucial, as it creates a layer between your nail and the ombre design that makes the colors look brighter when used in ombre.
3. Build the Fade Gradually
This is the step where the fade between two contrasting colors is created with the help of different tools.
Whether it’s a sponge, a brush, or a dab of glitter doing the work, the gradient always comes from thin, patient layers rather than one heavy pass; this is the step that separates a clean fade from a blotchy one.
4. Seal It with a Top Coat
A thick, glossy top coat locks the color in and smooths over any texture left behind from blending.
The exact tools and technique change depending on the polish type, which is where the methods below come in.
Dragging the brush over the very edge of the nail (known as capping) helps seal the tip, which makes your design last longer.
Different DIY Ombre Nail Methods
All the steps stay the same no matter what method you use, but the tools and technique shift depending on whether it’s regular polish, gel, or glitter doing the work. This is how each one plays out differently.
1. Sponge Technique with Regular Polish
The staple method for anyone working with standard nail polish, and the easiest to try with things already sitting in a makeup bag.
Two colors get painted onto a sponge in thick, overlapping stripes, then dabbed onto the nail in light layers until the gradient builds up.
It doesn’t need any special tools, and cleanup is simple with a bit of remover on a small brush around the edges.
To remove it, regular polish comes off like any standard manicure: soak a cotton pad in remover, hold it against the nail for about ten seconds, then wipe off in one firm stroke.
With a few layers of polish involved, it may take slightly longer to dissolve than a single-color manicure.
2. Brush Technique with Gel Polish
Gel polish behaves differently than regular polish on a sponge; it tends to stay put rather than transfer, so this method swaps the sponge for a small flat or ombre brush instead.
Each color gets cured under the lamp as it goes, and the blending happens by patting the brush along the line where the two shades meet rather than dabbing.
It takes a bit more precision and speed than the sponge method, since gel starts to firm up under ambient light, but it gives a cleaner, more controlled fade.
3. No-Blend Glitter Fade (Beginner Friendly)
This is the easiest entry point for anyone who wants the ombre look without worrying about blending technique at all.
Instead of two solid colors meeting in the middle, glitter gets patted onto the tip of the nail and naturally thins out toward the base; there’s no line to blend because the glitter hides it completely.
It’s the most forgiving of the three and needs the least practice to look intentional.
Ombre Nails Ideas to Try
These are some basic yet trendy designs you can try to max out your nail art. Based on different skin tones and seasons, these ideas can be a good place to start.
1. Coral to Nude
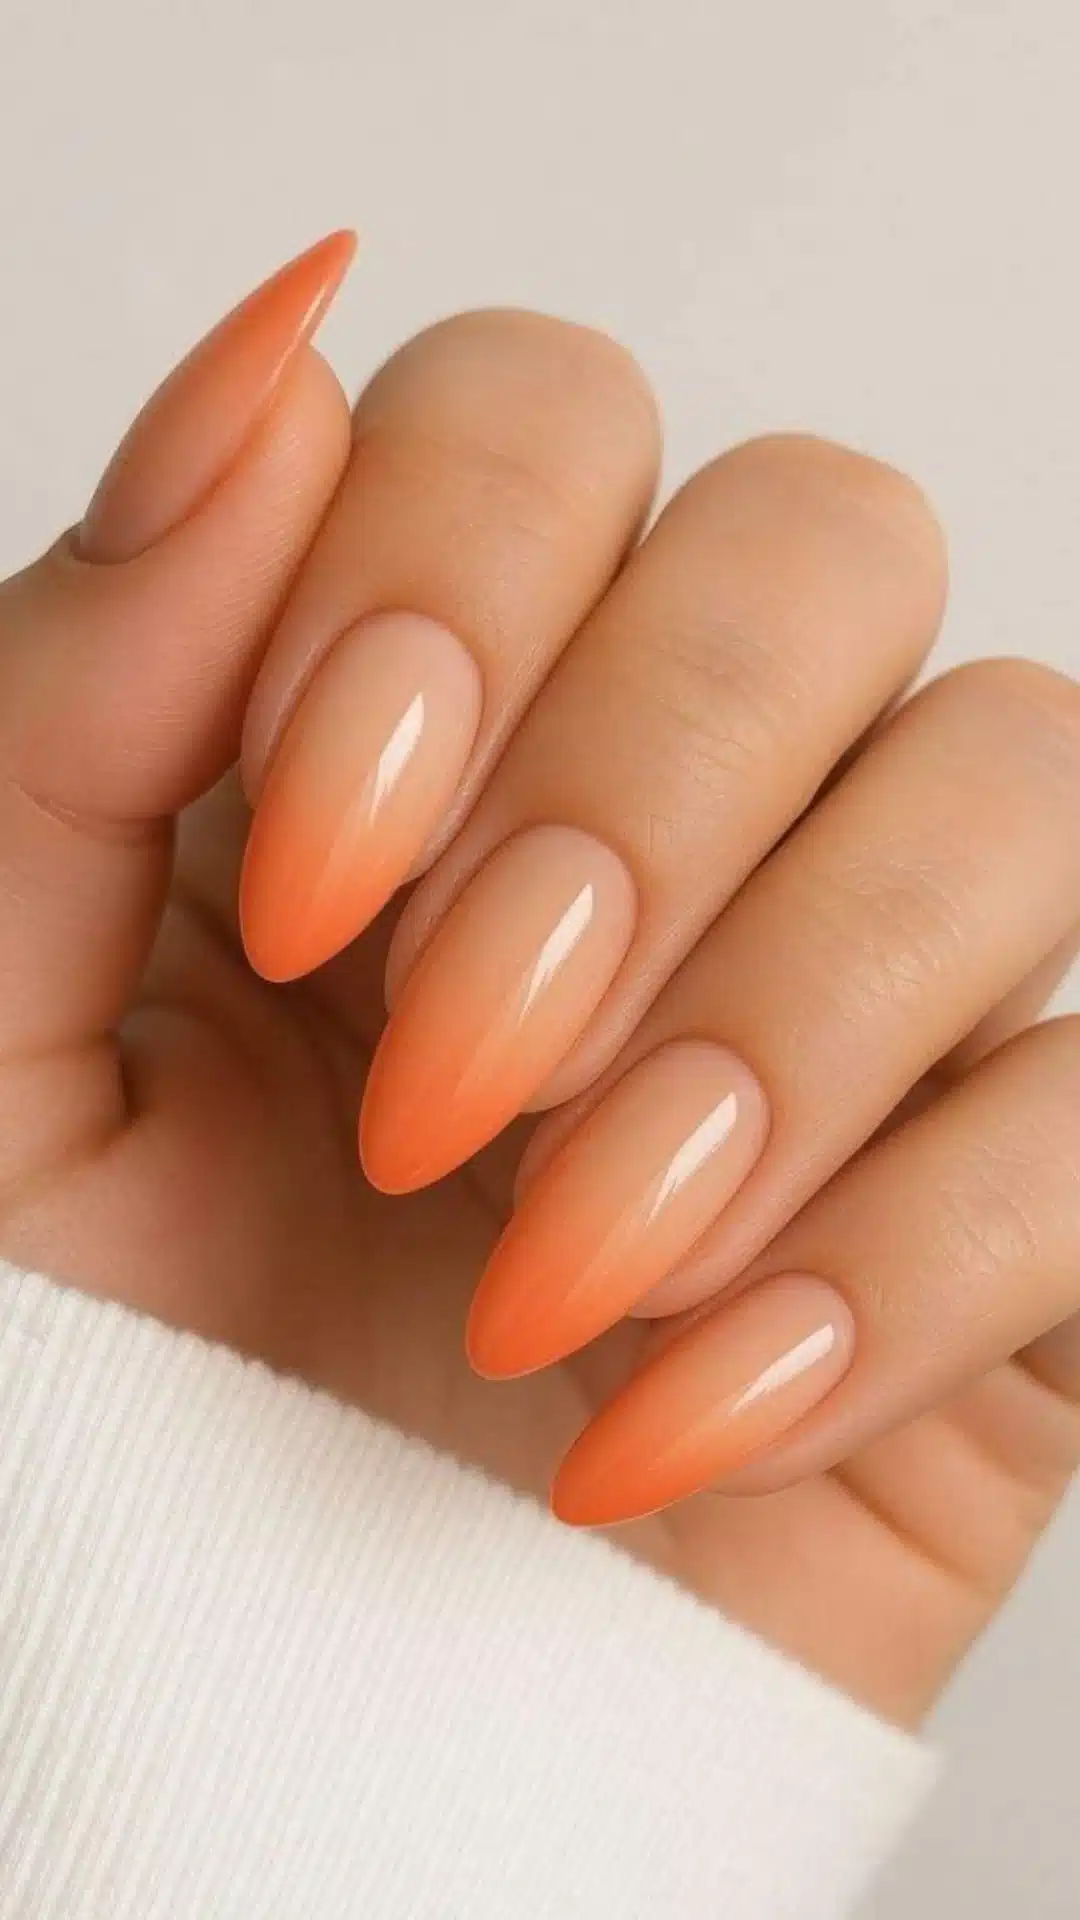
Image Credits: MayaFlaire
A warm, sunset-toned fade that works especially well on almond shapes. It’s bright without being loud, making it an easy pick for daytime wear in warmer months.
2. Caramel to Nude
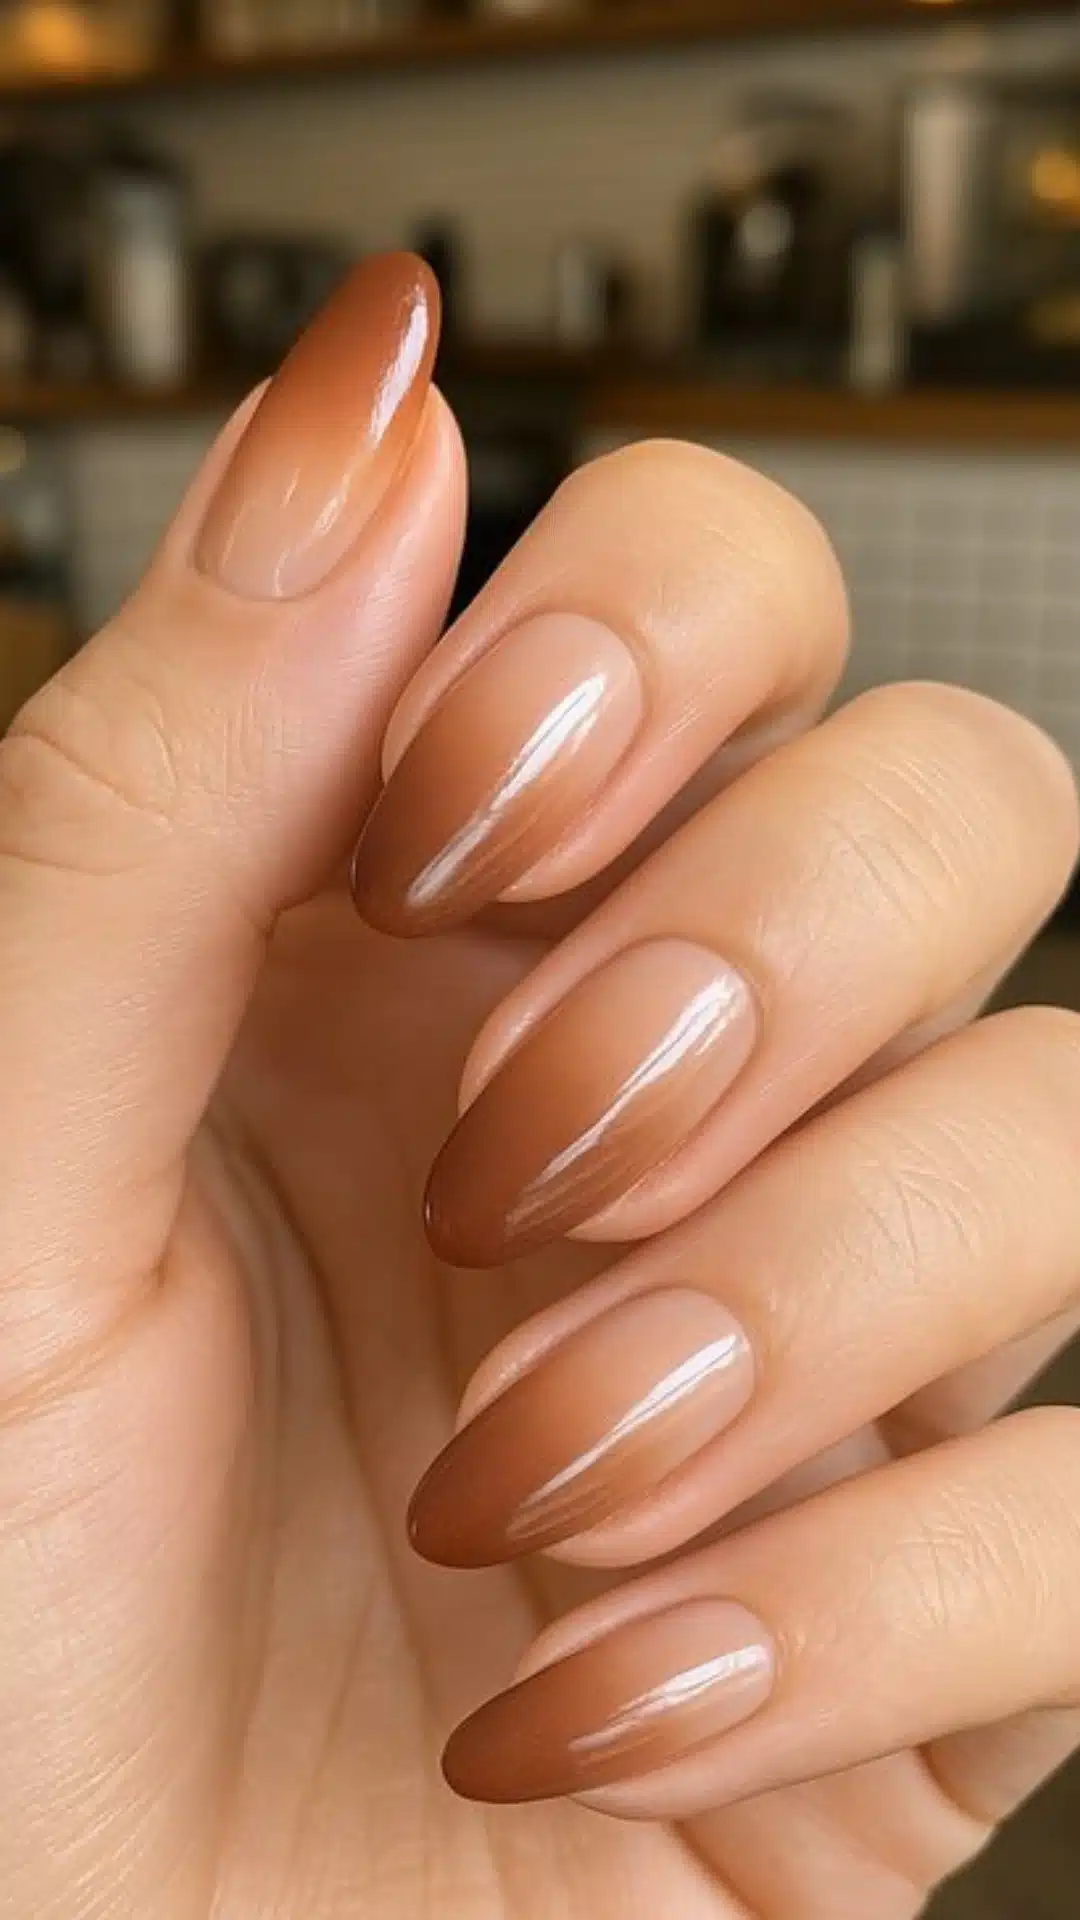
Image Credits: 5-MinuteCrafts
A soft, coffee-toned gradient that reads more neutral than bold. It pairs well with cozy, everyday outfits and doesn’t compete for attention.
3. Dusty Rose to Nude
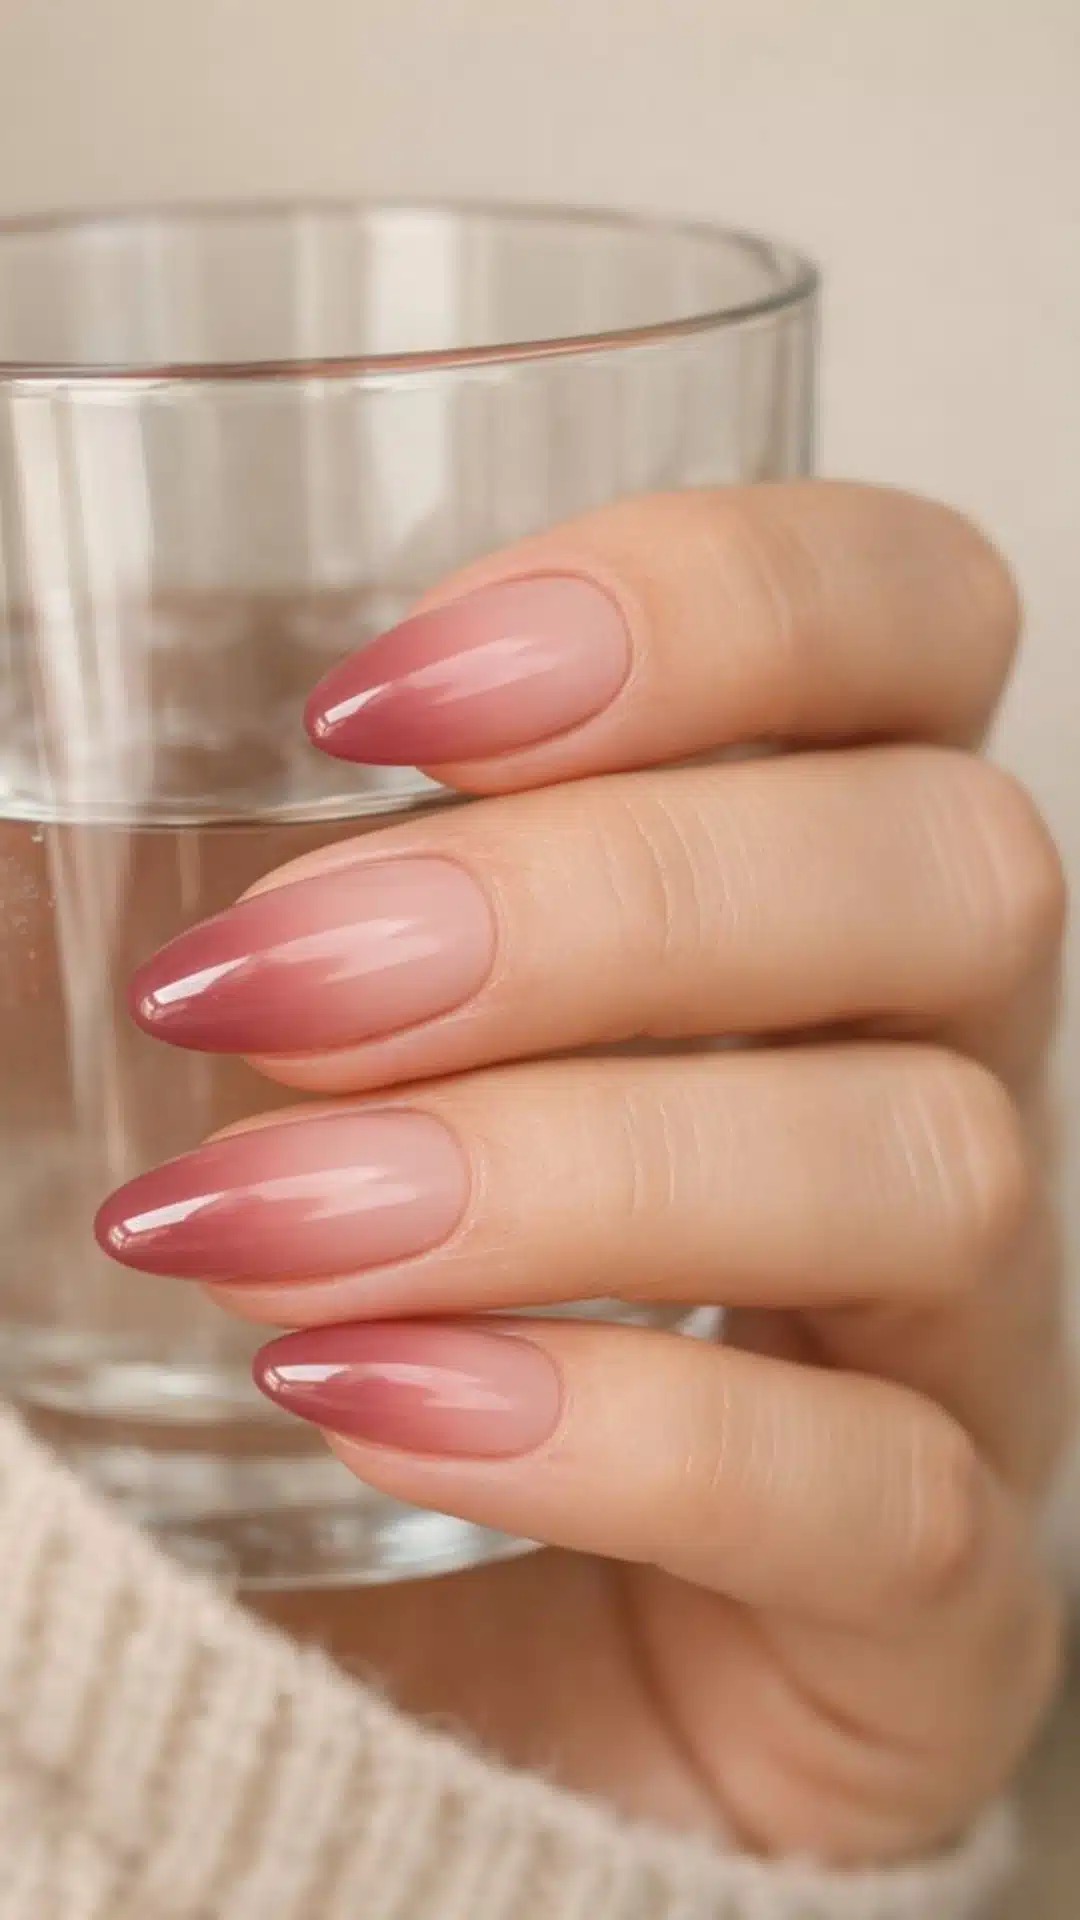
Image Credits: LuxeStreetFashion
A subtle, mauve-pink fade that leans romantic rather than bright. It looks especially nice on shorter almond nails where the gradient has less room to spread.
4. Lilac to Deep Violet
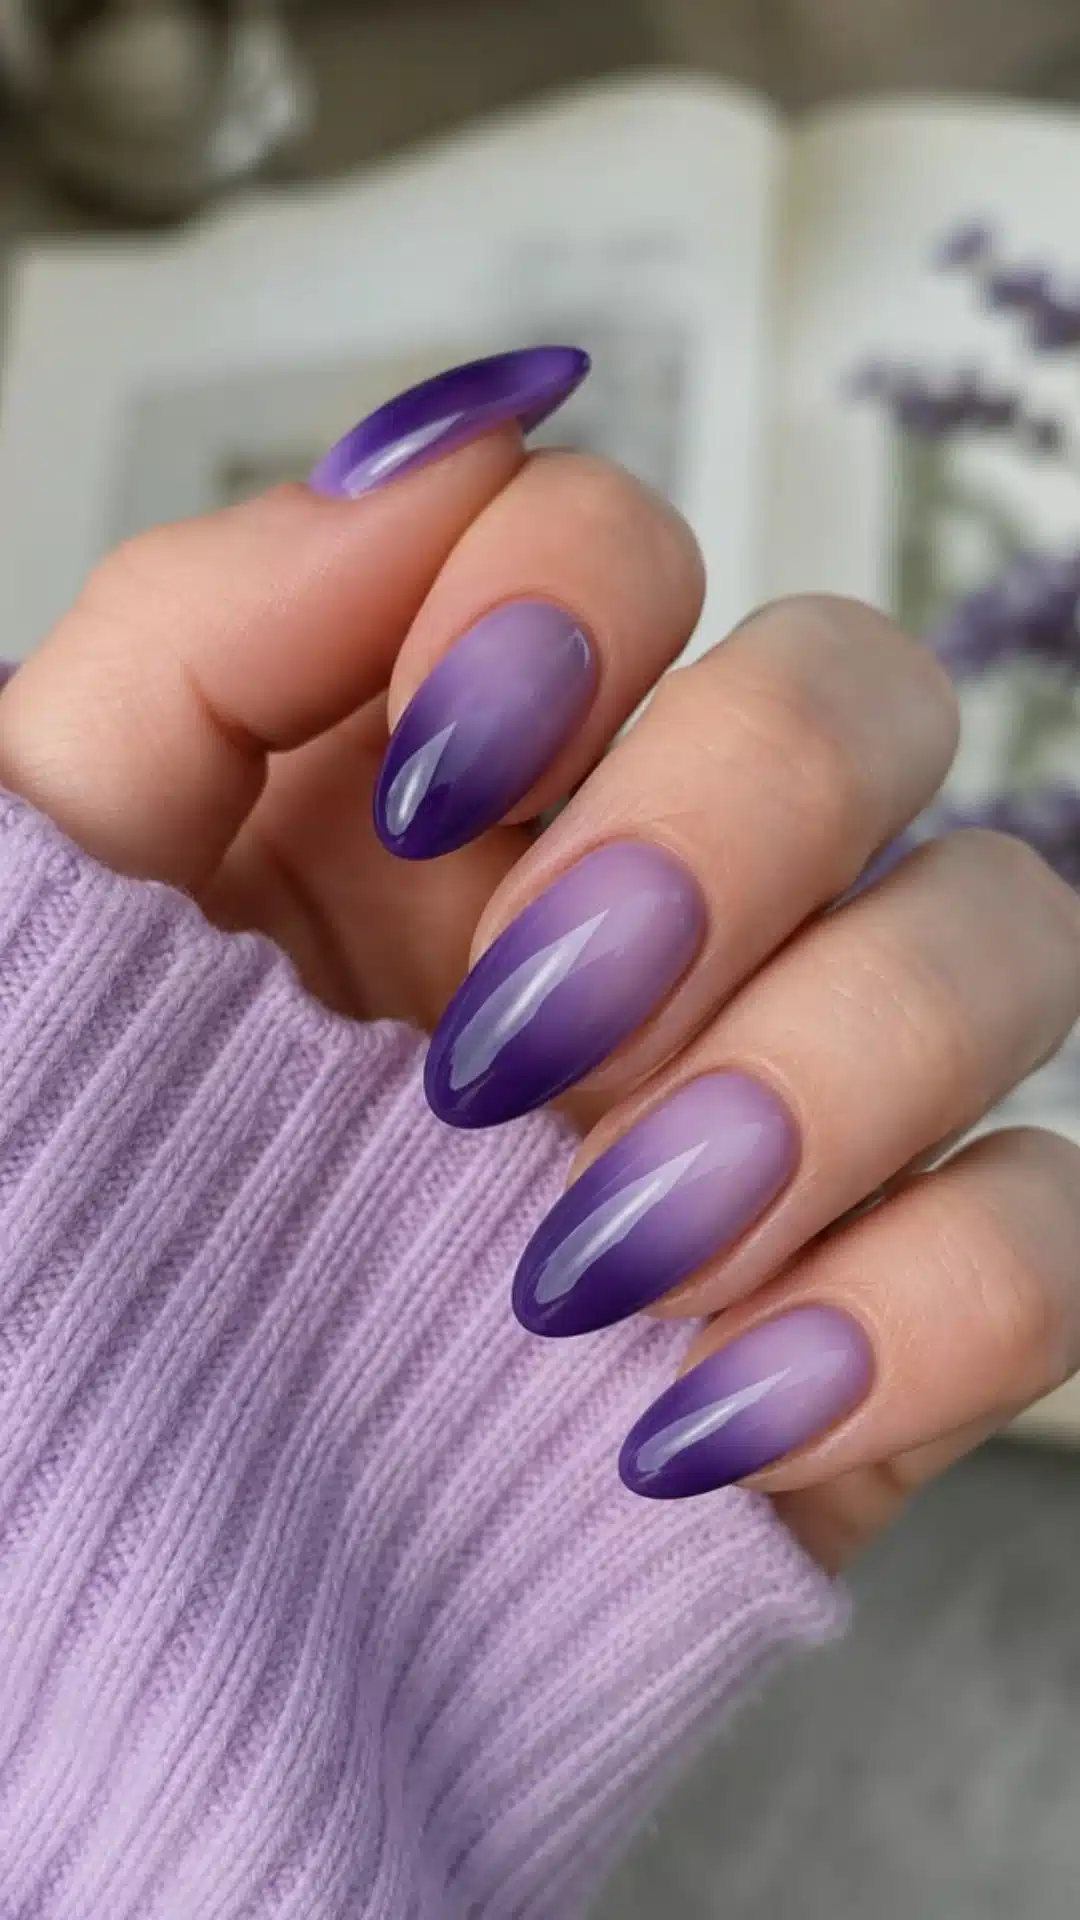
Image Credits: PolishParadise
A moodier take on the purple family, fading from a soft lilac base into a richer violet tip. It works well for anyone who wants color without going fully bold.
5. Icy Blue to Navy
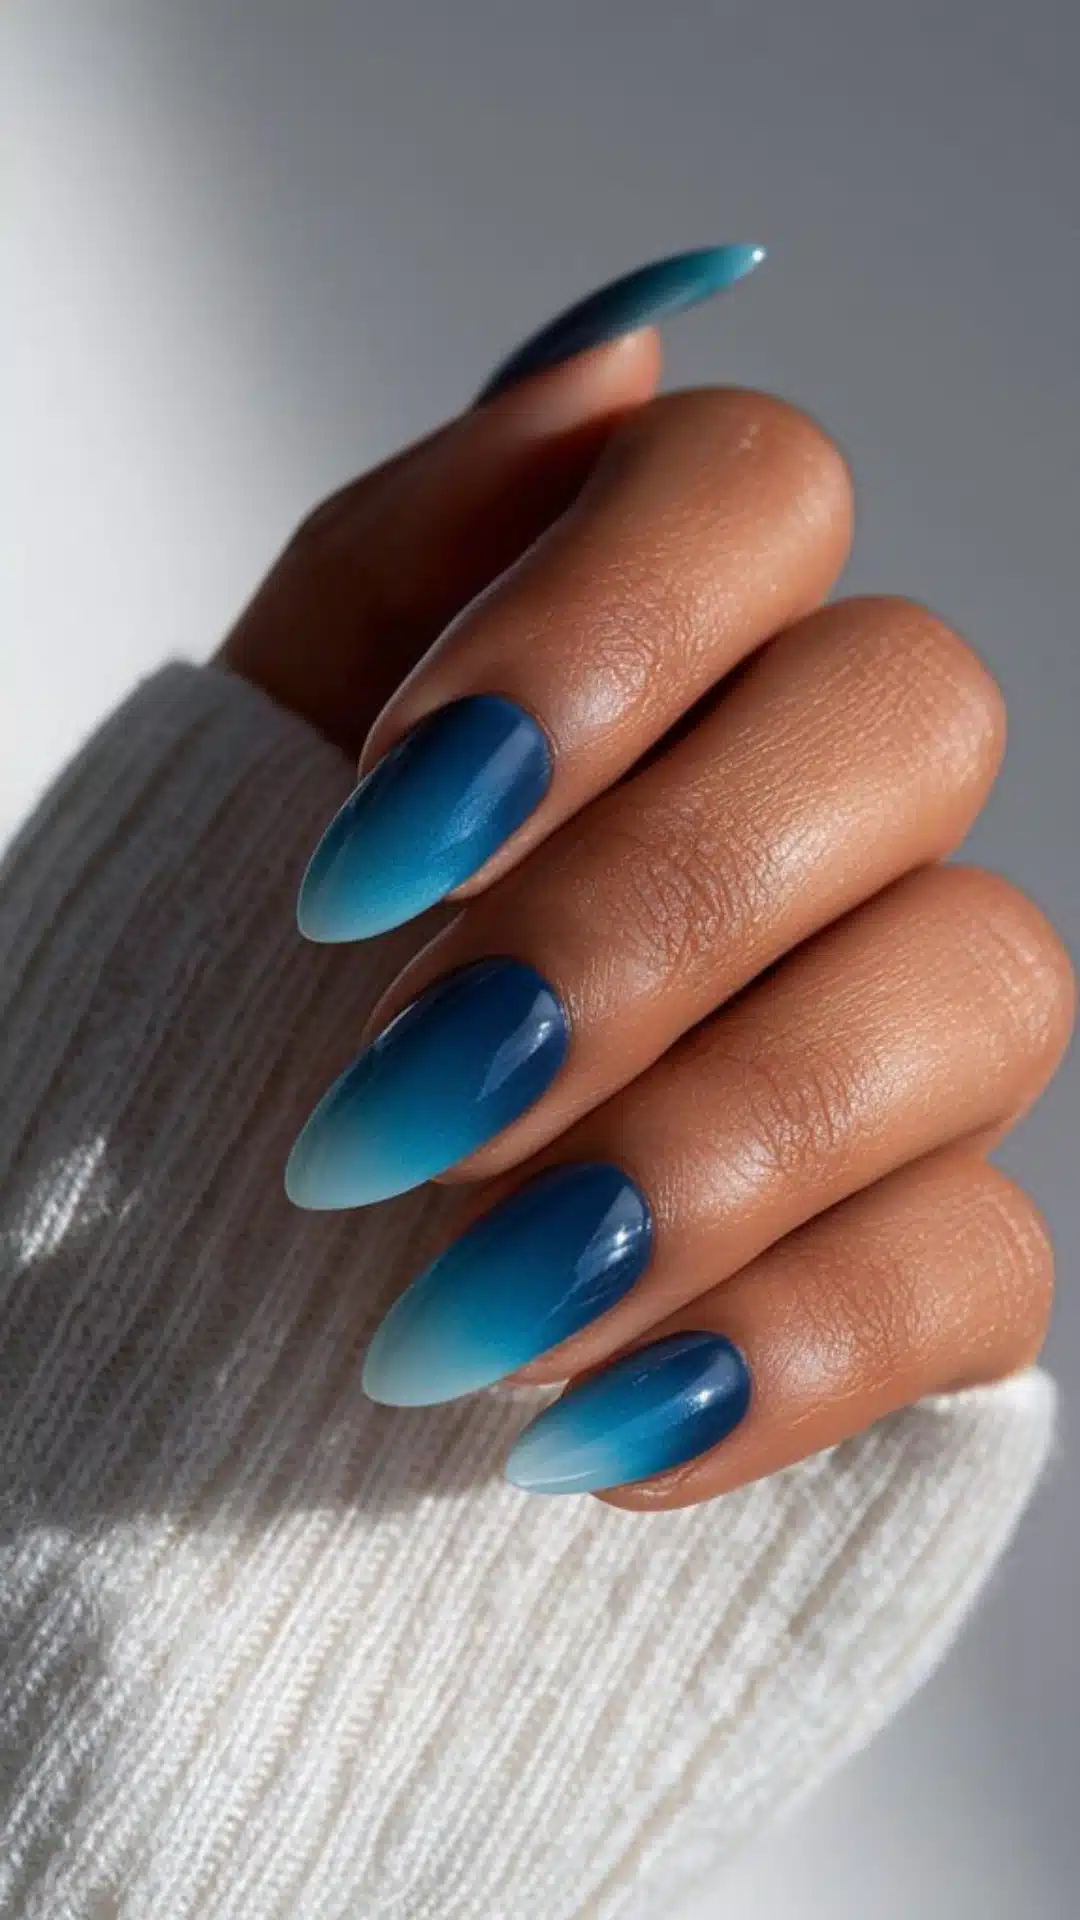
Image Credits: SocialGlamm
A cool-toned, high-contrast fade that reads crisp and clean. It shows up beautifully on deeper skin tones and suits colder-weather styling.
6. Wine to Nude
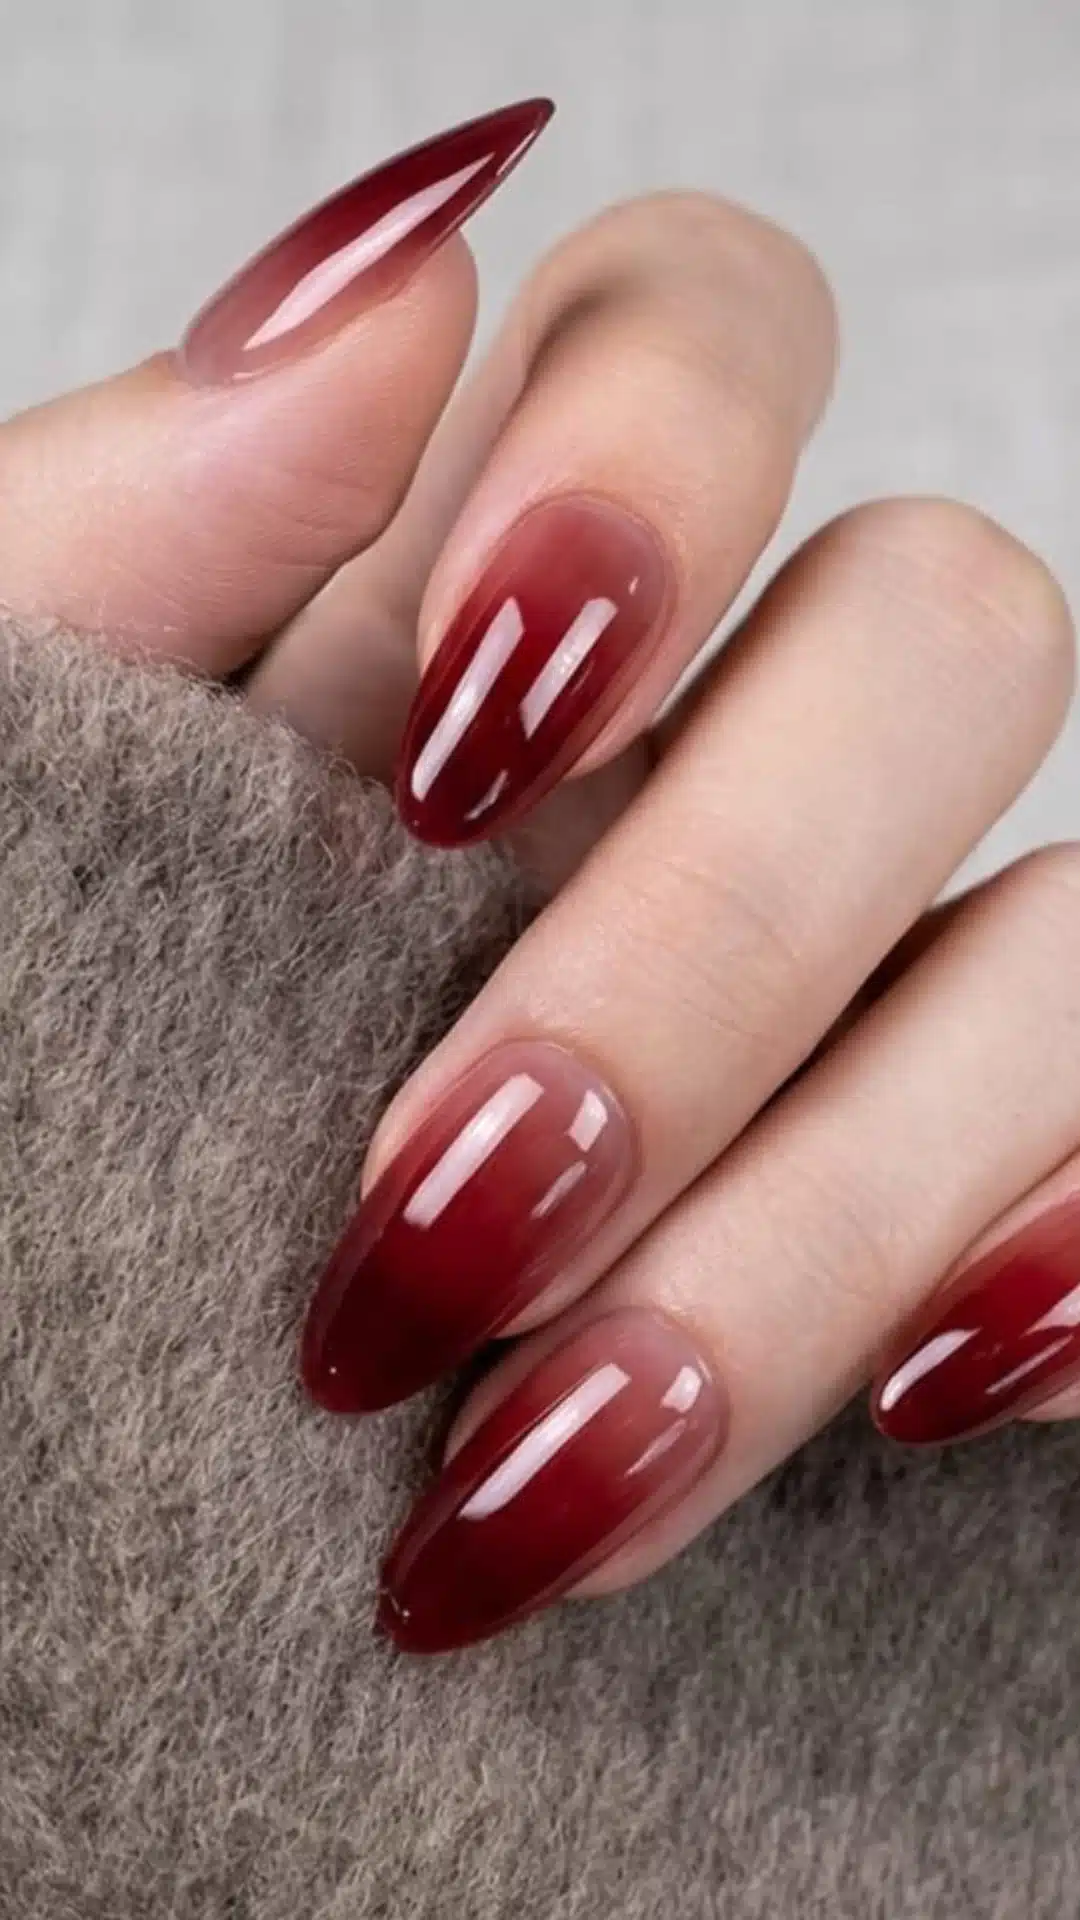
Image Credits: mik
A deep, burgundy-leaning fade that feels seasonal without going fully dark. It’s a solid choice for anyone easing into darker tones for fall or winter.
7. Sage to Nude
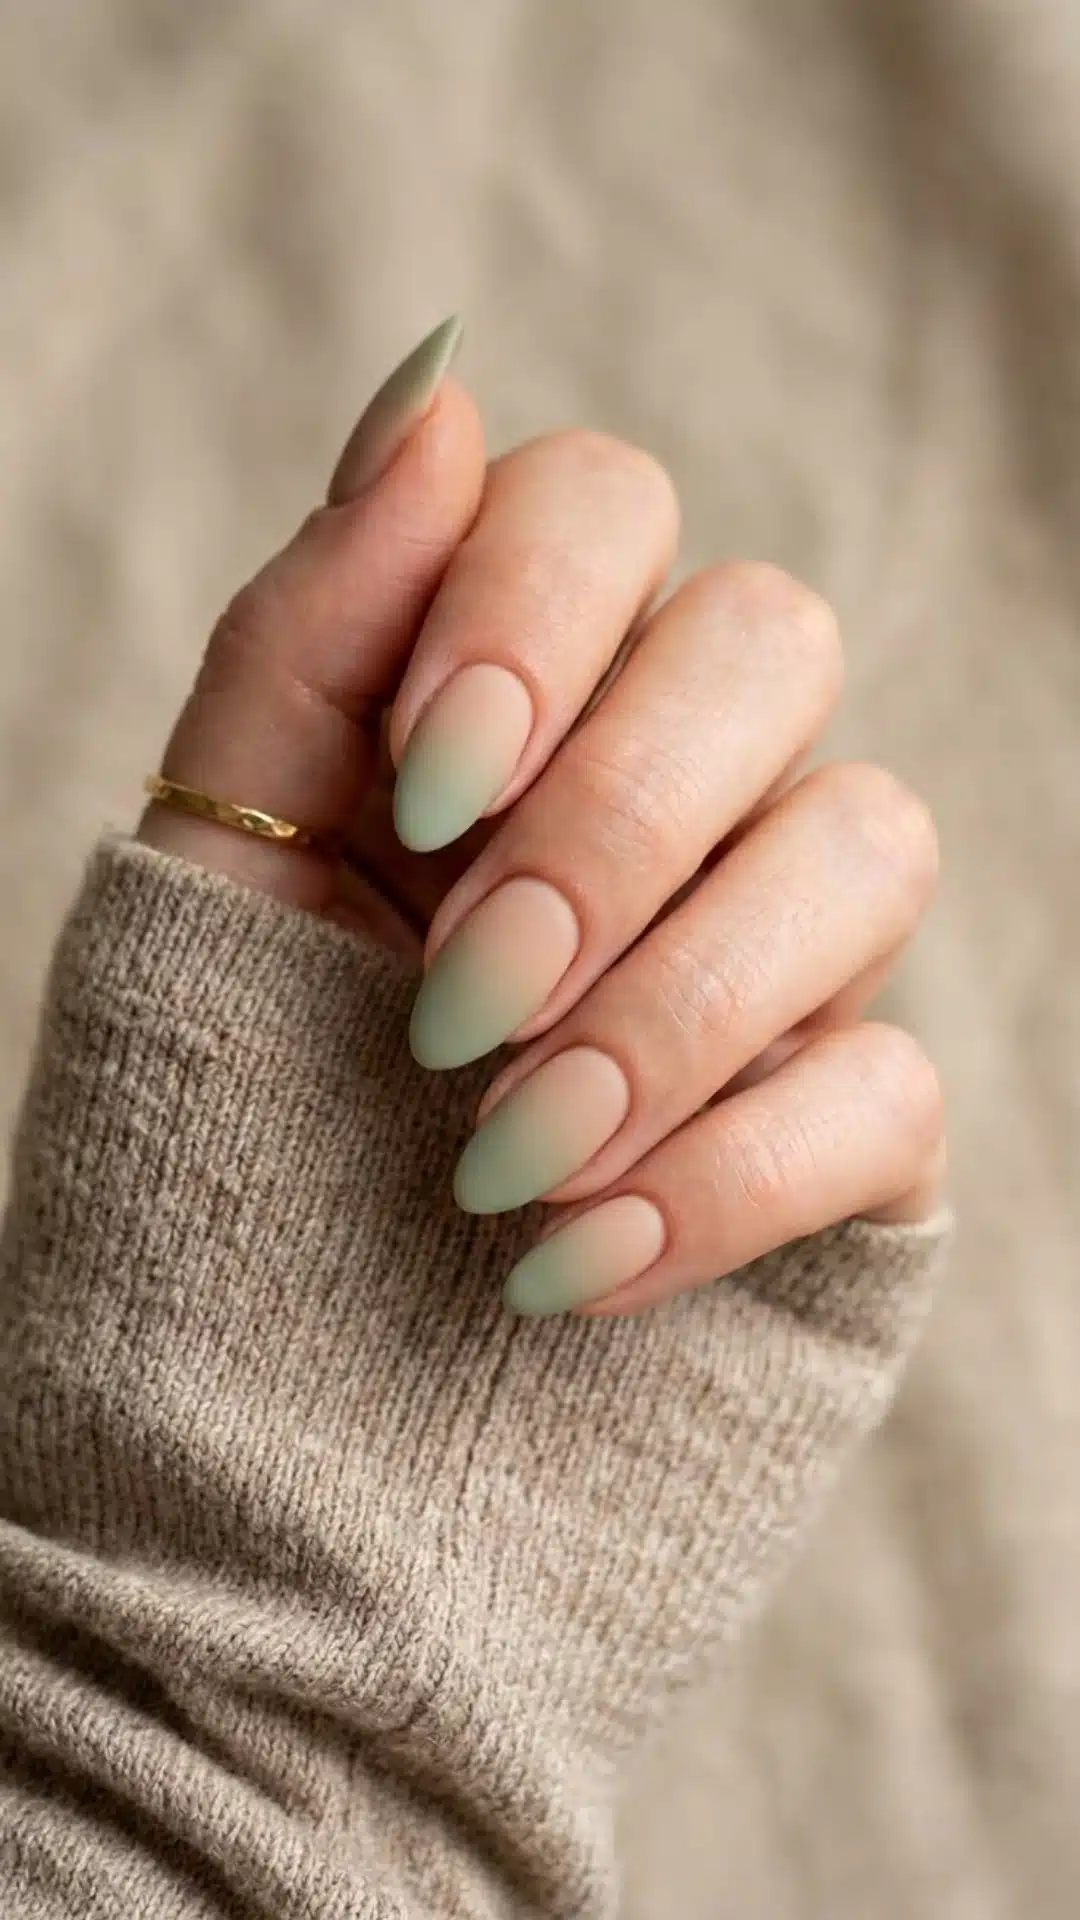
Image Credits: StyleandShine
A muted, earthy green fade finished in matte for a soft, understated look. The matte top coat keeps it feeling low-key rather than flashy.
8. Multi-Color Mixed Ombre
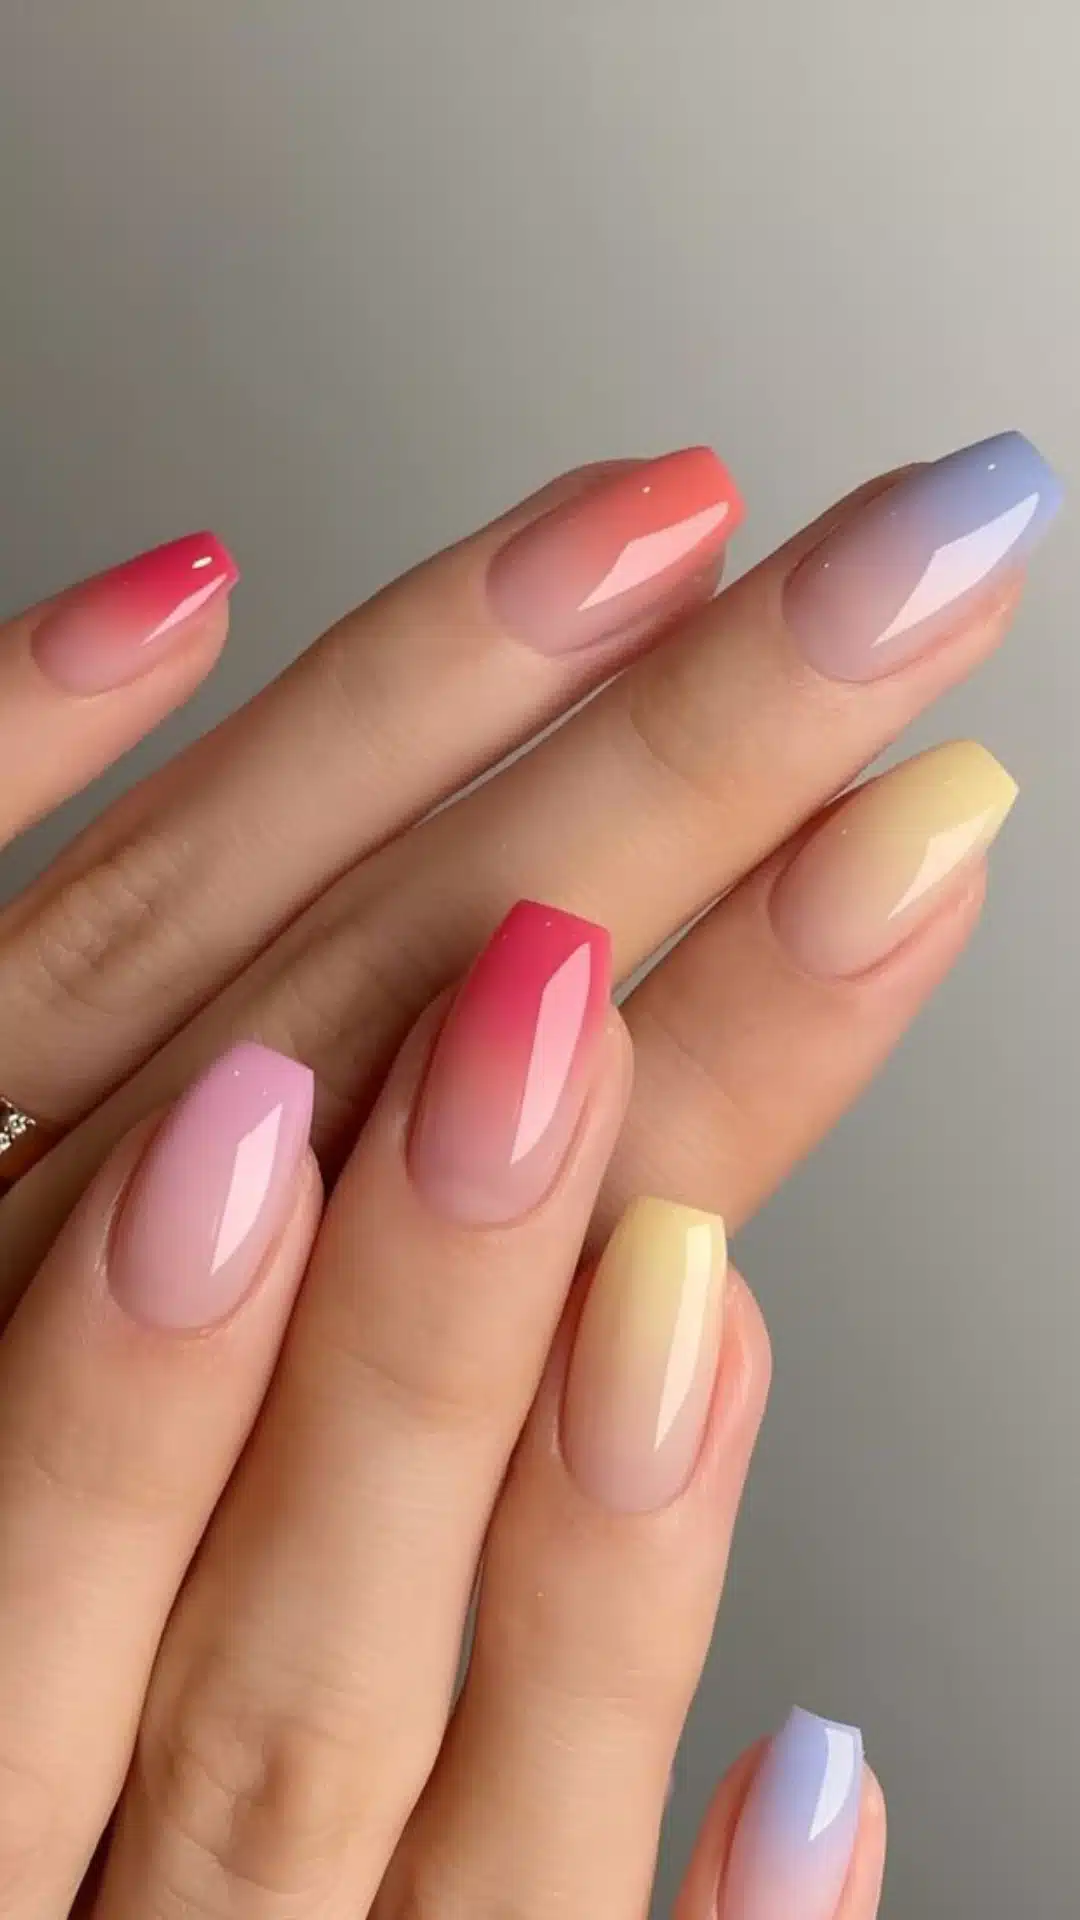
Image Credits: ThePinkIssue
Instead of one fade repeated across all ten nails, each nail gets its own color pairing: pink-red, coral-blue, soft yellow, lilac.
It’s a playful option for anyone who wants variety without needing intricate nail art.
9. Pink Coral to Nude
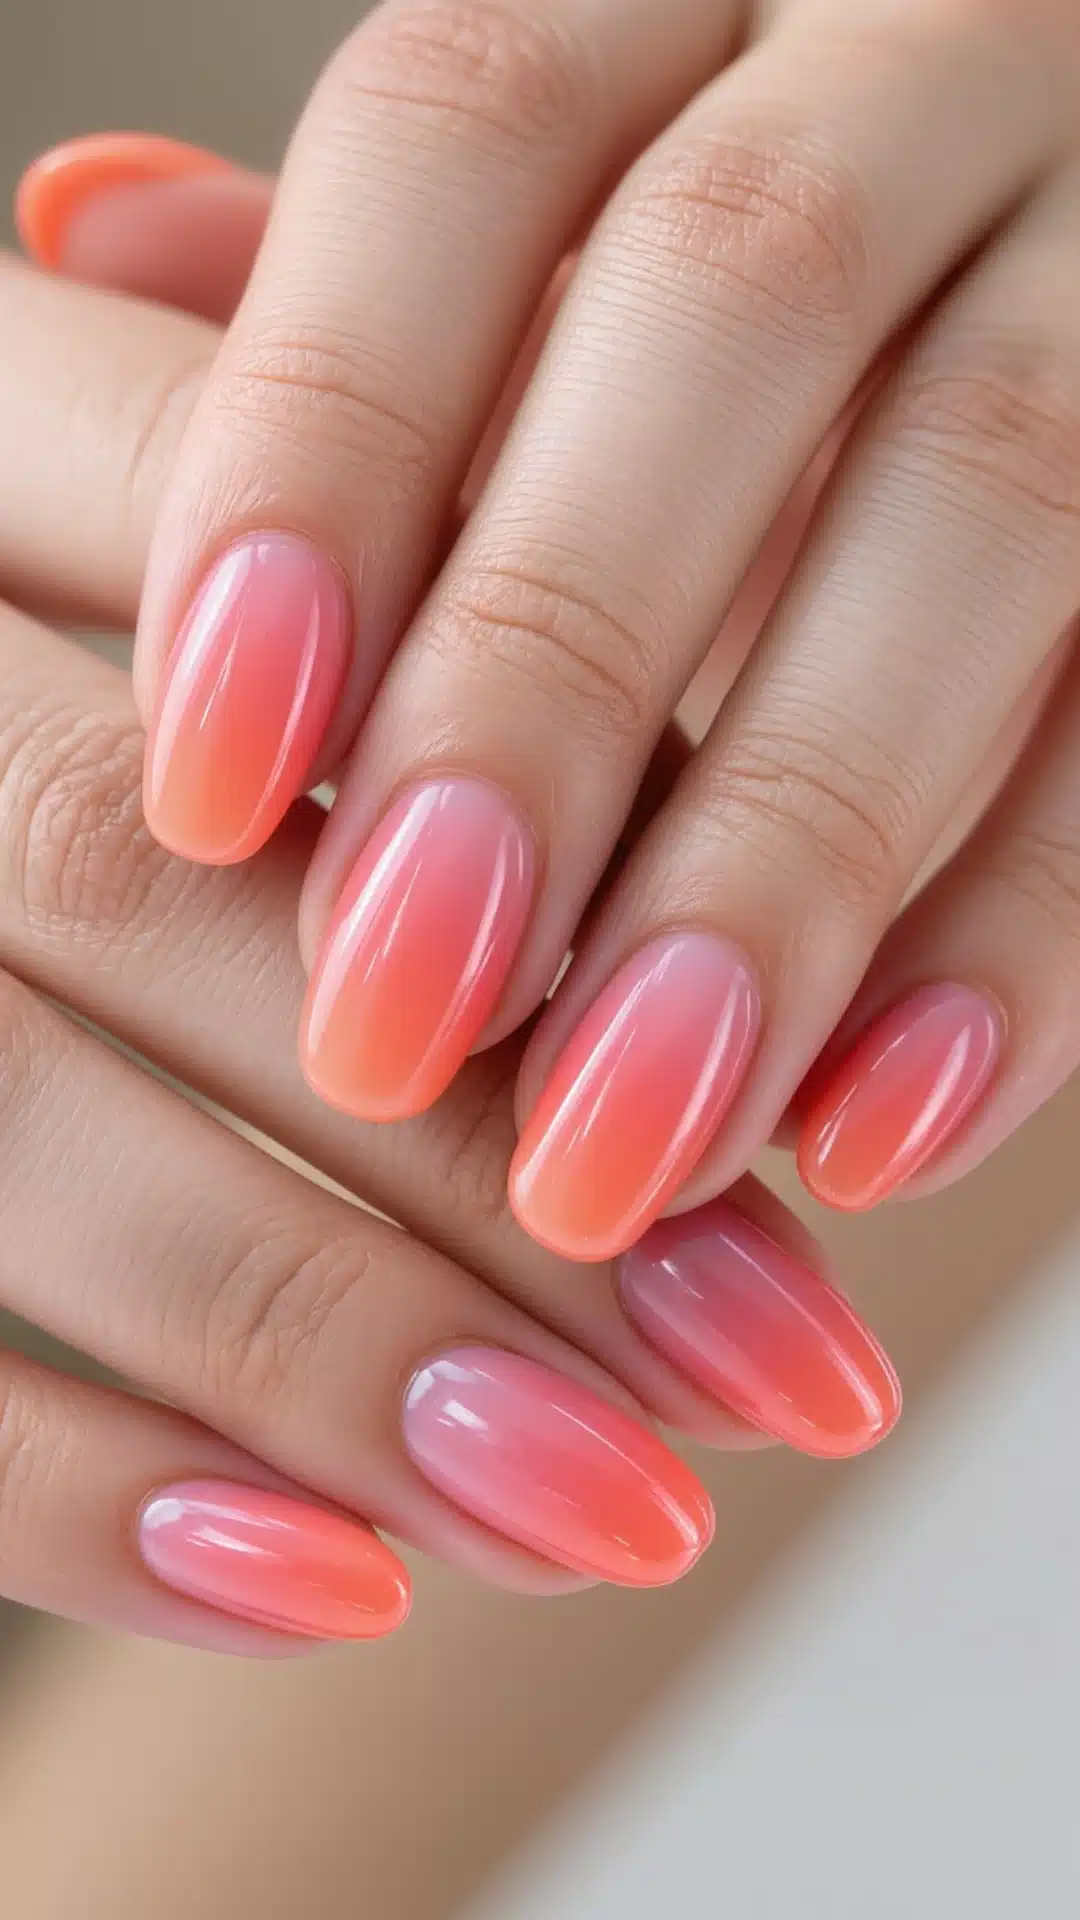
Image Credits: Glam&Clover|FashionandBeautyBlogwithSimone
A brighter, more saturated take on the coral fade, leaning pink rather than orange. It photographs well and works nicely on rounder, oval-shaped nails.
How to Make It Last Longer?
The sponge method, in particular, leaves a slightly textured surface that can catch on fabric and chip sooner than a standard manicure if it isn’t sealed properly.
To make it last a long time, two coats of a thick, glossy top coat make a real difference.
On the second coat, dragging the brush over the very edge of the nail, known as capping, helps seal the tip, the spot where chips almost always start first.
Does Your Ombre Nails Look Blotchy? Fix It
Blotchiness is one of the major complaints, and it’s almost always because too much polish is applied in a single pass.
The gradient is meant to build gradually through several thin layers, not appear fully opaque on the first dab.
If a section looks patchy, wipe the sponge nearly clean and rebuild with lighter layers rather than trying to fix it with more product at once.
A streaky, dragged texture usually means the polish started drying on the sponge before it reached the nail; reloading with fresh polish and working a little faster solves that.
Conclusion
Nobody’s first ombre manicure looks like the photo they were chasing, and that’s completely normal.
It’s a technique that depends on muscle memory as much as it does the right products.
By the second or third try, the layering rhythm starts to click, and figuring out the right amount of product and number of passes becomes second nature.
At that point, ombre stops being a special-occasion project and turns into just another easy option in the regular manicure rotation.
Frequently Asked Questions (FAQs)
1. Are Ombre Nails Outdated?
Ombre nails are not out of style, though the look has evolved from the basic high-contrast fades to softer gradients.
2. What Is the Difference Between Ombre and Gradient Nails?
Ombre typically means using different shades of the same color family, while a gradient blends two or more distinct colors together on a single nail.
3. How Much is a Full Set of Ombre Nails?
A full set of Ombre nails typically costs between $55 and $100 at a standard nail salon.