Many people file their nails the wrong way without knowing it.
Back-and-forth motions, no set direction, no real technique. Over time, this causes nails to split and weaken at the tips.
But there is a simple fix, and it has nothing to do with force or speed. A small change in technique can turn rough, breaking nails into smooth, strong ones.
This blog will show you the correct way to file nails, step by step.
Why is Filing Nails Important?
Filing nails is not just about shape. It helps keep nails healthy and strong. Rough or uneven edges catch on clothes and hair. This can cause a nail to snag and tear.
Regular filing removes these rough spots. It smooths the edge and lowers the risk of breaks. Filing also helps nails grow evenly. Uneven nails are more likely to crack under pressure.
A proper filing routine keeps nails neat between manicures. It also cuts down the need for frequent trims. Good filing habits protect nail health over time.
They stop small issues from turning into bigger problems.
Tools You Will Need to File Your Nails
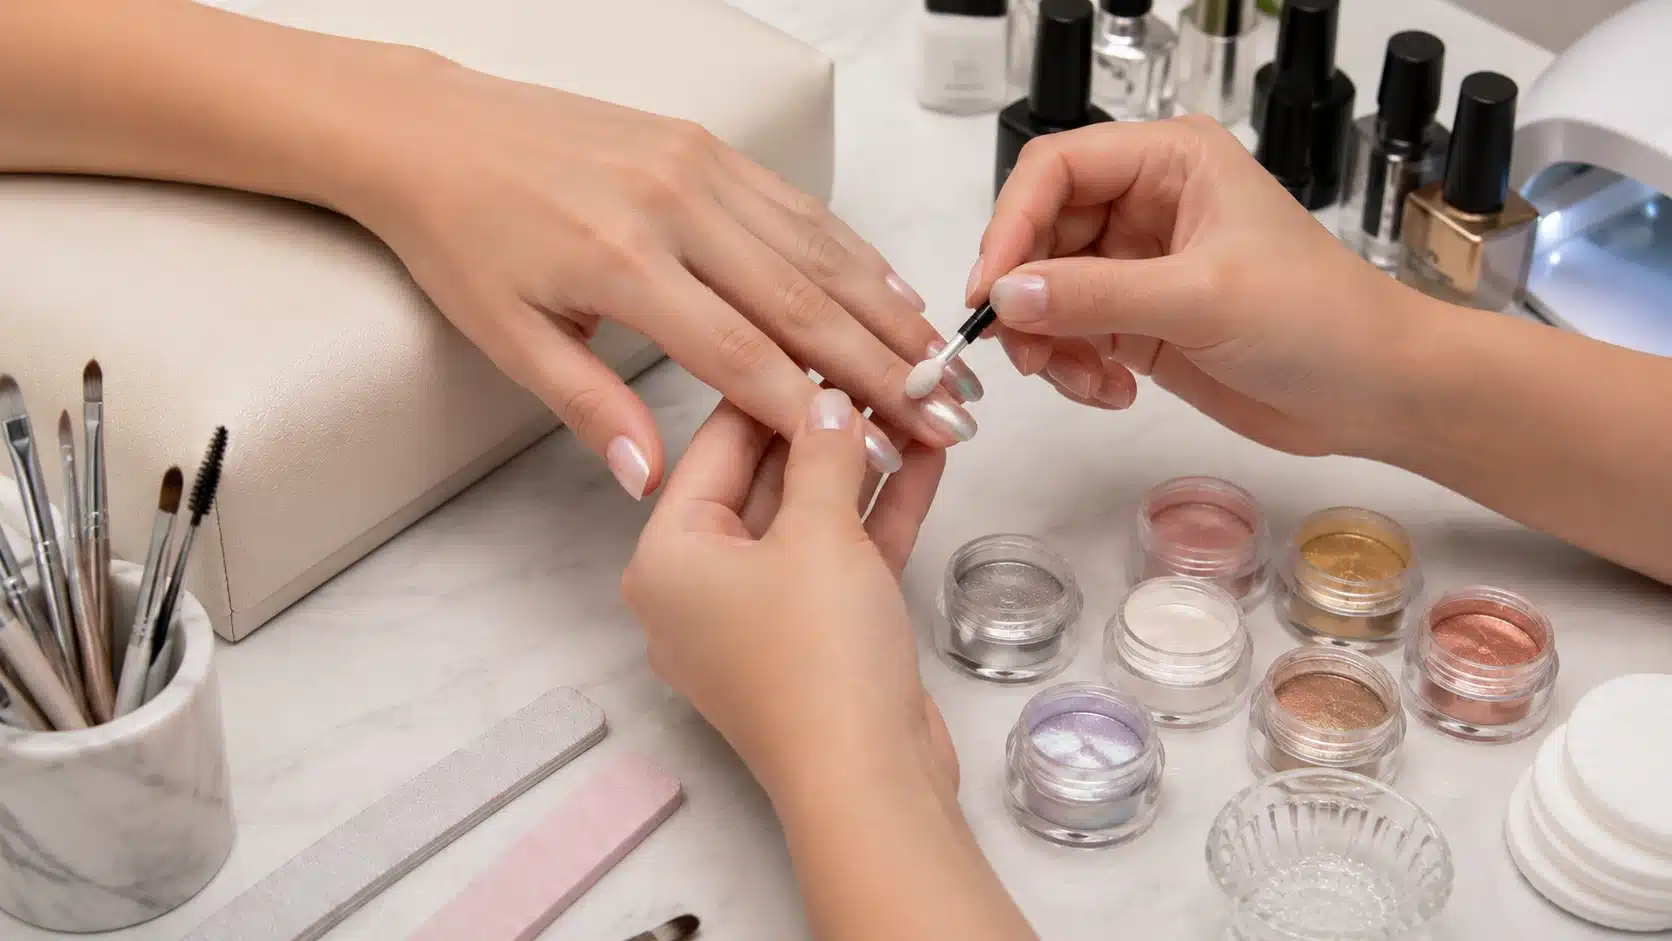
Filing nails properly needs more than just a file. A few simple tools make the job easier and safer.
- Nail File: Shapes and smooths the free edge.
- Nail Clippers: Trim length before filing starts.
- Buffer: Smooths ridges and adds light shine.
- Cuticle Pusher: Pushes back skin around the nail.
- Cuticle Oil: Keeps skin and nails from drying out.
- Soft Cloth or Towel: Wipes away dust after filing.
Having these tools ready saves time. It also helps you get neat, even results every time.
How to File Nails Properly Step-by-Step?
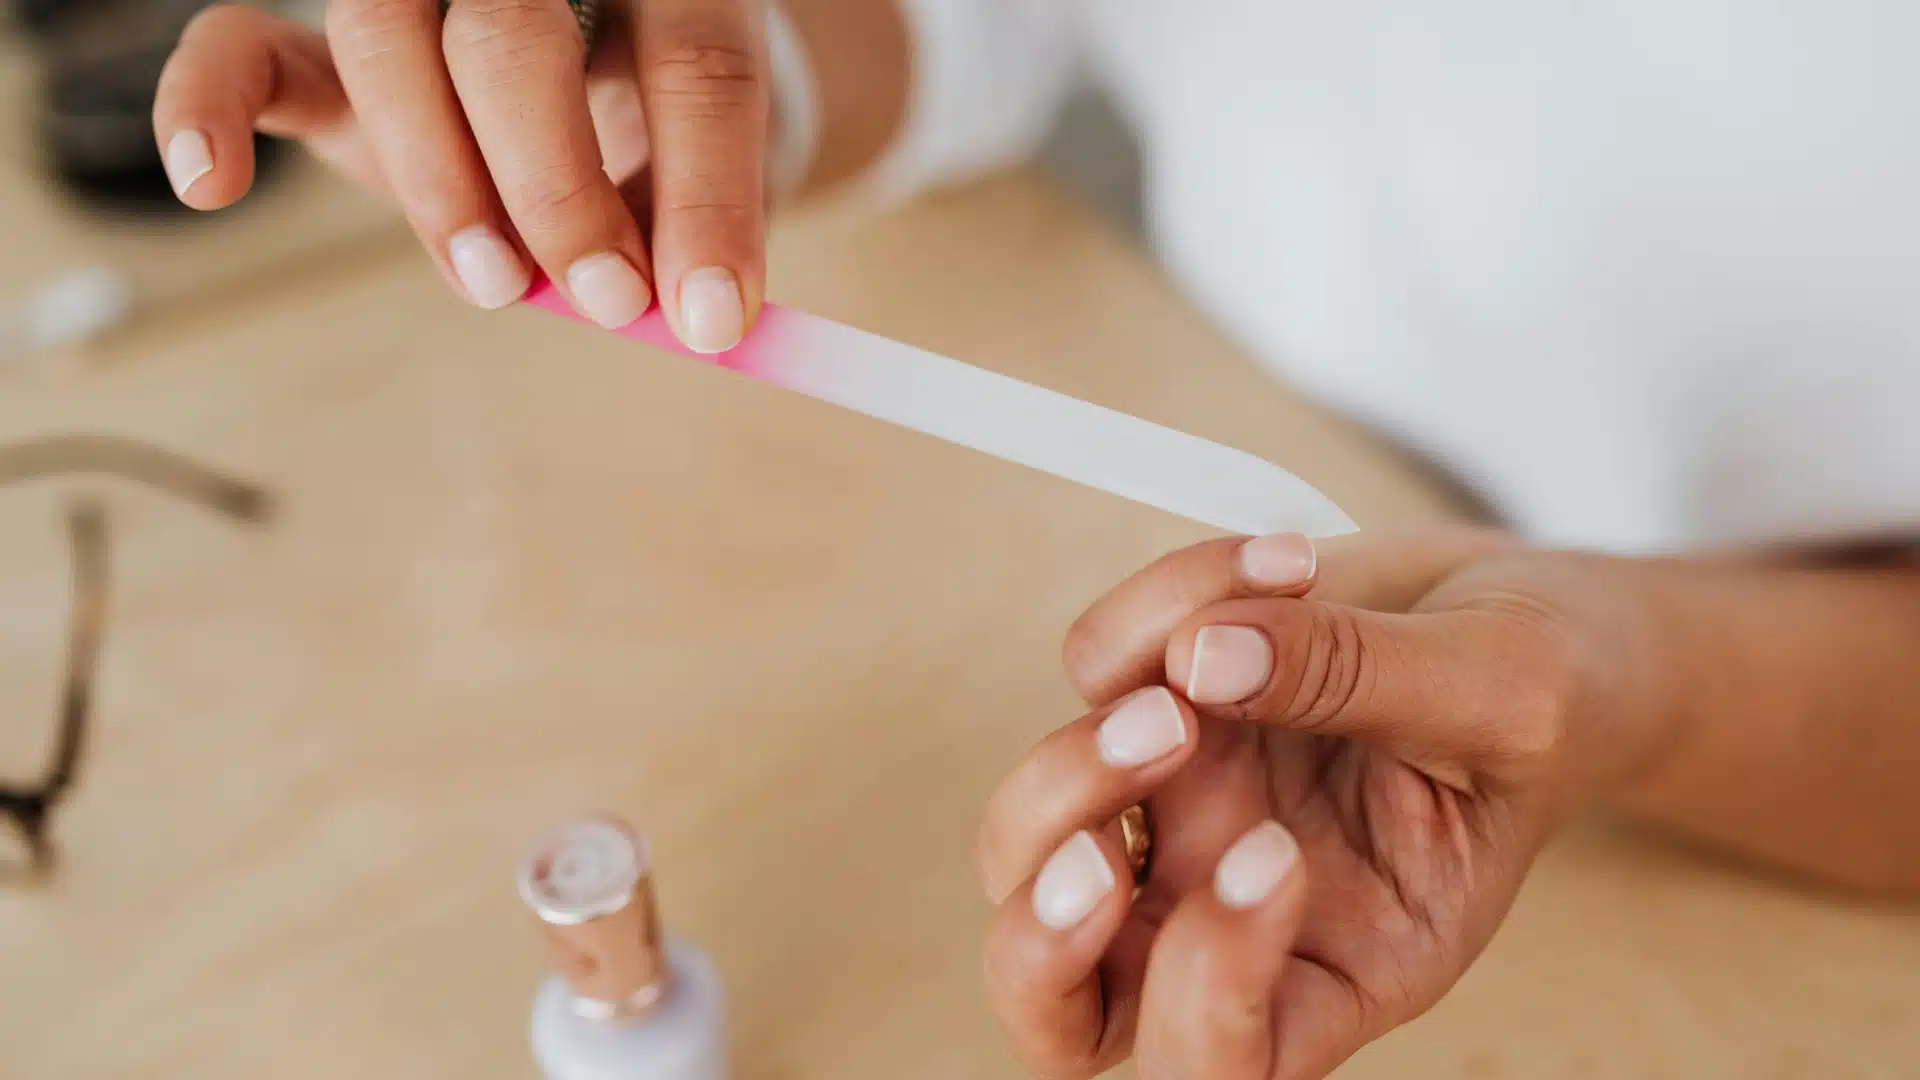
Filing nails the right way is easier than it looks. Follow these simple steps to get smooth, strong nails every time.
Step 1: Start with Clean, Completely Dry Nails
Although wet nails feel softer, they are not as strong as dry ones. Peeling and breaking at the tips might result from filing damp nails.
Make sure your nails are clean and totally dry before beginning. To view the actual edge, remove any existing nail polish first.
Trim your nails first if they are too long. This greatly simplifies filing.
Step 2: Choose the Right Nail File
Not all nail files work the same way; each type suits a different need.
- Emery board: soft, good for natural nails.
- Glass file: smooth edges, less damage.
- Metal file: strong, but harsh on natural nails.
- Ceramic file: fine, good for weak nails.
For natural nails, use a 180 to 240 grit file. For acrylic nails, use an 80 to 100 grit file.
Step 3: Decide on Your Nail Shape Before Filing
Before you begin filing, choose a nail shape. This saves time and prevents mistakes later.
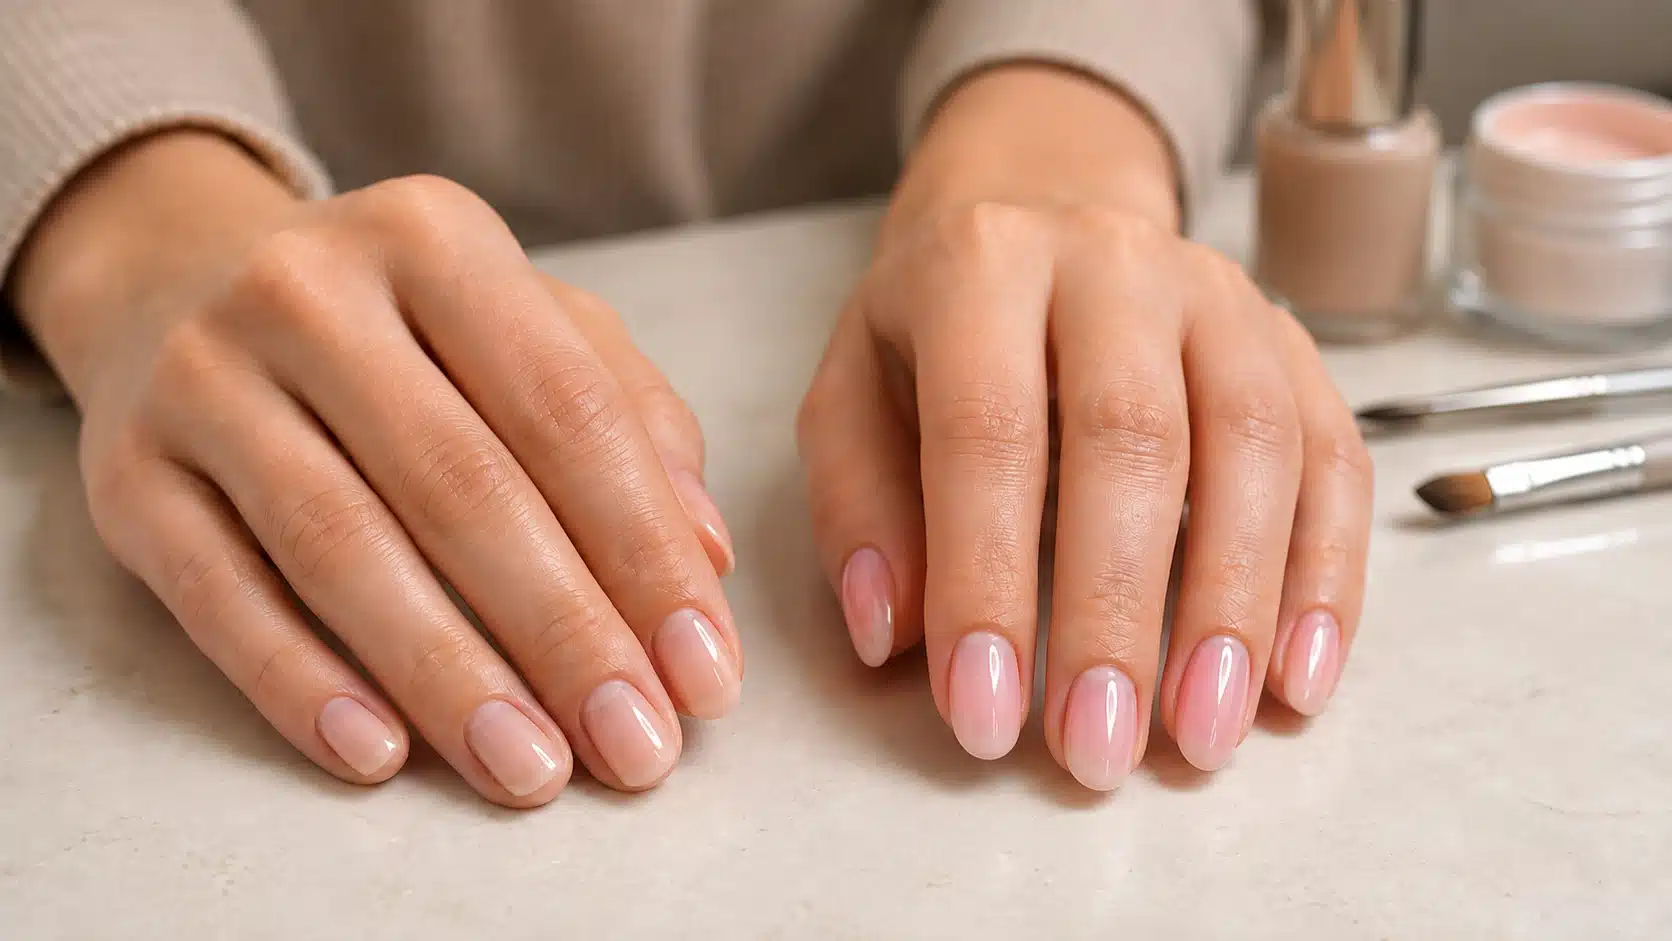
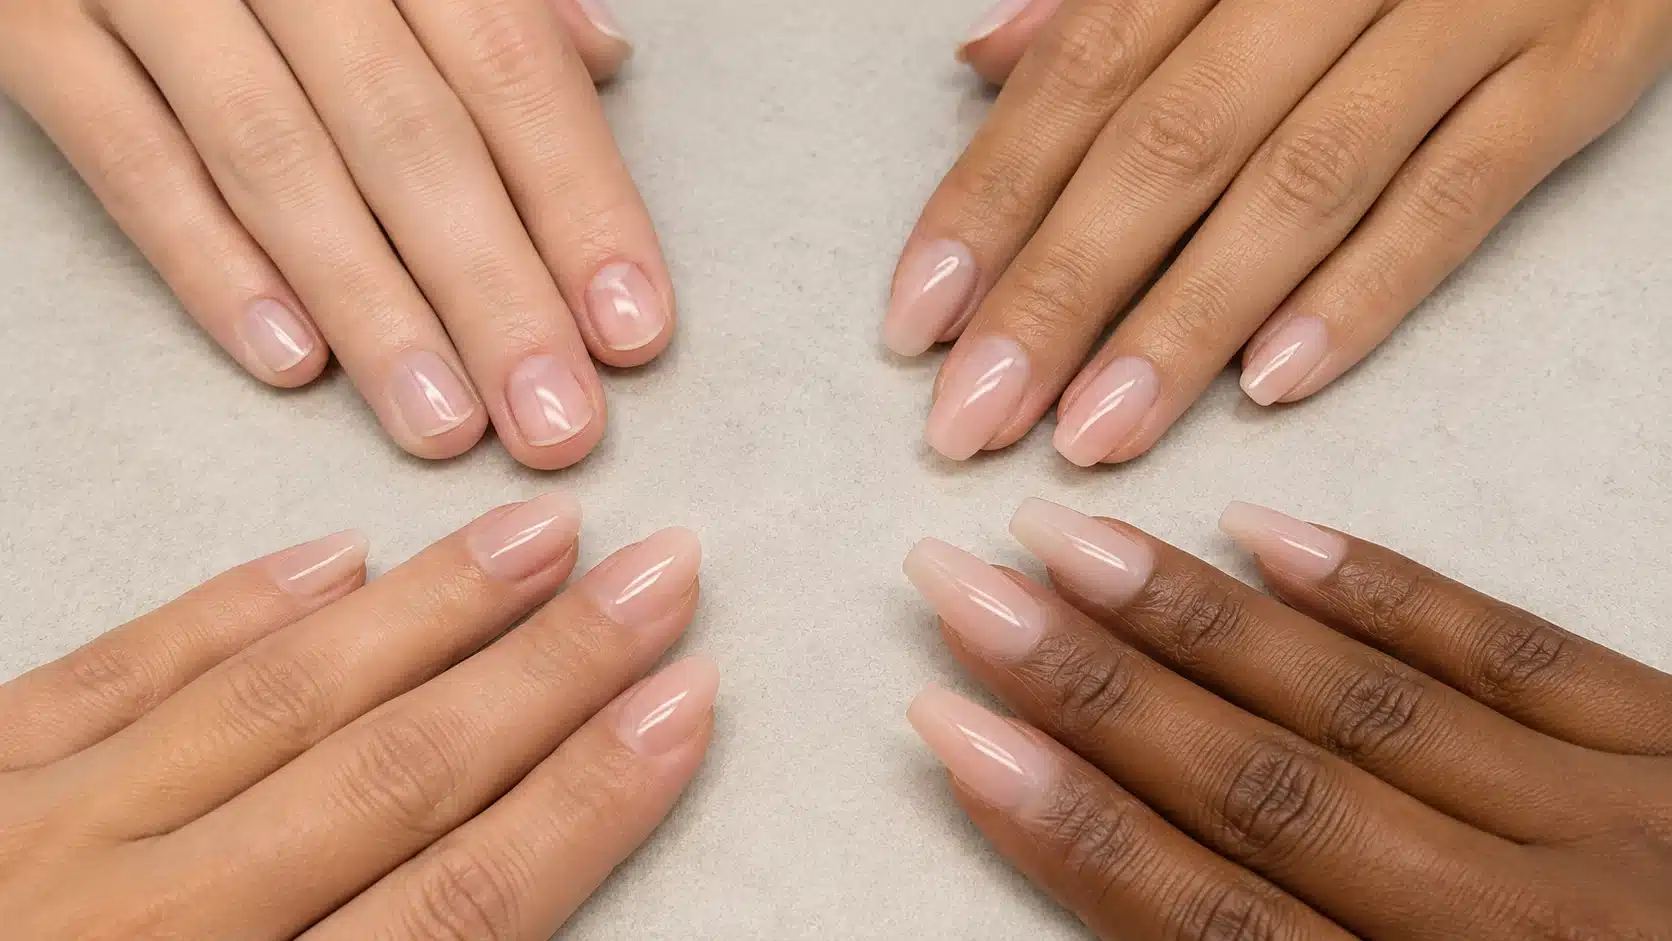
Oval and round shapes go well with short nails. Square and squoval are suitable for everyday wear. Almond, coffin, and stiletto shapes require longer nails.
Changing your mind in the middle can leave nails uneven. Every stroke is tidy when the shape is known beforehand.
Step 4: Hold the File at the Correct Angle
The angle of the file matters more than most people think.
- Hold the file at a slight angle, not flat.
- Keep it close to a 45-degree tilt under the nail edge.
- Avoid filing flat across the top of the nail.
This angle protects the nail’s natural strength and shape. A flat angle can weaken the tip and cause cracks.
Step 5: File From the Outside Toward the Center
Always file from the nail’s outside edge to its core. Nails can only split apart in one direction.
Heat and friction are produced on the nail by the back-and-forth motion. Over time, this weakens the layers of nails.
Light back-and-forth strokes can be made with glass files since they are sufficiently mild. Other files should only go in one direction.
Step 6: Shape Every Nail Evenly
Even nails look neater and last longer without breaking. Check each nail as it’s filed.
- Compare the shape with the nail beside it.
- Hold both hands side by side to check symmetry.
- Adjust the length so all nails match closely.
Taking a moment to compare hands often catches small mistakes early.
Step 7: Smooth the Edges
Smooth out any uneven areas that remain after shaping. Rough edges are prone to snagging on clothing or hair.
Gently move the file in a single direction across the edge. This quickly eliminates uneven areas and sharp corners.
Additionally, smooth edges feel and appear cleaner overall. Although it only takes a few more seconds, this step is crucial.
Step 8: Finish With Nail Care
Filing is not the last step. Nails need care right after.
- Apply cuticle oil to keep skin soft.
- Moisturize hands to prevent dryness.
- Buff lightly only if needed, not too often.
This simple routine keeps nails strong and healthy between filing sessions. Skipping it can leave nails dry and brittle very fast.
How to File Different Nail Shapes?
Filing looks simple, but the angle and direction make all the difference. Given below is how to get each shape right.
Round Nails
File the sides in a slight curve, following the natural tip. Round off any sharp corners at the top. This shape is the easiest one to file at home.
Square Nails
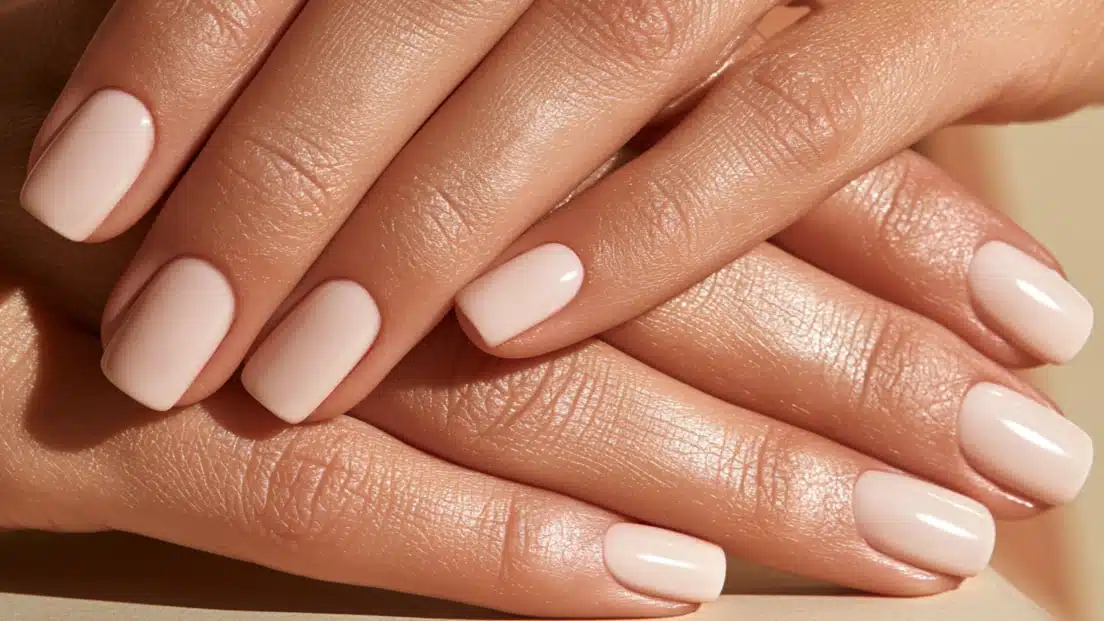
Keep the sides straight up and down. File the top flat, with sharp corners on both edges. A steady hand helps keep the line even.
Squoval Nails
Start with a square shape, then soften the corners just a touch. The edges should curve slightly instead of staying sharp. This shape blends square and round for a balanced look.
Oval Nails
File the sides in gently, then round the tip into a smooth curve. There should be no flat edges or points. This shape works best on nails with some length.
Almond Nails
Narrow the sides toward the tip, then taper into a soft point. The tip should stay slightly rounded, not sharp. Extra length helps this shape stand out.
Coffin or Ballerina Nails
File the sides straight and tapered, then cut the tip flat and wide. The end result looks like a narrow trapezoid. This shape usually needs some added length, often with acrylics.
Stiletto Nails
Taper the sides sharply toward the center. File the tip into a sharp point. This shape needs strong, longer nails to hold its form well.
Should You File Nails Wet or Dry?
This one comes up a lot, and the answer is simple. Dry nails are the way to go.
Wet nails are softer and more likely to bend or tear while filing. This can lead to peeling or uneven edges. Dry nails hold their shape better under the file, giving a cleaner result.
If nails were just washed or soaked, it’s best to wait until they’re fully dry.
A few minutes of patience makes the whole process easier and safer.
Signs You Are Filing Your Nails the Wrong Way
Your nails often show early signs of poor filing. Watch for these signs before the damage worsens.
- Peeling or splitting at the tips after filing.
- Rough, uneven edges that snag on clothes or hair.
- Nails that look uneven when you compare both hands.
- White marks or thin spots along the edge.
- Nails that feel weak or bend easily.
- Needing to file the same spot again and again.
If you notice any of these, stop and check your technique. The wrong file, wrong angle, or too much pressure is often the cause. A quick fix now can save your nails from more damage later.
Conclusion
Filing your nails correctly isn’t about speed; it’s about technique.
The most important thing is a few minor adjustments. One consistent direction, the proper file, and the proper angle. These simple steps help keep nails strong and prevent cracking.
Nails that are in good condition do more than just look good. They grow without cracking and retain polish better. The extra few minutes are worthwhile.
Go more slowly the next time you sit down to file your nails. First, decide on your shape. Maintain the file at the proper angle. Apply cuticle oil to finish.
Frequently Asked Questions (FAQs)
1. How Often Should You File Your Nails?
Once a week works well for most people; nails grow slowly, so filing weekly keeps shape and length in check without overdoing it.
2. Should You File Your Nails Before or After Applying Polish?
Always file nails before polish, not after; filing on bare, dry nails gives a clean shape and smooth surface for polish to stick.
3. How Often Should You Replace Your Nail File?
Replace a nail file every three months; worn-out grit can drag on nails instead of smoothing them, causing rough or uneven edges.