Salon gel manicures look great, but cost a lot. Plus, booking appointments takes time.
Many people want that glossy, long-lasting finish without spending $50 every two weeks. This blog will show you how to get professional-looking gel nails at home.
You’ll learn the essential tools you need, step-by-step application techniques, and tips to make your manicure last.
By the end, you’ll save money and time while getting salon-quality results in your own space.
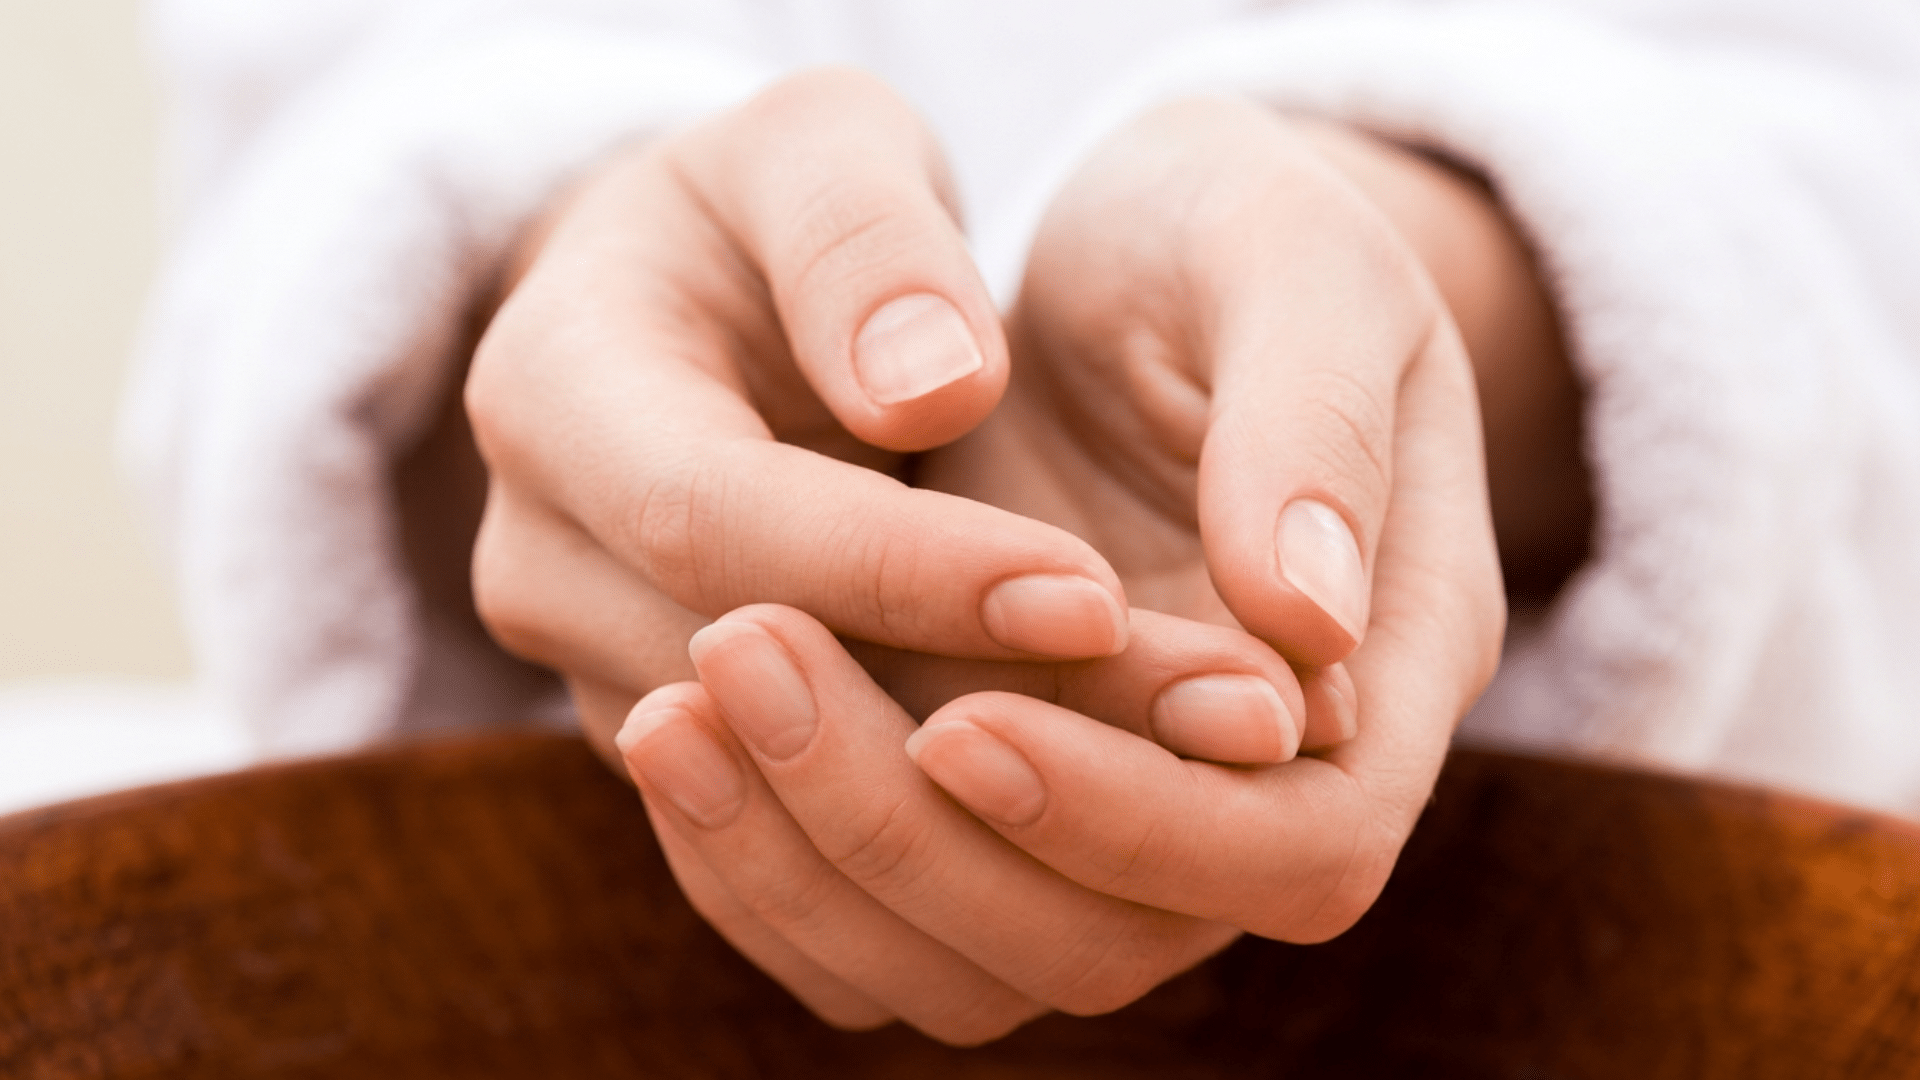
Is it Safe to do Gel Nails at Home?
Yes, doing gel nails at home is safe when you follow proper steps. The key is using quality products and protecting your skin.
Always apply cuticle oil before starting. This creates a barrier between gel and skin. Make sure you’re working in a well-ventilated room.
UV lamps are safe for short exposure times. Just don’t skip the base coat. It protects your natural nails from damage.
Follow instructions carefully, and you’ll be fine.
Essential Supplies for a DIY Gel Manicure
Getting started with gel nails at home doesn’t require many items. You need some basic tools and a few gel products.
Here’s what to gather before you begin.
| Supply | Why You Need It |
|---|---|
| UV or LED Lamp | Makes the gel harden and stay on nails |
| Base Coat | Protects natural nails and helps polish stick |
| Gel Polish | Gives nails the desired color and shine |
| Top Coat | Seals the color and adds a glossy finish |
| Nail File | Creates the length and shape you want |
| Buffer | Helps gel adhere better to nails |
| Cuticle Pusher | Creates a clean nail bed for application |
| Nail Cleanser | Prepares nails for gel application |
| Lint-Free Wipes | Wipes away residue without leaving fibers |
| Cuticle Oil | Keeps cuticles healthy after manicure |
Step-By-Step: How To Do Gel Nails at Home?
Doing gel nails at home follows a simple process. Each step builds on the last one. Take your time and don’t rush through any part.
Step 1: Prep Your Nails
Start by removing any old polish completely. Wash your hands with soap and dry them well. Push back your cuticles gently using a cuticle pusher.
File your nails to your preferred length and shape. Then buff the surface lightly to remove shine.
This helps the gel stick better to your nails.
Step 2: Clean the Nail Surface
Wipe each nail with a lint-free pad soaked in nail cleanser. This removes oils, dust, and any leftover residue from buffing.
Make sure the surface is completely dry before moving forward. Clean nails are crucial for long-lasting results.
Skip this step, and your gel might peel off within days.
Step 3: Apply Base Coat
Brush on a thin layer of base coat to each nail. Start from the cuticle and move toward the tip. Cap the free edge by running the brush along the nail tip.
Avoid getting product on your skin or cuticles. Place your hand under the UV or LED lamp and cure according to instructions.
Step 4: Apply First Color Coat
Paint a thin layer of gel polish on each nail. Use the same technique as the base coat. Thin coats work better than thick ones.
They cure more evenly and last longer. Cure this layer under the lamp for the time specified on your polish bottle.
It usually takes 30 to 60 seconds.
Step 5: Apply Second Color Coat
Add another thin layer of color to build opacity. Ensure the first coat is fully cured before applying the second coat.
Keep the layer even and smooth. Don’t flood the cuticles with excess polish. Cure this coat under the lamp just like you did before.
Two coats usually give the best color.
Step 6: Apply Top Coat
Seal everything with a layer of top coat. This adds shine and protects your color from chipping.
Be generous with the top coat, but keep it smooth. Cap the free edges again for extra protection. Cure under the lamp for the full recommended time.
This final cure is important for durability.
Step 7: Remove Sticky Layer and Finish
Most gel polishes leave a sticky residue after curing. Wipe each nail with cleanser and a lint-free pad to remove it.
Apply cuticle oil around each nail and massage it in gently. This keeps your cuticles healthy and hydrated.
Your gel manicure is now complete and ready to show off.
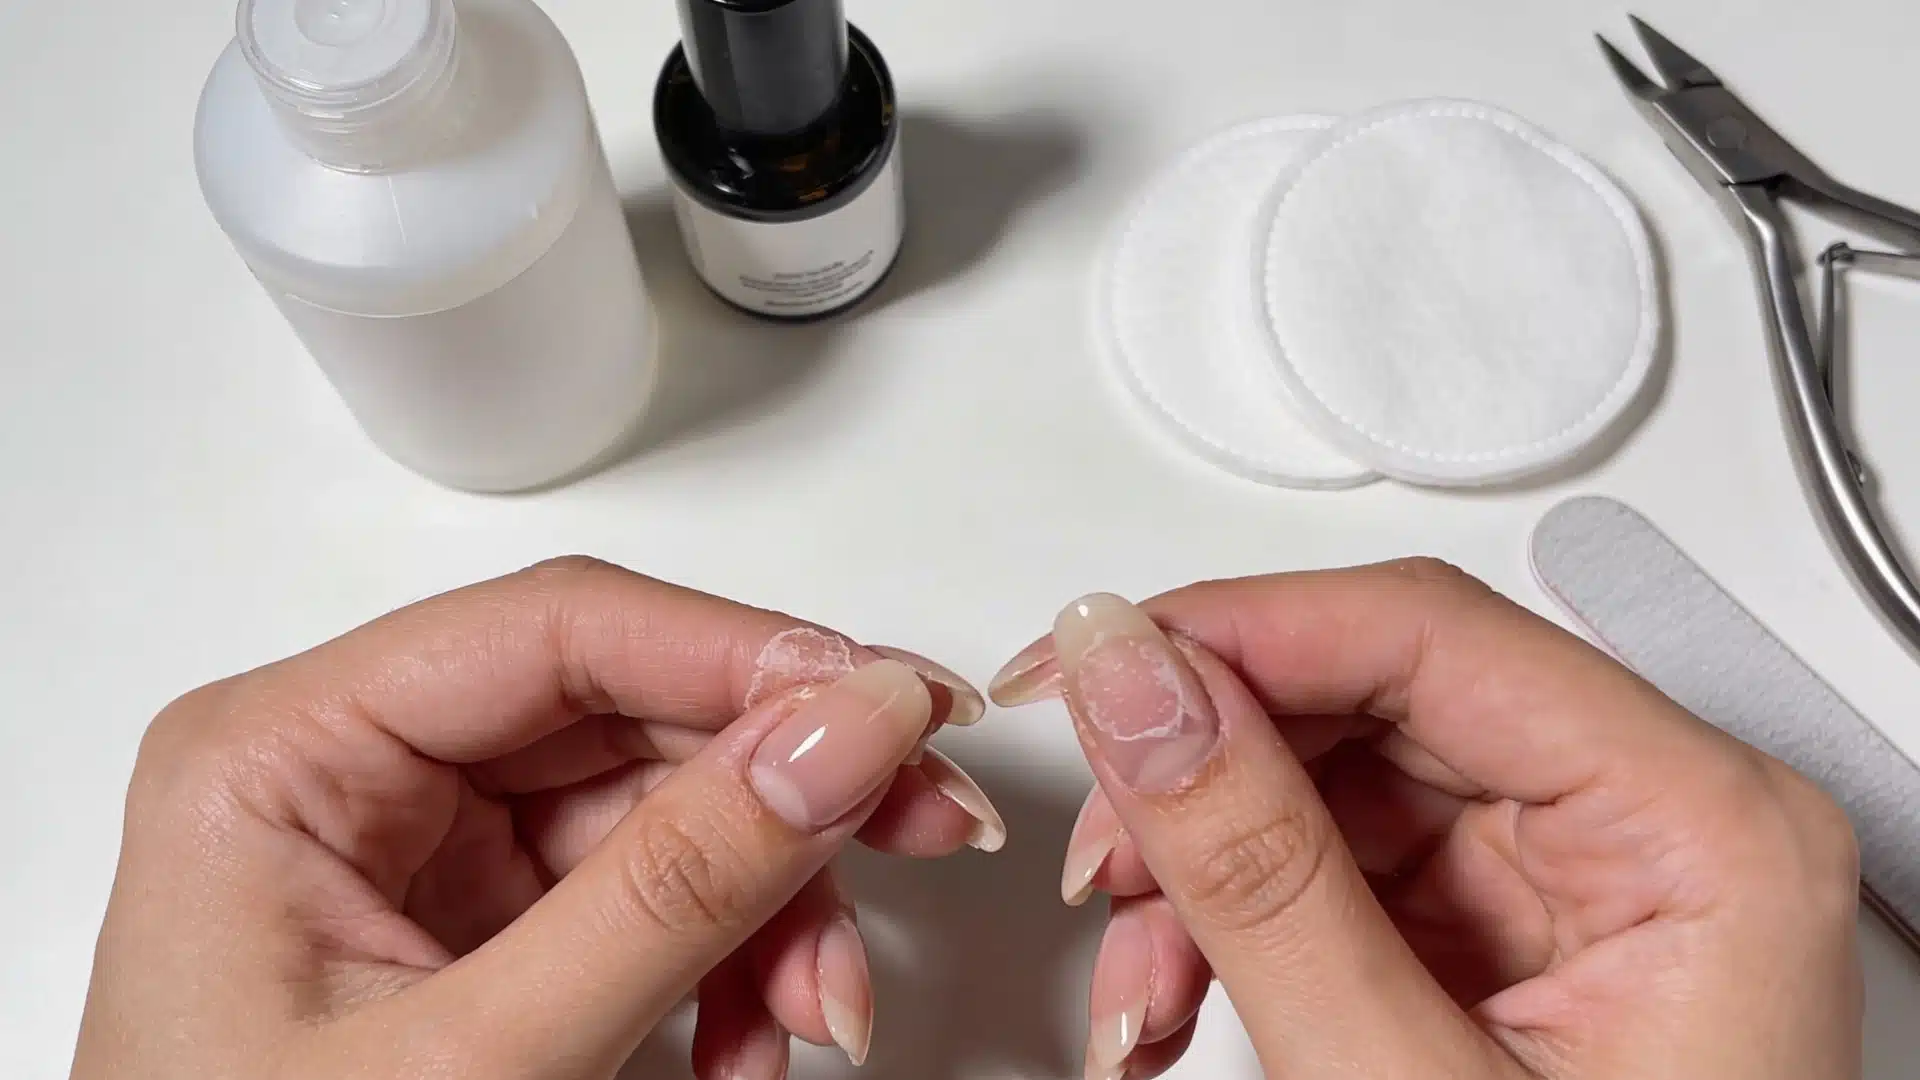
How to Remove Gel Nail Polish at Home?
Removing gel polish correctly prevents nail damage. You need acetone and a bit of patience. Never peel or pick off gel polish.
Start by filing the shiny top coat off each nail. Soak cotton pads in pure acetone. Place one pad on each nail and wrap with aluminum foil.
Wait 10 to 15 minutes for the gel to soften. Remove the foil and gently push off the gel with a cuticle pusher. If it doesn’t come off easily, soak for a few more minutes.
Buff your nails lightly and apply cuticle oil. Your natural nails are now clean and ready for the next manicure.
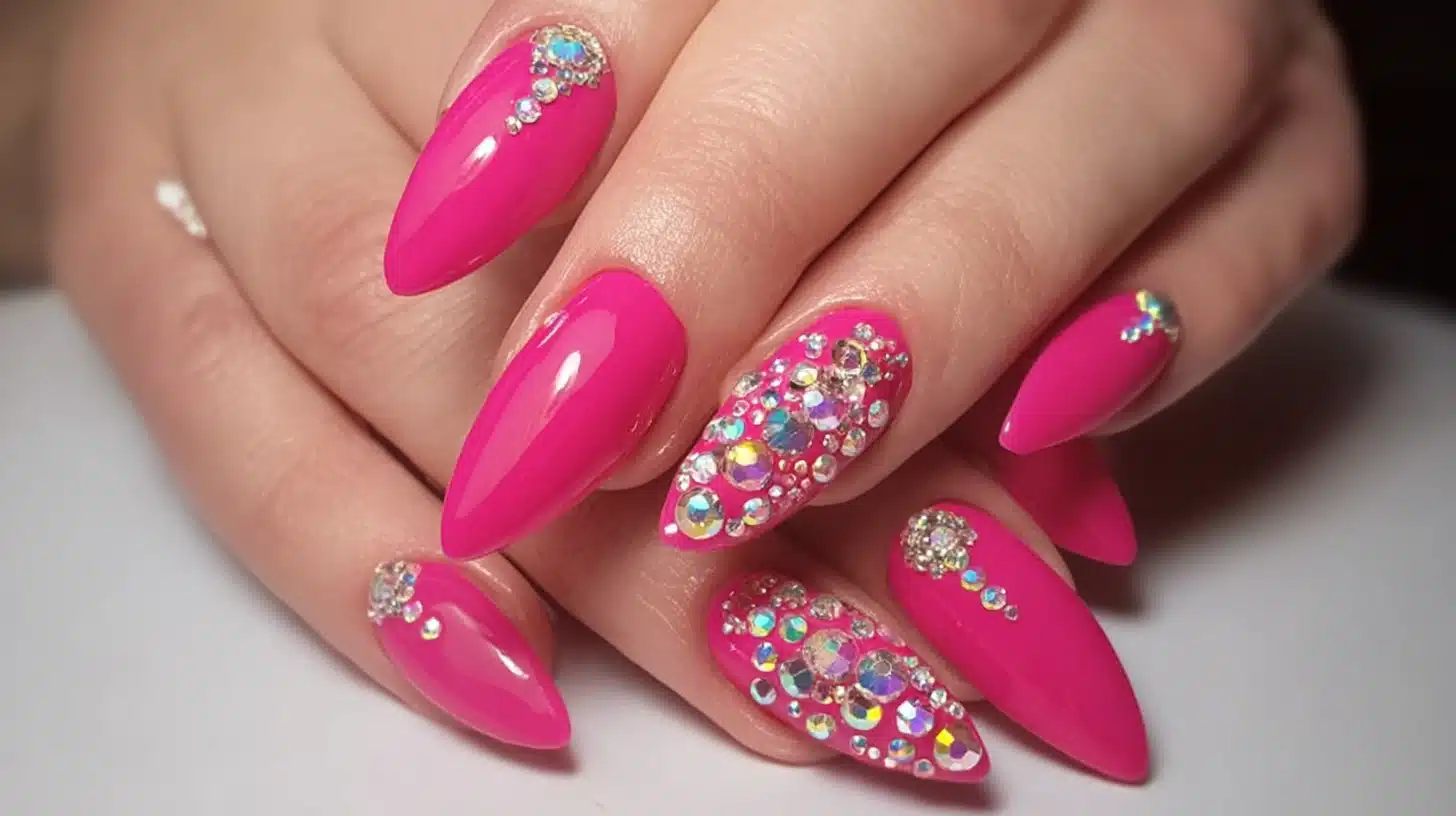
Gel Nail Paint Inspirations for You
Once you master the basics, it’s time to try different designs. Pick one that matches your skill level and personal style.
Sunset Ombre Glow
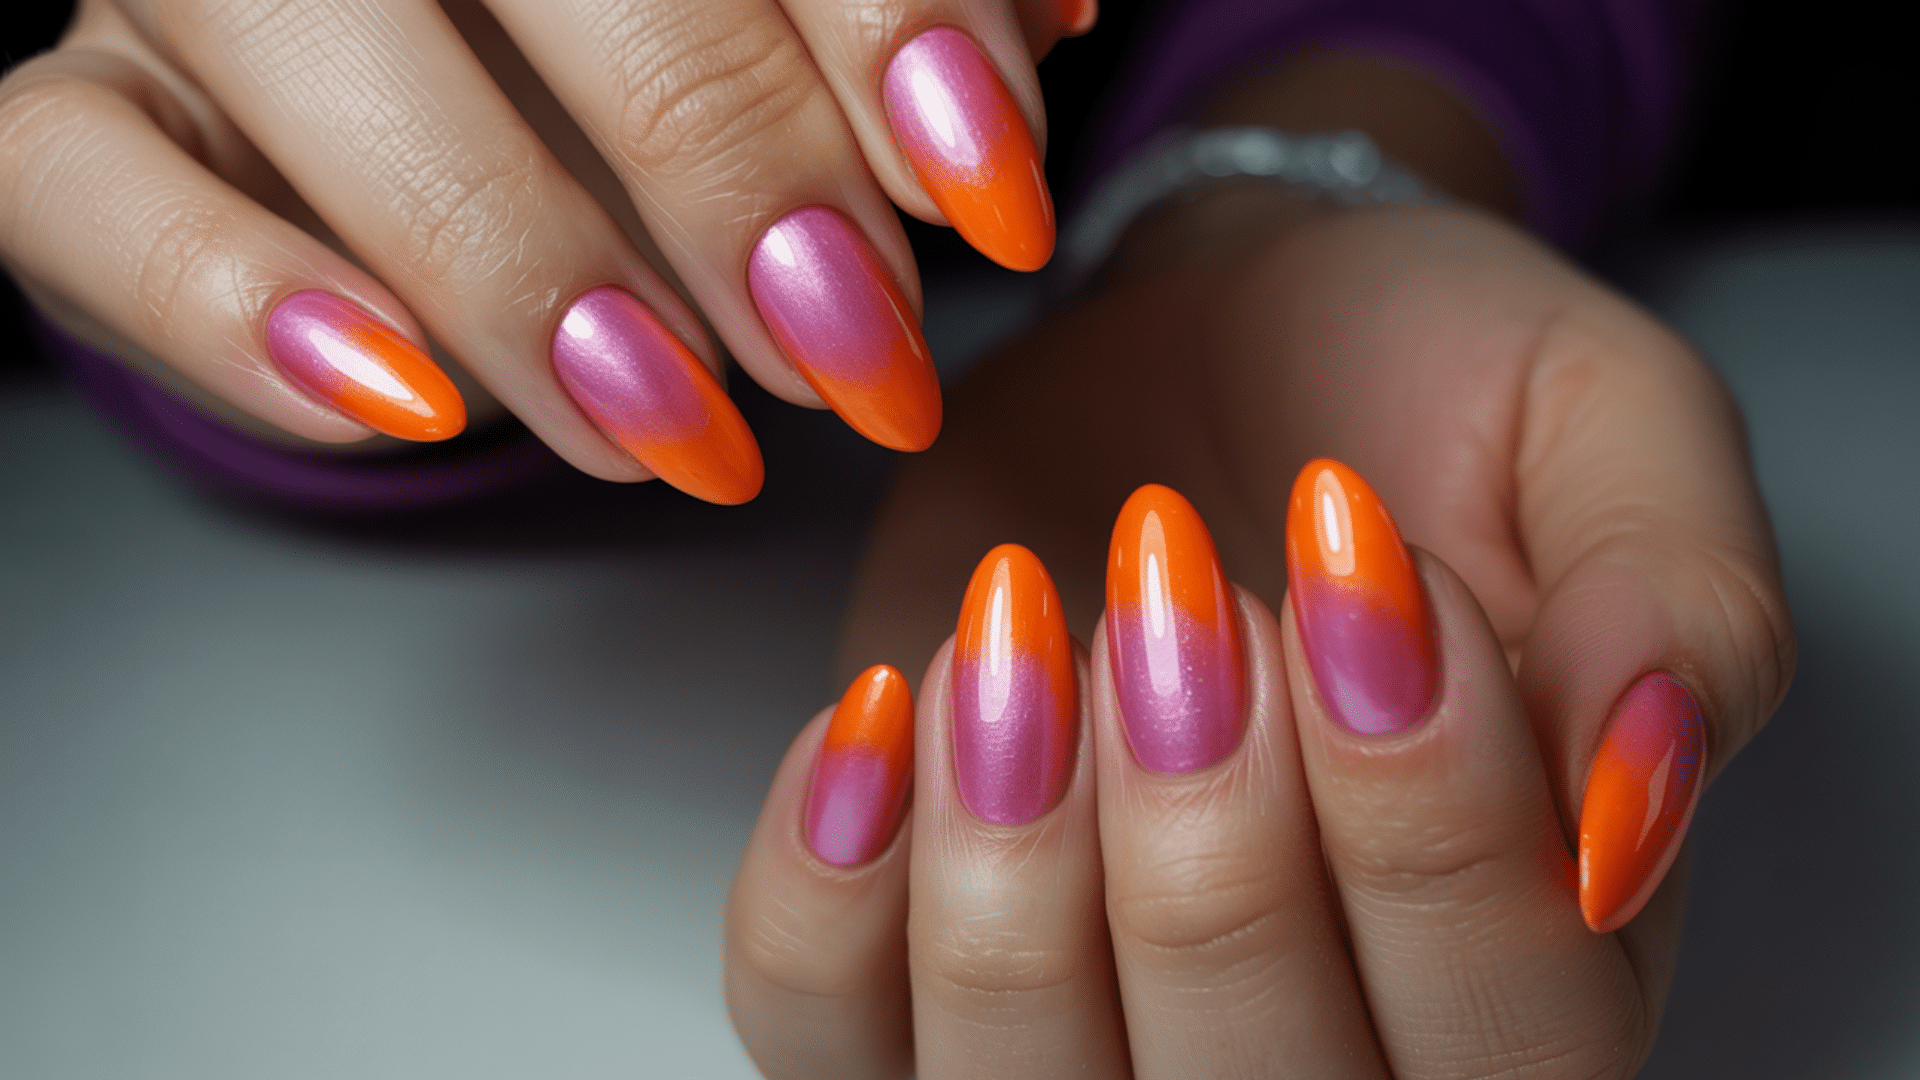
This style blends orange, pink, and yellow gel polish to create a sunset effect. The colors fade into each other smoothly from cuticle to tip.
It gives a warm, cheerful vibe that’s great for summer.
Use a makeup sponge to blend the colors before curing each layer under the lamp.
- Nail Length: Any length works well
- Nail Shape: Round, oval, or square
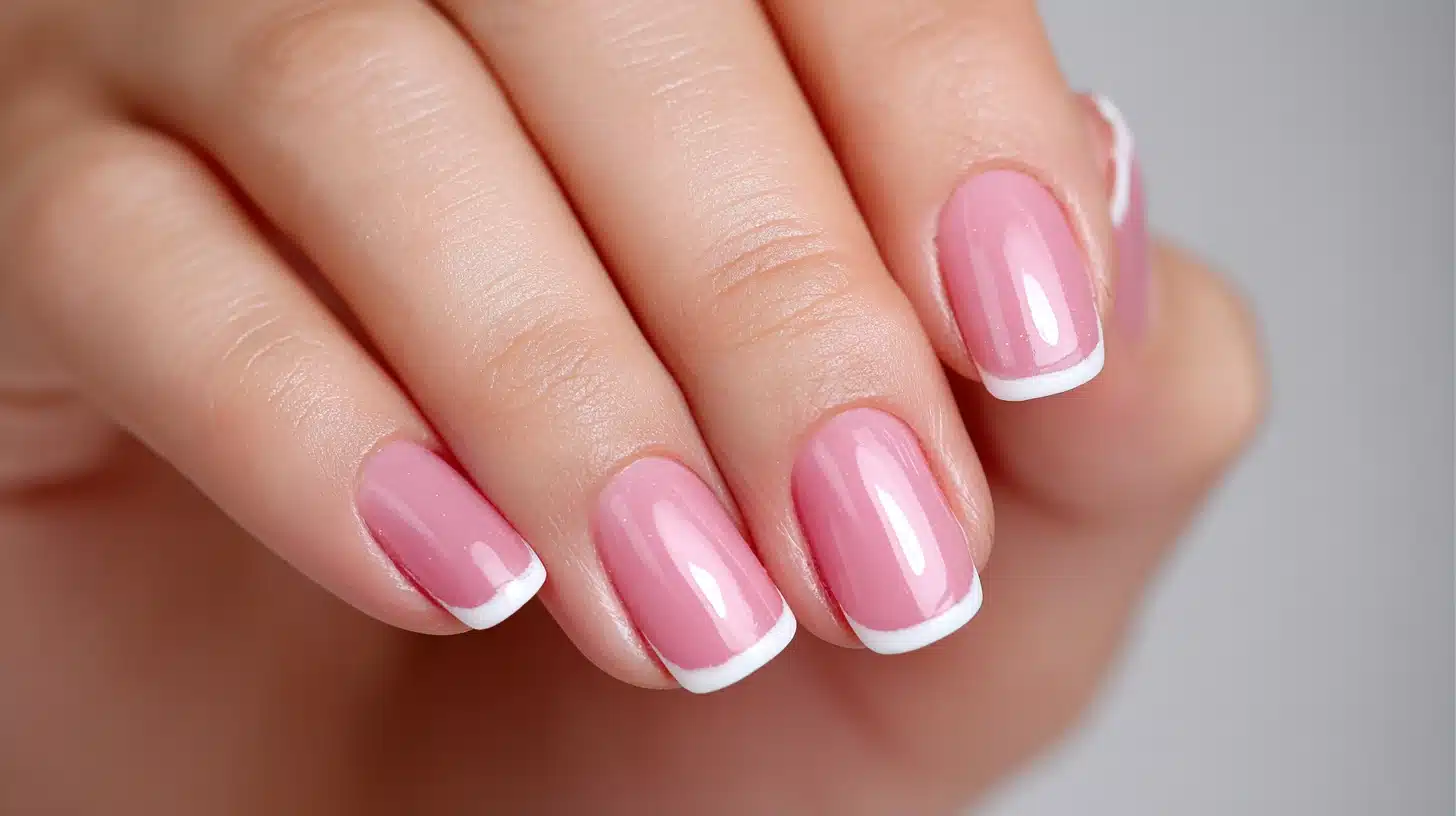
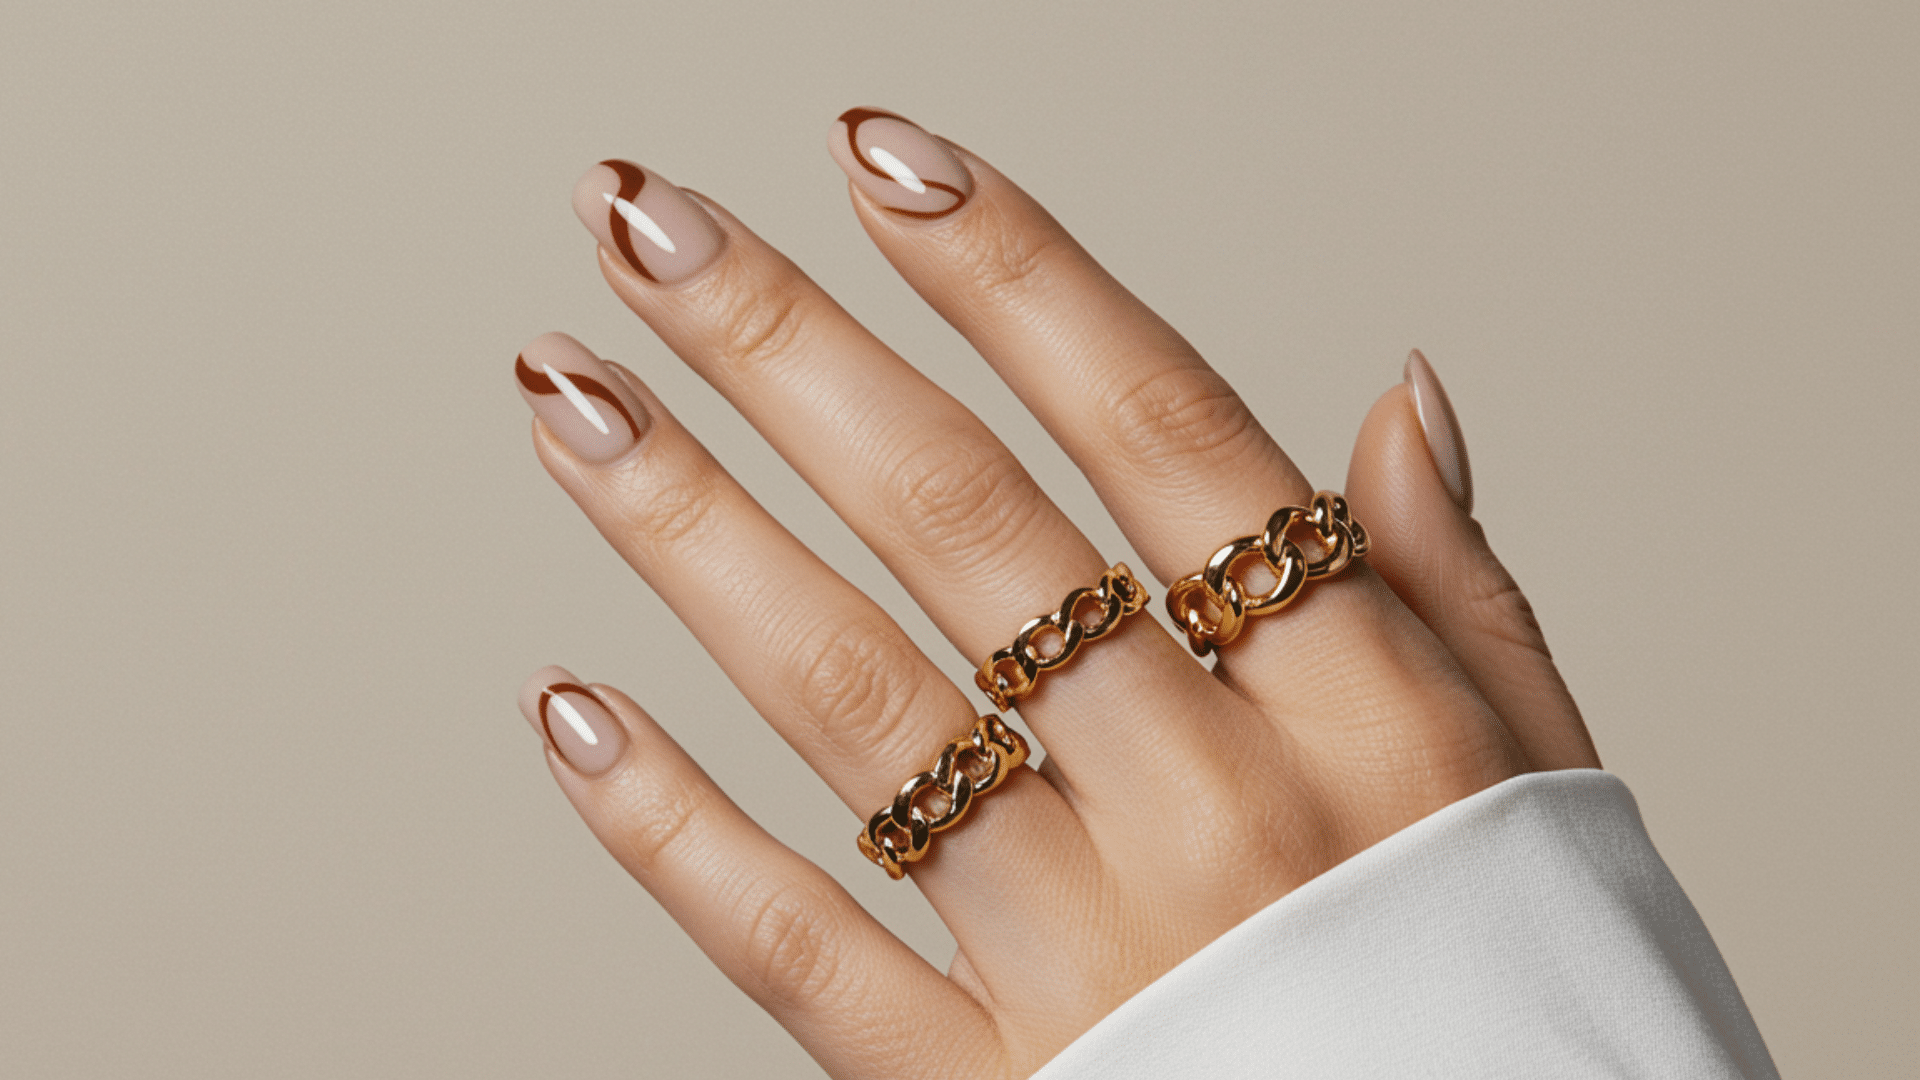
Classic French Tips
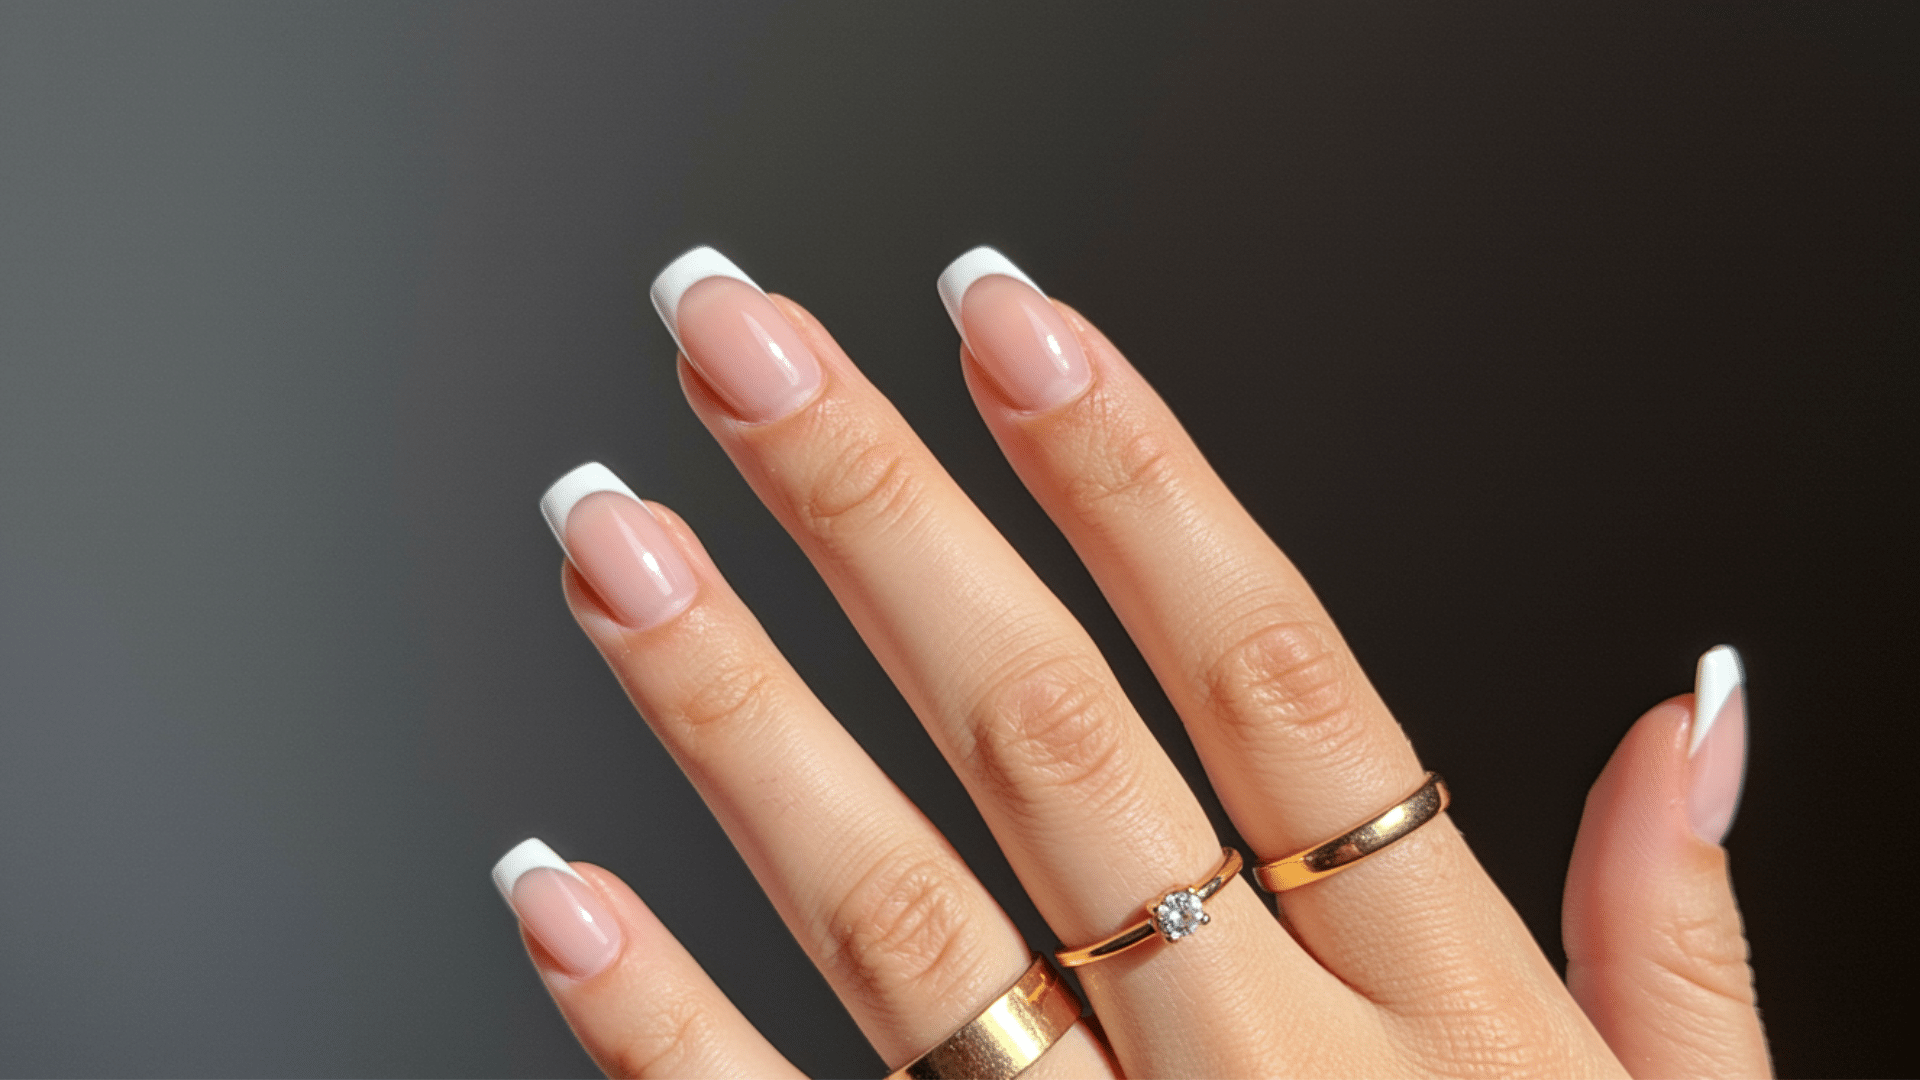
French tips never go out of style and work for any occasion. Paint your nails with a sheer pink or nude base coat.
Add white gel polish to the tips in a curved line. This clean look suits both casual and formal settings perfectly.
- Nail Length: Medium to long works best for visibility
- Nail Shape: Oval, almond, or square shapes all look good
Glittery Starry Night
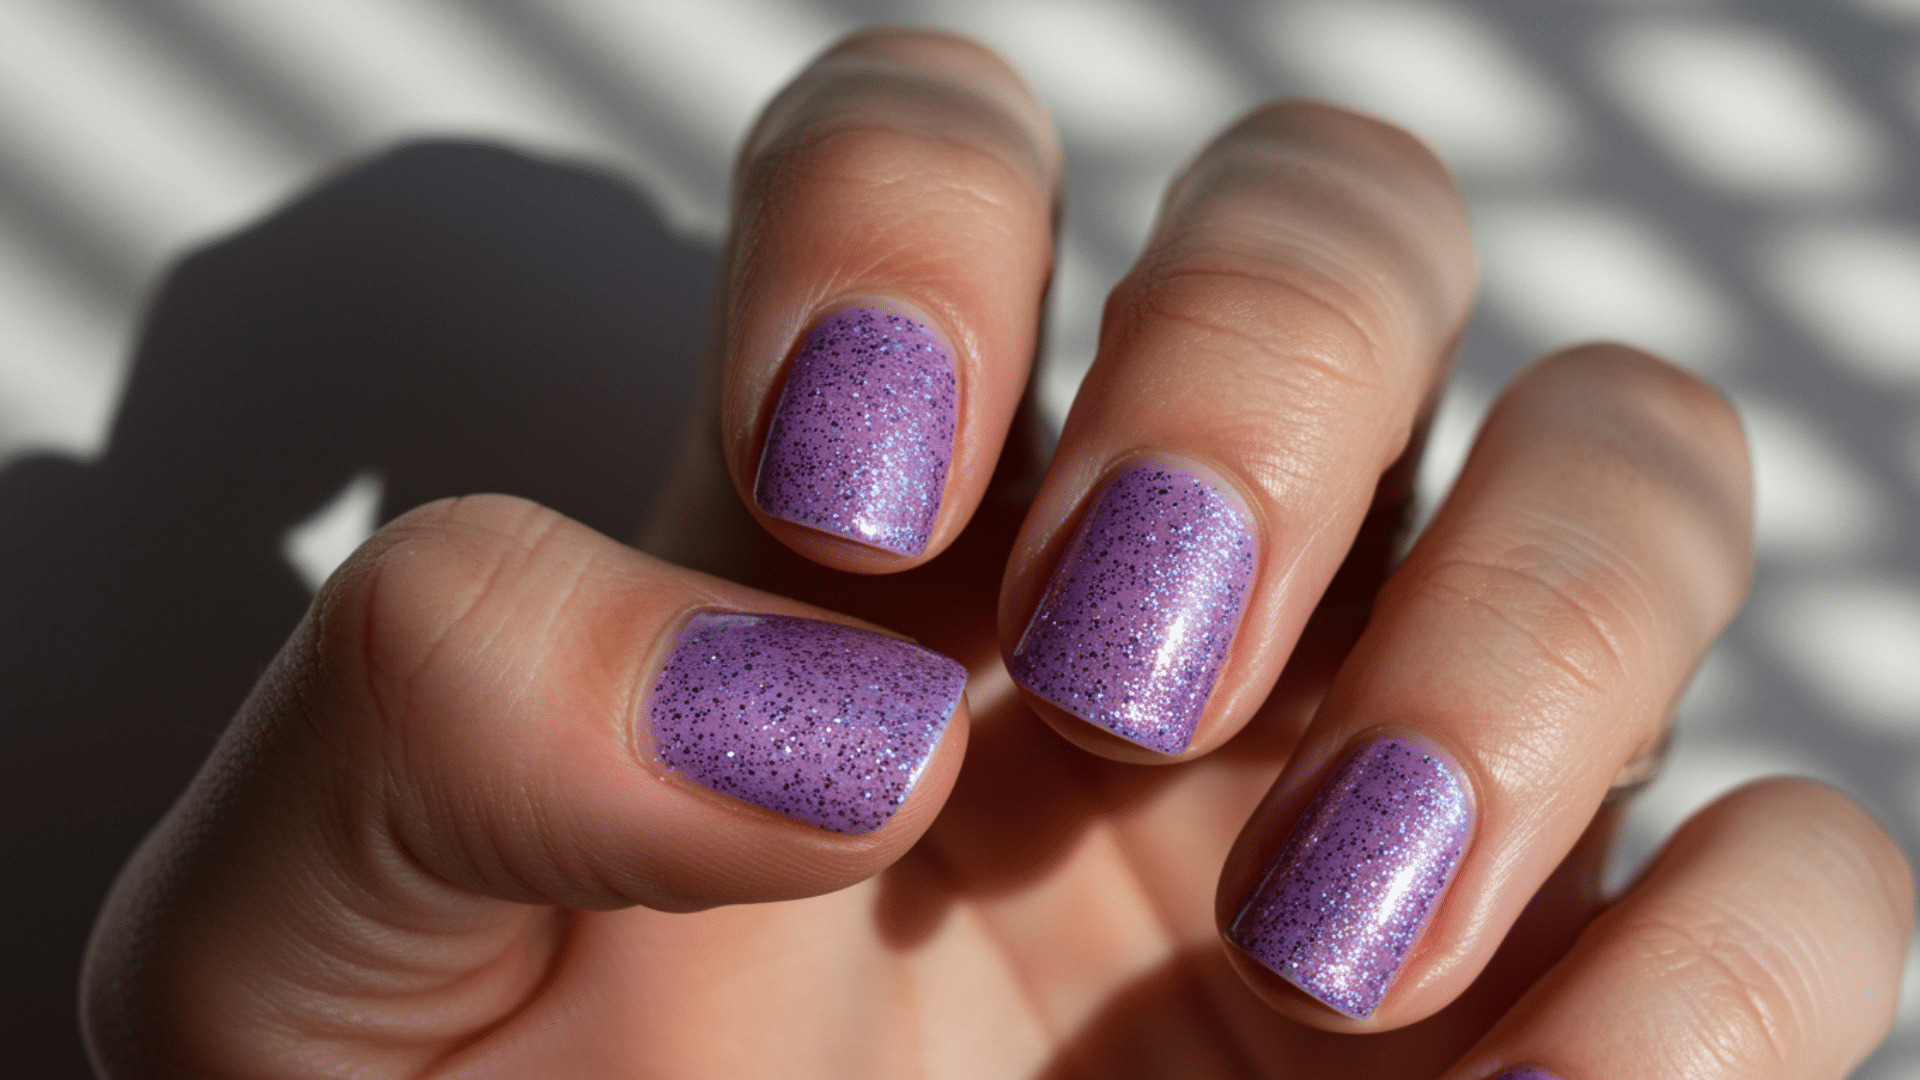
Create a night sky effect with a dark blue or black, or purple base color.
Add silver or gold glitter gel polish on top in random patterns. You can also use tiny star stickers for extra detail.
This glamorous look catches light beautifully and works great for evening events and parties.
- Nail Length: Medium to long shows off the sparkle better
- Nail Shape: Any shape works, but almond and stiletto look dramatic
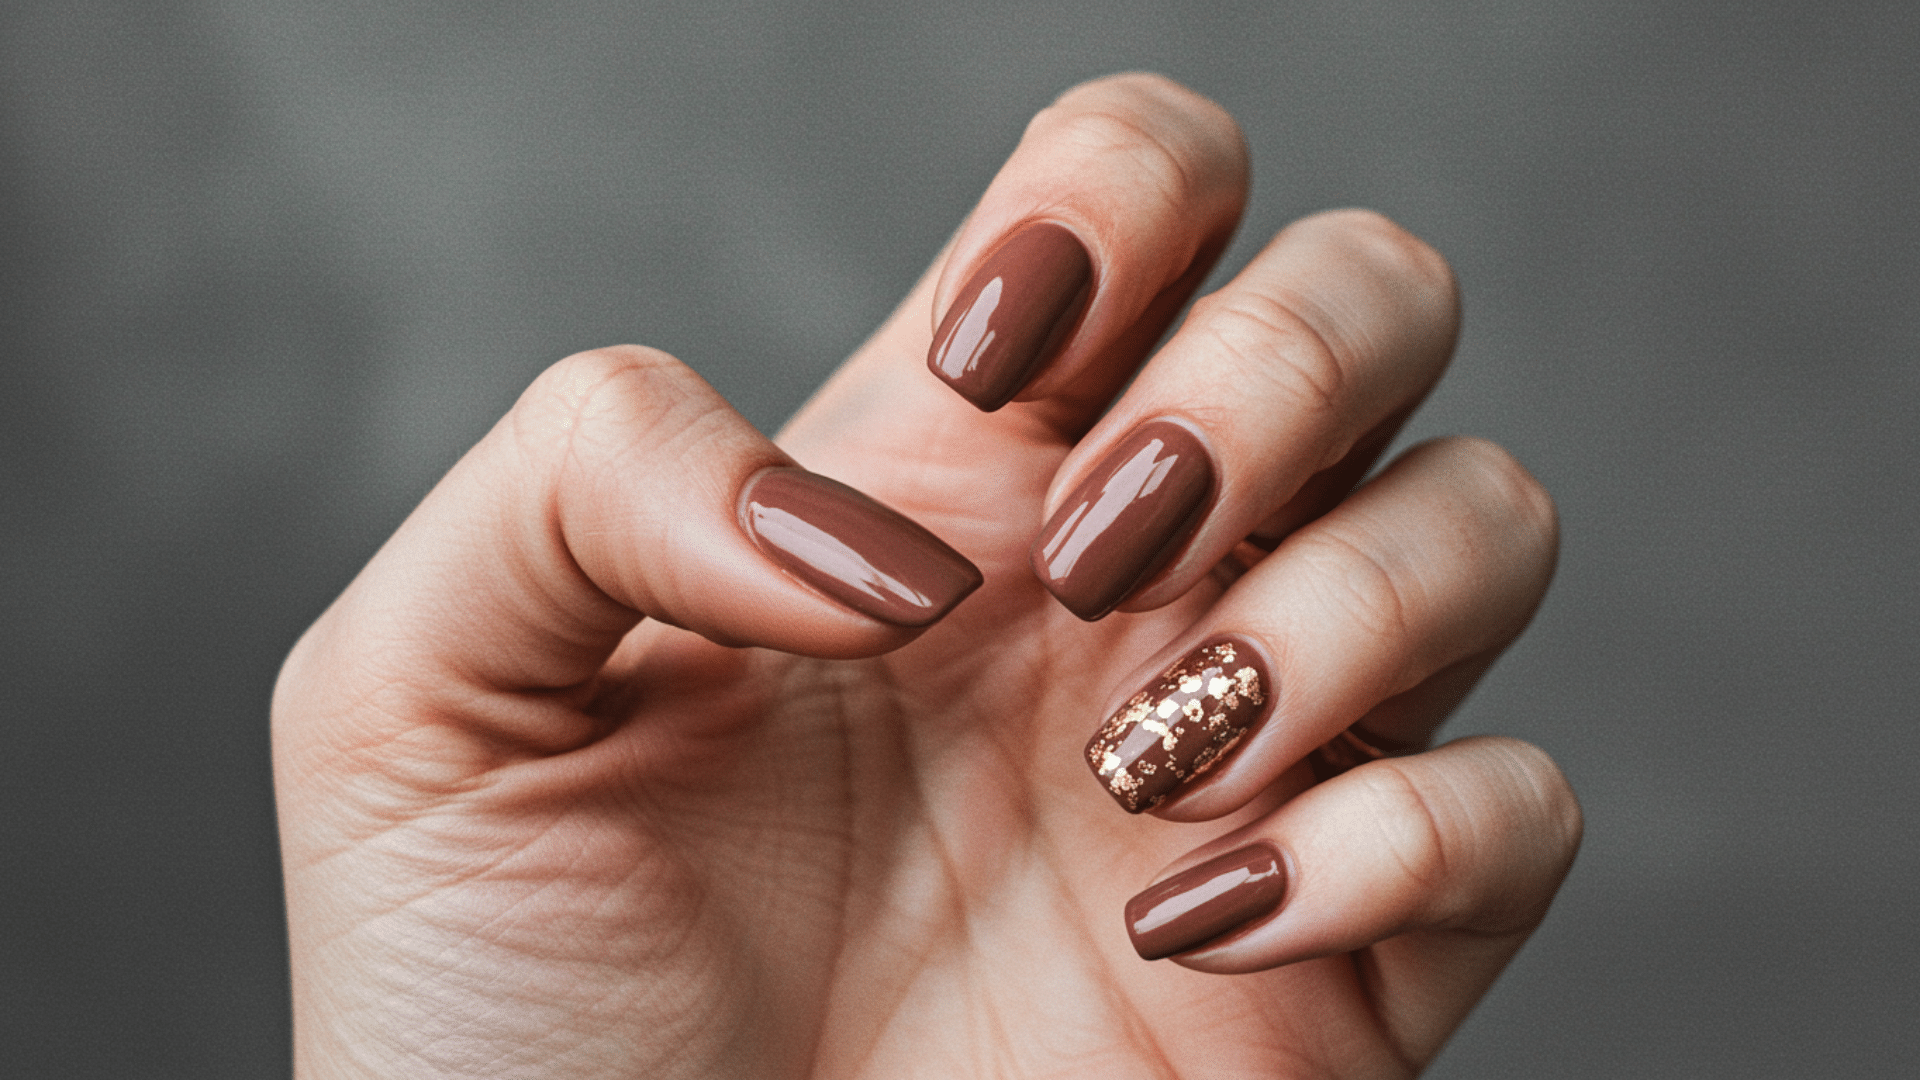
Cherry Red Bliss
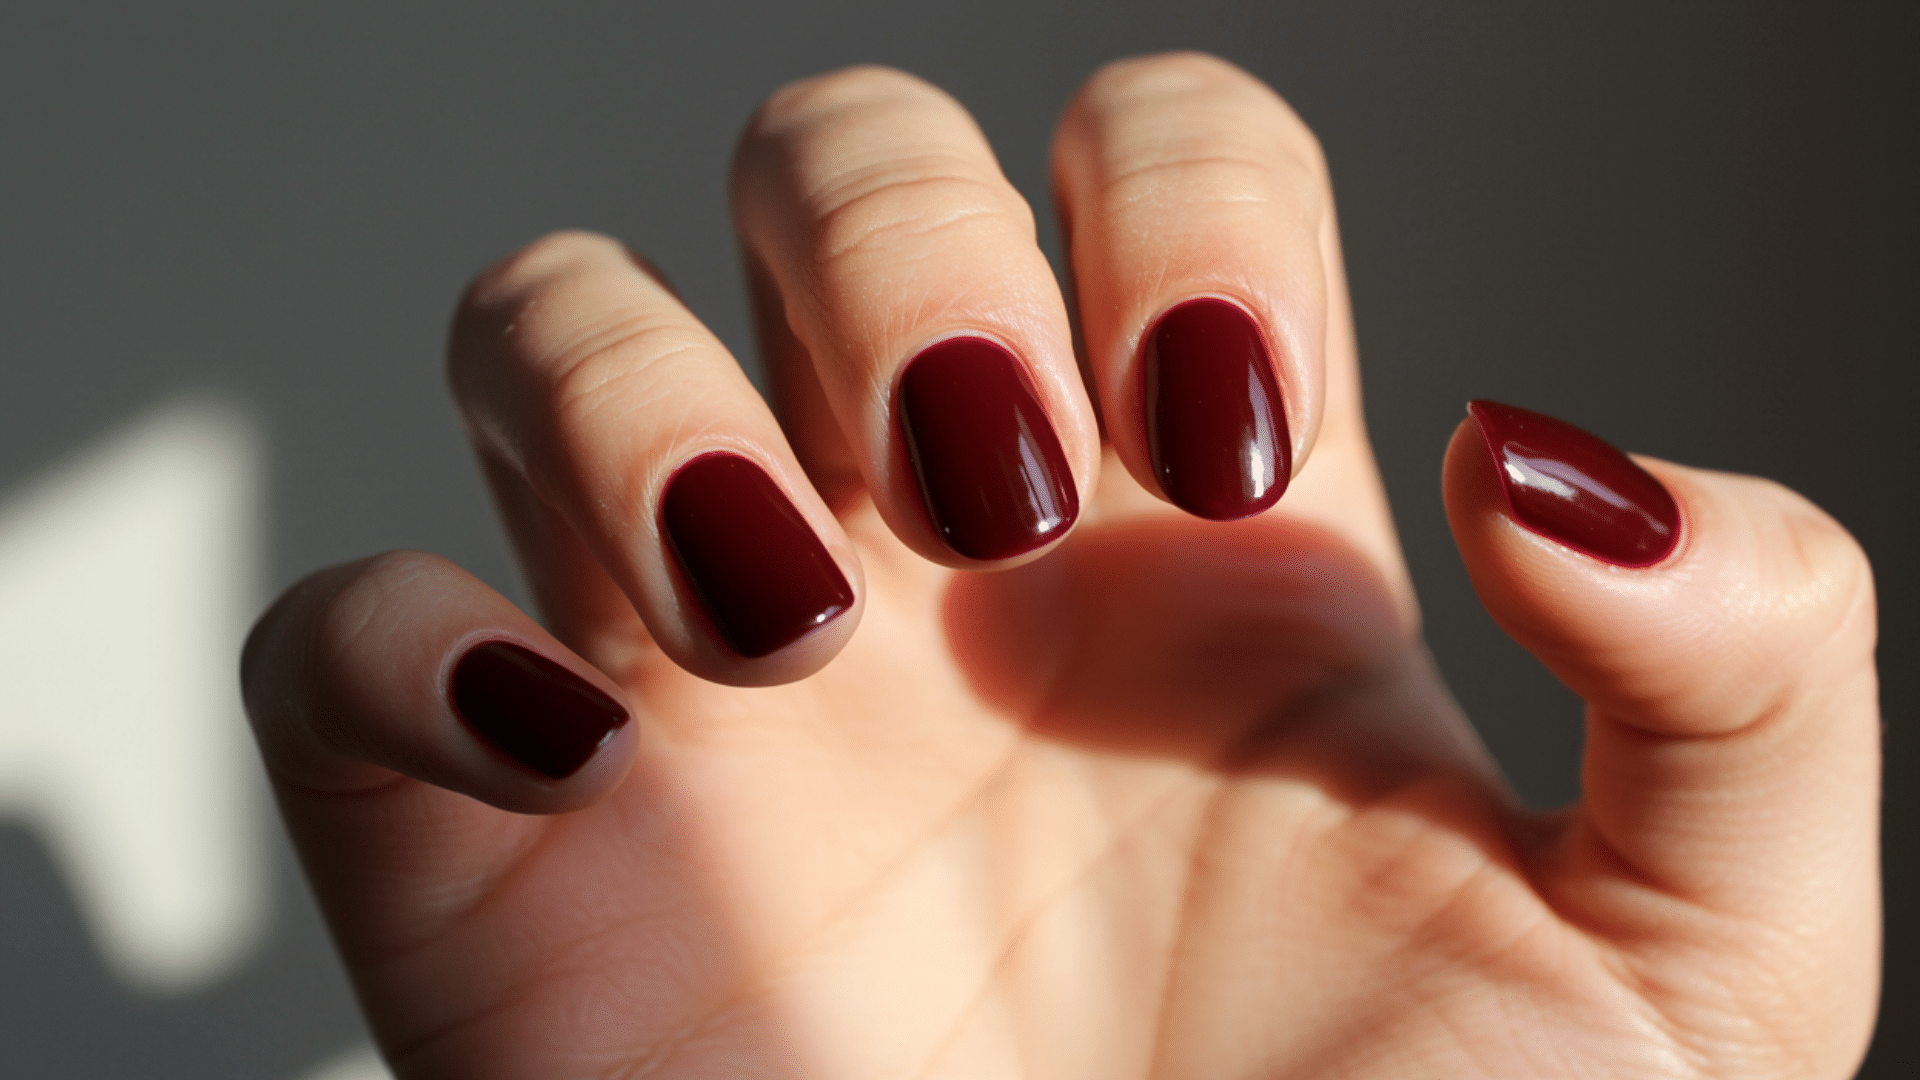
Bold cherry red gel polish makes a confident statement on its own.
Apply two coats for a rich, opaque color that pops against any skin tone. This timeless shade needs no extra decoration or designs.
It’s classy, powerful, and always appropriate for work or play occasions.
- Nail Length: Any length from short to long looks stunning
- Nail Shape: All shapes suit this classic color beautifully
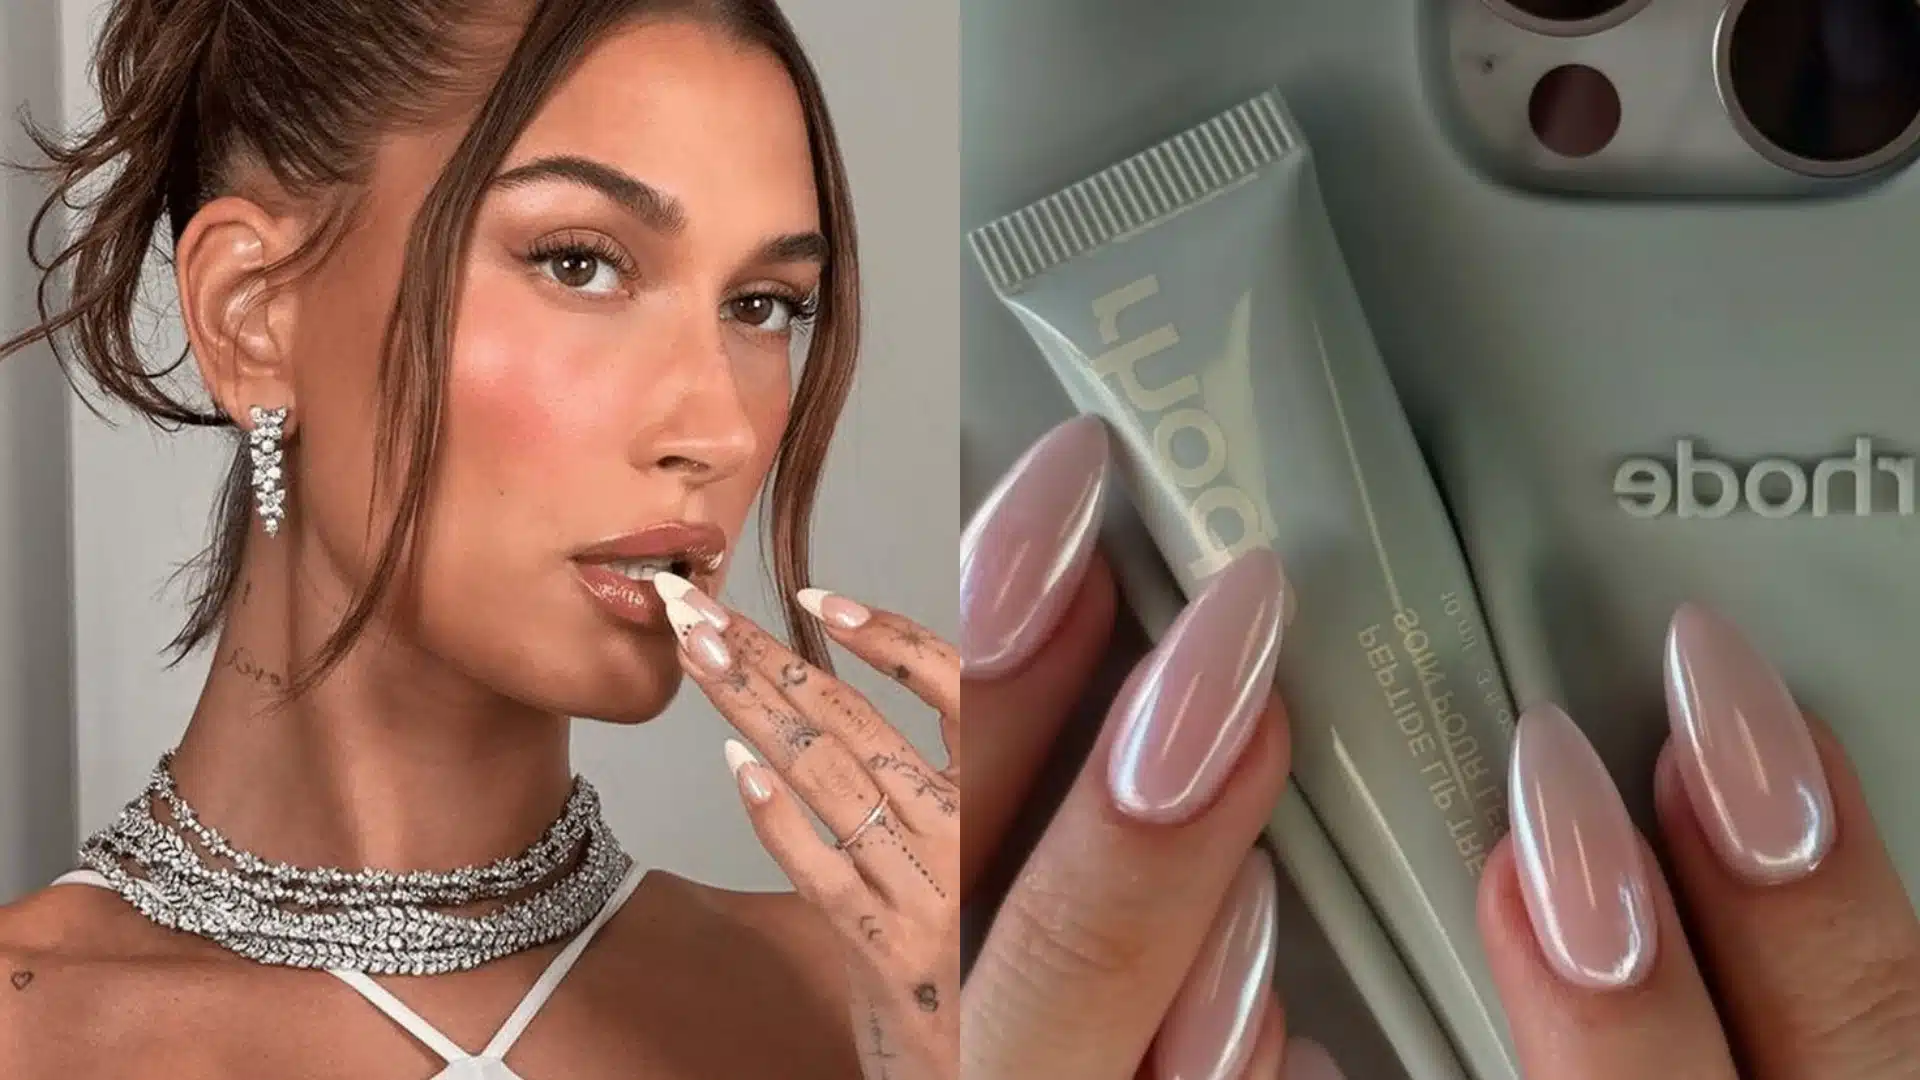
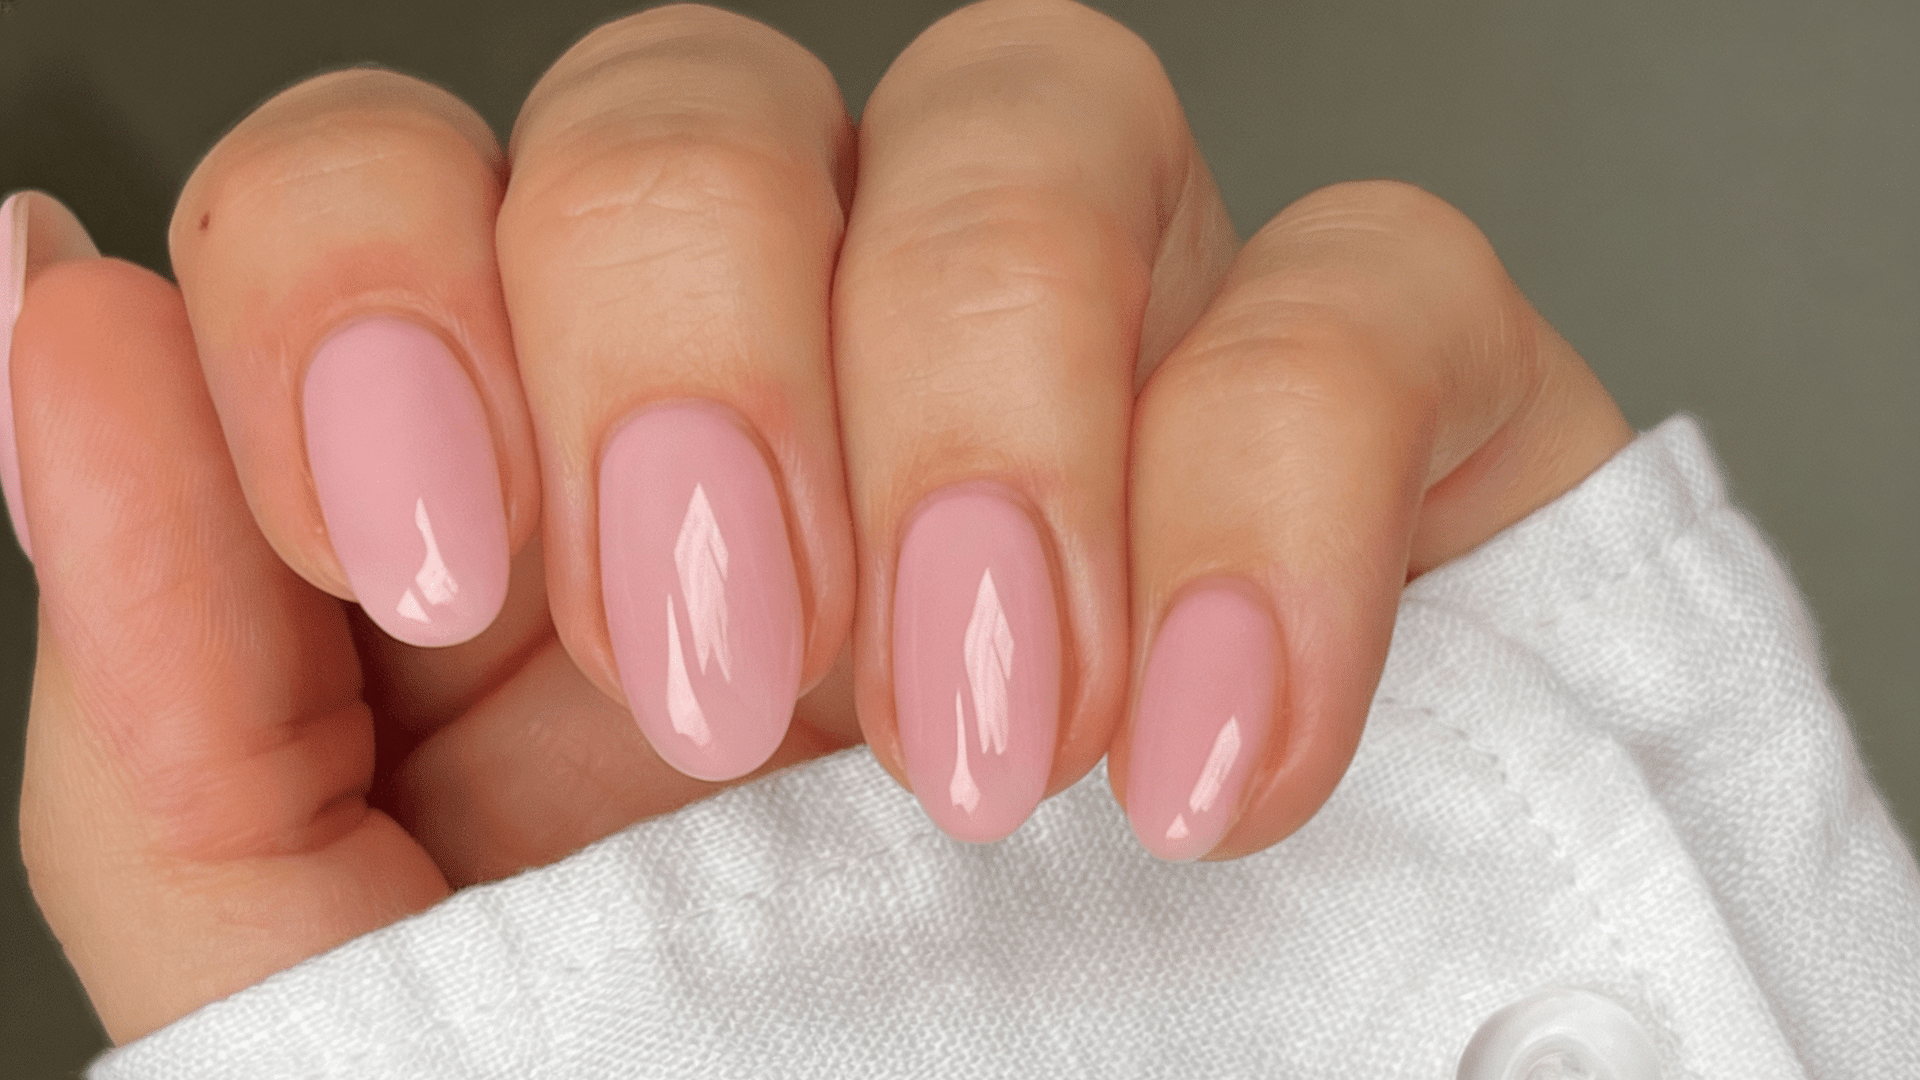
Nude Marble Swirl
Marble nails mimic natural stone patterns using beige and white gel polish. Swirl colors together with a thin brush or toothpick before curing.
Each nail looks unique with organic, flowing lines throughout.
This understated design adds interest without being too bold or attention-grabbing for daily wear.
- Nail Length: Medium length displays the marble pattern best
- Nail Shape: Square and coffin shapes showcase the design well
Tropical Palm Leaves
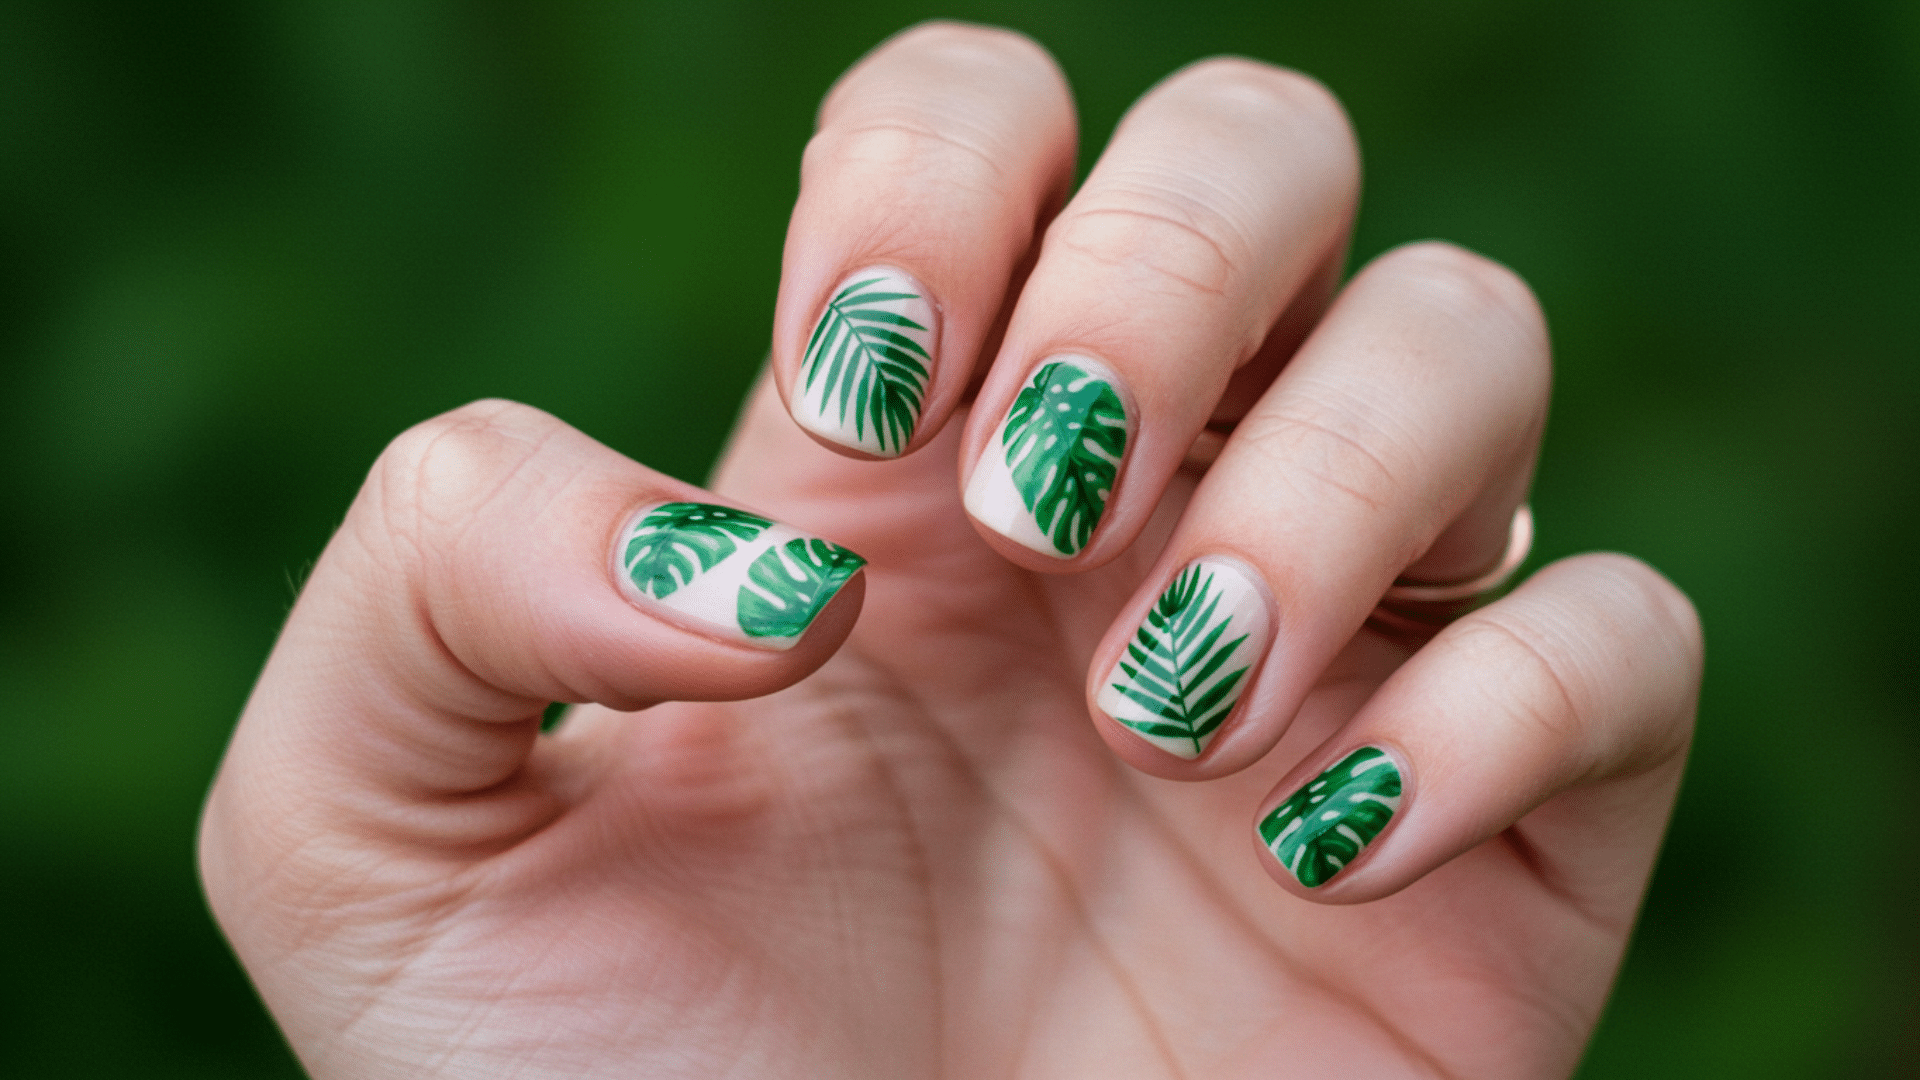
Paint a light background color like white, peach, or sky blue first.
Use a thin nail art brush to paint simple palm leaf shapes. Keep leaves green and minimal for a fresh summer vibe.
This fun design brings vacation energy to your everyday look and mood instantly.
- Nail Length: Medium to long provides space for leaf details
- Nail Shape: Oval and almond shapes suit the organic leaf design
Metallic Foil Accents
Apply your base color, then add small pieces of metallic foil.
Press gold, silver, or rose gold foil onto tacky gel before curing. The foil creates random textured patches that catch light differently.
This modern technique adds luxury without requiring any artistic ability or special skills.
- Nail Length: Short to medium works well with accent pieces
- Nail Shape: All shapes look good with strategic foil placement
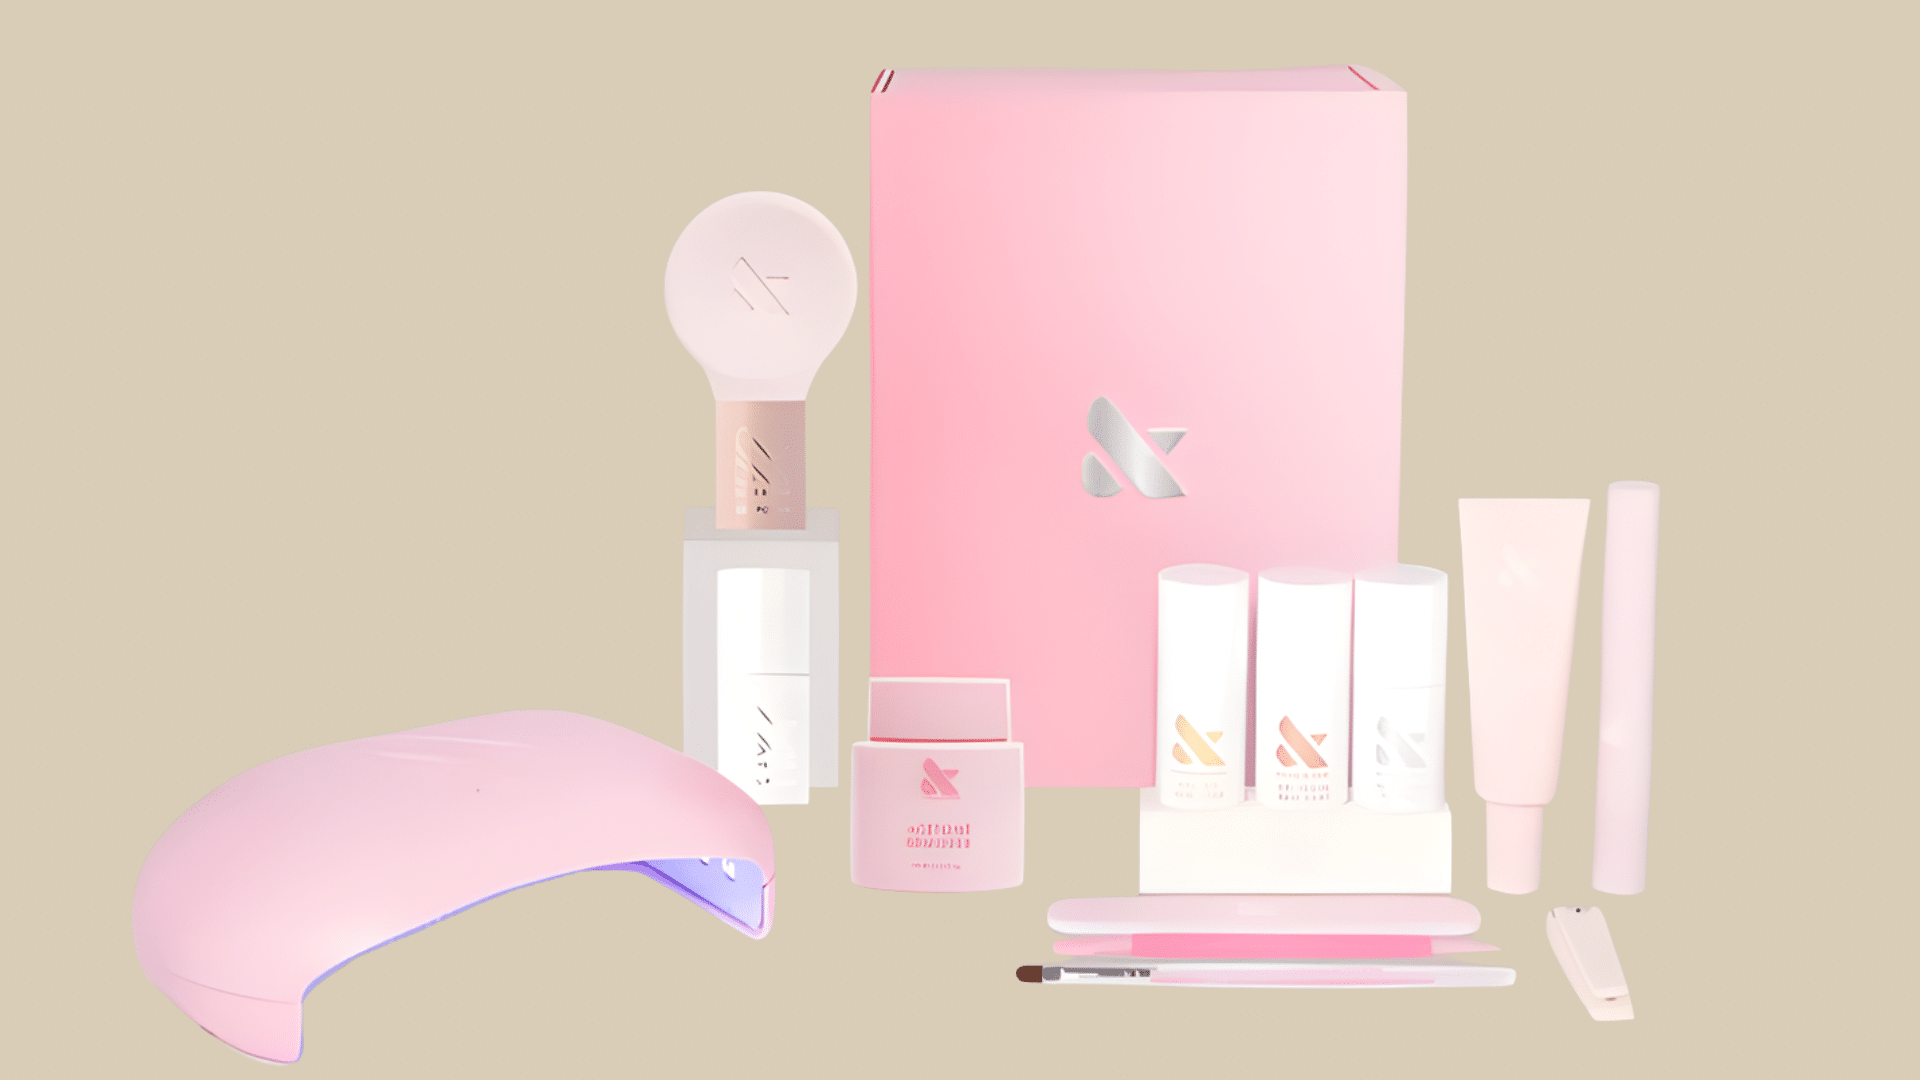
Gel Nail Kit to Achieve Perfect Nails at Home
Choosing the right gel nail kit makes your first experience much easier. Good kits include everything you need to start.
1. Mylee The Main Kit

Mylee kit comes with a professional LED lamp and six gel polish colors. You get base coat, top coat, and all the tools needed.
The lamp cures quickly and works well. It’s a complete system for beginners who want quality results from day one.
2. SensatioNail Express Starter Kit
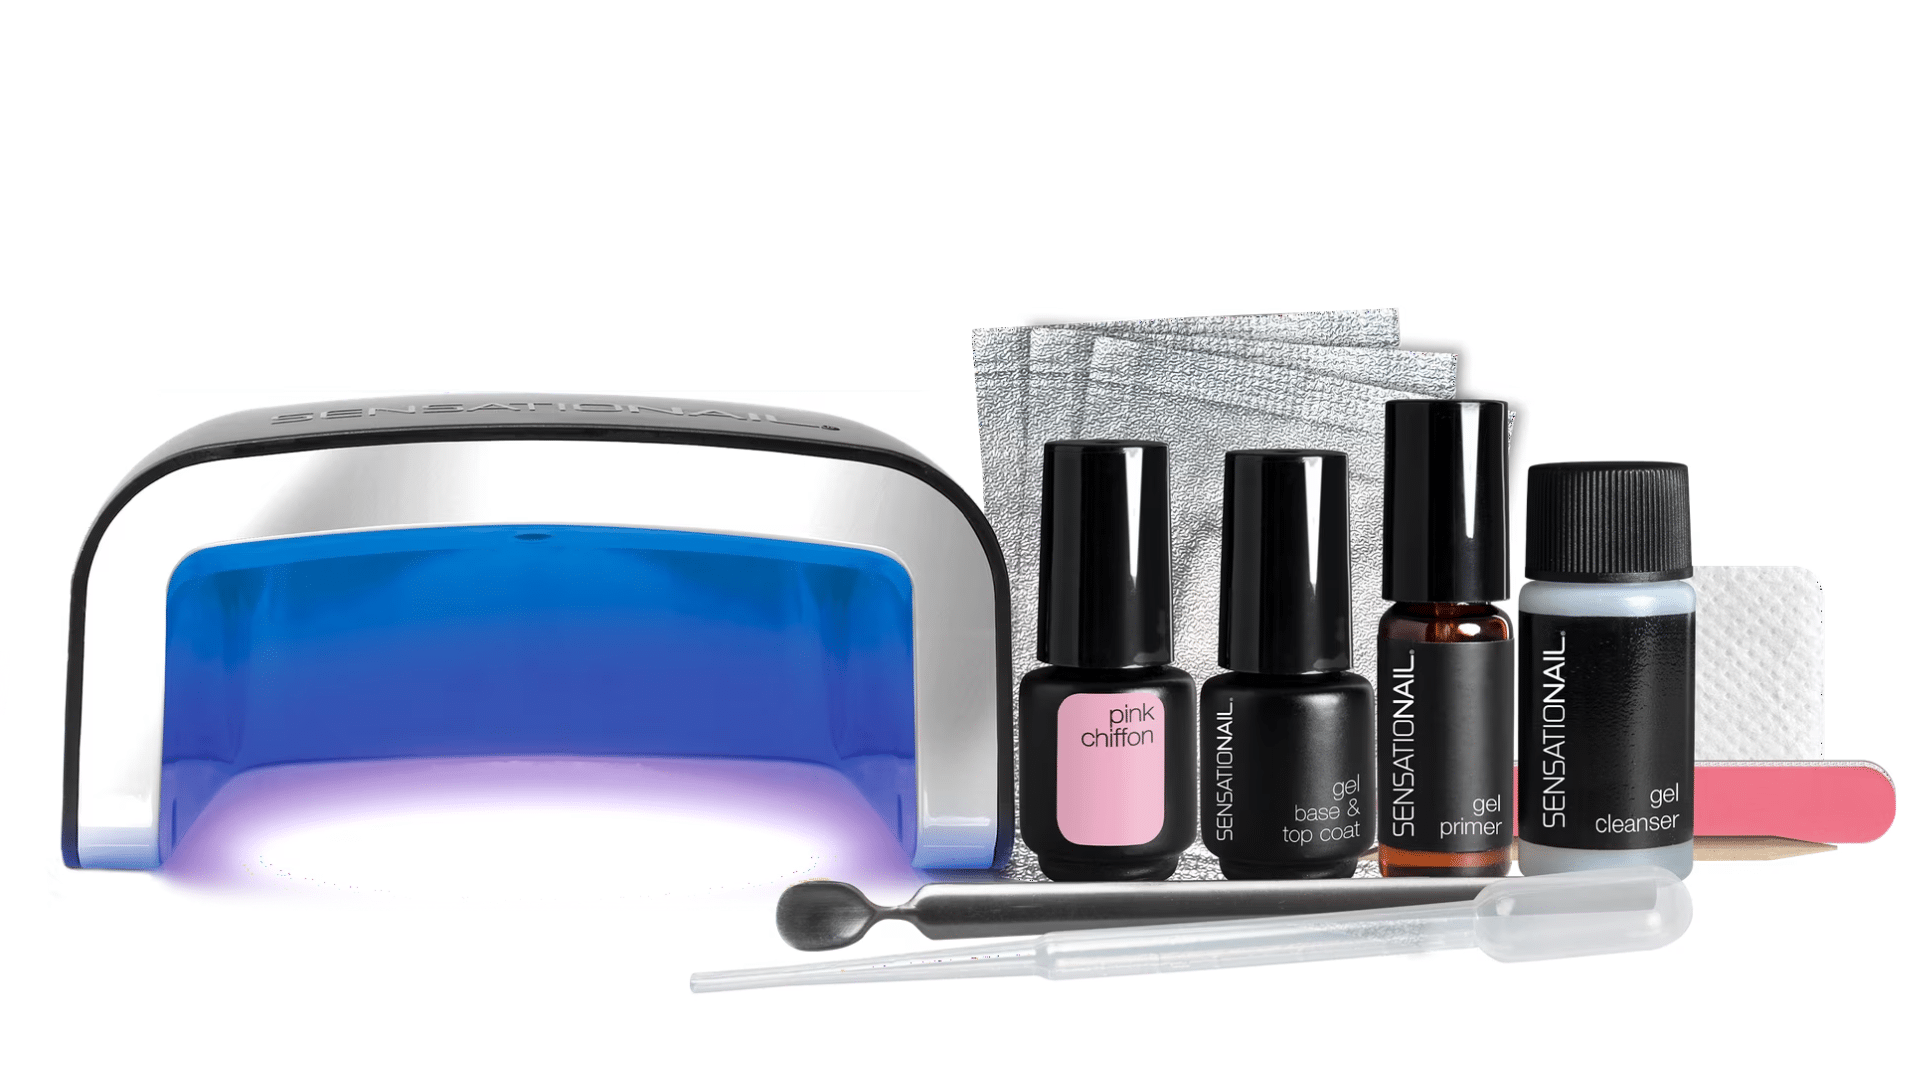
SensatioNail Kit offers a compact LED lamp with three gel polish shades. The kit includes prep and cleanse solutions plus application tools.
It’s affordable and easy to find in stores. This starter set works great if you want to test gel nails before investing more money in supplies.
3. Olive & June The Gel Mani System
Olive & June provides a sleek LED lamp and their popular gel polish formula.
The kit includes detailed instructions with helpful tips throughout. You get base coat, top coat, and remover wraps, too.
Their customer support helps beginners troubleshoot any issues that come up during the application.
4. Sally Hansen Salon Gel Polish Manicure Starter Kit
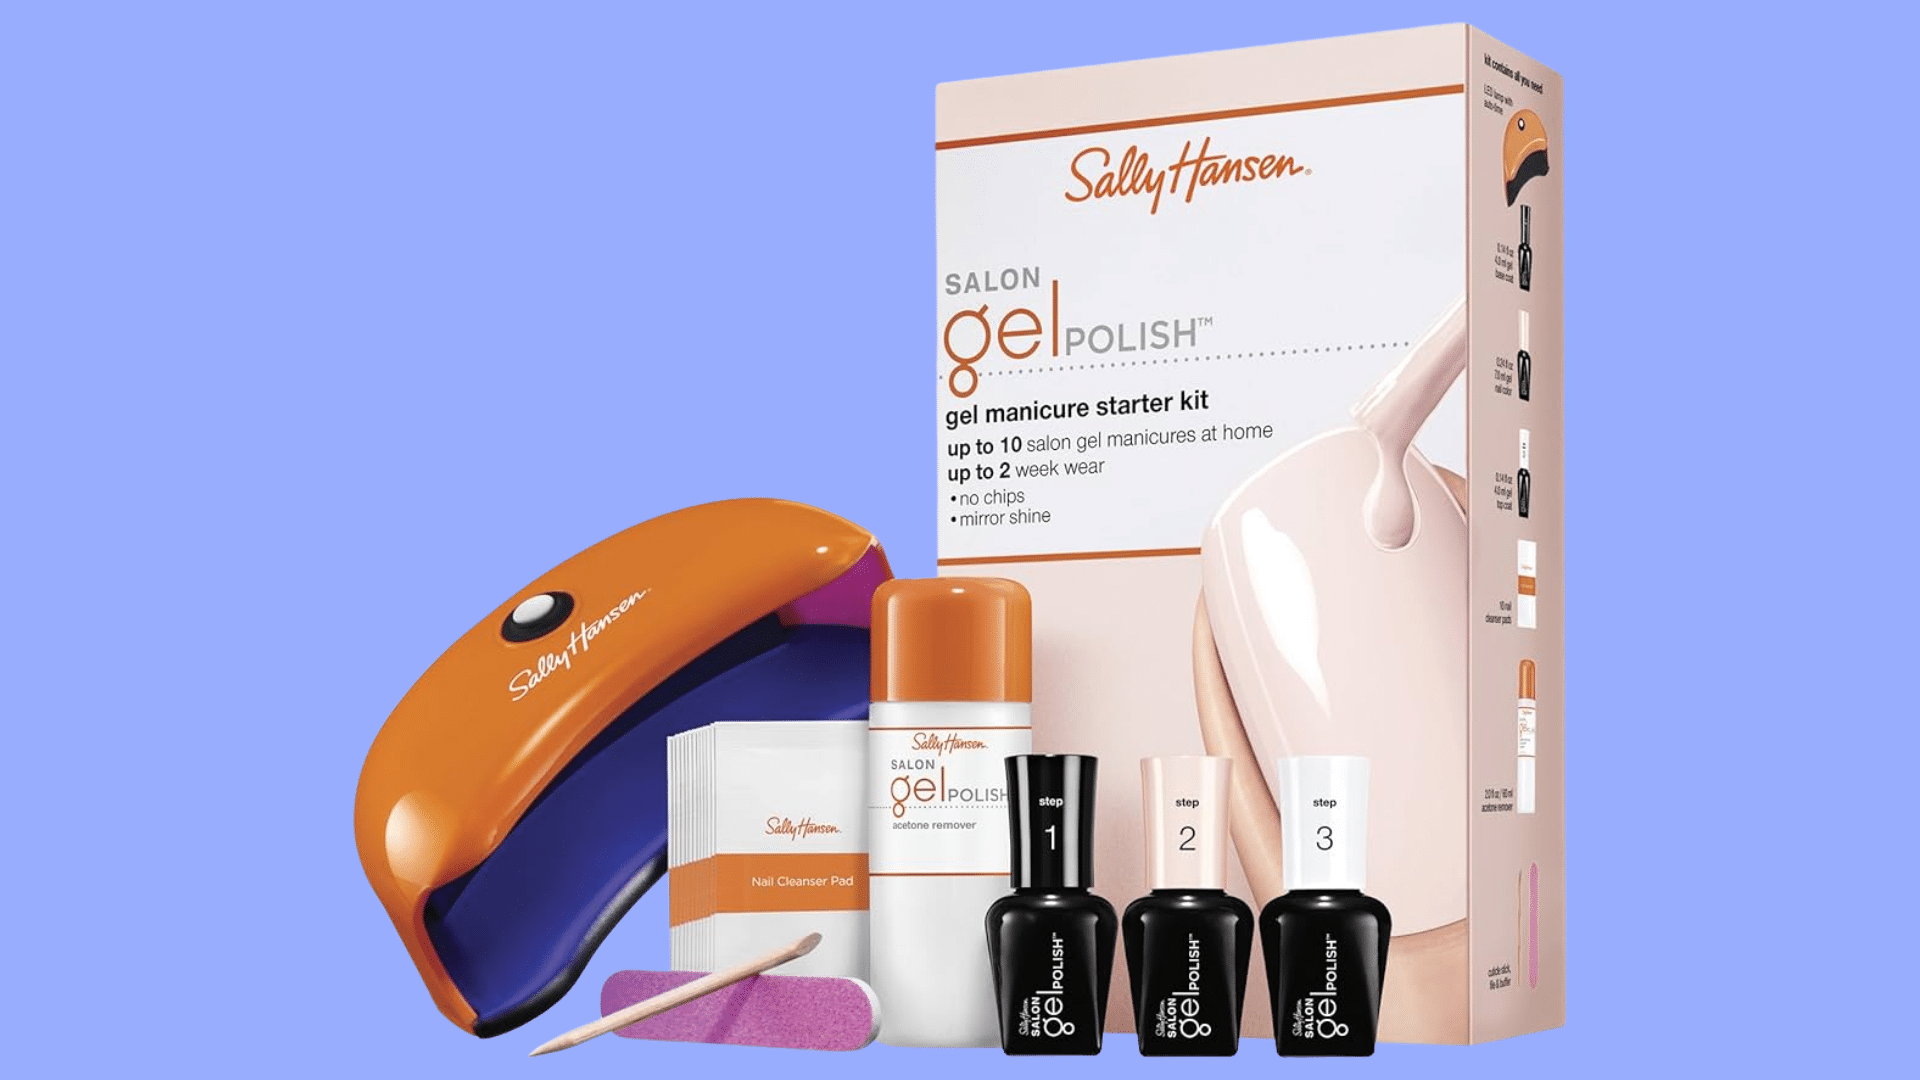
Sally Hansen includes their trusted gel polish and a compact LED light.
This drugstore option costs less than salon brands but works well. The kit has everything needed for basic gel manicures at home.
It’s perfect for people on a budget who still want decent quality and lasting results.
5. Le Mini Macaron J’adore Paris! Deluxe Gel Manicure Set
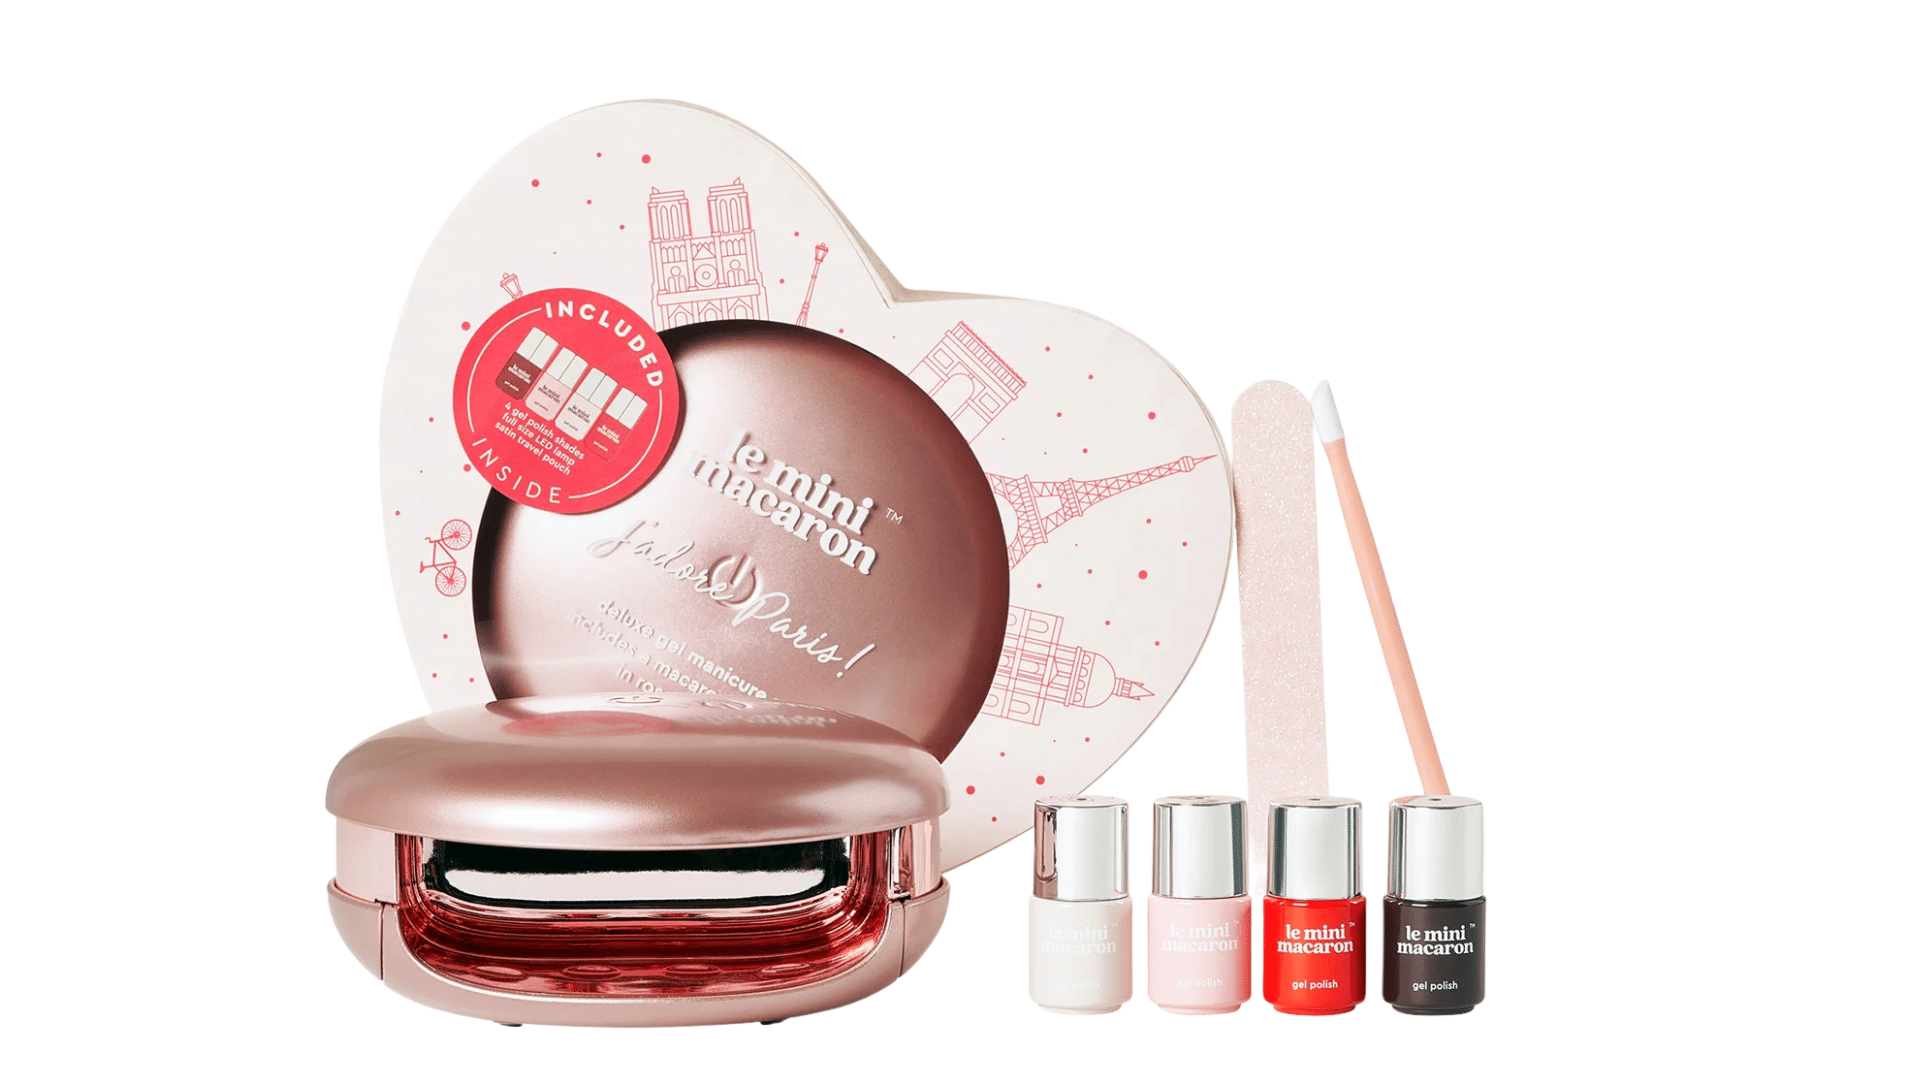
This deluxe gel nail kit features a portable rechargeable LED lamp shaped like a macaron.
It comes with gel polish in trendy colors and gold-toned tools. The compact design makes it great for travel or small spaces.
Despite its cute appearance, it delivers professional results that last two weeks or more.
6. S&L Gel Nail Polish Starter Kit
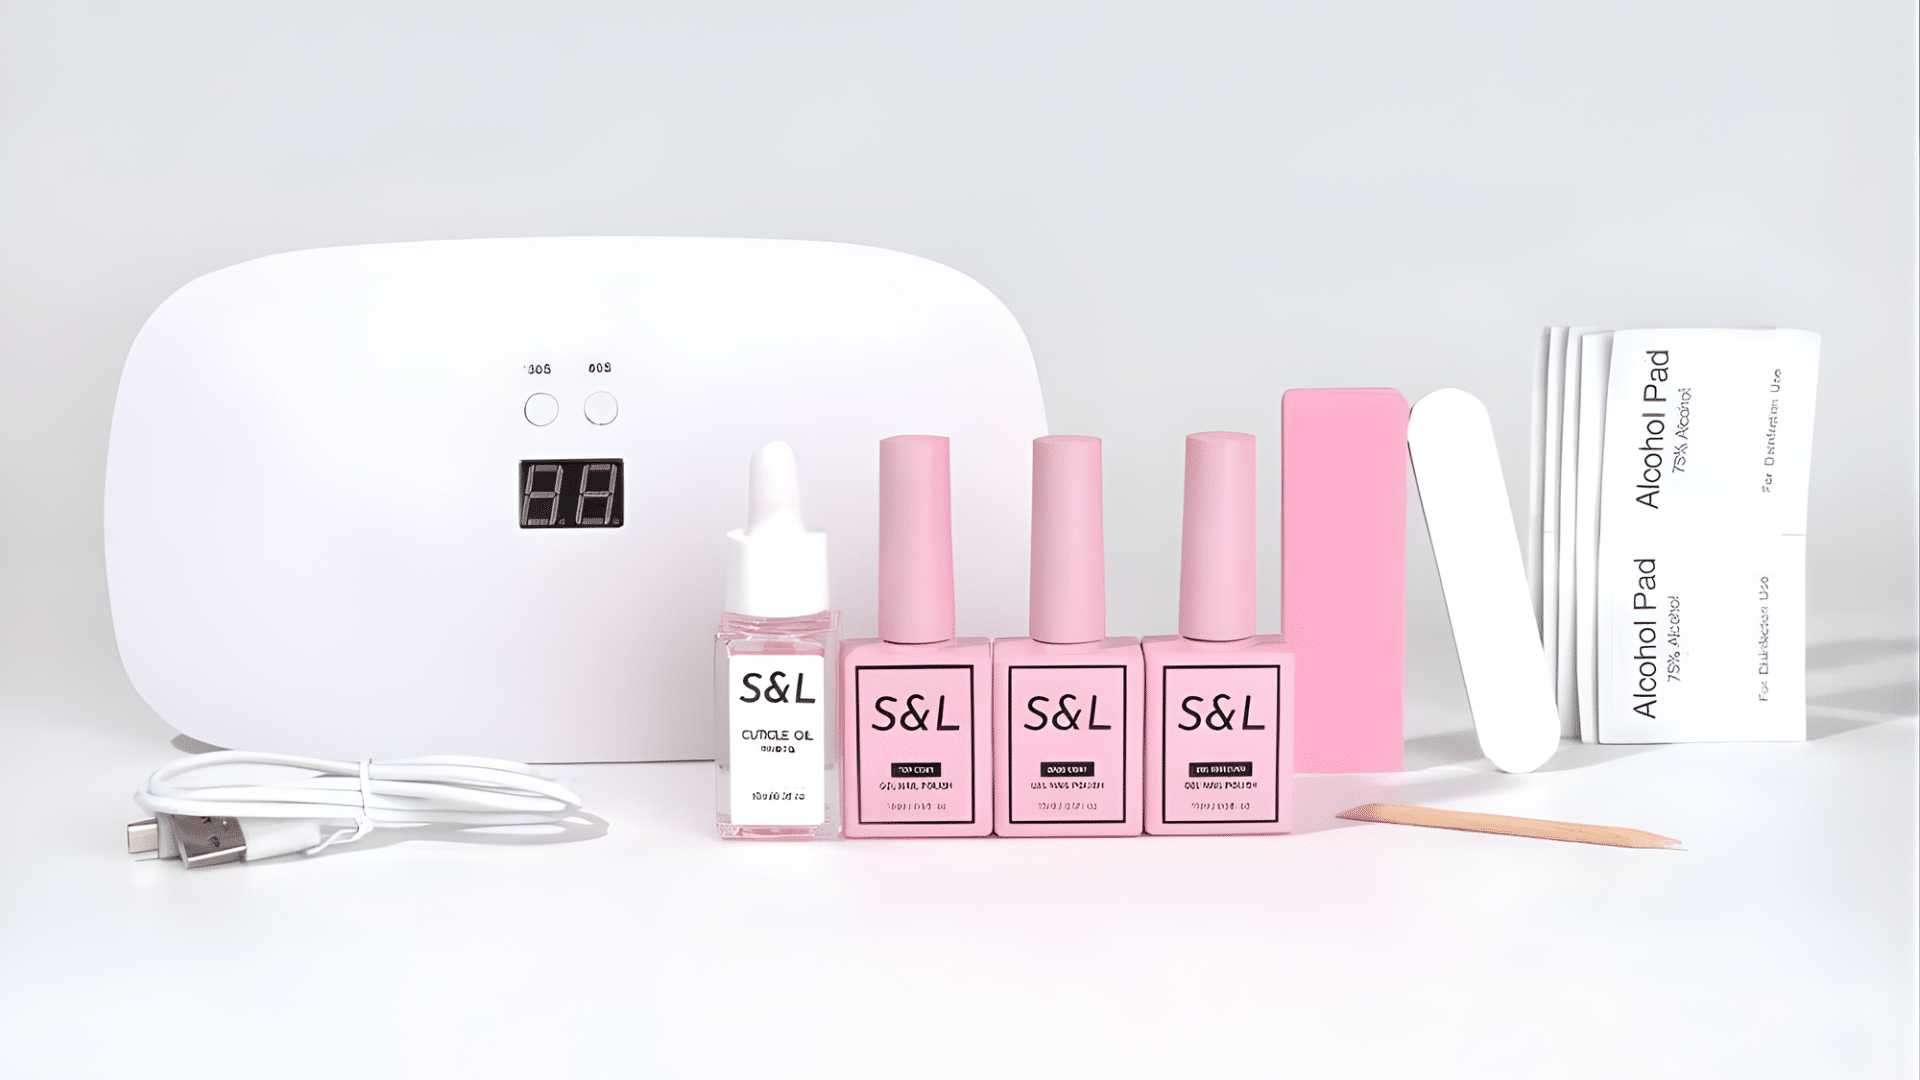
S&L gel nail kit offers an extensive kit with twenty-four gel polish colors included.
You get a powerful LED lamp that cures all fingers at once. The set includes base coat, top coat, and nail art tools.
This option gives you lots of variety to experiment with different looks and color combinations.
7. Beetles Z-Nude Gel Nail Kit
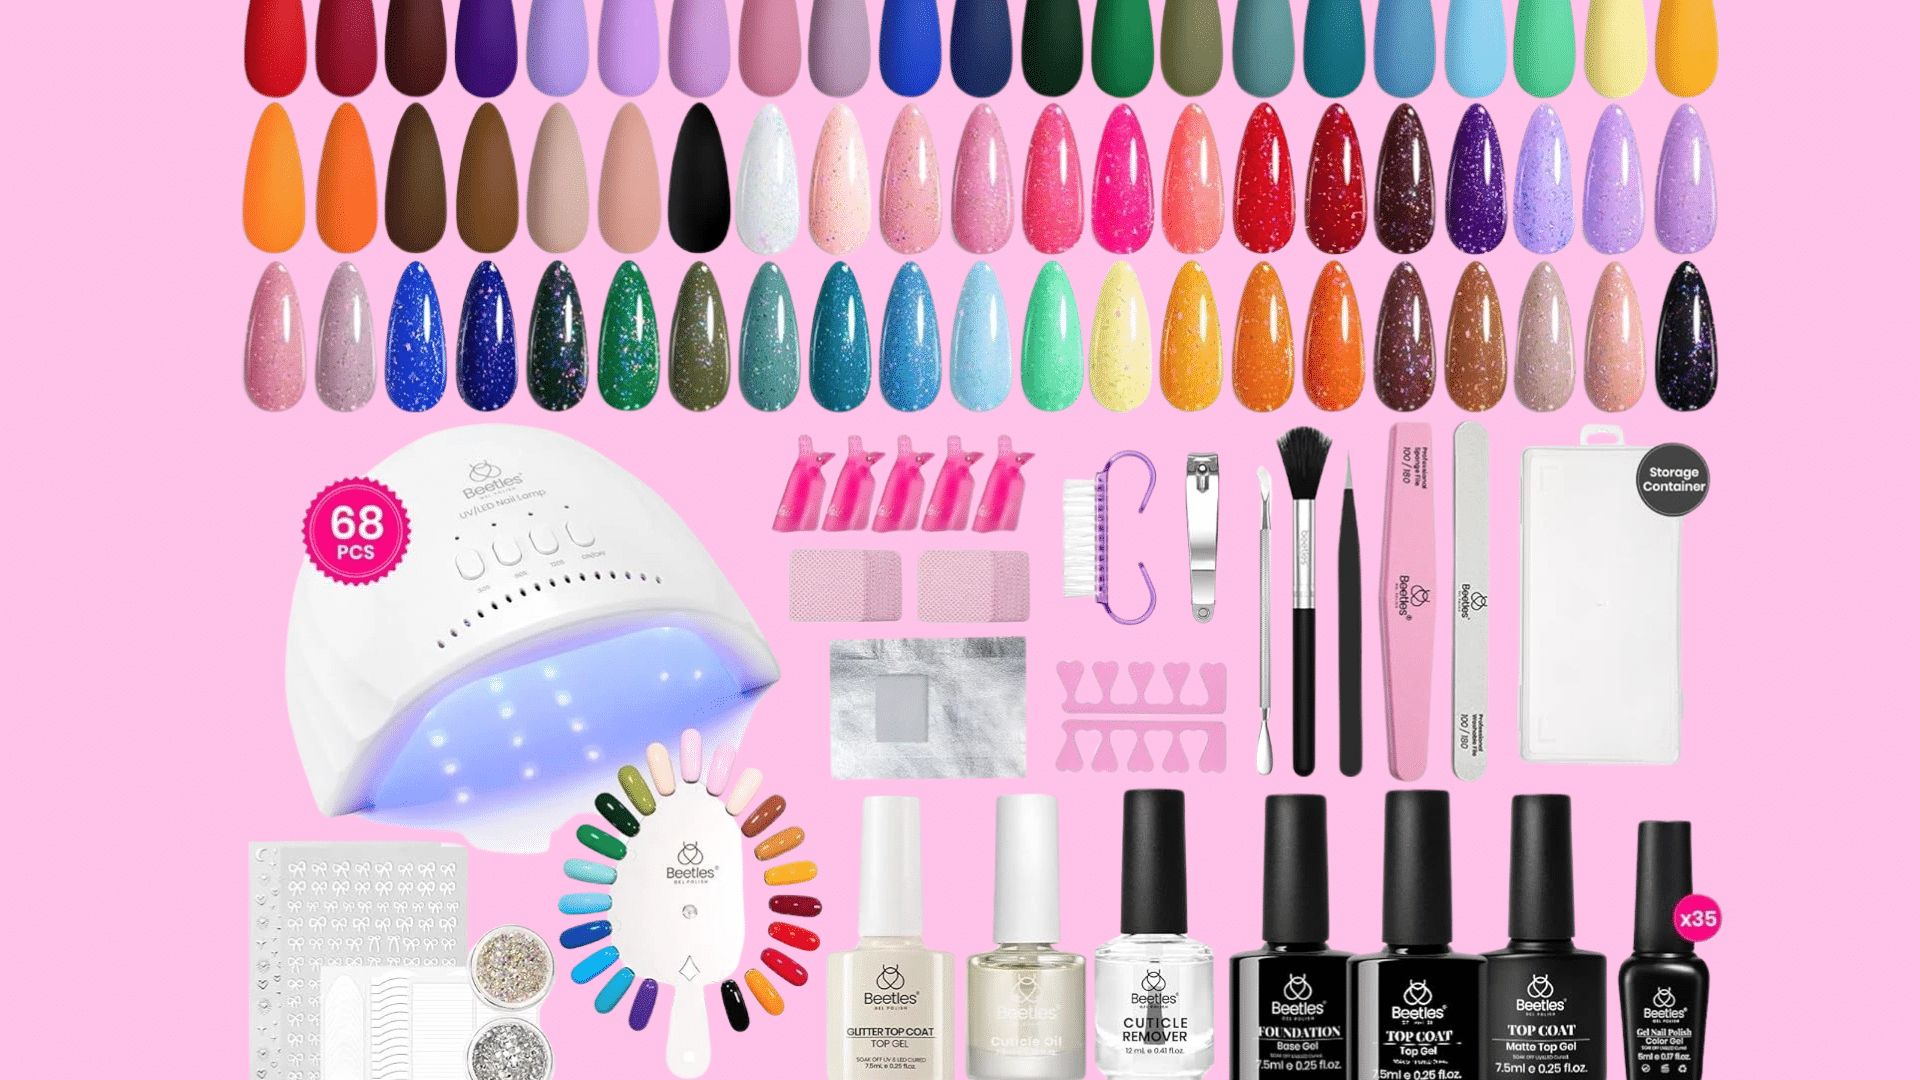
Beetles kit provides six neutral gel polish shades perfect for everyday wear. The LED lamp is strong, and cures polish in thirty seconds.
This kit focuses on natural-looking nails rather than bold colors. It’s ideal for professionals who need understated manicures that look polished and clean for work environments.
Things to Do to Increase the Longevity of The Gel Nails
A few simple habits make a big difference. Here’s how to keep your manicure looking fresh longer.
- Apply thin layers of polish: Thick coats don’t cure properly and peel faster. Two thin coats beat one thick coat every time.
- Cap the free edges: Run the brush along the nail tip with each layer. This seals the edge and prevents chipping from daily use.
- Avoid hot water for 24 hours: Heat can soften freshly cured gel. Skip hot showers, baths, and dishwashing right after your manicure.
- Wear gloves for chores: Cleaning products and harsh chemicals weaken gel polish. Protect your nails when washing dishes or cleaning the house.
- Keep cuticles moisturized: Apply cuticle oil daily to prevent lifting. Dry cuticles can cause gel to separate from the nail bed.
- Apply top coat every few days: A fresh layer of top coat adds shine and protection. This simple step extends your manicure by several days.
Wrapping Up
You now have everything you need to start doing gel nails at home. The process might feel tricky the first time, but it gets easier with practice.
Start with simple, solid colors before trying complex designs. Remember to prep your nails properly and apply thin coats. These two things make the biggest difference in how long your manicure lasts.
Give it a try this weekend. Your first attempt might not be perfect, but you’ll improve quickly.