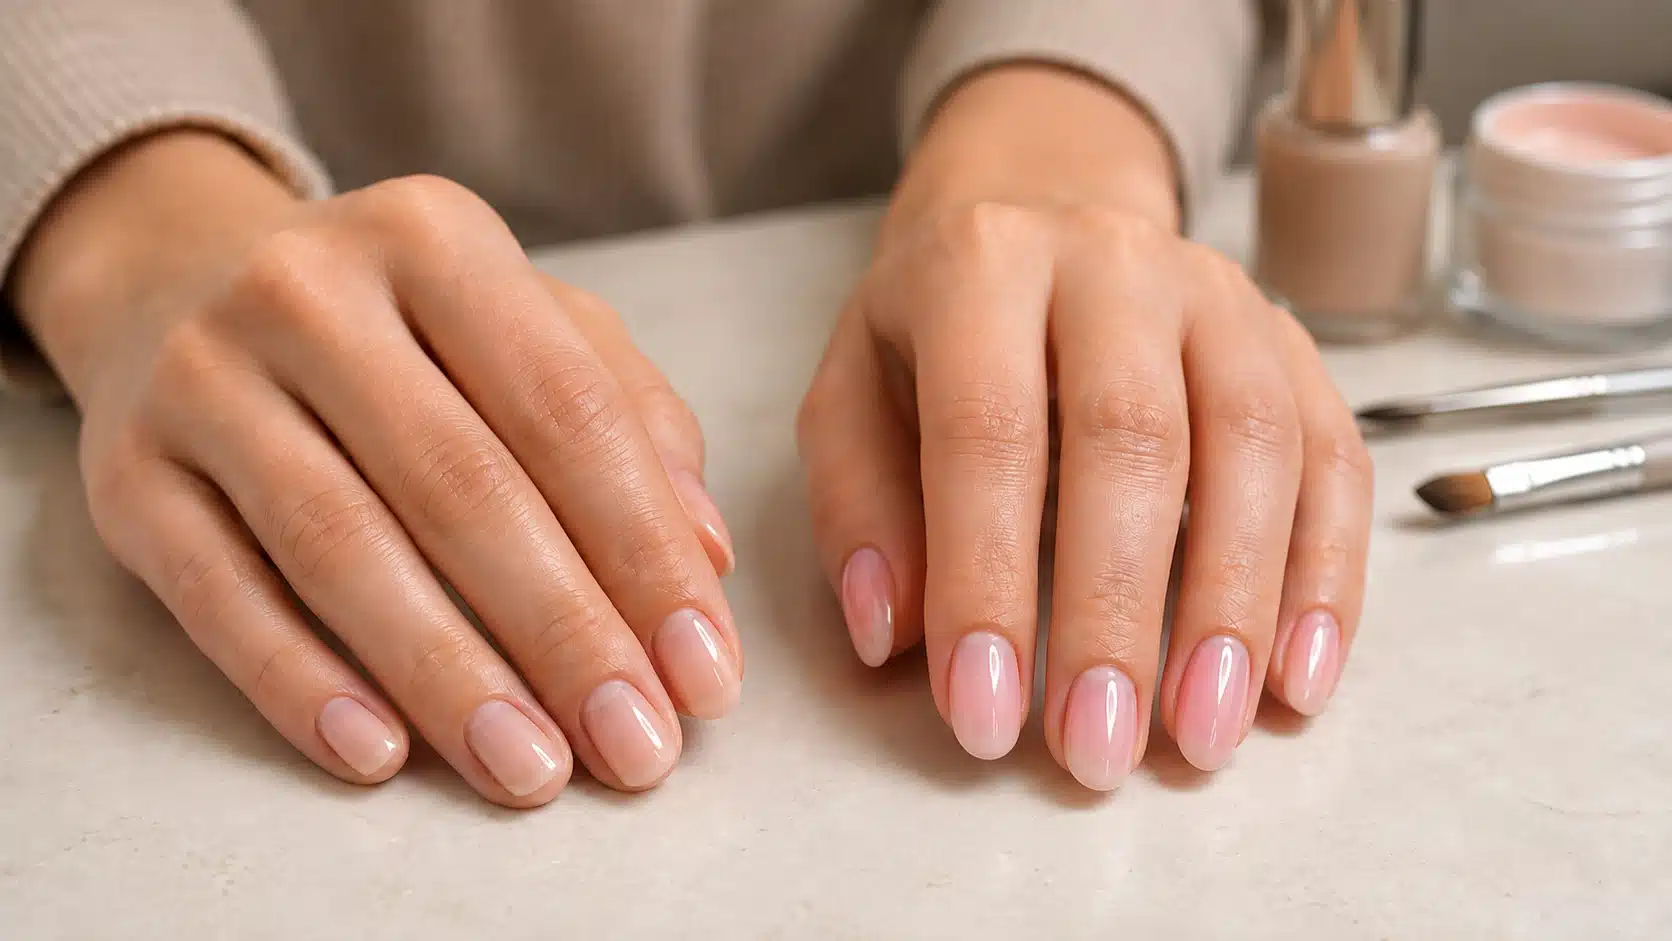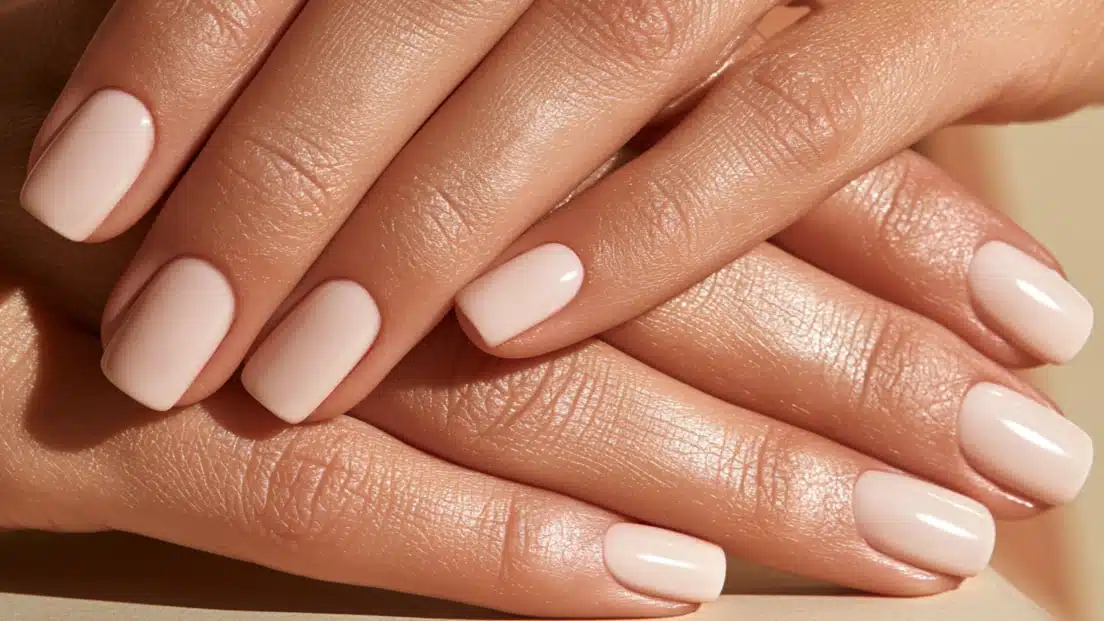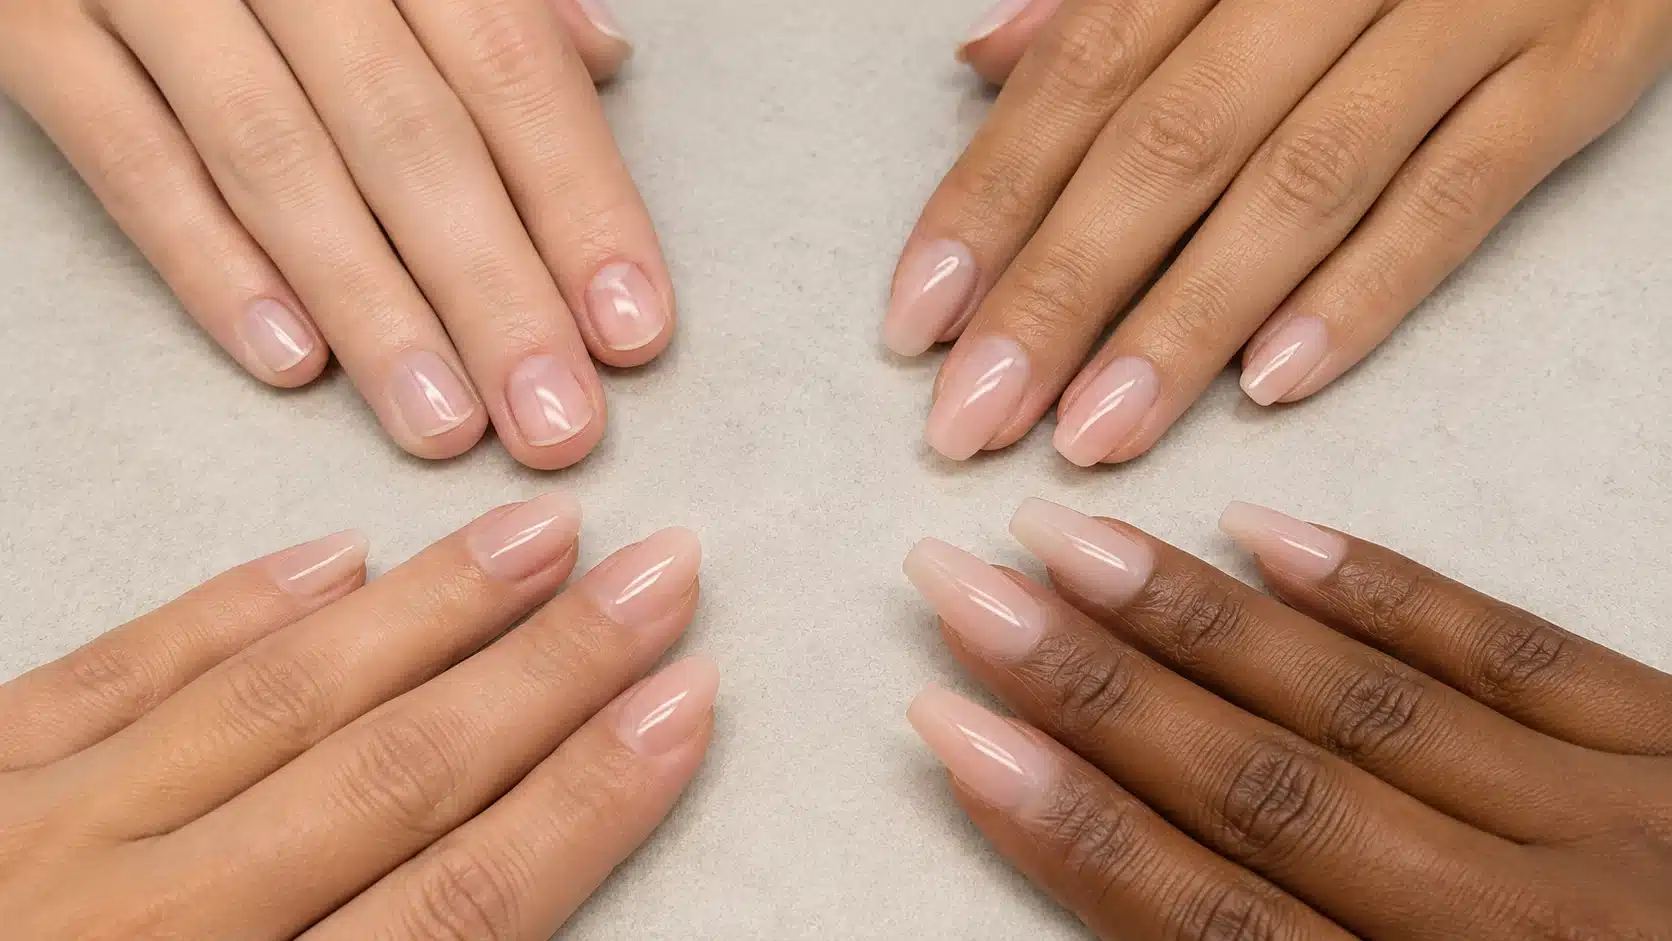
Nail trends are always changing, but SNS nails are in trend as they feel light and look amazing.
In this blog, you’ll learn about the benefits of SNS nails, see the top trending styles, and understand how they compare to gel and acrylic nails.
By the end, it will be easy to decide if an SNS manicure is the right choice for your next salon visit.
What are SNS Nails?
SNS nails use a dipping powder system to build a strong layer over your natural nails.
Instead of painting liquid polish, your nails are coated with colored powder, then sealed to give them a nice, smooth finish.
SNS nails feel natural because the layers are thin and lightweight.
They don’t feel as heavy as acrylics, and they don’t always require UV light like gel nails. This makes it more comfortable for daily wear.
How is SNS Manicure Applied (Step-by-Step Process)
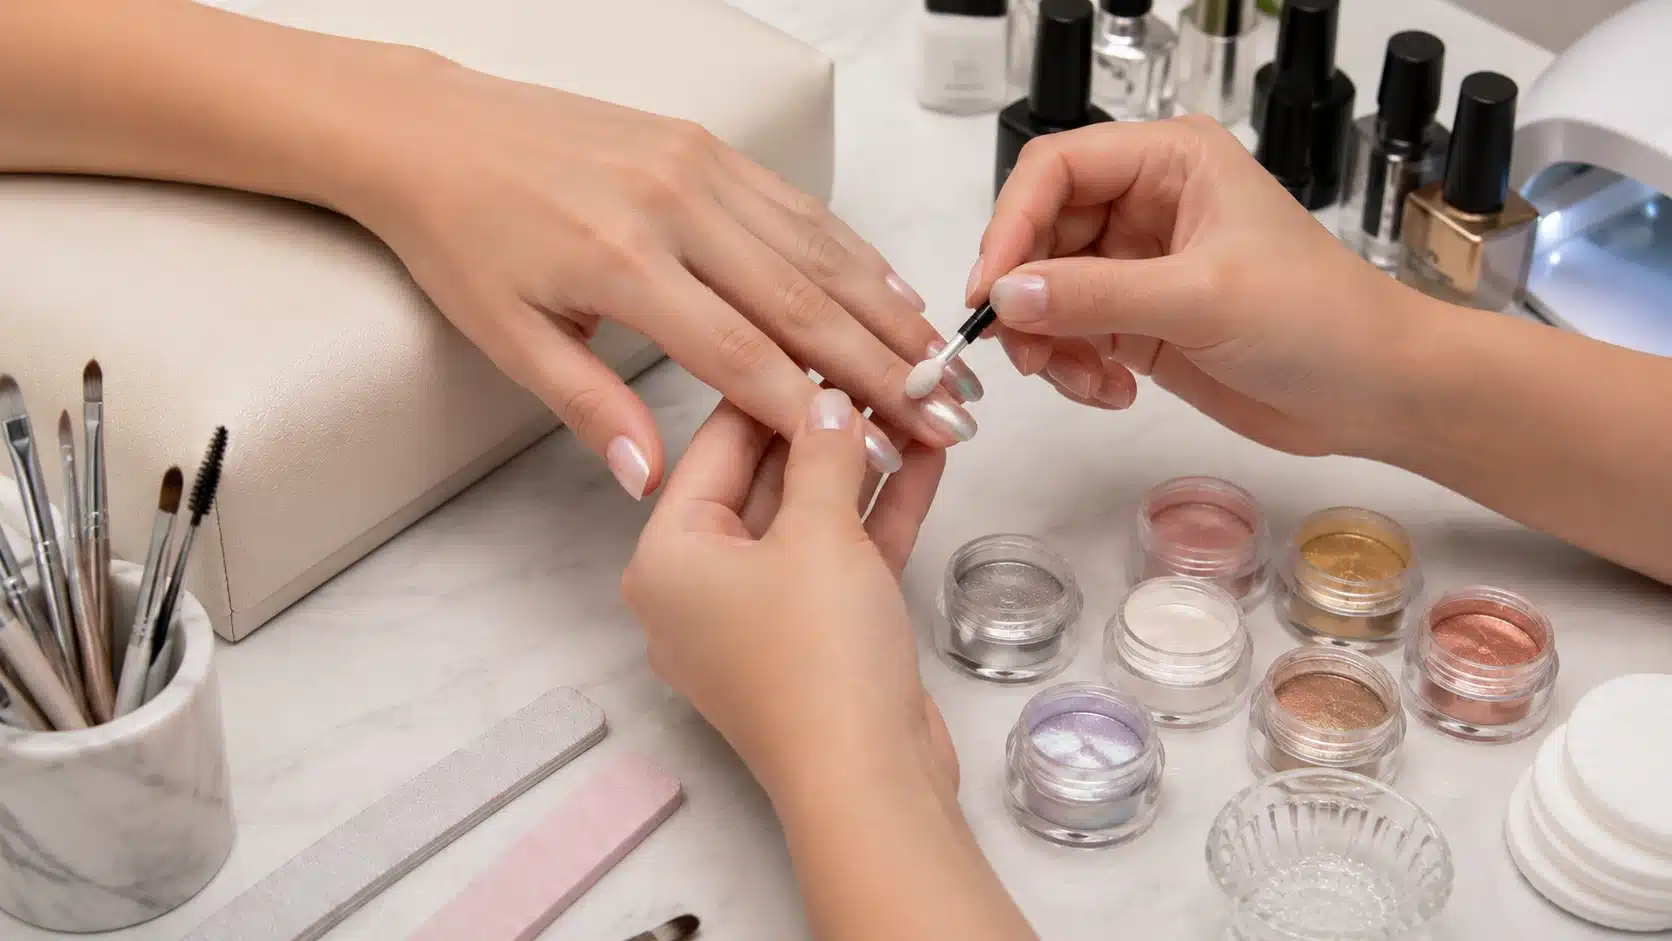
An SNS manicure involves prepping the nails, applying a base coat, dipping them into colored powder, sealing with a top coat, and finishing with gentle buffing for a smooth, long-lasting result.
Step 1: Cleaning and Shaping
The process begins by thoroughly cleaning your natural nails to remove any old polish, oils, dirt, or residue.
This creates a fresh surface for the products to adhere properly.
Your nail technician will also trim, shape, and tidy the nails and cuticles, ensuring they are neat and evenly prepared before the SNS application begins.
Step 2: Light Filing
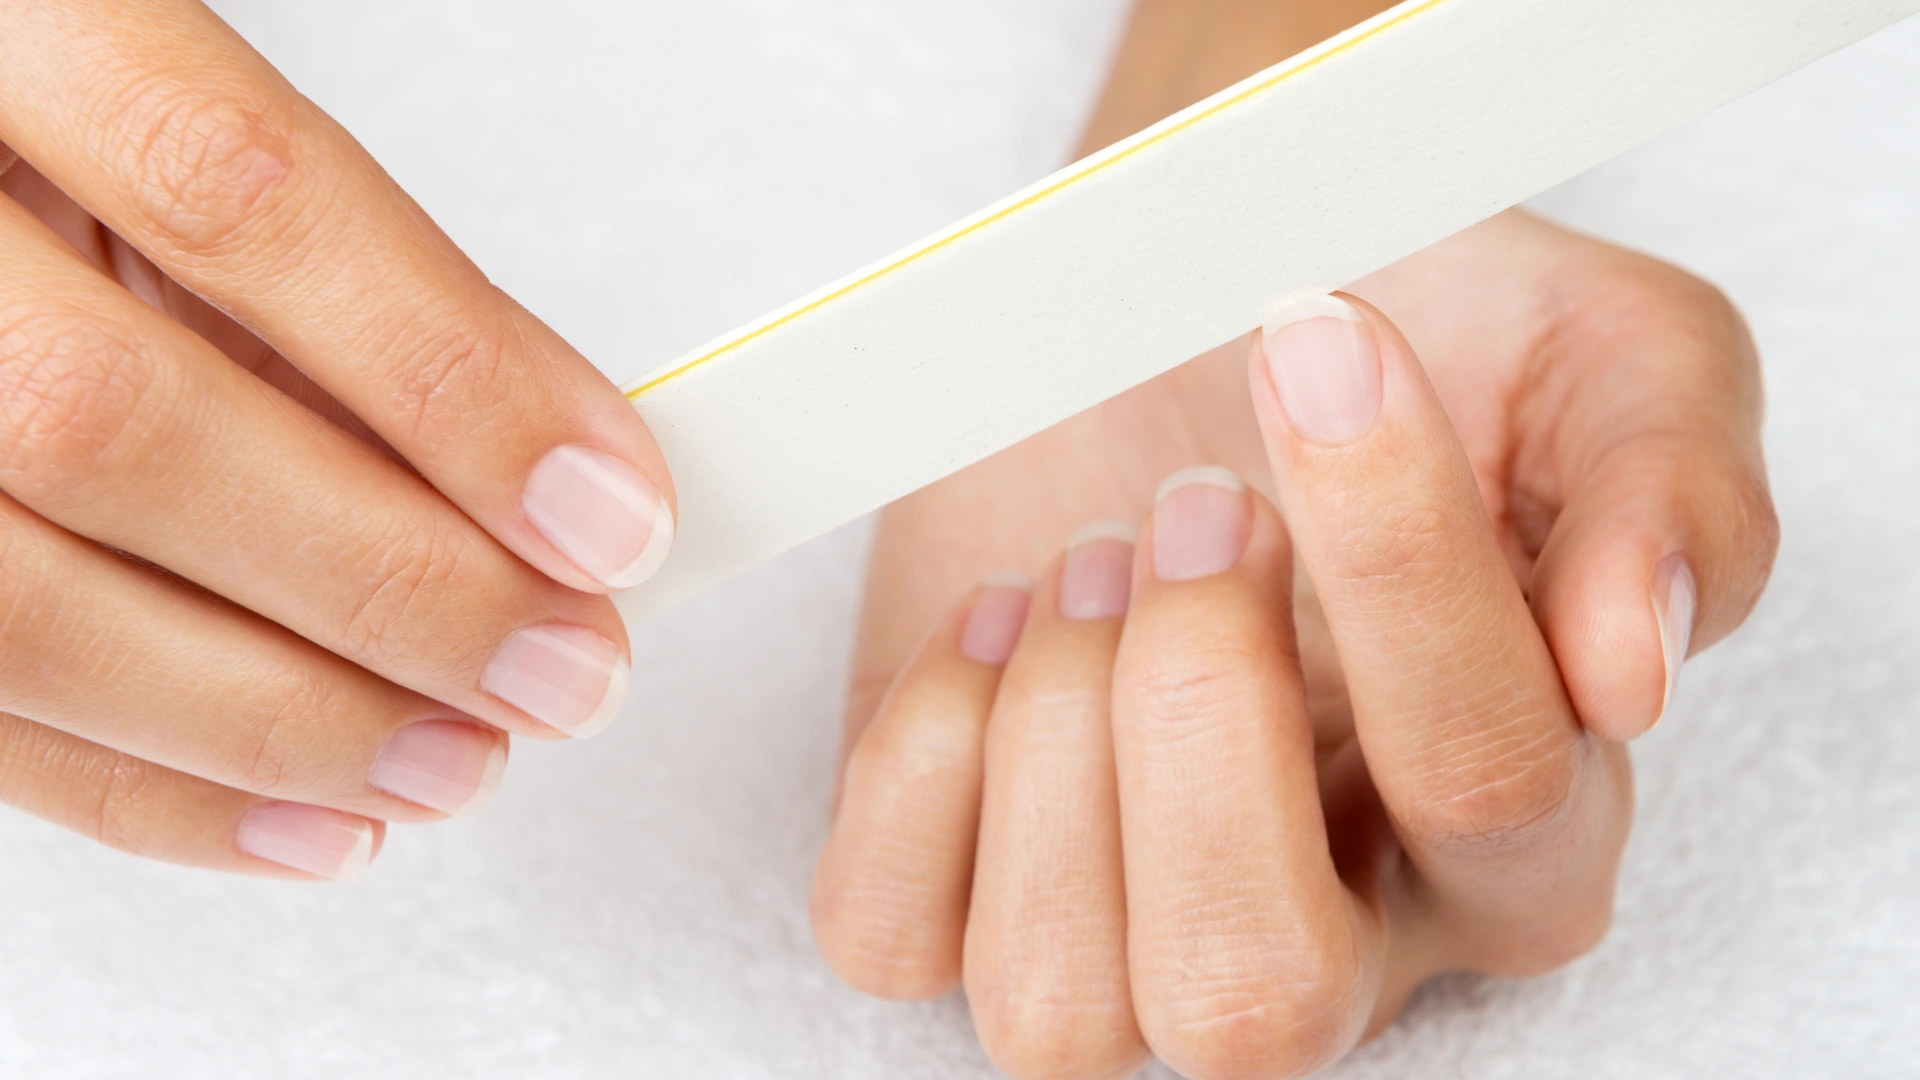
Next, the surface of each nail is lightly buffed to remove its natural shine.
This gentle filing creates a slightly textured surface, allowing the base resin and dip powder to bond more effectively.
It’s important that only a small amount of the surface is buffed to avoid weakening the natural nail.
Step 3: Base Coat
A thin layer of base resin is applied to each nail, acting as the adhesive for the dip powder.
The base coat should be applied evenly because it determines how smoothly the powder will adhere. Since the resin dries quickly, the next step is performed immediately after application.
Step 4: Dipping in Powder
Each nail is dipped into the chosen colored powder, or the powder is carefully sprinkled over the nail.
This process is repeated two or three times to build opacity, strength, and a smooth finish. Multiple thin layers produce a more durable manicure.
Step 5: Sealing the Nails
Once the desired powder layers are complete, an activator (also called a sealing liquid) is brushed onto each nail.
This solution hardens the powder, locking all the layers together for added durability. It also prepares the nails for shaping and helps create the strong, chip-resistant finish that SNS manicures are known for.
Step 6: Final Touch
In the final step, the nails are refined by gently filing and buffing away any uneven areas to create a smooth surface.
A glossy top coat is then applied to add shine and protect the color from daily wear.
After it dries, your SNS manicure is complete, leaving you with durable, polished nails that can last for several weeks with proper care.
Benefits of SNS Nails
The following are the benefits of SNS nails: they are long-lasting, lightweight, and strong; they protect natural nails; and they use fewer harsh chemicals, helping keep nails healthy and stylish.
Long-Lasting and Strong Nails: They can last around 2-3 weeks, or longer if you take care of them. They don’t break as quickly as normal nail polish.
Light, Natural Feel on Nails: They feel very light on your natural nails. This means you can do your daily work comfortably without feeling like you have extra layers on your nails.
Safer Option for Nail Health: SNS nails are considered a better option for people who want to protect their natural nails.
The process does not involve extensive use of strong chemicals, unlike some other methods.
SNS Nails vs Gel and Acrylic Nails: Key Differences
| Comparisons | SNS | Gel | Acrylic |
|---|---|---|---|
| Application Method | Uses Dipping Powder | Uses Gel Polish | Applied with Acrylic Liquid and Powder |
| Light Requirement | No UV/LED Light Needed | Requires UV/LED Light | No Light Needed |
| Feel on Nails | Light, Natural, Comfortable | Slightly Heavier, Glossy Feel | Thick and Strong, Can Feel Heavy |
| Finish | Natural-Looking | Very Glossy | Can Be Shiny or Matte Depending on Topcoat |
| Durability / Lifespan | Usually Lasts Longer | Can Chip if Not Maintained | Very Strong, Great for Long Extensions |
| Removal | Easier to Remove | Requires Soaking/Curing | Harder to Remove, Often Needs Filing |
How Much Does SNS Nails Cost?
SNS manicures usually cost between $35 to $75 for a basic set, depending on the salon and location. Adding designs, colors, or special effects can increase the price to $80-$100 or more.
Simple SNS nails are more affordable, while creative designs and nail art make them a bit pricier.
Top SNS Nail Designs You Need to Try
Check out popular SNS nail designs that look great and last a long time.
From soft colors that fade to shiny metallics, find styles to make your nails look amazing.
1. Milky White Chrome (the Glazed Look)
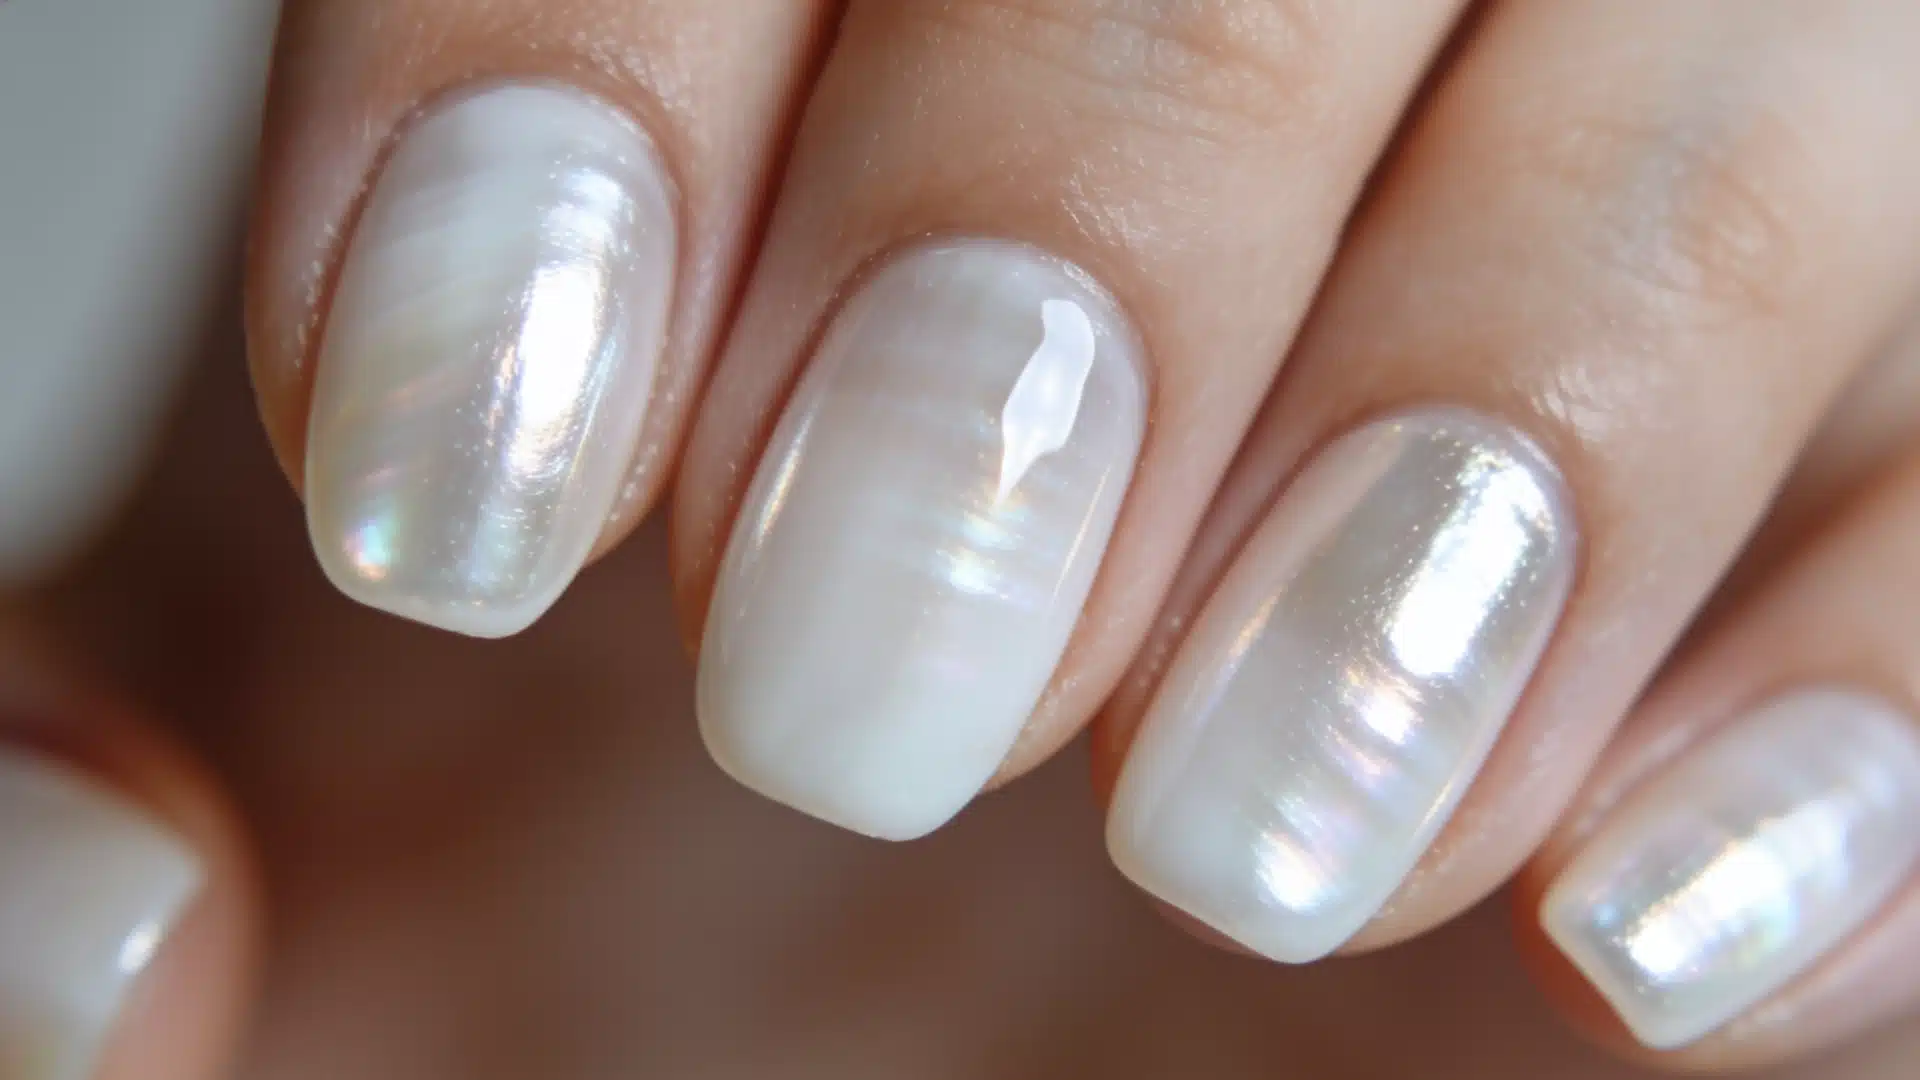
A soft, semi-see-through milky white base with a shiny, pearly chrome finish on top.
Great for everyday wear or formal occasions because it looks sophisticated without extra nail art.
2. French Ombré (Baby Boomer Nails)
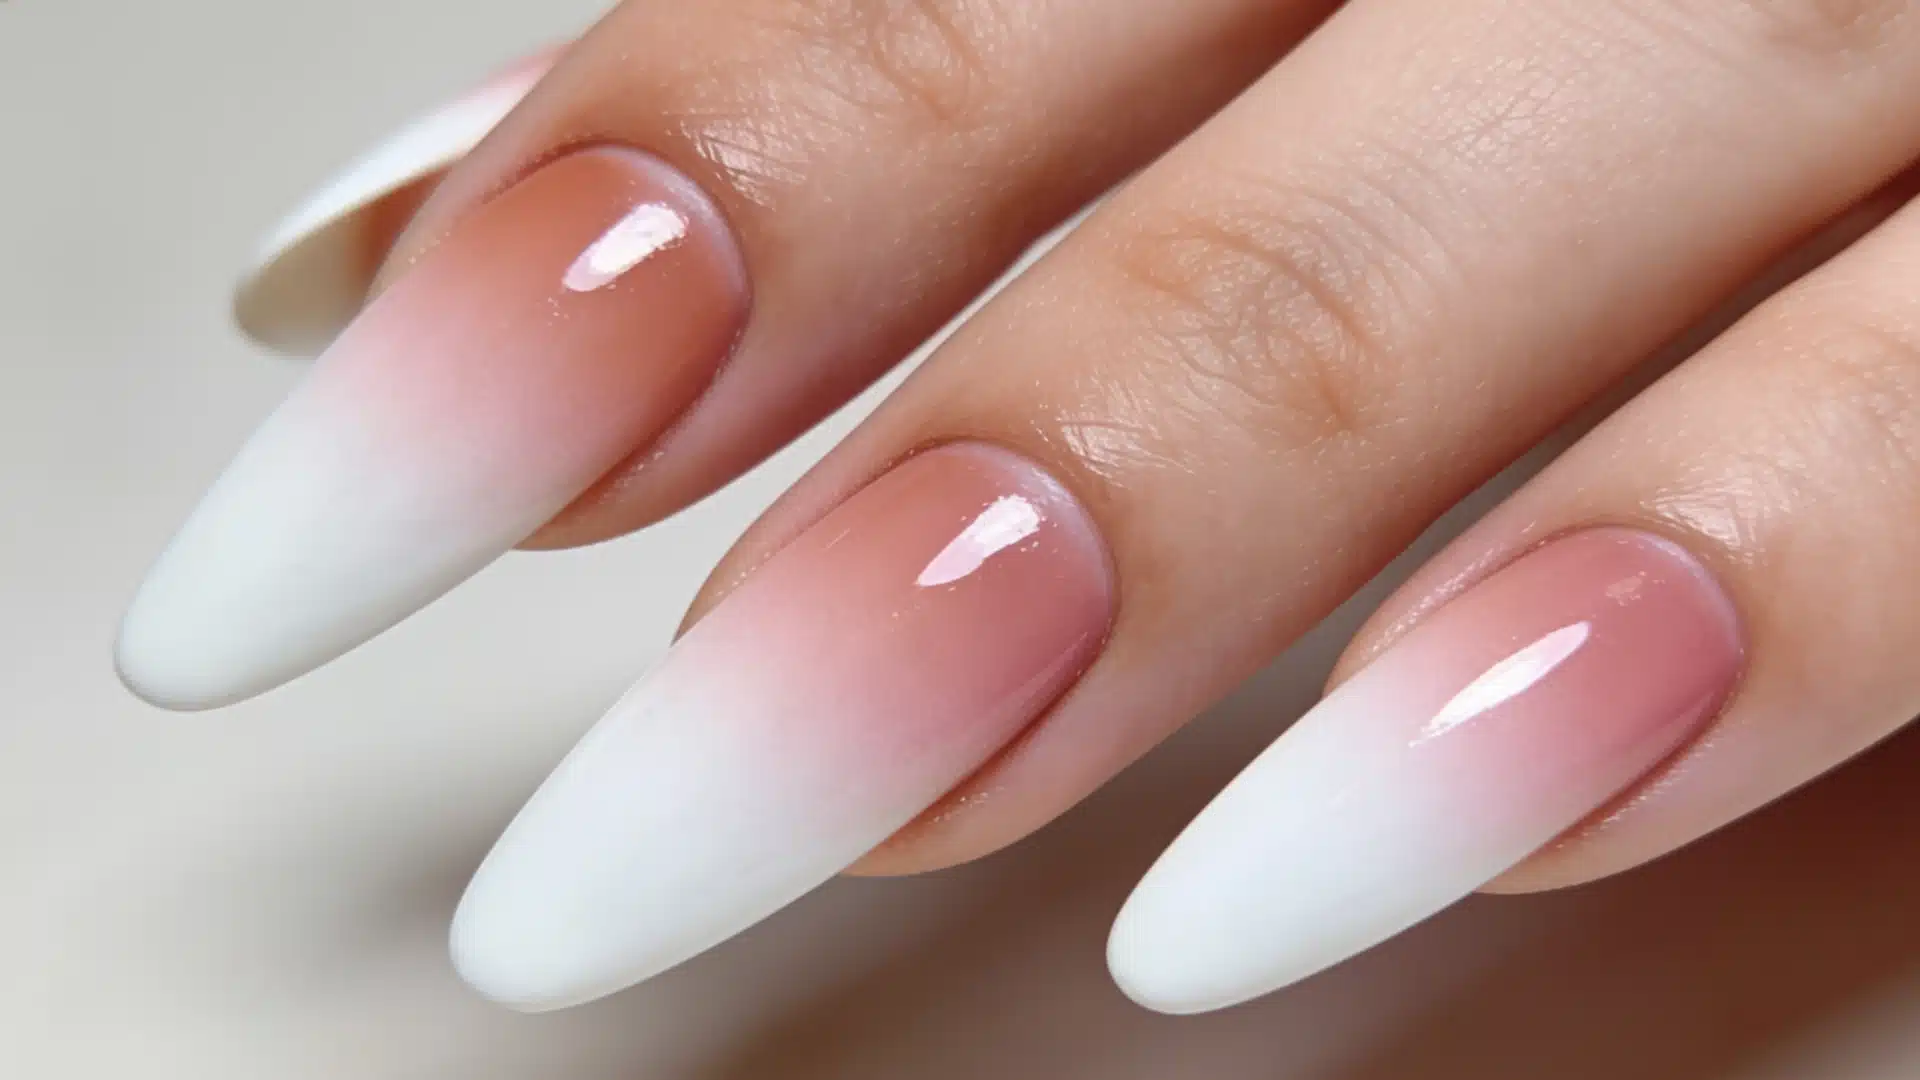
A smooth gradient from soft nude-pink near the cuticle to crisp white at the tips.
Works well for weddings, office settings, or anyone who wants a subtle, manicure that pairs easily with any outfit.
3. Sky Blue Blocks
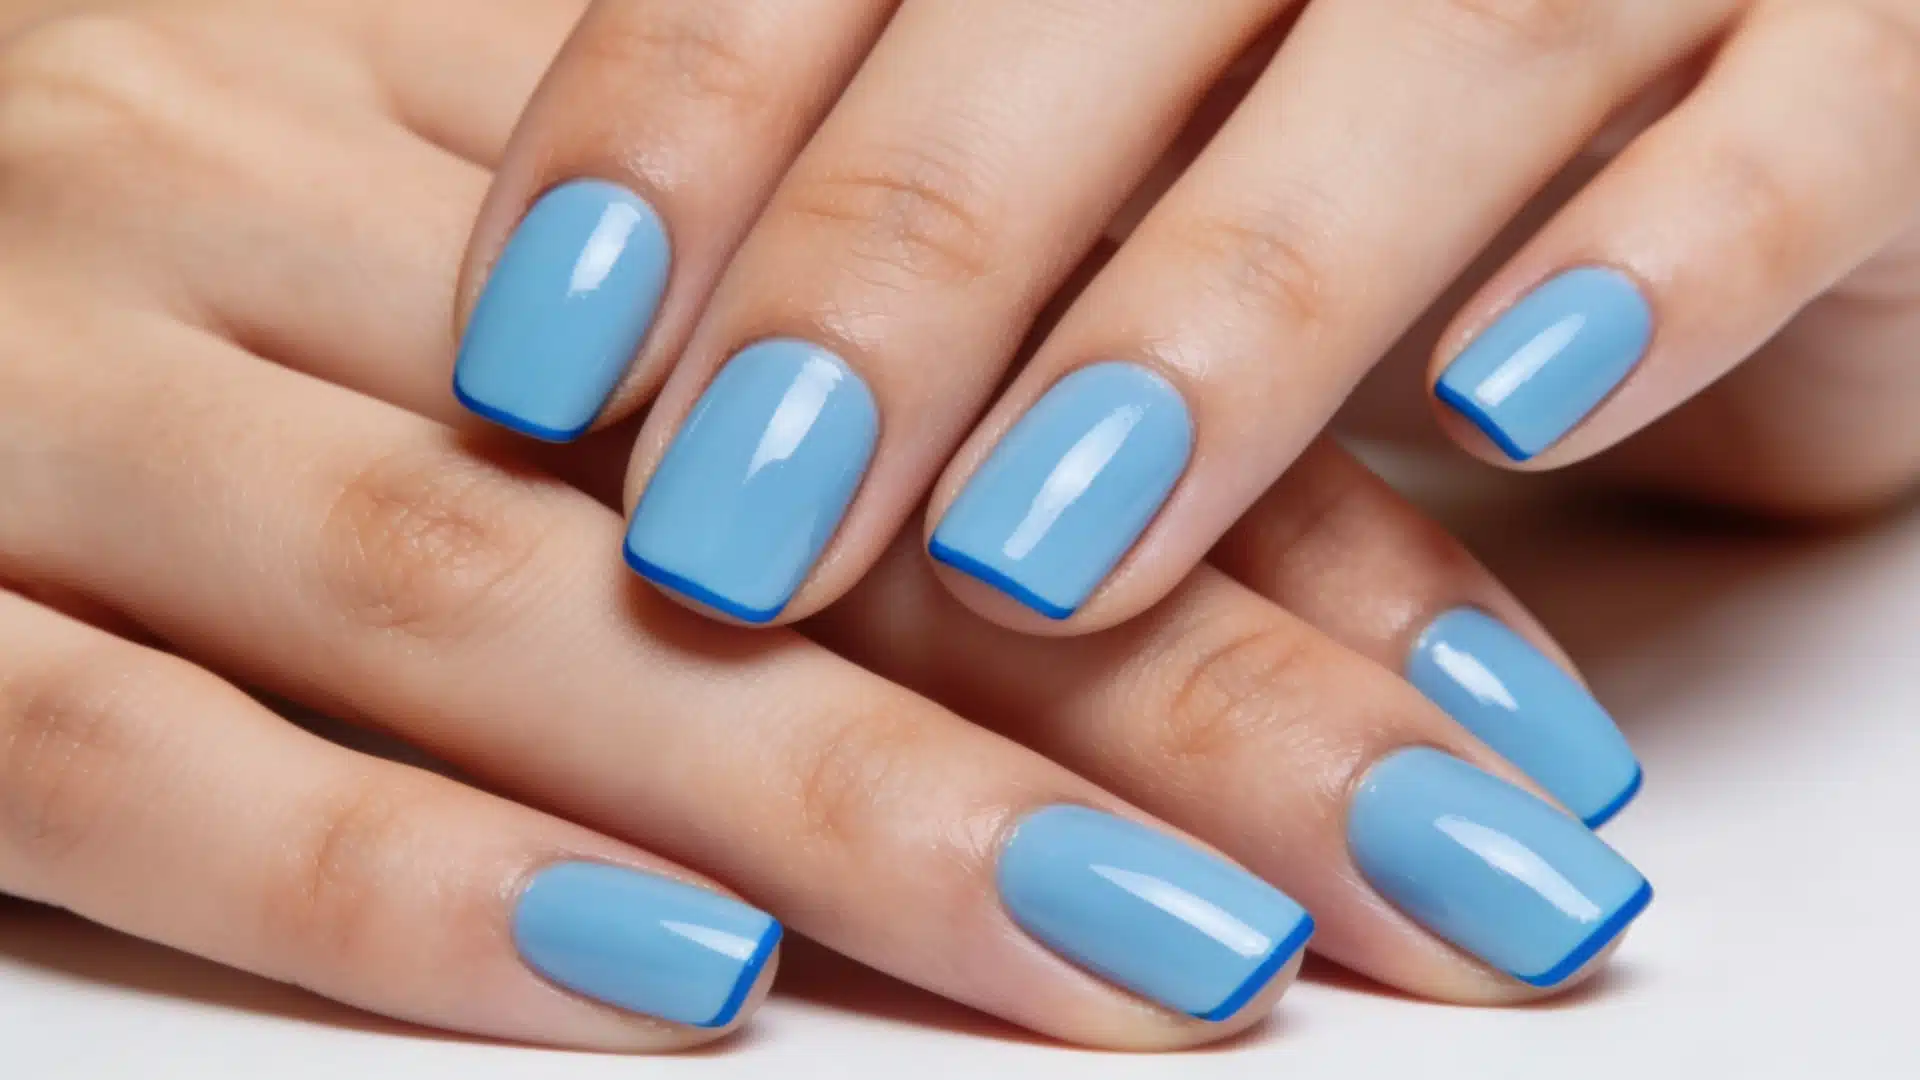
The design is bright, solid blocks of pastel or baby blue on each nail.
Perfect for casual looks, summer outfits, or anyone who loves a crisp, vibrant color without extra decorations.
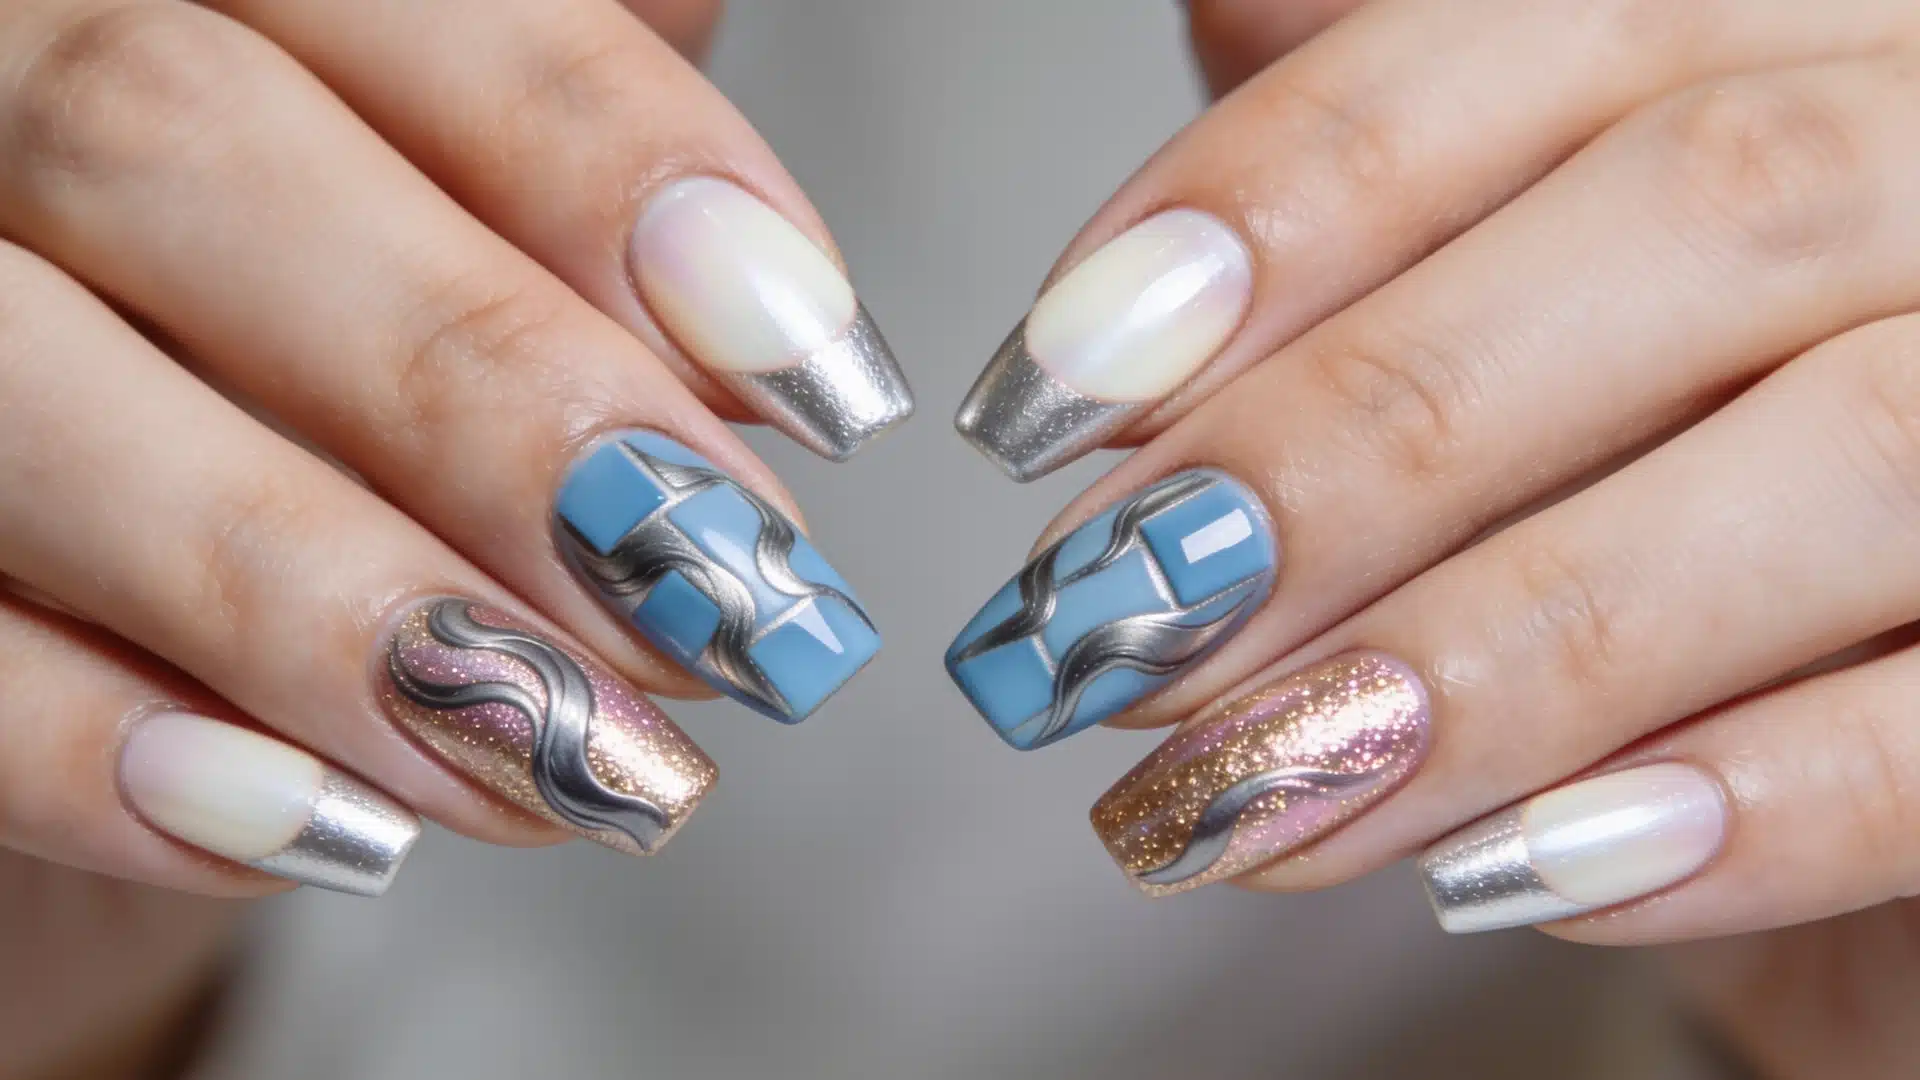
4. Organic Liquid Metal Swirls
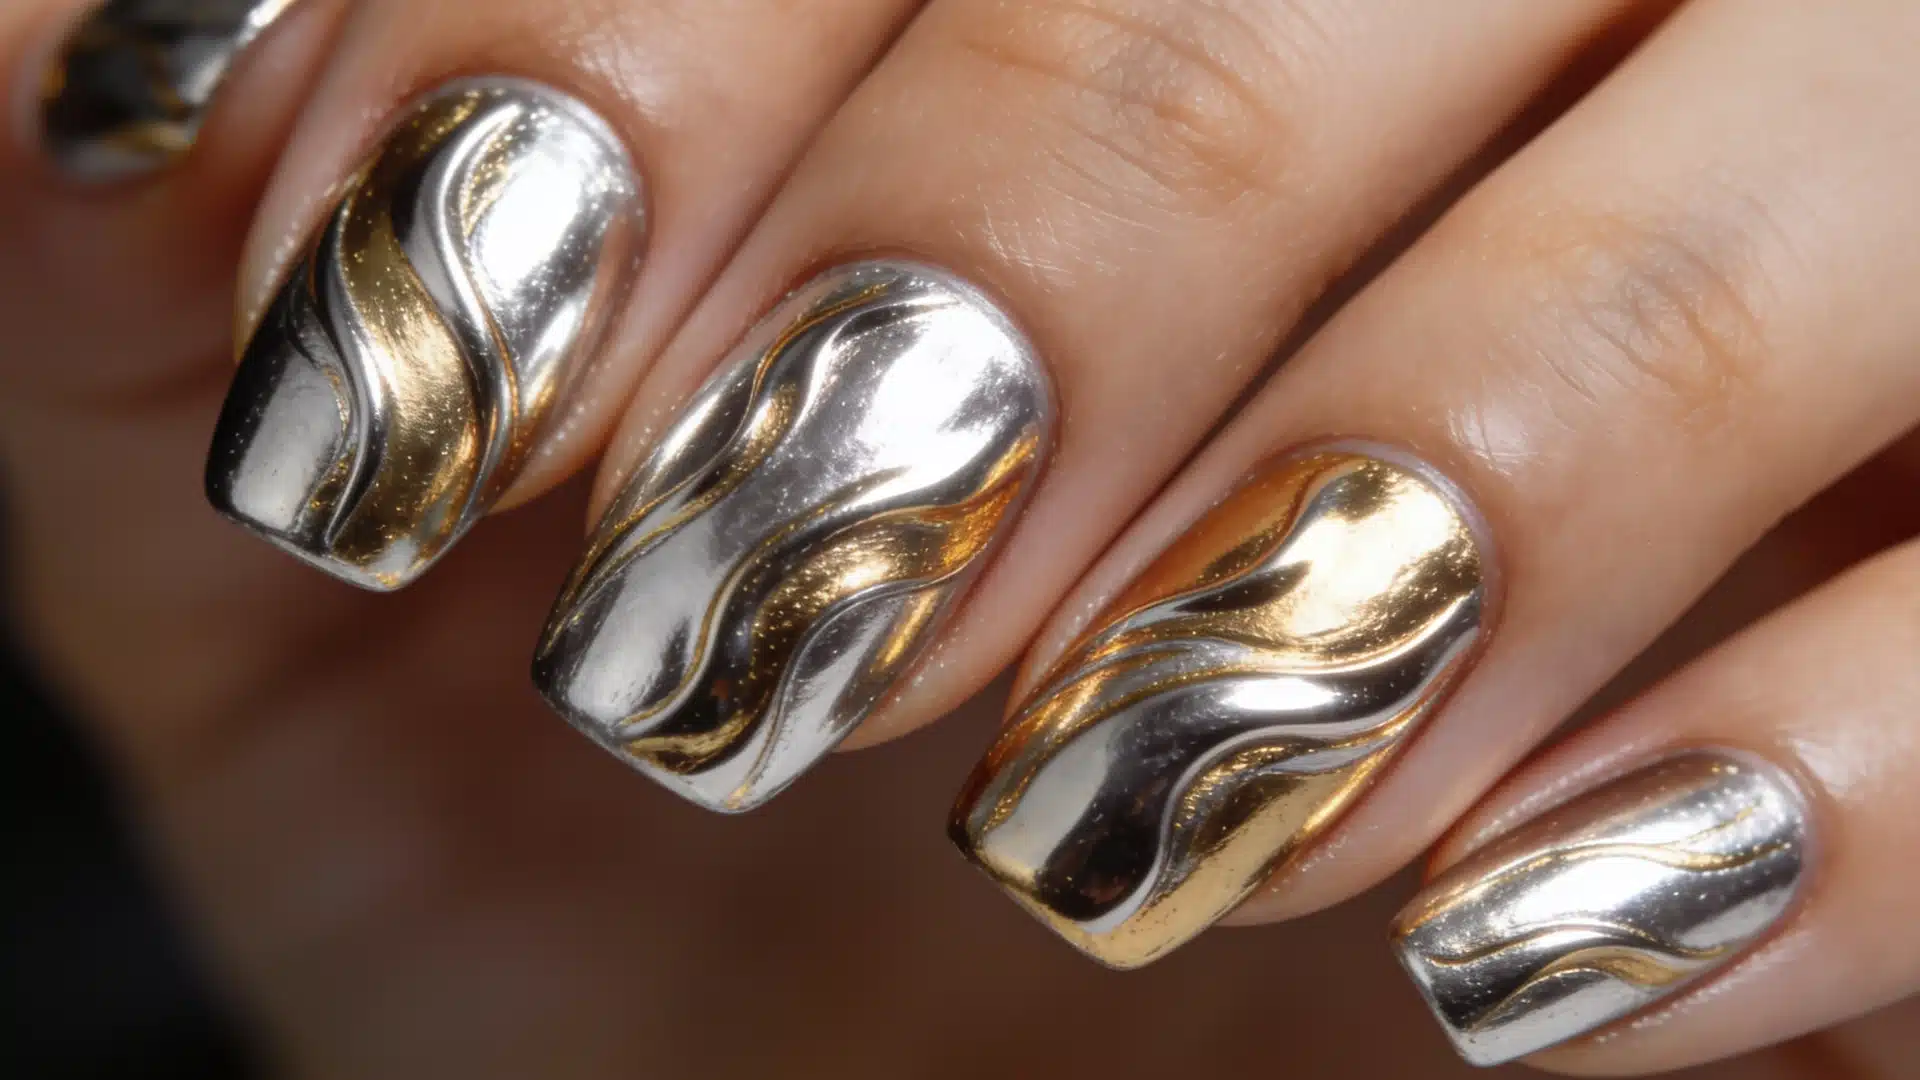
Swirling patterns of metallic colors that look like liquid metal flowing across the nails.
Ideal for parties, special events, or anyone who wants their nails to look eye-catching.
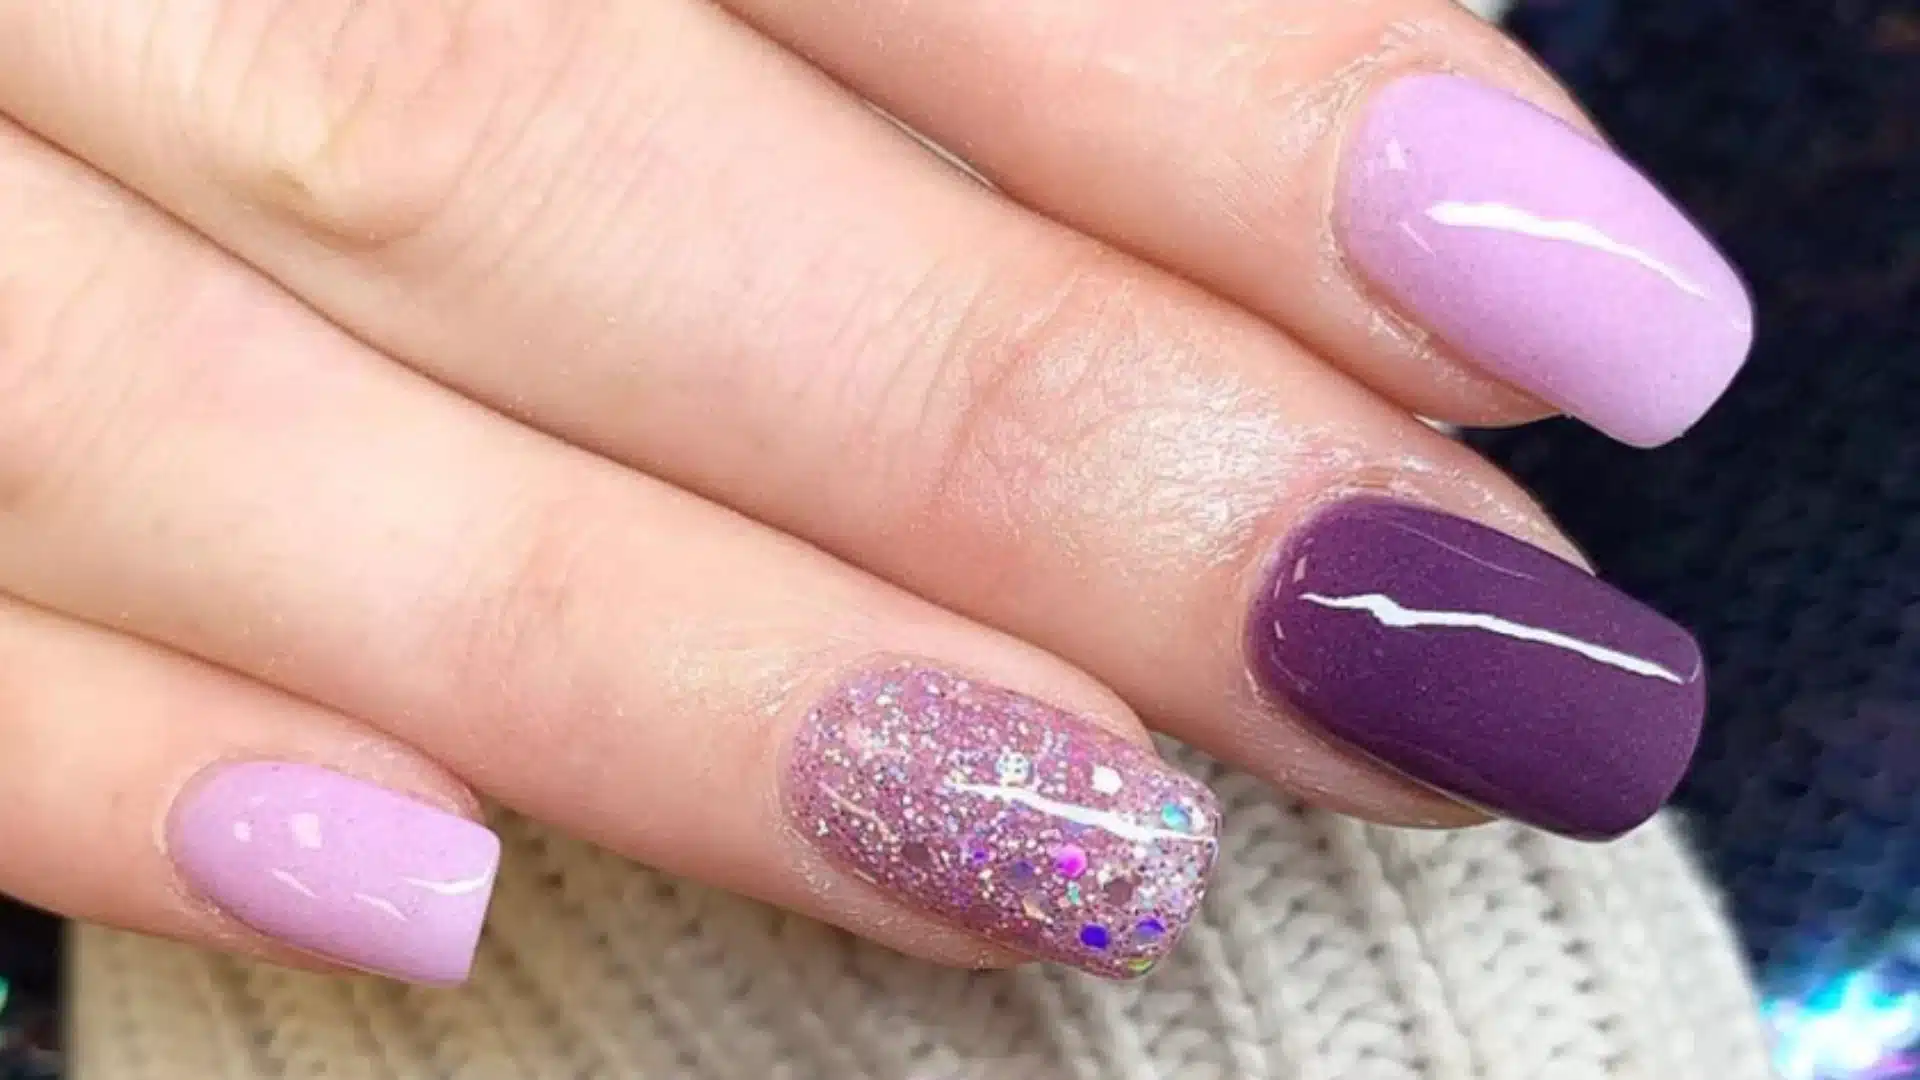
5. Glitter Gradients
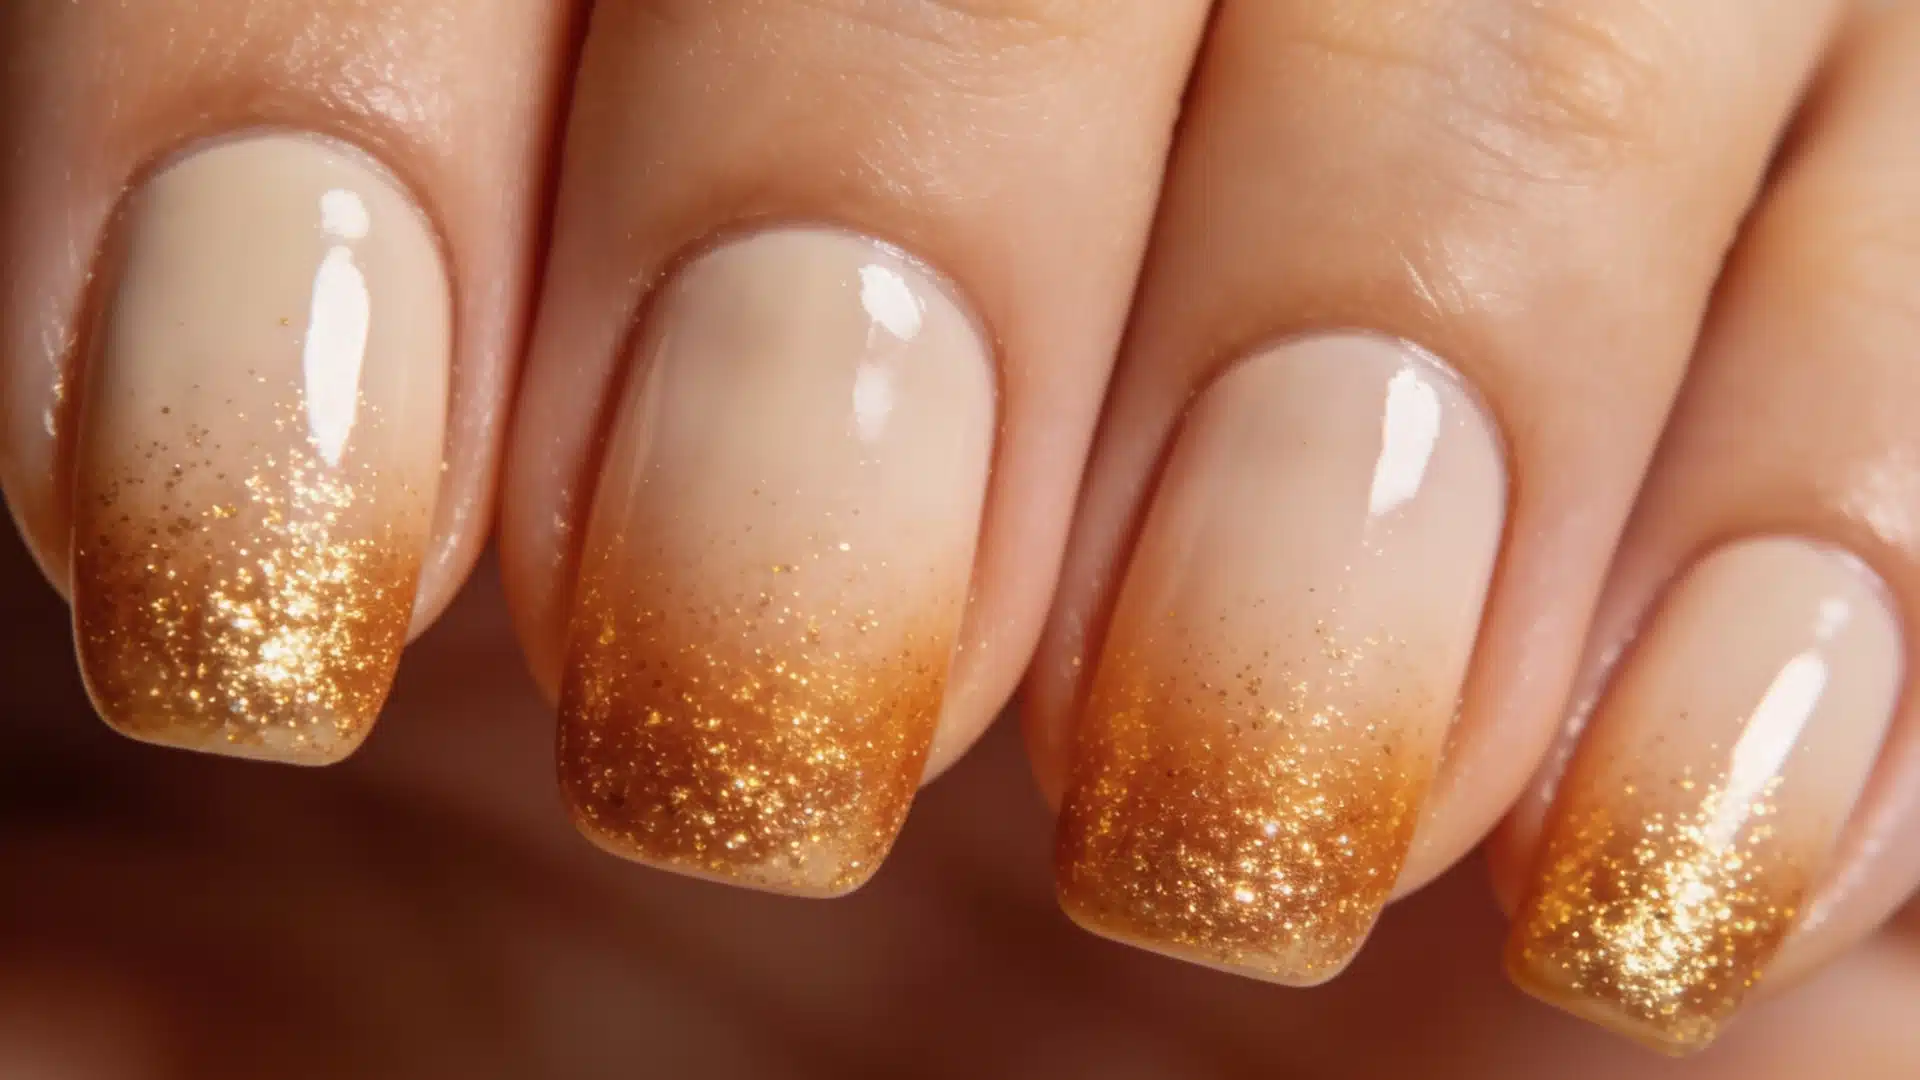
Soft pastel or neutral nails with glitter packed at the tips, fading toward the base.
Great for holidays, birthdays, or nights out. adds sparkle without overwhelming the nails, so it’s versatile enough for everyday wear while still being glamorous.
Wrapping it Up
If you are thinking of trying them, go ahead and book your next salon visit to see how they look on your nails. You can also try different SNS nail designs to match your style.
Can you share your experience? Thank you for reading.
Frequently Asked Questions (FAQs)
1. How Long Does an SNS Manicure Take to Complete?
An SNS manicure usually takes about 45 to 60 minutes, depending on the number of layers, nail length, and any additional designs.
2. Can SNS Nails Be Removed Safely at Home?
Yes, SNS nails can be removed at home with an acetone soak and gentle buffing, but it’s recommended to follow the salon’s instructions carefully to avoid damage.
3. Are SNS Nails Suitable for People with Weak or Brittle Nails?
Yes, SNS nails are often recommended for weak nails because they are lighter than acrylics and provide extra strength without the need for heavy layers.