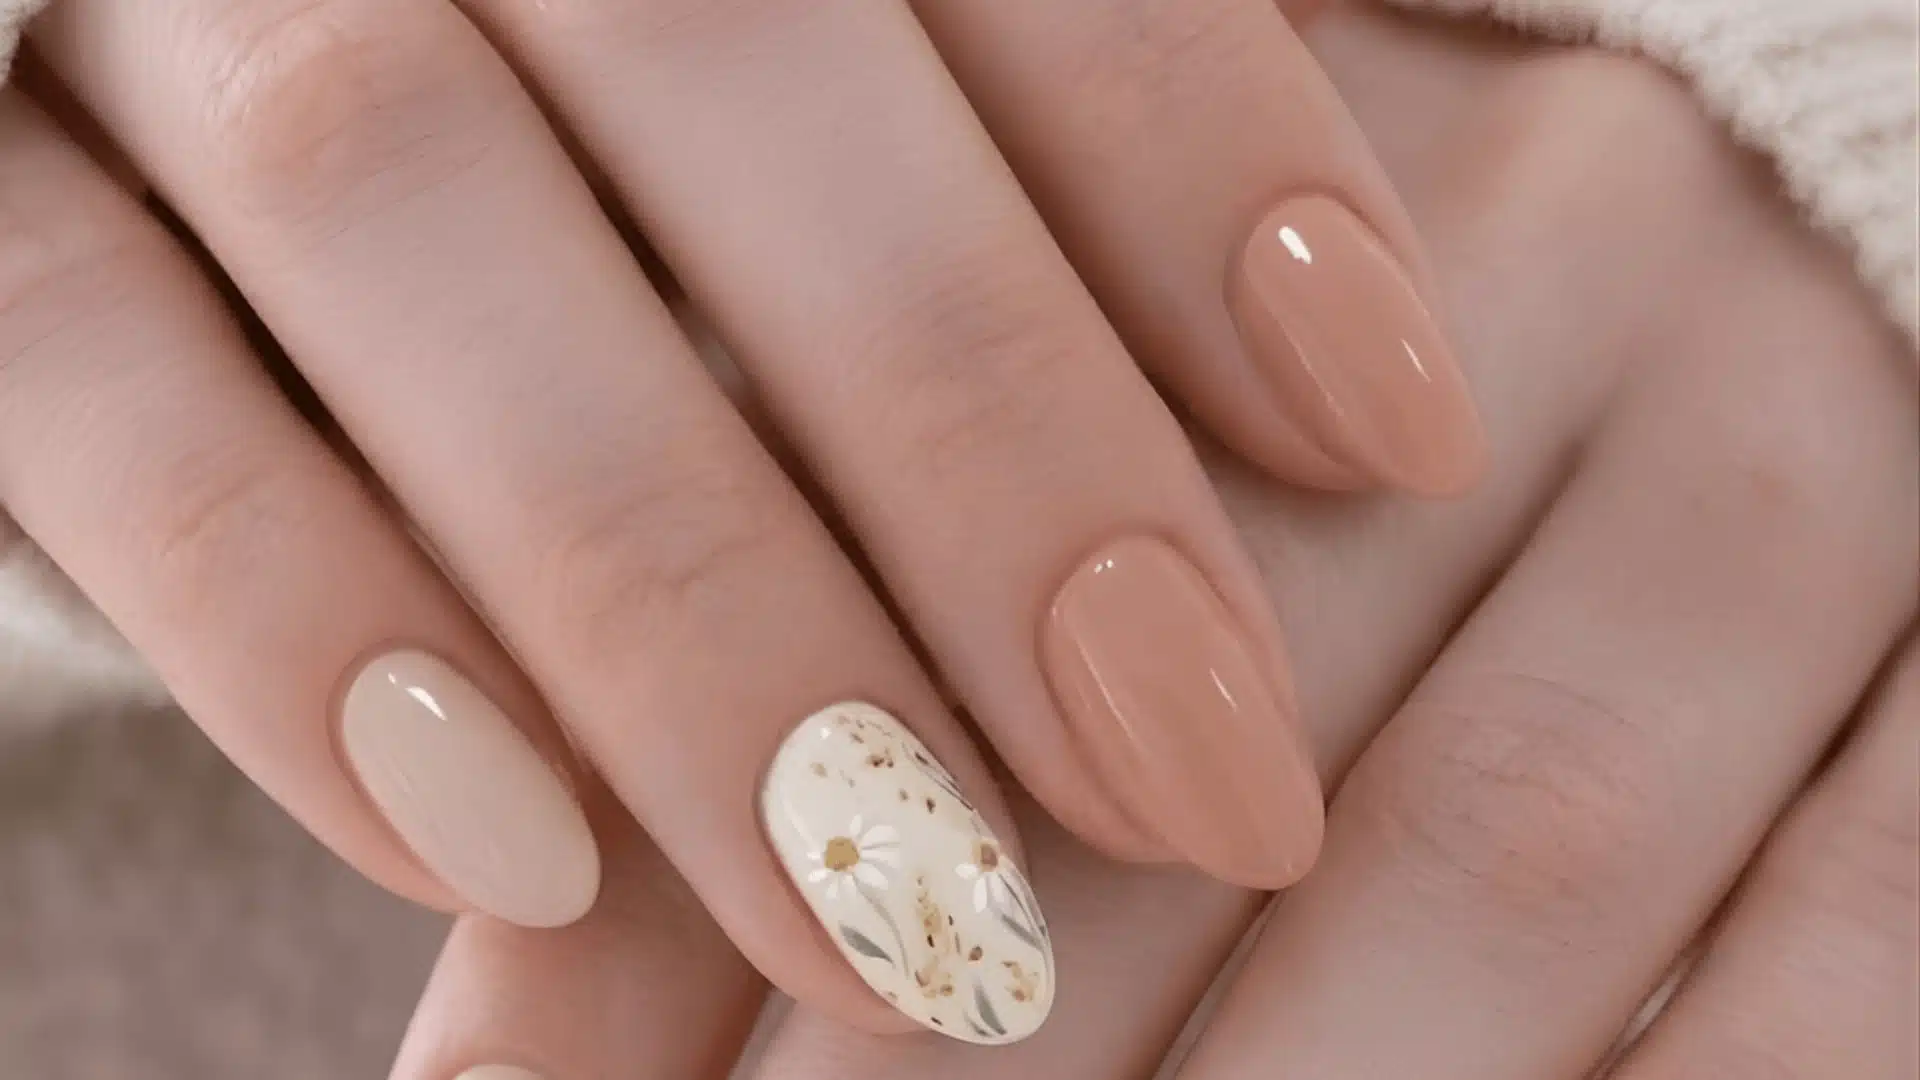
Neutral nails in summer? Sounds boring until you actually try them. After spending so much of my time in the beauty industry, I’ve tested more shades than I can count, and neutrals always win the season. And now, summer neutral nail designs are the only things that make sense to me in summer. They pair almost with everything, photograph beautifully,
Most Popular
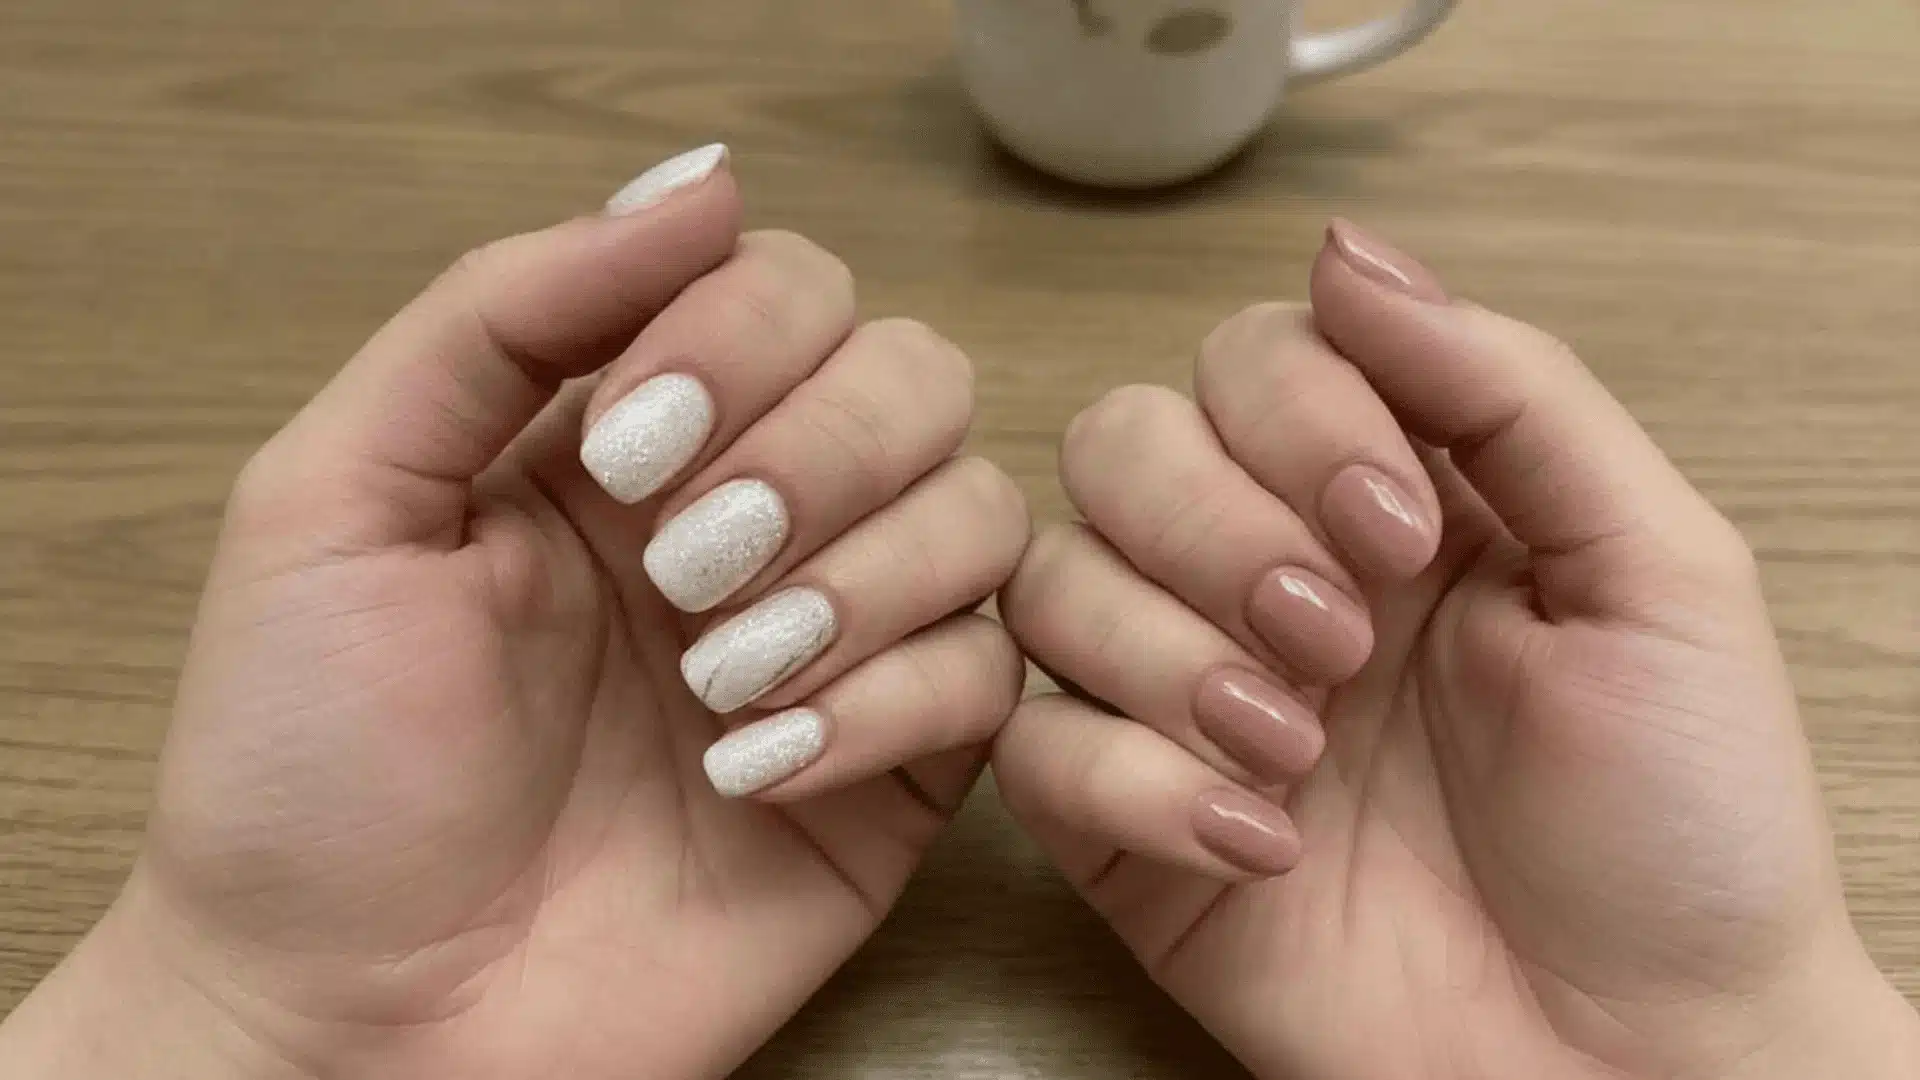
What if your next manicure actually damaged your nails instead of beautifying them? Dip and acrylic nails both look stunning, but they work very differently. One smells stronger, one lasts longer, and one is significantly gentler on your natural nails. The dip vs acrylic nails debate isn’t just about looks. Acrylics last three weeks but need aggressive filing. Making the wrong choice costs you money and nail health. Dip Powder Nails Dip powder nails are a no-light manicure option that uses powder and adhesive. They’re known for lasting weeks without chipping. What are Dip Nails? Dip nails are a manicure technique in which your nails are dipped in colored powder. They don’t need UV light and don’t use liquid monomers like acrylics do. The process uses acrylic powder and a bonding liquid containing cyanoacrylate. Your nail gets coated with liquid, then dipped into powder. The powder sticks and hardens instantly. This repeats two to three times to build color and strength. Application Method Here is how dip nails get applied at the salon: Step 1: Prep the Nails The technician files and buffs your natural nails. They push back cuticles and clean the nail surface. A primer helps the powder stick better. Step 2: Apply Base and Dip A clear base coat gets brushed onto each nail. Then the nail gets dipped into the colored powder jar. Excess powder gets tapped off gently. Step 3: Repeat the Process Steps get repeated two or three times. Each dip adds more color and thickness. The technician makes sure coverage is even across all nails. Step 4: Seal and Finish An activator hardens the powder fully. The nails are filed, shaped, and sealed with a glossy top coat. The entire process takes about 45 minutes. What stood out to me was how light they felt afterward. I kept tapping them on my phone screen because I expected them to feel heavier, but they didn’t. Pros and Cons of Dip Nails Dip nails have real benefits and some downsides worth knowing first. Pros Cons Last 3-4 weeks without chipping Shared powder jars can spread bacteria No UV light needed, air-dries naturally Removal takes 10-15 minutes of soaking Minimal chemical smell during application Improper removal damages natural nails Strong, resistant to chips and cracks Limited options for detailed nail art The removal tested my patience. Sitting there soaking felt longer than the actual manicure. Acrylic Nails Acrylic nails are a liquid-and-powder system used to create extensions or overlays. They’re sculpted by hand and air-dry into a hard, durable finish. What are Acrylic Nails? Acrylic nails are artificial nail enhancements that extend or cover your natural nails. They use a liquid monomer and a powder polymer that harden when mixed. The process combines liquid acrylic and powder to form a malleable bead. The technician applies this mixture to your nail and shapes it before it hardens. As the chemicals react, the mixture air-dries into a solid, strong layer. No UV light is needed. Step-by-Step Application Method Here is how acrylic nails get applied at the salon: Step 1: Prep the Nails The technician files down your natural nails and pushes back cuticles. They roughen the nail surface with a buffer. This helps the acrylic bond better. If you want extensions, they’ll add nail tips first. Step 2: Apply the Acrylic Mixture Then the technician dips a brush into liquid monomer, then into acrylic powder. This creates a wet bead. They place the bead on your nail and shape it quickly before it hardens. Step 3: Shape and Smooth The mixture gets molded into the desired shape and length. The technician works fast because acrylic hardens in minutes. They blend the acrylic smoothly across your nail. Step 4: File and Finish Once hardened, nails are filed, buffed, and polished. The process takes 60–90 minutes. Pros and Cons of Acrylic Nails Acrylic nails have their own strengths and weaknesses to consider before booking. Pros Cons Very durable, lasts 6-8 weeks with fills Strong chemical odor during application Add significant length with extensions Requires filling every 2-3 weeks as nails grow Easy to fix chips and cracks at home Filing and removal can thin natural nails Generally less expensive than other options Longer application time than other methods The smell hit hard during application, making eyes water the entire time. Skipping a fill once showed how fast that gap near the cuticle becomes noticeable. Dip vs Acrylic Nails When choosing between dip and acrylic nails, several factors matter. Have a look at the key differences to help you decide. Factor Dip Nails Acrylic Nails Application Method Nails dipped into colored powder Liquid and powder mixed, then brushed on Application Time 45 minutes 60-90 minutes How Long Do They Last 3-4 weeks 6-8 weeks with fills Odor Level Minimal smell Strong chemical odor Maintenance Needs Full removal and reapplication Fills every 2-3 weeks Nail Length Options Works best on natural length Can add extensions for length Damage Risk Moderate if removed incorrectly Moderate to high from filing Average Cost $30-$50 per full set $25-$45 plus $20-$30 for fills Which is Healthier for Your Natural Nails? Neither option is entirely harmless to your nails. The health impact depends more on application quality and removal technique than on the method itself. Dip Nails: It requires less prep work. Your natural nails aren’t filed down as much before application. The coating is also thinner and lighter. This puts less stress on your nail bed. Acrylic Nails: These need an aggressive surface filing before application. This removes a layer of your natural nail every time. The weight of thick acrylic can also strain your nail bed over time. What Causes the Most Damage? Both methods use chemicals that can affect your nails. Understanding these helps you make informed choices about your nail health. Keeping Your Nails Healthy: Give your nails breaks between applications. Pick a salon that follows proper sanitation practices. How to Choose Between Dip and Acrylic Nails? The right choice depends on your lifestyle and what you want from your nails. Choose Dip Nails if You: Want natural nail length only Prefer low maintenance Are sensitive to strong smells Want something quick Choose Acrylic Nails if You: Want long extensions Don’t mind regular fills Like changing designs often My Tip: Personally, I suggest to choose dip for everyday life and acrylic only for special occasions. It feels like the best balance for my routine. Wrapping Up! So, dip or acrylic? There’s no wrong choice. Comfort, maintenance, and nail health matter more than trends when deciding between the two. Think about your priorities. Need something quick and lightweight? Choose dip. Want long nails that handle heavy use? Pick acrylics. The real secret is finding a skilled technician. A good application protects nails. Proper removal keeps them healthy. That matters more than the dip vs acrylic nails debate itself. Frequently Asked Questions (FAQs) 1. Is Dip Better for Your Nails than Acrylic? Neither is better. Both damage nails if removed incorrectly. Dip needs less filing, so it’s slightly gentler. 2. How to Not Ruin Your Nails with Dip? Never peel it off. Soak for 10-15 minutes before removal. Use cuticle oil daily. 3. Do Acrylics or Dips Look More Natural? Dip nails look more natural. They’re thinner and lighter than acrylics.
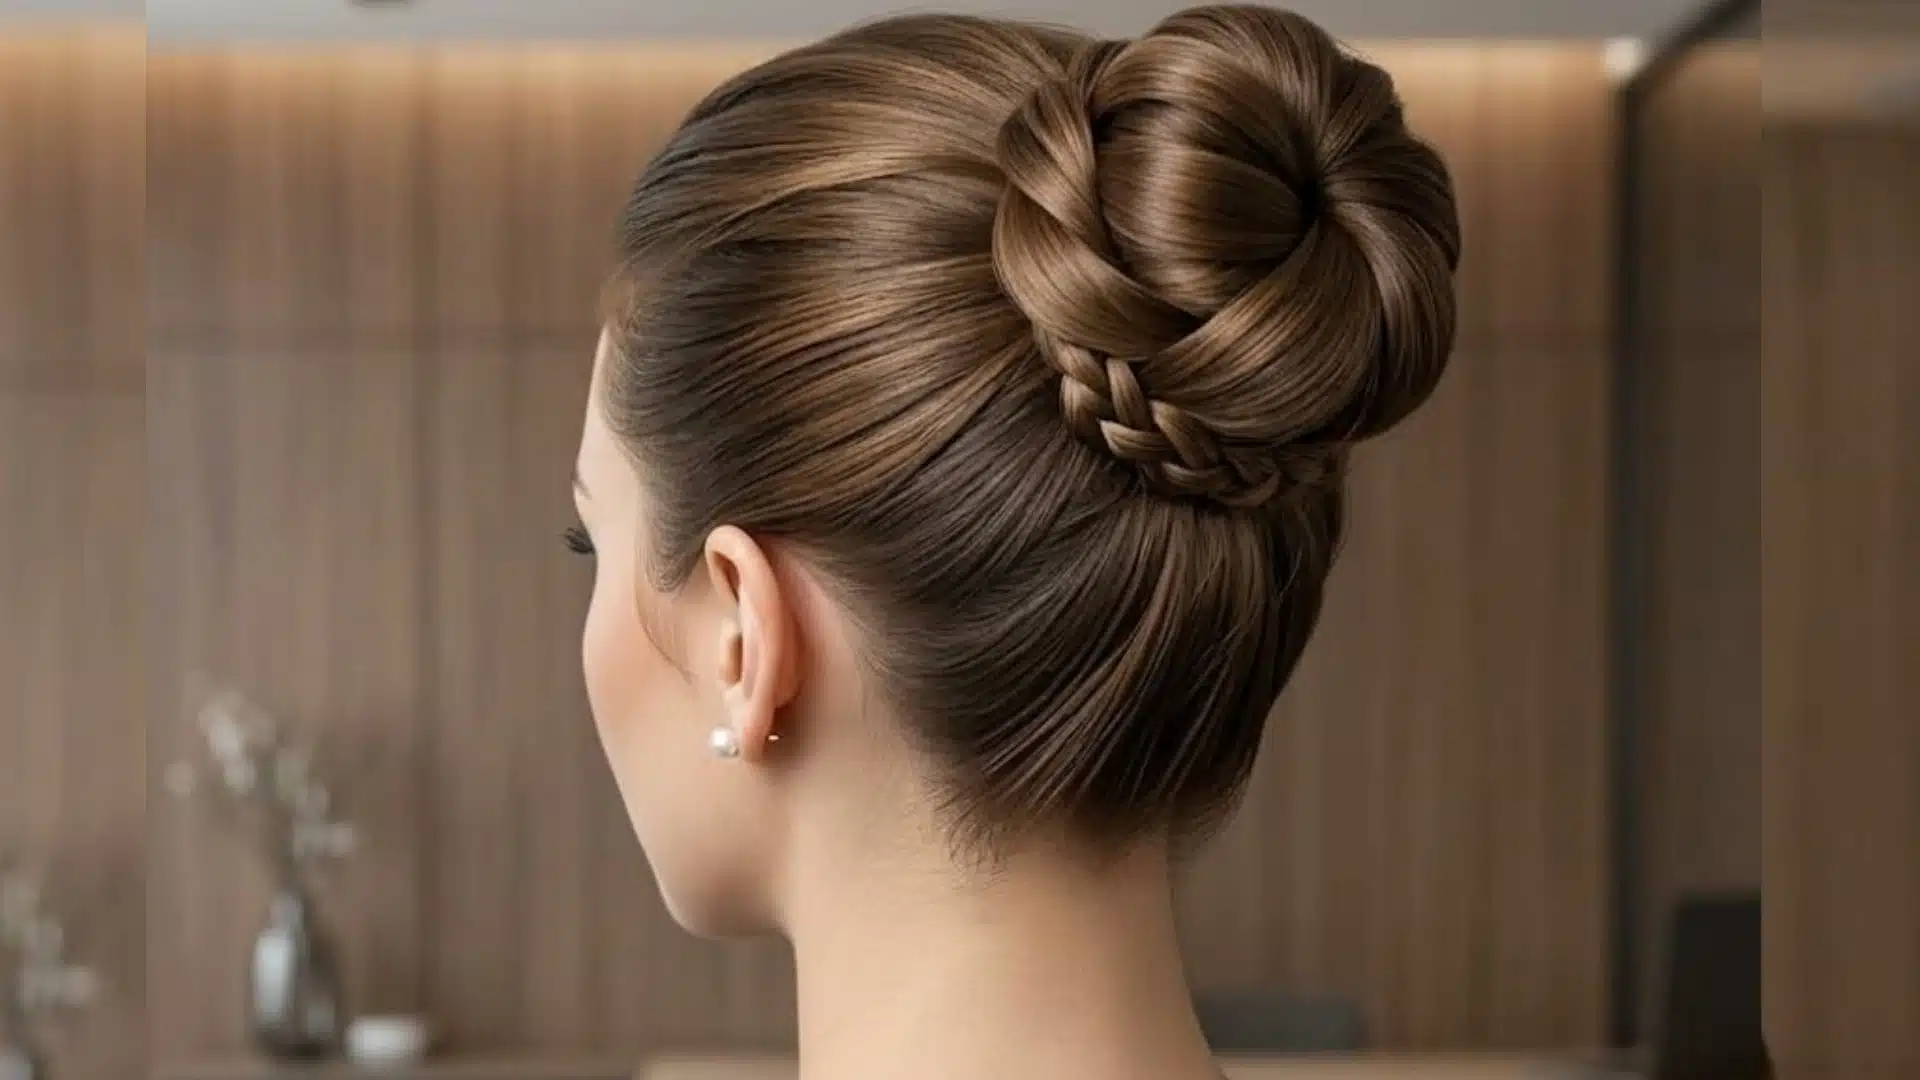
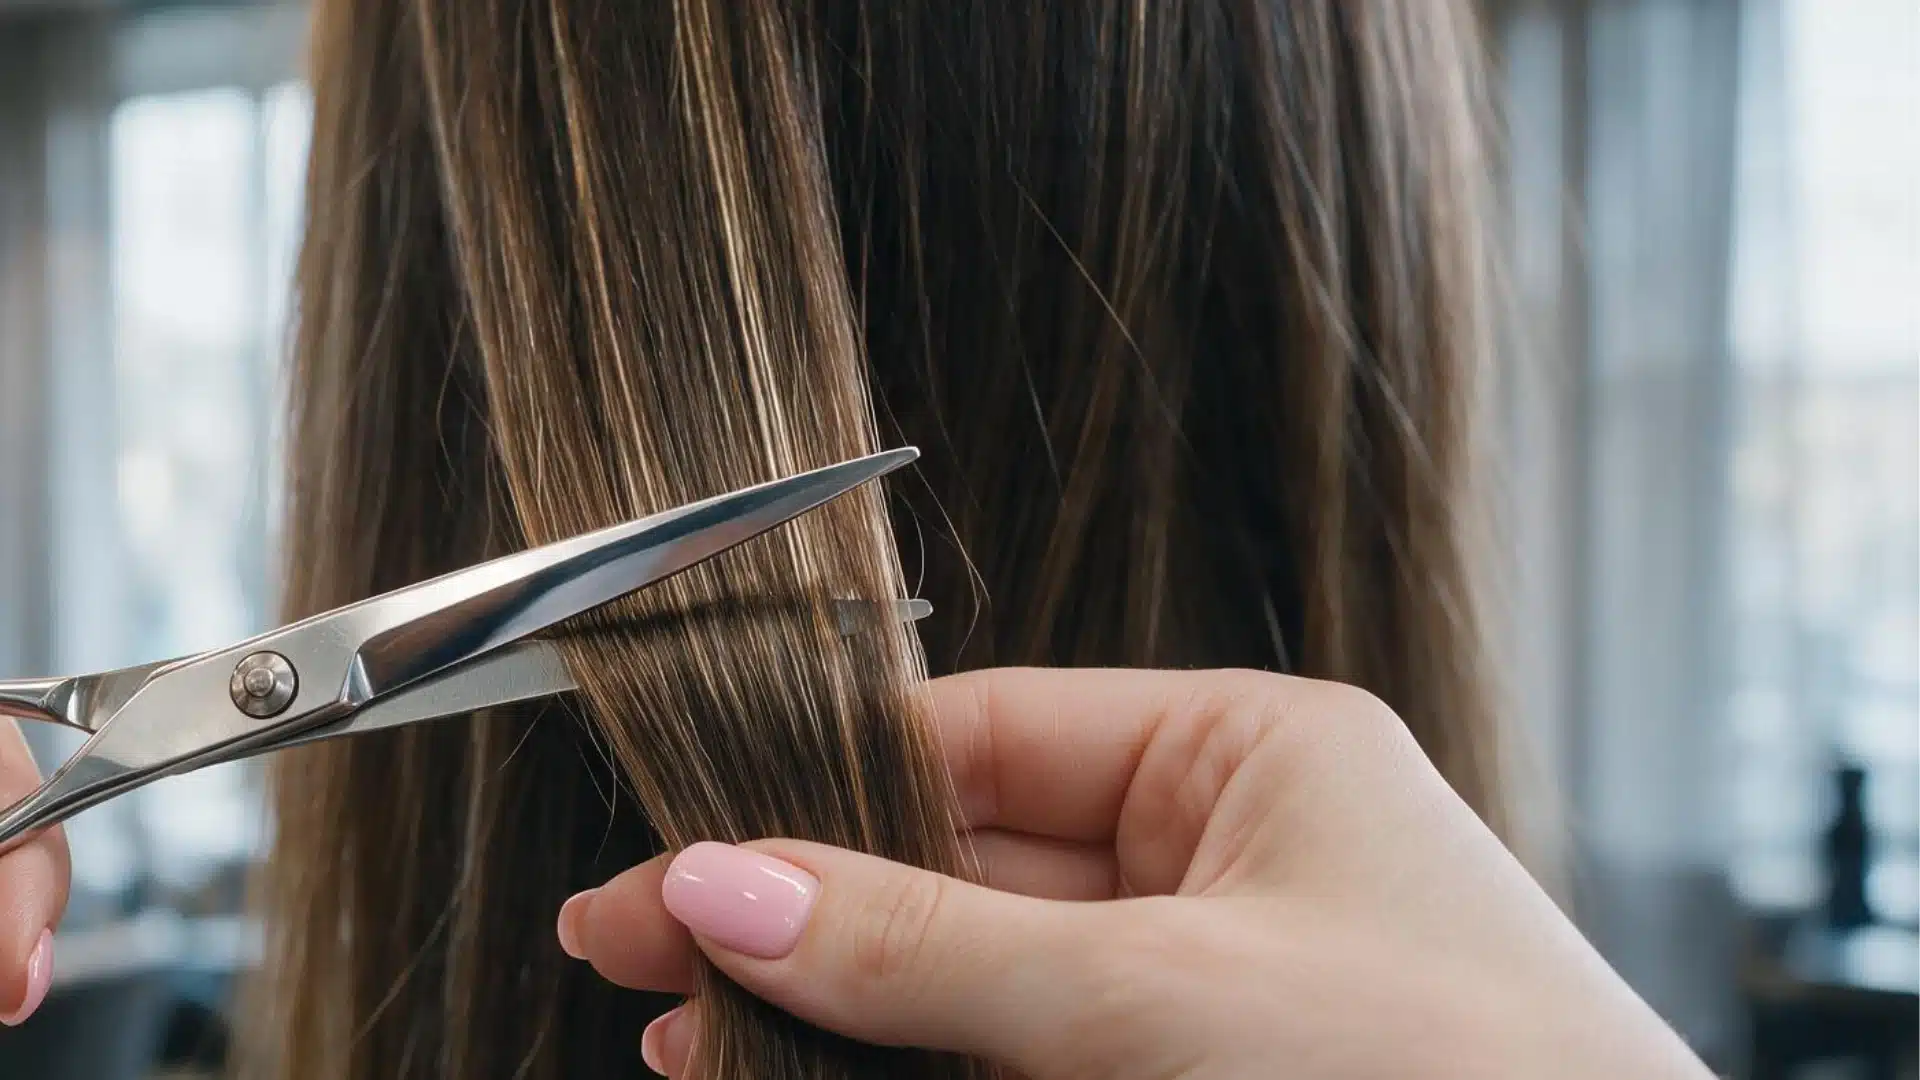
Your boss just called an unexpected meeting. You look in the mirror, and your hair is a mess. Panic mode, right? I’ve been there too many times. But listen, you don’t need salon skills to look sharp at work. Professional hairstyles are easier than you think. I’m sharing quick options that fit any schedule. Got 5 minutes? That’s enough. These styles work for both men and women, and they’ll keep you looking polished all day. How to Add Volume or Length to a Professional Hairstyle? Want fuller hair or extra length without waiting months to grow it out? You have options that look natural and stay office-appropriate. These techniques work for any hair type and won’t break your budget or morning routine. Use a Volumizing Mousse or Spray Apply volumizing products to damp hair before styling. Focus on your roots where you need the most lift. Flip your head upside down while blow-drying for extra height. Try Clip-In Hair Extensions Clip-in extensions add instant length and thickness to your hair. Choose colors that perfectly match your natural shade. You can put them in yourself in under 10 minutes. Backcomb Your Hair at the Crown Gently backcomb small sections at your crown to create volume. Smooth the top layer over the teased sections for polish. This gives your hair height without looking messy at work. Use a Round Brush When Blow Drying Roll sections of hair around a round brush while drying. Pull up and away from your scalp to create lift. Consider a Volumizing Haircut Ask your stylist for layers. Shorter layers underneath create the illusion of thicker hair. The right cut does half the styling work for you. Professional Hairstyles for Women Women face different hair challenges at work, and I totally get it. These styles give you that put-together vibe in minutes. They’re beautiful, and office-approved every single time. 1. Sleek Low Ponytail Simple doesn’t mean boring, and this style proves it perfectly. Brush your hair back smooth and secure it low at your neck. Add a tiny bit of gel or serum to tame flyaways. You’ll look clean, professional, and entirely in control of your day. It’s comfortable enough to wear for 10 hours straight without any headaches. 2. Half Up Half Down Hairstyle Can’t decide whether to wear your hair up or down? Do both at once. Take the top section and clip it back while leaving the rest flowing. This keeps hair out of your face during focused work without hiding your length. Plus, it transitions perfectly from office to after-work plans. 3. Polished Lob Haircut The lob sits perfectly between short and long, giving you the best of both worlds. It’s long enough to pull back but short enough to manage easily. You’ll feel confident and comfortable no matter what your workday throws at you. Style it straight for serious business days or add subtle waves for softer vibes. 4. Soft Waves with Middle Part Add a touch of softness to your professional look with gentle waves. Part your hair down the middle and use a curling wand on medium sections. It works for creative fields and traditional offices alike. The waves stay in place all day and still look fresh at 5 pm. Professional Hairstyles for Women with Long Hair Long hair at work can feel like a blessing and a curse, but you have more styling options than anyone else in the office. These looks keep your beautiful, long hair manageable and totally work appropriate. 5. Low Ponytail Long Hair This is probably the most effortless style in your arsenal right now. Pull all your hair back to the base of your neck and secure it. You won’t get tension headaches as you do with high ponytails. It takes about 90 seconds and looks never lazy or thrown together. 6. Sleek Straight Long Hair Let your gorgeous long hair be the star of your professional look. Blow-dry it smooth or run a straightener through for extra sleekness. This style shows you take care of yourself and pay attention to details. It looks especially sharp in client-facing roles and important meetings. 7. Low Braided Bun Want something special without going overboard? Braid your hair loosely and wrap it into a low bun. Pin it securely, and you’ve got an elegant look that lasts all day. This style keeps every strand in place during busy, hectic workdays. It looks more complex than it actually is, which is always a nice bonus. 8. Loose Waves with Middle Part Show off your length with soft, touchable waves that still mean business. Part your hair down the center and add loose curls throughout. The waves add movement and life without looking too done up. Your hair will still look great at the end of your shift. This style feels free but never unprofessional or too casual for work. Professional Hairstyles for Women with Medium Hair Medium-length hair is the sweet spot for professional styling, honestly. It’s long enough to style multiple ways but short enough to manage quickly. You won’t spend forever drying it or fighting with tangles every morning. 9. Neat Low Bun or Man Bun Gather your hair at the back and twist it into a tidy bun. Pin or tie it securely so nothing falls loose during meetings. This style looks neat and professional on absolutely everyone who tries it. It’s perfect for active workdays when you need hair totally secured. 10. Long Bob Haircut (Lob) The lob hits right at your collarbone, giving you a fresh, modern look. Style it straight for sleekness or add texture for softness. This cut flatters virtually every face shape and hair type. It’s professional without being stuffy or boring. 11. Side Part Shoulder Length Hair A deep side part instantly elevates your medium-length hair. Sweep everything dramatically to one side and smooth it down. This asymmetrical look adds interest while staying office-appropriate. 12. Straight Blowout Hairstyle Nothing says polished quite like a smooth, straight blowout. Section your hair and blow-dry it straight using a round brush. This classic style works for every situation, from interviews to board meetings. Professional Hairstyles for Men Looking sharp at work doesn’t mean spending forever on your hair. These cuts make mornings more manageable, not more complicated. You’ll walk into meetings feeling confident and ready. 13. Classic Side Part Haircut Your grandpa had this cut, and it still looks impressive today. Why? Because it just works. Run a comb through one side, add a little product, and you’re set. Any hair type can pull this off. It makes you look like you have your life together, even when you absolutely don’t. Ready to add some personality without getting called into HR? The quiff is your friend. Blow-dry the front and back for instant style points. It shows you care about your appearance without screaming for attention. Conservative offices approve, and your creative side stays happy. Win-win situation right there. 15. Low Fade with Side Part Want something clean but not boring? This is your answer. The fade keeps your sides tight and fresh-looking. The top part adds that professional touch everyone respects. You’ll spend maybe two minutes styling it each morning. 16. Ivy League Haircut This one gives you options, and who doesn’t love that? Style it forward for casual days or sweep it back for big presentations. The length up top means you’re not locked into one look. It fits every workplace vibe from startup casual to corporate serious. Bonus: You can skip the barber for an extra week or two. 17. Textured Crop Haircut Got thick hair that does its own thing? Work with it instead of against it. This cut turns natural texture into your best feature at the office. A dab of paste when your hair is still damp does the trick. It holds up perfectly from morning coffee through evening commutes. 18. Short Taper Cut Keep sides and back short with slightly more length on top. This low-maintenance cut suits all face shapes and personal styles beautifully. It requires minimal effort each morning but always looks sharp and put together. You can style the top in different ways or leave it natural. Hair Care Tips to Maintain a Professional Look These tips keep your hair looking its best every single day at work. Let’s talk about what really matters for maintaining that polished appearance consistently. Wash Your Hair Based on Your Hair Type: Oily hair needs daily washing; dry hair needs less frequent washing. Find your rhythm and stick with it for the best results. Use Quality Products: Invest in products made for your hair type. Fine hair needs volume; thick hair needs moisture and control. Trim Regularly: Get a trim every six to eight weeks. Split ends make great haircuts look messy and unprofessional. Protect from Heat Damage: Always use heat protectant spray before styling. Keep tools on medium heat rather than high. Sleep and Hydrate: Drink plenty of water and get seven to eight hours of sleep. Your hair reflects your overall health. Conclusion You’ve got options now, lots of them. Pick a style that fits your morning routine and workplace vibe. Start with one look this week and see how it feels. Remember, professional doesn’t mean boring or complicated. It just means you care about your appearance. Your hair can be quick and simple and still turn heads for all the right reasons. Now try something new tomorrow morning. Frequently Asked Questions 1. What is the Easiest Professional Hairstyle for Beginners? The low ponytail works best for beginners. Just pull hair back, secure it low, and smooth any flyaways with gel. 2. How Often Should I Wash My Hair for Work? It depends on your hair type. Oily hair needs daily washing, while dry hair does better with twice-weekly cleansing. 3. Can I Wear my Hair Down at Work? Yes, you can wear your hair down if it’s clean, styled, and stays neat throughout the day without constant touching or adjusting. 4. What Products do I Need for Professional Hairstyles? Basic essentials include good shampoo, conditioner, heat protectant spray, styling cream or pomade, and a quality brush for your hair type.

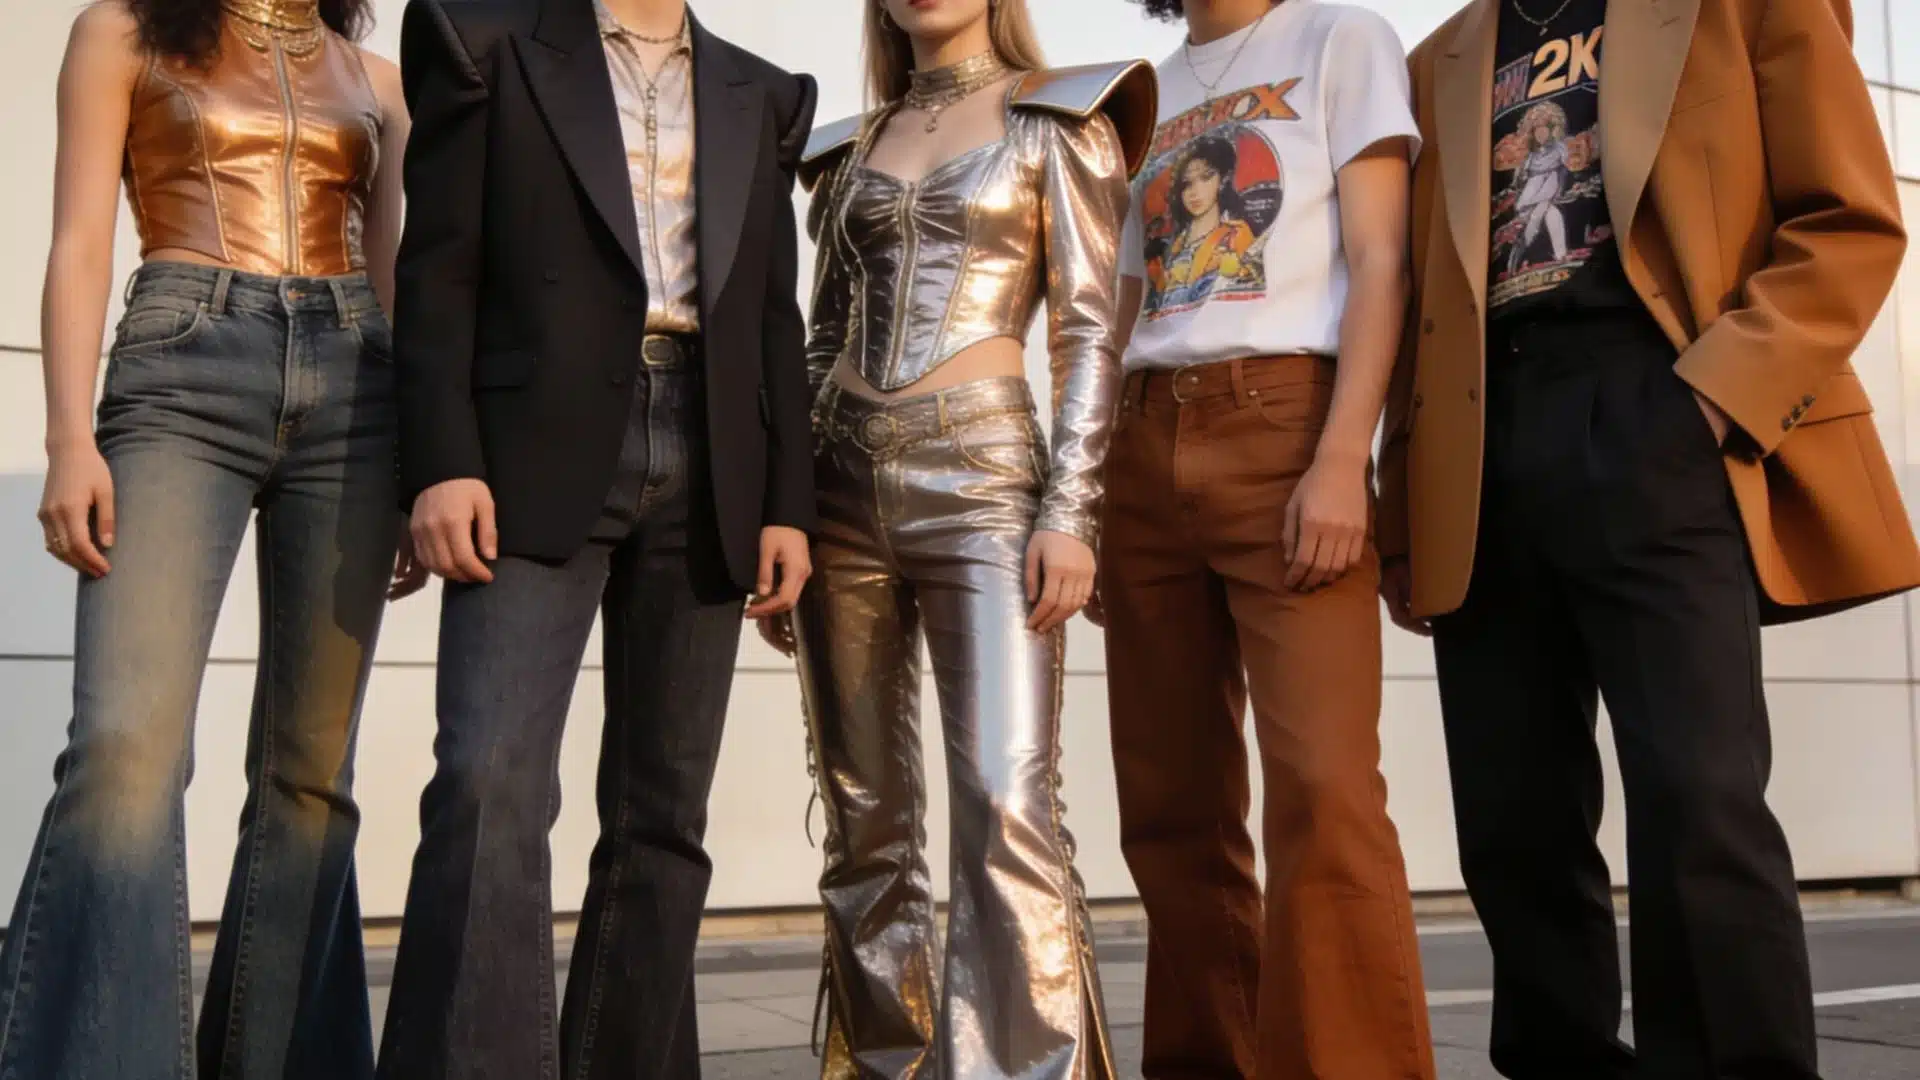
Want to ace that iconic eighties vibe without vintage shop hopping? People think recreating the eighties style means buying everything neon. But it is not the case. I don’t even think you need to buy clothes to recreate it. Your closet probably has what you need, be it oversized blazers, high-waisted jeans, and simple tees. Let me tell you how to dress 80s with normal clothes straight from your closet. Why the 80s Fashion Still Rocks The 80s fashion never really left. Oversized blazers? They’re everywhere in modern workwear and street style. High-waisted jeans dominate denim trends, and chunky sneakers are wardrobe staples. The 80s pioneered mixing athletic wear with everyday outfits, basically inventing what we now call athleisure. The casual 80s outfit was all about different clothes that coexist. Most trends from that era use closet basics styled boldly. That accessibility keeps the decade relevant decades later. You don’t need specialty items, just creativity and confidence. Elements Which Made a Casual 80s Outfit These elements are what the 80s style was all about and work perfectly with your existing wardrobe. 1. Color Blocking and Bold Colors The 80s embraced vivid colors without hesitation, electric blues, hot pinks, bright yellows, and neon greens. You don’t need to go full neon, but adding one vibrant piece or combining two bright colors instantly channels the decade. 2. Oversized Blazers Oversized blazers defined the decade. Grab any blazer from your closet, the bigger, the better. Roll up the sleeves to your elbows Pair it with high-waisted jeans or a mini skirt. 3. High Waist, Literally Everything High-waisted bottoms were non-negotiable in the 80s. This silhouette screams 80s effortlessly. Wear high waist jeans, trousers, or shorts Tuck in your tops Add a wide belt for the extra drama 4. Layers The 80s loved layers. The key is mixing textures and creating visual interest. Don’t worry about looking “too much”. Wear a turtleneck under a graphic tee Throw a denim jacket over a hoodie Pop the collar on a polo shirt under a sweater 5. Oversized with Fitted Balance was everything, just done in exaggerated proportions. Pair an oversized sweater or graphic tee with skinny jeans or leggings Or wear a fitted top with wide-leg trousers 6. Athleisure Tracksuits, windbreakers, and sneakers became street style staples. Mix athletic pieces with dressier items. Wear your joggers with a tucked-in tee and blazer With rock high-top sneakers with a dress 7. Denims Denim dominated the 80s in every form imaginable. The key was wearing denim confidently, often in a denim-on-denim look. High-waisted jeans Acid wash finishes Oversized denim jackets 8. Accessories Accessories built the outfit. Oversized earrings Layered chains Thick belts Scrunchies. Multiple bracelets Headband 9. Footwear The idea was to choose shoes that were neither too flimsy nor too minimal. Ankle-length sneakers Chunky athletic shoes Ankle boots Pointed-toe pumps How to Dress 80s with Normal Clothes: Ideas Here are six complete looks that show you how to use your existing wardrobe, and game up. 1. Making a Statement Oversized blazer, white tee tucked into high-waisted jeans, and chunky sneakers or block heels. Roll those blazer sleeves and add statement earrings. This look works for casual outings or dressed-up occasions, depending on your shoes. 2. Athletic Fitted turtleneck under an oversized sweatshirt, high-waisted mom jeans, and white sneakers, and add a scrunchie. It’s comfortable and practical. It screams 80s without looking like a costume. 3. Denim on Denim High-waisted jeans with an oversized denim jacket. Wear a graphic tee or striped shirt underneath. Break up the denim with a colorful belt and chunky jewelry. 4. Corporate Rebel Structured blazer with shoulder pads, fitted turtleneck, pencil skirt or tailored trousers, and pumps or ankle boots. Keep colors bold or go monochrome. Add a wide belt at the waist for extra definition. 5. Weekend Casual Oversized graphic tee or band tee, leggings or biker shorts, slouchy socks over sneakers. Throw on a windbreaker or zip-up hoodie. Finish with a headband or scrunchie. Pure 80s comfort. 6. Night Out Glam Off-shoulder top or bodysuit, high-waisted leather pants or mini skirt, statement belt, and heels or ankle boots. Layer on the jewelry: big earrings, multiple necklaces, stacked bracelets. Go bold with your makeup, too. Tips to Make it Look Effortless and Not Costumey The line between original 80s style and Halloween costume can be thin, but know what makes it stand out. Pick one statement element: Choose one statement: an oversized blazer, bold accessories, or a layered look. Keep everything else relatively simple. Stick to your color palette: Yes, the 80s loved neon and bright colors. But you don’t need them all together. Neutrals with one pop of color look more intentional. Modern shoes ground the look: Clean white sneakers, simple ankle boots, or classic pumps keep things current. Your footwear can make or break the vibe. Keep hair and makeup balanced: You don’t need crimped hair and blue eyeshadow. If your outfit is bold, keep hair and makeup simple. Balance prevents the costume effect. Fit matters more than you think: An oversized blazer should still sit properly on your shoulders. A sloppy fit makes you look like you’re wearing someone else’s clothes. Mix decades freely: Pair that blazer with modern skinny jeans. Wear contemporary accessories with vintage-inspired items. Blending decades creates a personal style rather than a period piece. Conclusion Know that you know how to dress 80s with normal clothes. You know that it isn’t about perfection. But it’s about borrowing its best elements and making them work for you today. The 80s were about confidence and experimentation, not perfection. Your closet might already have the pieces you need. That oversized blazer, those high-waisted jeans, and your favorite graphic tee. It’s time to try one trick from these outfit ideas and see how it feels. Like any idea? Share in the comments below!