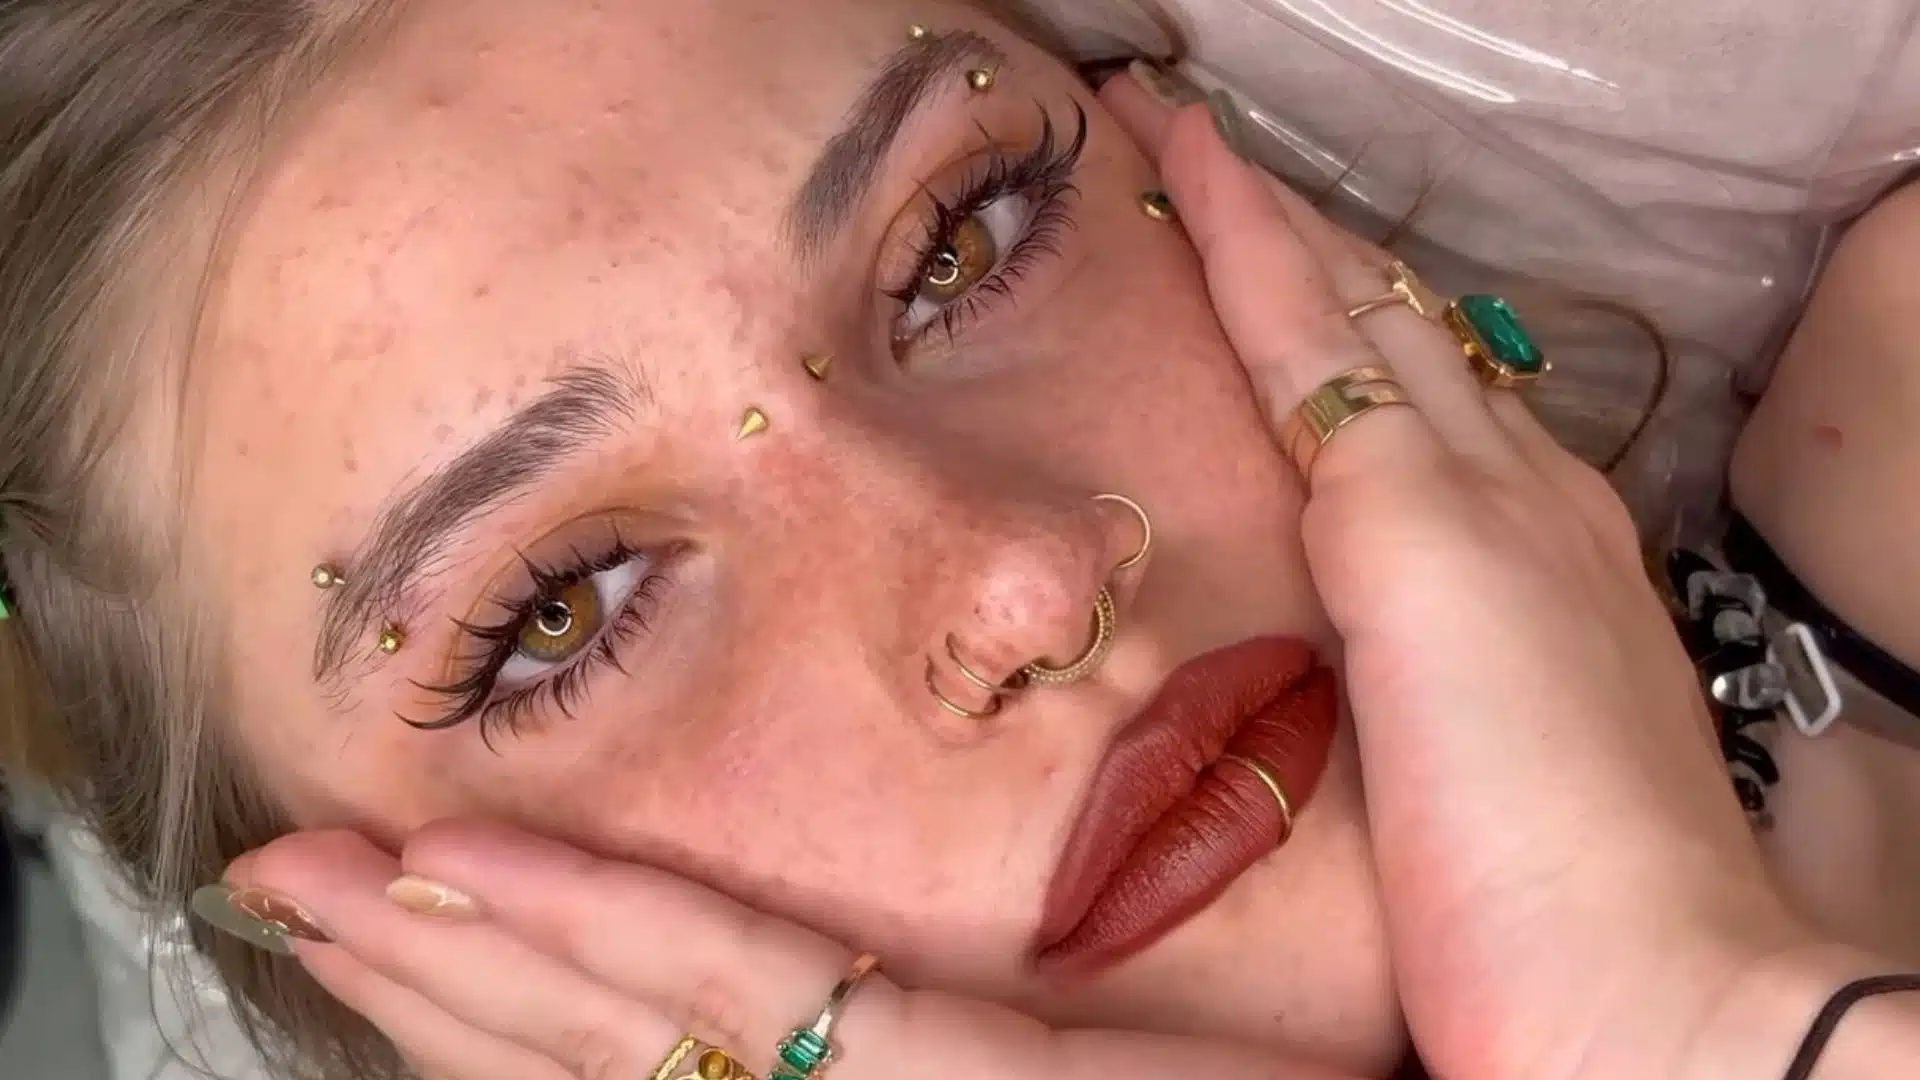
Face piercings have moved well beyond the realm of subculture statement pieces. Today, a septum piercing is just as likely to show up on a runway as it is at a coffee shop. This shift has made face piercings a popular form of self-expression; they let people signal personality and style without using words. Picking a facial piercing also includes
Most Popular
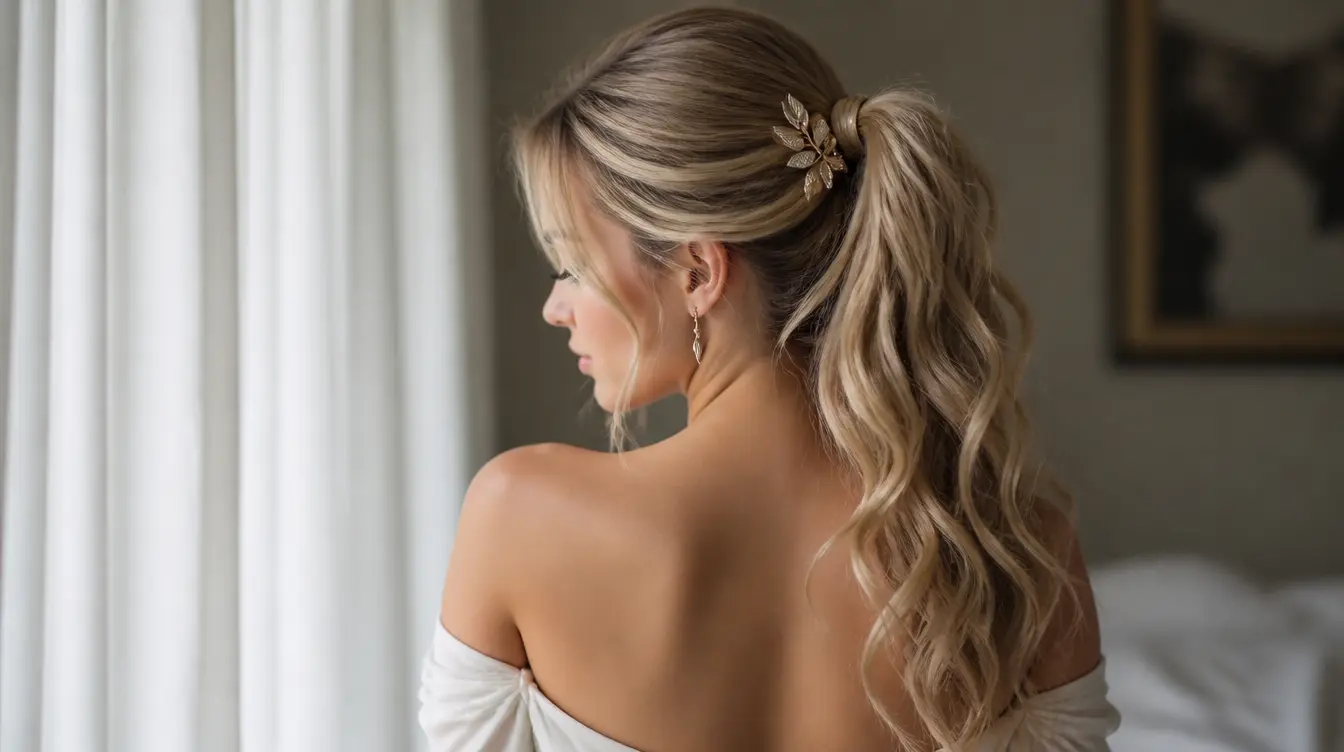
It is impossible to fall out of love with a ponytail hairstyle. Each year, this hairstyle makes a comeback with some updates. These hairstyles are easy to create and can be styled in various ways on different hair types. This article presents unique designs, including beautiful low braided styles for all occasions. People interested in discovering a great hairstyle for the new year have to read further. Unique Ponytail Hairstyles to Try Ponytails come in many forms, and each one brings its own charm. This list covers styles that are easy to copy and fun to wear. 1. Sleek High Ponytail This hairstyle is very classic. It entails combing the hair back and tying it up in a high ponytail. Brush and some gel will help you achieve that slick effect. The best thing about this style is that it does not take much time to create. You can pull it off on a regular day or during a formal event. 2. Classic Low Braided Ponytail The style is easy and fast to put on and can be worn throughout the day. Hair is tied back into a low ponytail at the back of the neck. Then, this ponytail is braided from top to bottom. It is held together using a small tie at the end of the braid. The style remains neat even throughout hectic days and does not require further styling. It also suits different occasions. 3. Bubble Ponytail Bubble ponytail is characterized by circular sections in it. First, the hair is made into a ponytail, and then hair ties are attached a few inches apart. These sections are pulled out so each forms a bubble shape. It is a hairstyle that is fun yet full of volume and does not require too much effort. 4. Twisted Ponytail Hairstyle This twisted ponytail hairstyle is trendy in the current season. Pieces of hair are twisted separately and then combined to form a single ponytail. The result is a rope-like appearance that’s intricate but simple to achieve. Most people have decided to rock this hairstyle because of the refreshing variation from the conventional ponytail. It suits all kinds of days at college, social and holiday occasions. 5. Ponytail Wrap The ponytail wrap makes it possible to hide the elastic hair tie using just a few strands of hair. Take a section of the ponytail and wrap it around the hair tie. This is one of the quickest ways to make a neat look in just a matter of minutes. The hair wrap can be secured with a small pin or hair clip. 6. Fishtail Low Braided Ponytail A fishtail braided ponytail comprises a feathered design. The hair is tied low in a ponytail and divided into two parts. Strands are then interwoven by taking strands alternately from one side to the other to create the braid. A fishtail braid takes much longer than regular braiding, but it gives you an elaborate appearance. 7. Side Ponytail In this type of ponytail, hair is moved away from its traditional middle position. The hair is pulled towards one shoulder rather than directly backward. This simple difference in styling will give your hair a new look. You need to move your entire hair to one side before you tie it using an elastic band. 8. Ponytail with a Scarf Wrap A ponytail with a scarf wrap replaces the traditional hair elastic with a scarf made of either silk or cotton. First, you need to form your hair into a ponytail. After that, a scarf is put on top of the ponytail and tied into a small knot or bow. It gives color and an additional soft feel to an otherwise simple hairstyle. The look is suitable for summer get-togethers and beach days. 9. Dutch Braided Low Ponytail The Dutch braided low ponytail uses an inside-out braiding method. Hair is braided from the crown down to the nape, then tied into a low ponytail. The braid sits on top of the hair instead of under it. This gives a raised, textured look. It suits weddings, festive days, and family functions. It also works well for casual outings when a person wants a neat style. 10. Curly Ponytail This ponytail style can be described as a blessing to those with naturally curly hair. Curly hair can remain in its natural state but out of the way of the face. Curly hair is tied up in a ponytail either at the top of the head or the nape of the neck. There is no need for any additional styling as the curls will do all the styling. 11. Messy Ponytail A messy ponytail might look untidy to some people, but its trendy. Hair is put up loosely first, and then some hair is taken out from all sides of the face and the crown area to give it an effortless look. Claw clips, small hair ties, and bobby pins are used for this type of hairstyle. A clip may be attached at the base for added security. 12. French Braided Low Ponytail The French braided low ponytail derives its name from the traditional French Braiding technique. Hair sections are incorporated while the braid makes its way down from the head. The end result is a pattern of weaving on the scalp. It is then tied up in a low ponytail from the back of the head. 13. Claw Clip Ponytail The claw clip ponytail is one of the quickest hairstyles to do. The hair is pulled into a ponytail at either the back or the crown of the head. However, instead of using a hair tie, a claw clip secures the hair. It only takes a few seconds to create. 14. Low Braided Ponytail with Bow This ponytail with a bow enhances the cute appearance of an ordinary hairstyle. The hair is pulled back and fastened at the low part at the neck and then braided along its length. The bow may be fastened either at the base or at half the length of the braid. It’s a small addition that can make an ordinary hairstyle extra-special. It’s perfect for weddings, birthdays, or other celebrations. Both children and grown-ups adore this style. 15. Half-Up Ponytail The half-up ponytail is this season’s trend that definitely deserves it. It is the ultimate hairstyle that combines both halves of its name, meaning half is tied up and half is left down. People like this hairstyle because it’s versatile: you can wear it casually at any time of day, and it suits any hair texture and length. Social networks have added to the popularity of this style thanks to various styles that can be done easily. 16. Ponytail With Volume The ponytail hairstyle that has volume is quite daring and voluminous. First, the hair has to be teased at the roots and tied in the style. It can also have some teased parts that will make the hairstyle even more voluminous. This hairstyle provides immediate volume and height to the hairstyle. Individuals with thick hair find it easier to create such a hairstyle. 17. Low Braided Ponytail with Curly Ends This hairstyle is romantic, yet elegant. One’s hair is braided down to create a ponytail and fastened in a knot on the neck. The ends of one’s hair are curled up using either a curling iron or rollers. The contrast between a stylish braid and bouncy curls is visually appealing. This hairstyle is best suited for weddings, engagement ceremonies, and festive occasions. 18. Ponytail With Face Frames The ponytail hairstyle with face frames is soft to the edges. The hair is tied back, and then two small strands of hair are left on the sides near the cheeks. These strands of hair can also be slightly curled for an extra soft look. This hairstyle complements the face structure. This hairstyle can either be worn casually or on special occasions. 19. Two Ponytails (Pigtails) The double ponytail hairstyle involves two equal halves of the hair. The hair is parted from the center with one half on either side. Each half of the hair is then tied into a separate ponytail. This is among the easiest hairstyles to create oneself. No other styling implements are required except a comb and ties. It is ideal for informal occasions, college, and leisure. 20. Braided Low Ponytail for Weddings This ponytail hairstyle looks elegant and tidy. The hair is pulled back and tied into a low ponytail at the back of the neck. Then it is braided from the top to the ends. A few strands can remain loose on the top of the head for additional volume. Accessories like pins and flowers can be placed in the braid. 21. Textured Ponytail For a texture ponytail, create an effortless look with texture rather than a slicked-down one. The hair needs to be gently teased around the crown area before gathering it into a ponytail. A texturizing spray or dry shampoo can be sprayed to give more grip and volume to the hair. A few pieces of hair can be left out in the front for a messy look. 22. Ponytail with Hair Accessories The ponytail with hair accessories adds elegance to an ordinary hairdo. The ordinary ponytail is first tied, and then accessories like clips, pins, or little flowers are attached either at the bottom or the length of the ponytail. Another option is to use beaded bands and bows. This hairstyle is ideal for birthdays, occasions, and family gatherings. It can also be worn for casual events when you want to add some glamour. 23. Low Braided Ponytail with a Wrap The ponytail with a wrap is an elegant hairstyle that has a neat appearance. The hair is tied low at the nape area and then plaited along the length. A piece of hair or a ribbon is used to tie up the band so that the band is hidden from view. This makes the hairstyle look very elegant. It can be worn on occasions such as office and party days. Pick Your Preferred Ponytail Look There are many different types of ponytail hairstyles that are appropriate for different days and occasions. Each reader can choose a hairstyle depending on the event or occasion of that particular day. Something small but meaningful, such as adding a bow, ribbon, or braid, can go a long way in changing the style and making it different. All these hairstyles are very easy to replicate. So readers need to select their preferred ponytail hairstyle and try it out. Frequently Asked Questions (FAQ) 1. How Can Someone Keep Their Hair Healthy? Washing hair regularly, oiling the scalp, and avoiding tight ties often protects hair from breakage and dryness over time. 2. What Accessories Work Best for a Ponytail? Silk scrunchies, claw clips, and soft bands work well. They hold hair firmly without causing damage or breakage. 3. Does a Haircut Affect Ponytail Styles? Yes, layered or blunt cuts change how a ponytail sits and looks. A good cut adds shape and volume.
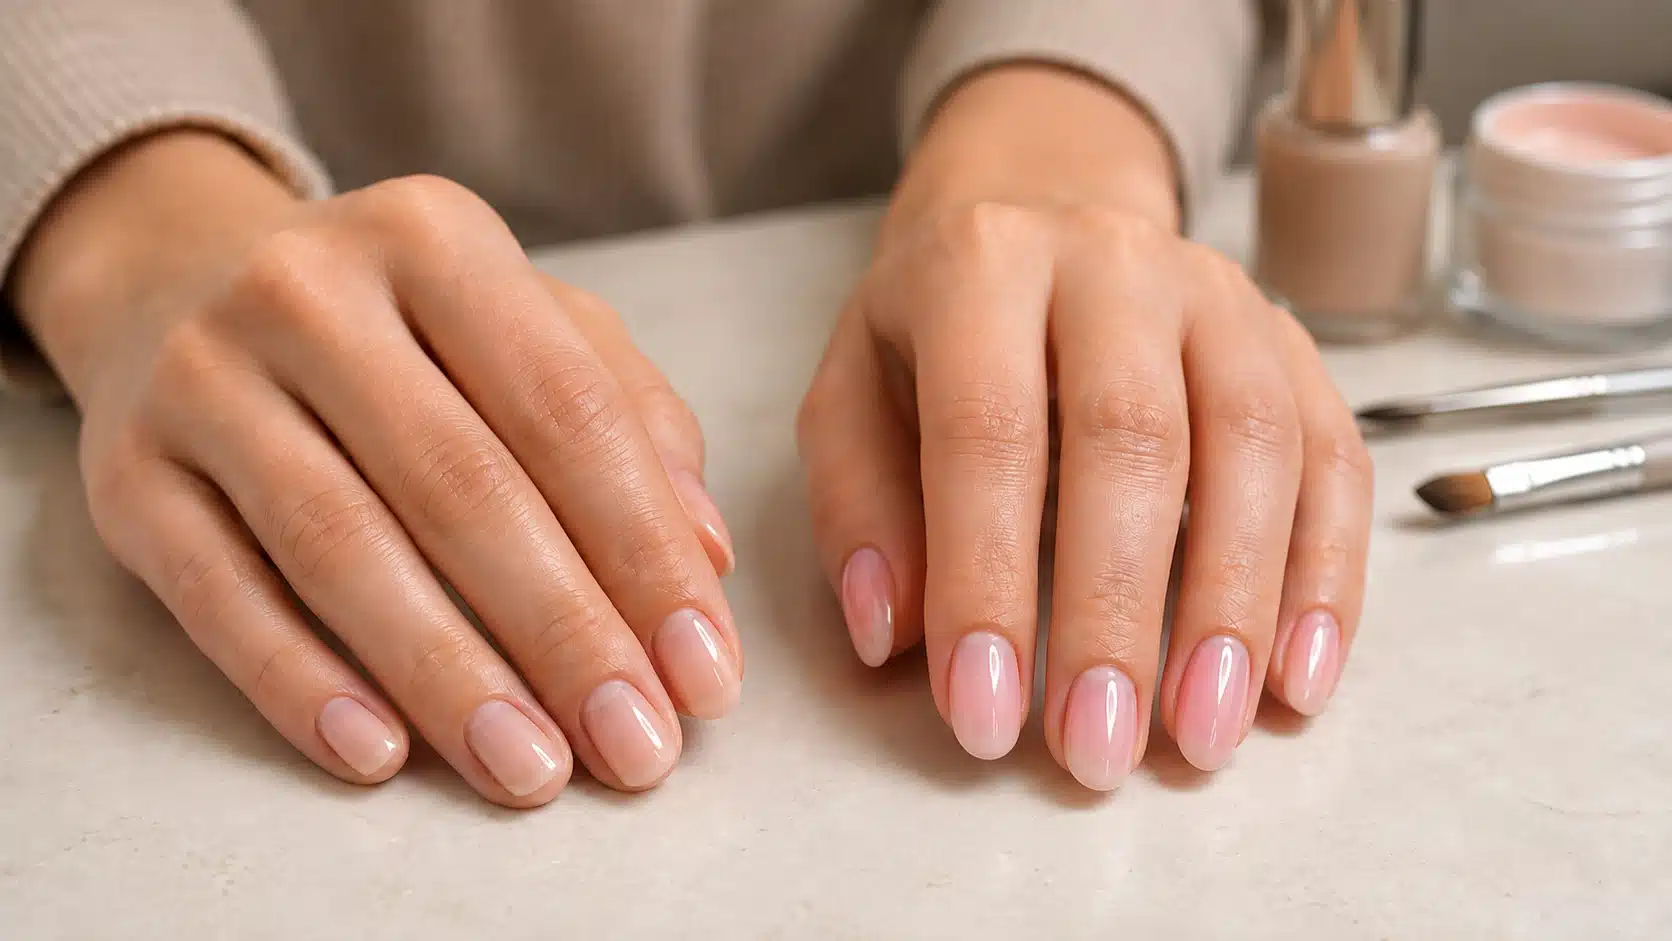
Choosing between builder gel and hard gel can feel confusing because both add structure, strength, and length to nails. The difference lies in how each product behaves, what extension length it supports, and how it is applied and removed. A clear builder gel vs hard gel comparison can help you avoid choosing a formula that feels too flexible, too rigid, or unsuitable for your preferred length. By the end, you can match the gel type to your natural nails, preferred shape, skill level, and daily routine. What are Builder and Hard Gel? Builder gel and hard gel are structural nail products used to strengthen natural nails, build an apex, correct uneven shapes, and create extensions. Builder gel can range from soft to semi-hard, and can be soak-off or file-off depending on the product. Some formulas suit natural-nail overlays, while firmer types can support short or medium extensions. Hard gel cures into a firm, durable structure that cannot be soaked off and must usually be filed away. Its rigidity makes it suitable for stronger overlays and longer almond, coffin, square, or stiletto extensions. Key Differences Between Builder Gel vs Hard Gel Builder gel and hard gel can both add structure and strength, but they behave differently in wear, removal, flexibility, and extension support. These eight differences make the choice easier. 1. Strength and Durability Hard gel is generally more rigid and better suited to enhancements that need strong structural support. It holds its shape well, especially when used for longer extensions. Builder gel strength varies by formula. Firmer builder gels can provide substantial reinforcement, while softer versions are better suited to natural nails and shorter lengths. For everyday overlays, builder gel can still provide enough durability without the same level of rigidity as hard gel. 2. Flexibility Many builder gels have more flexibility than hard gel, allowing the enhancement to move slightly with the natural nail. This can make them comfortable for people whose nails naturally bend. Hard gel cures into a firmer structure with less movement. That rigidity helps maintain longer shapes but may feel less forgiving on very flexible natural nails. The exact flexibility of builder gel still depends on the formula, since not every builder product behaves the same way. 3. Nail Length and Extensions Builder gel can support short or medium extensions when the formula is firm enough for added length. It also works well for building a small free edge or adding structure to shorter nail shapes. Hard gel is usually the stronger choice for longer sculpted extensions. Its rigid cured structure can support almond, coffin, square, and stiletto shapes while helping the extension maintain its form. Product instructions should still guide the maximum recommended length. 4. Natural Nail Overlays Builder gel is commonly used over natural nails to add structure, reinforce weak areas, and create a balanced apex without adding much length. Its range of flexible formulas makes it suitable for many natural-nail services. Hard gel can also be used as an overlay, especially when firmer support is required. However, its greater rigidity may not suit every flexible nail plate, so the condition and movement of the natural nail should be considered. 5. Application Process Builder gel is often available in brush-on bottles, which can make application convenient for overlays and shorter enhancements. Some formulas also self-level, helping create a smooth surface with less filing. Hard gel commonly comes in a pot and is applied using a separate gel brush. This gives greater control when building an apex or sculpting longer extensions, but shaping the product evenly can require more practice and technical skill. 6. Removal Process Removal depends heavily on the builder gel formula. Some builder gels are soak-off products that can be softened with acetone, while others must be reduced or removed by filing. Hard gel is non-soakable and normally requires careful filing for removal or product reduction. Because filing too aggressively can damage the natural nail, professional removal is often the safer choice, particularly when a full hard-gel enhancement needs to be taken off. 7. Maintenance and Fills Both builder gel and hard gel can usually be maintained through fills or rebalancing rather than completely removed at every appointment. As the natural nail grows, new product can be added near the cuticle and the structure reshaped. Builder gel may feel simpler to maintain for shorter natural-nail overlays, especially with bottle formulas. Hard gel works well for repeated fills on extensions because the existing structure can often remain while the grown-out area is corrected. 8. Look and Feel Builder gel often creates a lighter, more flexible feel, particularly when applied as a thin structured overlay on natural nails. Neutral and clear formulas can also give a clean appearance without adding noticeable bulk. Hard gel can still look thin and natural when applied correctly, but its firmer structure may feel more rigid. The final appearance depends largely on product thickness, shaping, nail length, and the technician’s application rather than the gel category alone. Builder Gel vs Hard Gel: Which is Better for Your Nails? The better option depends on your natural nail strength, preferred length, and how much structure your manicure needs. Builder gel generally suits people who want reinforcement with some flexibility, while hard gel works better when stronger support is needed for longer extensions. Removal preference also matters because some builder gels can soak off, while hard gel normally requires filing. Choose Builder Gel If Builder gel may be the better fit when you mainly want strength without creating a very rigid enhancement. Natural Nail Support: You want to reinforce weak or easily bending natural nails. Shorter Lengths: You prefer short-to-medium nails rather than long extensions. Added Flexibility: You want the enhancement to move slightly with the natural nail. Removal Options: Your chosen builder formula offers soak-off removal. Natural Feel: You prefer a structured manicure that still feels relatively light on the nail. Choose Hard Gel If Hard gel makes more sense when the manicure needs greater rigidity and structural support. Longer Extensions: You want longer sculpted extensions with a stable structure. Firm Support: Your nails would benefit from greater rigidity. Long-Term Durability: Strength and shape retention are major priorities. File-Off Removal: You are comfortable having the product professionally filed down or removed. Suitability for Different Natural Nails Natural-nail condition should guide product selection rather than assumptions about softness or hardness. Flexible nails may suit a builder formula that retains slight movement, while firmer nails may work with a more rigid builder or hard gel system. Thin nails do not automatically need the softest option, and brittle nails do not always benefit from the hardest product. Selection should reflect the condition of the nail plate, intended shape, added length, and pressure created by daily activities. Gel can provide temporary structure, but it does not heal damaged nails. Enhancements should be postponed when nails are painful, inflamed, separating from the nail bed, severely peeling, or showing unexplained discoloration. Safety and Allergy Considerations Neither builder gel nor hard gel is automatically safe or damaging. Problems are more likely when uncured product touches the skin, gel is not cured completely, lifted areas are ignored, or the natural nail is filed too aggressively. Possible reaction signs include itching, redness, swelling, burning, blistering, cracked skin, and nail lifting. Symptoms may also appear on the fingers, eyelids, face, or neck after exposure. Stop using the gel if a reaction develops, and seek medical advice if symptoms spread, worsen, or return. HEMA-free products are not completely allergy-free because they may still contain other acrylates or methacrylates. Careful application, avoiding skin contact, and responding promptly to warning signs can reduce avoidable risks. Questions to Ask Before Choosing a Gel Before choosing a gel system, confirm whether the formula is soak-off or file-off and what extension length it supports. Ask how firm it becomes after curing, whether it requires a separate base coat, which lamp is compatible, and whether the enhancement can be maintained through fills or rebalancing. It is also important to consider whether the product suits the natural nail and the amount of pressure created by work, cleaning, typing, or other daily activities. These details are more useful than relying only on service names such as BIAB, builder gel, structure gel, or hard gel. Frequently Asked Questions (FAQs) 1. Can Builder Gel or Hard Gel Be Worn Without Color? Yes. Clear, nude, milky, or tinted builder gel and hard gel can be worn without additional color when finished with the compatible top coat recommended for the system. 2. Do Builder Gel and Hard Gel Need a Top Coat? Most systems require a compatible top coat to protect the surface and create the intended finish. However, requirements vary, so follow the instructions for the exact formula. 3. Can Regular Gel Polish Be Applied Over Builder or Hard Gel? Yes. Compatible gel polish can be applied over a properly prepared builder-gel or hard-gel surface and finished with the top coat recommended for the product system.
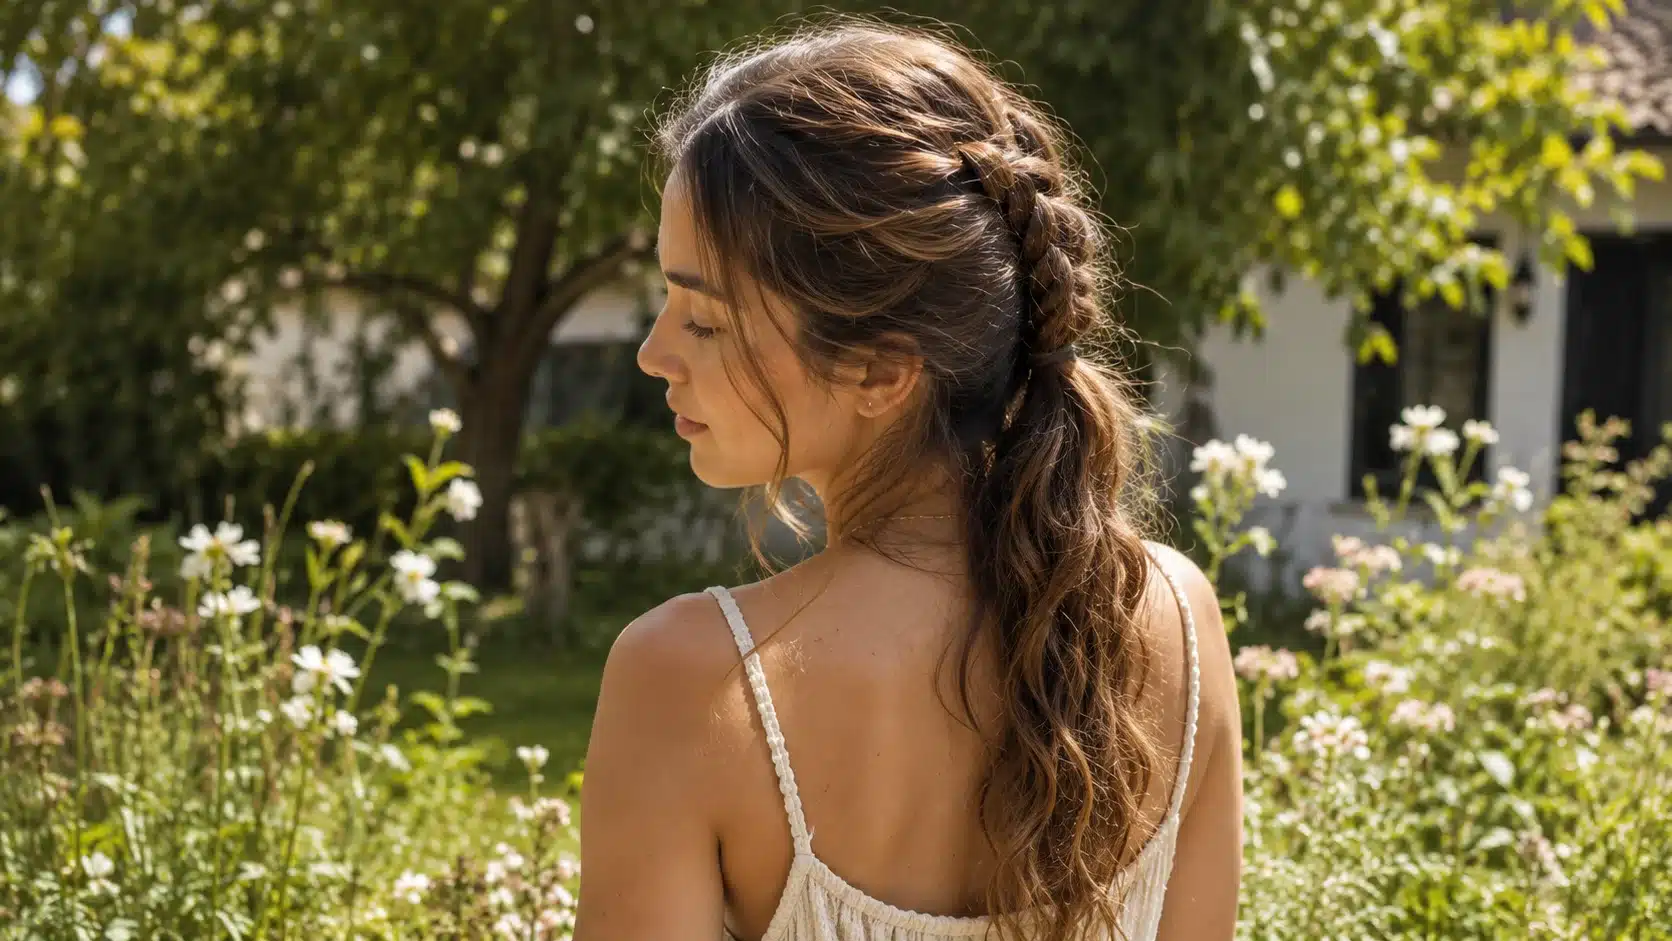
Summer heat can make even a simple hair routine feel like extra work. Sweat, humidity, wind, and rushed mornings can quickly loosen a style or leave hair sticking to the face and neck. Easy summer hairstyles should feel comfortable, take little time, and require only basic tools. This list includes cute summer hairstyles for girls, teens, and adults with short, medium, long, straight, wavy, curly, or coily hair. Some lift the entire length from the neck, while others control shorter front layers or create loose texture without heat. Each tutorial includes a suitable hair type, estimated styling time, clear steps, and a practical tip for improving comfort or hold. Choosing a Practical Hairstyle for Summer A useful summer hairstyle should fit the hair’s length, natural texture, and the amount of movement expected during the day. A loose half-up clip may be comfortable for errands, but it may not provide enough control for swimming or exercise. Braids and compact buns usually contain more hair, while ponytails provide quick neck clearance. Short layers often need pins, small clips, or headbands because they may not reach a full ponytail. Medium-length hair can support both clipped styles and smaller updos. Longer hair provides enough length for structured braids, buns, and detailed ponytails. Texture matters as well. Fine hair may need light grip, while thick hair requires stronger accessories. Curly and coily hair generally benefits from styles that avoid unnecessary brushing and preserve the curl pattern. Easy Summer Hairstyles for Short to Medium Hair These options include clipped and half-up looks for controlling shorter layers, along with no-heat styles for readers who prefer to leave some or all of their hair loose. Styling times are approximate and may vary based on hair length, thickness, texture, and braiding experience. 1. Short-Hair Twist-Back The short-hair twist-back keeps front layers away from the face while leaving the rest of the hair loose. It works especially well for bobs, lobs, and grown-out bangs when a full ponytail is not practical. How to Style: Separate a small section near each temple. Twist both pieces away from the face. Bring them toward the back and secure them with pins or a mini clip. Use light texturizing spray when smooth hair causes the twists to slip. 2. Half-Up Claw-Clip Style A half-up claw-clip style is a quick option for short or medium hair that needs gentle control. It lifts the upper sections away from the face without creating the tension of a tight ponytail or bun. How to Style: Gather the hair above both ears. Bring the sections together behind the crown. Twist once and secure them with a small claw clip. 3. Half-Up Top Knot The half-up top knot keeps the upper section controlled while allowing the lower length to remain loose. It suits shoulder-length hair well and works for school, errands, casual plans, or warm days when extra airflow helps. How to Style: Separate the upper third of the hair. Secure it with a small elastic. Twist the section and wrap it around its base. Pin the ends beneath the knot. Keep the knot compact if the upper section contains several short layers. 4. Braided Headband A braided headband keeps bangs and shorter front pieces away from the forehead while adding detail around the hairline. It works best when the front sections are long enough to braid securely toward the opposite ear. How to Style: Create a side part and separate a small section near it. Divide the section into three pieces. Braid along the front hairline, adding small pieces as you move. Finish near the opposite ear and secure it with a pin. 5. Low Summer Pigtails Low summer pigtails offer an easy way to manage short or medium hair without pulling it high on the scalp. Their low placement also works well under hats and keeps the style comfortable during relaxed daytime plans. How to Style: Part the hair down the middle. Gather each half behind or below the ears. Secure both sides with soft elastics. Keep the placement low so the pigtails sit comfortably beneath a hat. Avoid tightening them repeatedly, especially around fragile front sections. 6. Slicked-Back Wet Look The slicked-back wet look keeps shorter front sections controlled while leaving the back loose. It works well on damp short or medium hair and creates a smooth finish with only a small amount of lightweight gel. How to Style: Begin with damp, detangled hair. Apply a small amount of lightweight gel. Comb the hair backward from the forehead. Tuck the sides behind the ears. Add product gradually. Too much can make fine hair look flat or leave a stiff surface. 7. Heatless Beach Waves Heatless beach waves create soft bends without using hot styling tools. The method works best on slightly damp short or medium hair that holds texture well, making it a useful choice for relaxed summer styling with minimal effort. How to Style: Begin with slightly damp hair. Divide it into two or four sections. Loosely braid or twist each section. Release the hair only after it has dried. Separate the finished waves with the fingers rather than brushing through them, which can soften the pattern too much. 8. Wash-and-Go Defined Curls Wash-and-go defined curls support the hair’s natural curl pattern instead of reshaping it into an updo. The style works well for curly or coily short-to-medium hair and keeps definition through careful product application and limited handling. How to Style: Apply curl cream or gel to wet hair in sections. Smooth or scrunch each section. Finger-coil pieces that need additional definition. Air-dry or diffuse without repeatedly touching the curls. Easy Summer Hairstyles for Medium to Long Hair Medium and long hair provide enough length for secure ponytails, full updos, and structured braids. These options range from one-minute styles to techniques that need additional sectioning. 9. Quick High Ponytail A quick high ponytail lifts the full length away from the neck in very little time. It is useful for workouts, school, errands, and rushed mornings, especially when the hair is long enough to gather securely. How to Style: Gather the hair near the crown. Smooth the surface with the hands or a comb. Secure it with a fabric-covered elastic. Loosen the crown slightly if you prefer a softer result. Avoid pulling tightly around the temples, particularly when wearing the style regularly. 10. Low Twisted Bun The low twisted bun keeps medium or long hair contained near the nape for a neat, practical finish. Its lower placement makes it suitable for commuting, travel, work, or understated evening plans without placing extra weight high on the head. How to Style: Form a low ponytail at the nape. Twist the full length in one direction. Coil it around the elastic. Tuck the end beneath the bun and pin it. 11. Claw-Clip French Twist A claw-clip French twist gathers medium or long hair vertically against the back of the head. It takes only a few minutes, keeps the length contained, and offers a tidy option for workdays, commuting, or quick styling. How to Style: Gather the hair as though making a low ponytail. Twist it upward against the back of the head. Fold the ends inward or let them fan over the top. Secure the twist vertically with a large claw clip. 12. Double French Braids Double French braids keep the hair divided, controlled, and close to the scalp during active summer plans. They are especially useful for sports, travel, windy weather, or before swimming because fewer loose sections can move around. How to Style: Create a center part. Begin a French braid near the front of one side. Add small sections as you move toward the nape. Repeat on the opposite side and secure both ends. 13. Curly Pineapple Updo The curly pineapple updo gathers medium or long curls loosely at the crown while helping preserve their natural shape. It keeps hair off the neck without brushing through the curl pattern or creating unnecessary tension along the hairline. How to Style: Tilt the head forward. Gather the curls loosely at the crown. Secure them once with a soft scrunchie. Arrange the curls without brushing through them. Keep the base loose enough to avoid stretching the curl pattern or creating unnecessary tension along the hairline. 14. Simple Top Knot A Simple Top Knot gathers the full length into one compact bun, making it useful on hot or active days. It works especially well for housework, exercise, or rushed mornings when keeping hair completely off the neck matters. How to Style: Create a high ponytail. Twist the length into a rope. Wrap it around the ponytail base. Secure it with pins or a second elastic. For heavy hair, position the bun slightly behind the crown so its weight feels more balanced. 15. Bubble Ponytail The bubble ponytail adds shape to a basic ponytail by dividing the length into rounded sections. It works particularly well on medium or long fine hair and creates a playful finish without requiring traditional braiding skills. How to Style: Secure the hair in one ponytail. Add small elastics at even intervals. Gently pull each section outward to form rounded bubbles. Adjust the sections until they appear balanced. 16. Two-Strand Rope Braid A two-strand rope braid offers a simpler alternative for readers who find three-strand braiding difficult. It keeps long hair controlled in windy conditions and creates a defined twisted pattern using only two sections and one finishing elastic. How to Style: Divide a ponytail into two equal pieces. Twist both sections in the same direction. Wrap them around each other in the opposite direction. Secure the end. 17. Braided Bun A Braided Bun combines the grip of a braid with the compact shape of a bun. It works well for active days or slippery hair because the braided length helps the finished coil stay together with less repeated tightening. How to Style: Secure the hair in a ponytail. Create a standard three-strand braid. Wrap the braid around its base. Tuck the end underneath and pin the coil. The braid adds texture and grip, helping the bun stay compact without excessive tightening. 18. Double Low Buns Double low buns divide medium hair into two compact sections positioned near the nape or behind the ears. The style keeps hair controlled while creating a playful look suited to festivals, casual outings, and relaxed summer plans. How to Style: Divide the hair into two equal sections. Create a low ponytail on each side. Twist each length separately. Coil both twists into buns and secure them. 19. Side Dutch Braid The Side Dutch Braid creates a raised braided pattern that travels diagonally across the head. It works well for medium or long hair when outdoor plans or windy weather call for a style that keeps loose sections controlled. How to Style: Begin near one temple with three small sections. Cross each outer strand beneath the center. Add hair while moving diagonally across the head. Finish the remaining length as a regular braid. 20. Fishtail Braid A Fishtail Braid gives long hair a detailed woven finish using two main sections instead of three. It suits casual or dressier summer plans, and the final look can appear tighter or softer depending on section size. How to Style: Divide the hair into two main sections. Take a narrow piece from the outside of one section. Cross it into the opposite section. Continue alternating and secure the end. Thin crossover pieces create a detailed pattern, while wider pieces make the braid quicker to complete. 21. Bandana-Covered Bun A bandana-covered bun keeps the hair gathered while using fabric to manage flyaways around the hairline and nape. It works especially well on second-day hair and suits casual outings when a basic bun needs extra coverage. How to Style: Create a bun at the preferred height. Fold the bandana into a wide strip. Place it near the nape or hairline. Tie the ends securely above or beside the bun. Keep the knot comfortable and avoid tying the fabric tightly around the head. 22. Scarf-Wrapped Ponytail The scarf-wrapped ponytail adds a fabric detail to a simple low or mid-height ponytail. It works well for medium or long hair and offers an easy way to shift a basic daytime style toward evening plans. How to Style: Create a low or mid-height ponytail. Place a lightweight scarf over the elastic. Tie it into a knot or small bow. Adjust the ends so they do not tangle with the hair. Shorter scarf ends are more practical for active plans or windy weather. Keep Summer Hairstyles Neat All Day A hairstyle lasts longer when the hair is prepared for the chosen technique and the accessories match its weight, texture, and thickness. The goal is secure support without excessive product or tension. Prepare Hair for the Chosen Style Start with detangled hair in the condition required by the technique. Dry or second-day hair often provides more grip for buns and braids. Slightly damp hair works for heatless waves, while wash-and-go curls and slicked-back styles can begin on wet hair. Avoid leaving very wet hair tightly secured for an extended period. Use Accessories That Fit the Hair Fine hair usually needs smaller clips and lightweight elastics. Thick or long hair may require a large claw clip, reinforced pins, or more than one elastic. Choose soft scrunchies, snag-free ties, smooth-tipped pins, and clips that close fully. An accessory that is too small may slip, while one that is too tight may pull at the scalp. Control Humidity Without Overloading the Hair Use a small amount of anti-frizz serum, styling cream, gel, or texturizing spray based on the hair type and chosen style. Apply more only when necessary. Heavy oils can weigh down fine hair, while too much dry shampoo may leave visible residue. Concentrate smoothing products on the surface and flyaways rather than coating every strand. Refresh the Style During the Day Carry one spare elastic, two or three bobby pins, and a small clip for adjustments. Re-secure loose sections instead of tightening the entire style. For flattened roots, loosen the crown gently with the fingers. If the hairline becomes damp from sweat, blot it with a clean tissue or cloth before applying additional product. Protect Hair Around the Pool Wetting the hair with fresh water before swimming may reduce how much chlorinated or salt water it absorbs. After swimming, rinse it thoroughly and apply conditioner when needed. Detangle gently with a wide-tooth comb, beginning at the ends. Avoid forcing tangled, wet hair directly into a tight bun or braid before removing knots. Final Thoughts The most useful easy summer hairstyles are not necessarily the most detailed ones. A dependable routine may include one fast style for rushed mornings, one contained option for active days, and one polished look for work or evening plans. Begin with two or three styles that feel comfortable and practice them before busy mornings, trips, or outdoor plans. Small adjustments such as changing the clip size, lowering a bun, or loosening the hairline can make a familiar hairstyle more comfortable. Once a few reliable options are practiced, summer styling becomes quicker and easier to manage. Frequently Asked Questions (FAQs) 1. What Hairstyles Are in for Summer 2026? Summer 2026 combines textured buns, loose braids, claw clips, headscarves, polished chignons, and styles that maintain natural movement without looking unfinished. 2. What Is the Hottest Hairstyle Right Now? The partless ponytail is one of summer 2026’s standout styles, offering a sleek, balanced finish that is practical, versatile, and easy to recreate. 3. What Haircut Lifts Your Face? Face-framing layers with volume near the crown can create a lifted appearance by directing attention toward the cheekbones and upper part of the face.