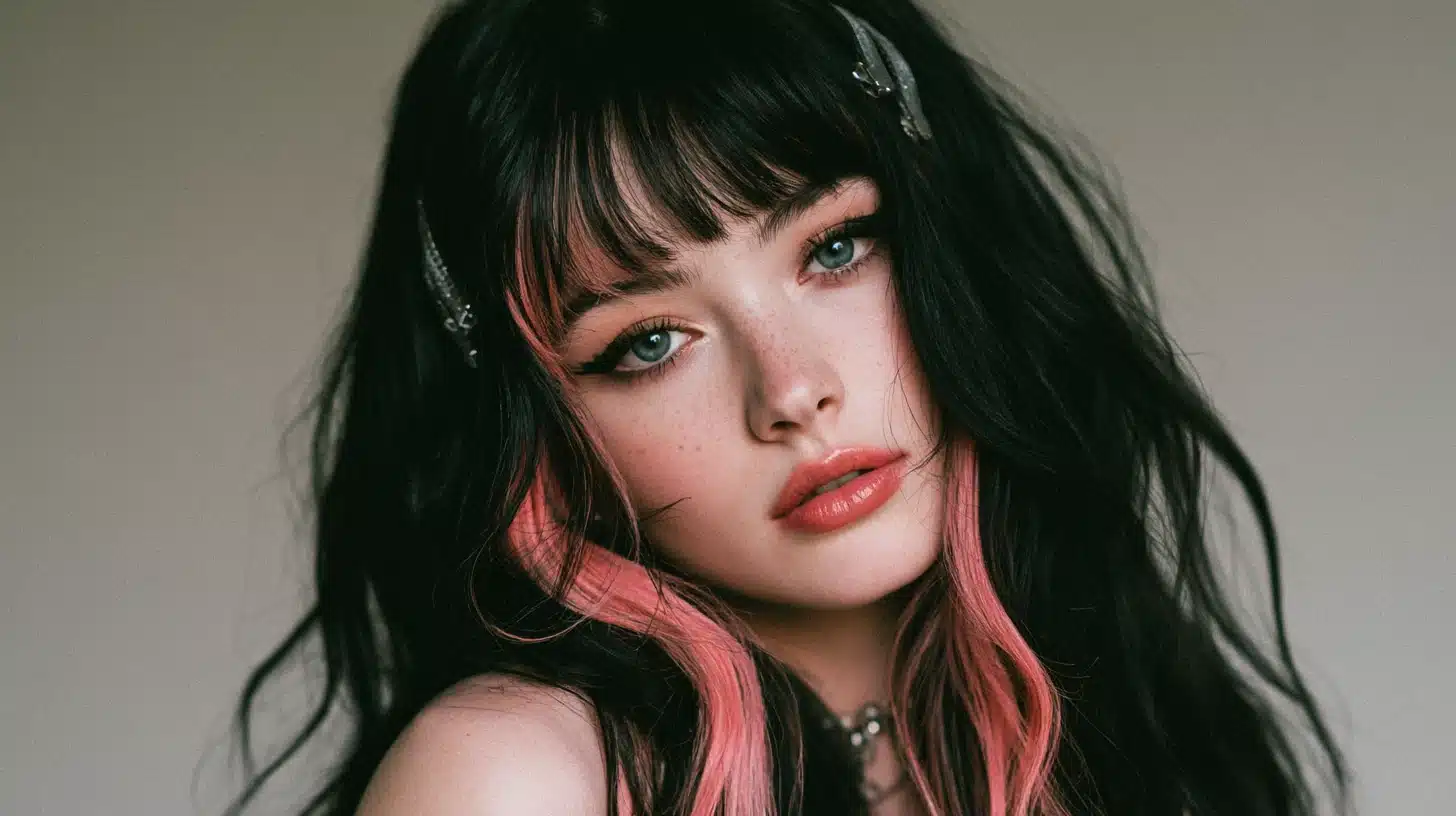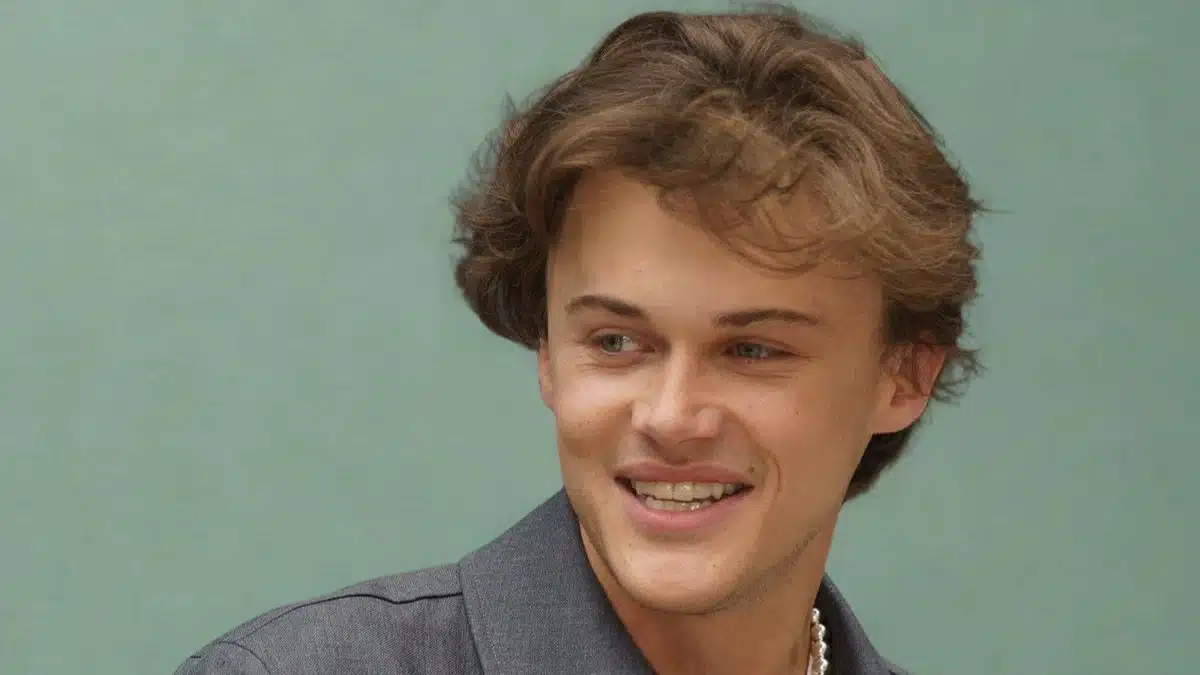
The right hairstyle, according to the face shape, can change a man’s look and personality, especially if you have a diamond face shape. Men with this face shape usually have wider cheekbones, along with a narrower forehead and chin. The right hairstyle will help you create better balance, highlight your best features, and give your face a proportioned appearance. Many
Most Popular
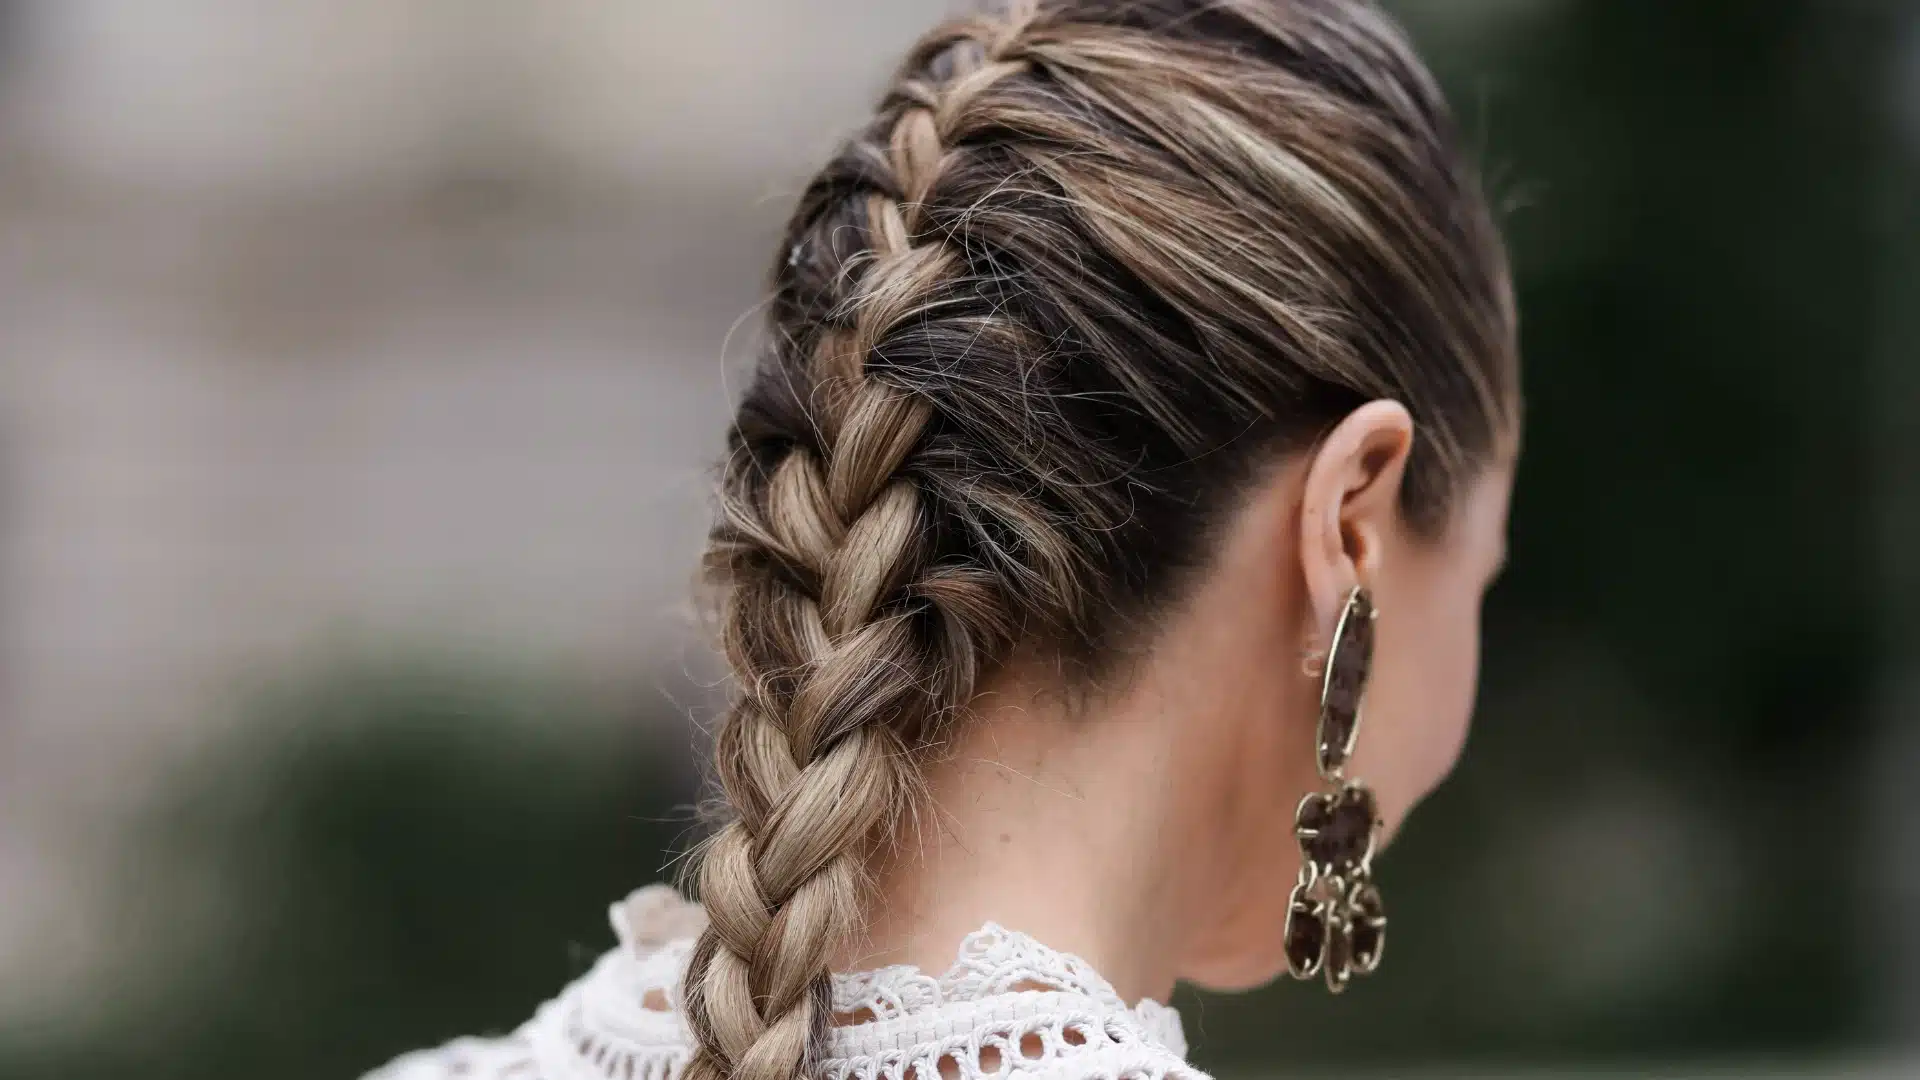
Why does a French braid look effortless on someone else, yet feel completely impossible on a first attempt? Hair type or talent isn’t usually the problem here. Hand placement and section control almost always are, and those two things can be practiced and improved fairly quickly with the right approach. Learning how to French braid gets much easier once the crossing pattern and consistent sectioning start to feel natural. What follows covers preparation, a full step-by-step method, a few helpful fixes along the way, and simple styles worth trying afterward. What is a French Braid? A French braid is a woven hairstyle built from three sections of hair, crossed over one another in a steady, repeating pattern. Unlike a regular three-strand braid, new hair gets added into each section as the braid moves down the head, one small piece at a time. That extra step is what creates the real difference between the two styles. A regular braid only uses the hair gathered at the very start, so it hangs loose and separate from the scalp. A French braid keeps pulling in more hair along the way, which lets it sit flat and close to the head instead of hanging away from it. That structure is also why the style holds up so well through long days, workouts, humid weather, and busy mornings when there is little time to fix loose strands. Getting Everything Braid-Ready A little preparation makes the whole process smoother and helps the braid hold its shape for longer. The right prep makes learning a French braid tutorial noticeably smoother from the very first cross. Hair Length and Type French braids work best on hair that falls at or below the shoulders, since shorter pieces are harder to hold and blend into the braid. Fine, thick, straight, and curly hair can all be braided this way, though thicker hair may need slightly larger sections for an even, balanced look. Clean or Second-Day Hair Freshly washed hair tends to be slippery, which makes sections slide apart during braiding. Second-day hair, or hair with a light dry shampoo, holds its shape better and grips more easily between the fingers. Damp hair also works well for those who want soft waves once the braid comes out later. Tools Needed A wide-tooth comb, a few small clips, and a soft hair elastic are all you need. Bobby pins help tuck away flyaway pieces once the braid is finished and secured. Brush through every section fully before starting. Leftover tangles are one of the biggest reasons a braid ends up looking uneven or lumpy later on. How to French Braid? Credits: oliv The full process comes down to one repeating motion done in small, steady stages. Breaking it into different parts makes the pattern far easier to follow, especially on the first few tries. Step 1: Section and Split at The Crown Brush out tangles from root to tip until hair moves smoothly. Gather a section at the crown, three to four inches wide, and hold it flat against the scalp. Divide it into three equal parts, keeping them separate and untangled. Hold the left and right strands with the ring and pinky fingers, and pinch the middle strand with one index finger. Step 2: Cross Right, Then Left Cross the right strand over the middle, so it becomes the new middle strand. Then cross the left strand over that new middle strand. Two crosses form one full stitch, and that stitch is the entire pattern repeated from here on. If the strands feel tangled or twisted after this step, stop and smooth them out before continuing, since small snags here tend to snowball. Step 3: Add Hair as the Braid Moves Before each cross, pick up a small new section of loose hair from that side of the head and combine it with the strand about to move. A section roughly the width of one finger works well as a rough guide. Adding too much hair at once creates lumps; adding too little makes the braid look thin and stringy by the time it reaches the neck. Step 4: Keep Going Down the Head Continue alternating sides, adding hair and crossing, all the way down toward the nape of the neck. If a strand slips loose, pause and pinch all three sections firmly in one hand before adjusting. Letting go completely often causes a loose spot that is hard to fix later. Step 5: Switch to a Regular Braid Eventually, there will be no more loose hair left on either side to add. That’s the signal to stop adding sections and finish out the rest of the hair as a standard three-strand braid, right down to the ends. Step 6: Secure and Loosen for a Softer Look Fasten the end with a soft, fabric-covered elastic that won’t snag or pull. For a fuller, more relaxed finish, gently tug at the edges of each woven section once everything is secured. A freshly finished braid often feels stiffer and tighter than it will an hour later, so it’s best not to over-tighten early on just to compensate. Braiding Your Own Hair vs Braiding Someone Else’s The technique stays the same either way, but the experience of doing it changes quite a bit depending on whose hair is being braided. This French braid tutorial applies the same way in both cases, even though the feel of the process shifts. Braiding Someone Else’s Hair This usually comes with some time pressure, but full visibility makes up for it. Every cross can be seen and adjusted on the spot, which is forgiving for beginners still learning the pattern. Braiding a Personal Braid Working on a personal braid removes that visibility entirely, since there’s no clear view of the back of the head, so the whole process leans on feel rather than sight. A handheld mirror, angled toward a bathroom mirror, helps close that gap during solo braiding. It works almost as well as a second pair of eyes. Easy French Braid Styles to Try Once the basic braid feels steady, a few small changes turn it into several different braid looks without learning anything new. 1. Classic Single French Braid Credits: LuxyHair One braid running from the crown down to the nape covers most everyday needs, from school runs to workdays. It keeps hair fully off the face and neck for long stretches. 2. Double French Braids Credits: EmissNice Parting the hair down the middle and braiding each side separately creates a neat, symmetrical look that holds up well through active days. Two braids also tend to stay in place longer than one, since the weight and tension get distributed more evenly across the head. 3. Pigtail French Braids Credits: ToriSchweitzer This follows the same double-braid method, but each braid gets secured higher up with an elastic, leaving two shorter braids instead of one long look. It works especially well for kids or for a sportier, playful style. Shorter braids also come together faster on busy mornings. 4. French Braid Into a Bun or Ponytail Credits: mahrukh Braiding partway down, then gathering the rest into a bun or ponytail, blends a polished front with a low-maintenance back. The braided section adds visible detail near the crown, while the rest of the hair stays easy to manage. 5. Side French Braid Credits: JewelryBagHair Starting the braid off to one side and letting it fall over a shoulder gives a softer, more relaxed finish than a centered braid. It also tends to suit face-framing layers particularly well. Pulling gently on the edges of any of these styles loosens them for a fuller, more relaxed shape once the elastic goes in. Wrapping Up Learning how to French braid really comes down to repetition rather than speed. The crossing pattern, adding hair evenly, keeping steady tension near the scalp, these small habits build up into a braid that holds its shape all day. Working through this French braid tutorial one step at a time makes the whole technique feel far less intimidating than it does watching someone else’s hands move quickly. The braid that once seemed impossible on a first attempt now sits fully within reach, whether it’s practiced on a friend, a doll, or in front of a second mirror at home. Frequently Asked Questions (FAQs) 1. Does French Braiding Damage Hair Over Time? Regular tension damage is rare unless the braid is pulled too tight or kept in for multiple days straight. 2. Can French Braids Be Done on Natural or Curly Hair without Straightening First? Natural texture actually holds a French braid better than freshly straightened hair in most cases. 3. How Often Can a French Braid Be Worn without Harming Hair Growth? A few times a week works fine, with a rest day or two in between to ease tension on the scalp. 4. Is a French Braid Appropriate for a Job Interview or Formal Event? A neat single or side braid reads as polished enough for most formal or professional settings. 5. Do French Braids Work Well for Sleeping Overnight? Loosening the braid slightly before bed helps prevent tangles and often leaves soft waves by morning.
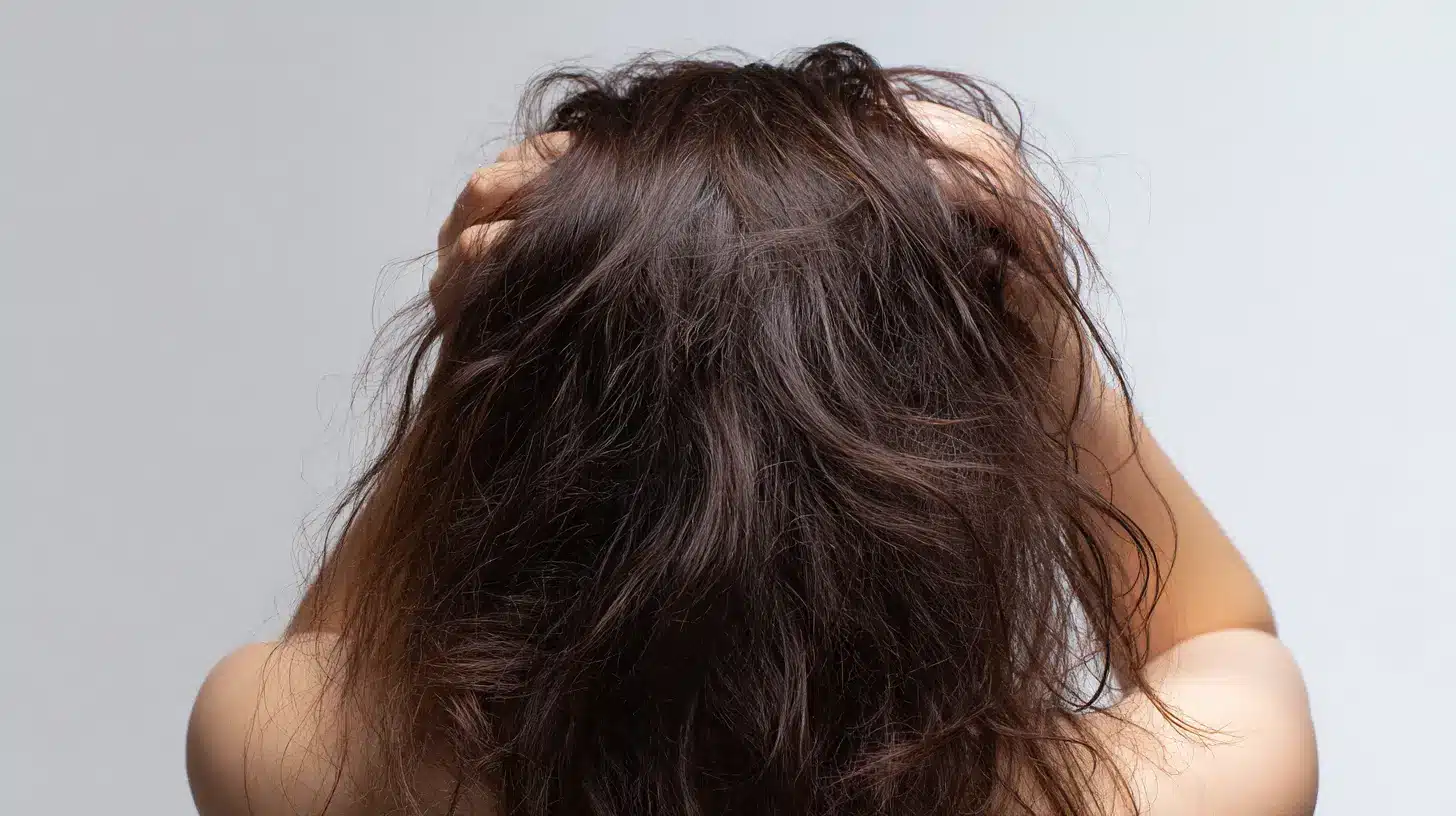
Greasy hair usually shows up at the worst possible time, right before work, a date, school, or something you actually need to leave the house for, with zero time to wash it. A full shampoo isn’t always necessary to fix it; a few quick tricks and the right products can soak up excess oil, add some volume back in, and hide greasy roots in just a few minutes. Let’s know how to make your hair not look greasy in five minutes or less. Why Does Your Hair Become Greasy so Quickly? Hair turns greasy when natural oils, called sebum, build up on the scalp faster than they get absorbed or washed out. Sebum actually helps keep hair moisturized and healthy in normal amounts. Too much of it, though, and roots start looking shiny, flat, and oily pretty fast. A few things make it worse: heavy styling products, leftover product residue, skipping washes for several days in a row, or just touching hair too often throughout the day. Fine hair tends to show grease faster than thicker hair, since there’s less texture around to hide it. How to Make Your Hair Not Look Greasy in Five Minutes These steps cut down on excess oil, add some volume, and make hair look cleaner in about five minutes without washing it at all. Step 1. Blot Excess Oil Press a clean facial tissue or blotting paper gently onto the roots, focusing especially around the hairline and crown area. Surface oil comes off fast this way, and hair gets prepped for the next step without messing up the style already there. Step 2: Apply Dry Shampoo Shake the bottle well, then spray it directly onto the roots without holding back. Give it a minute or two before touching your hair, letting it absorb the oil first. If you have no dry shampoo on hand, then a small amount of baby powder or cornstarch works fine instead. Step 3: Massage and Brush Your Hair Work the product into the scalp with fingertips, then brush hair thoroughly from roots down to the ends. This spreads everything evenly, clears out any leftover residue, and moves natural oils down the hair shaft for a fresher overall look. Step 4: Add Volume With Cool Air Lift the roots with fingers while running a blow dryer on the cool setting for about a minute or so. Volume builds up this way, flat oily roots become less noticeable, and the whole hairstyle ends up looking cleaner and more finished. Step 5: Finish With a Fresh Hairstyle A messy bun, low ponytail, loose braid, or half-up look all work well for disguising any oil still left behind after styling. A light texturizing spray through the mid lengths and ends adds some extra body and movement if needed. Greasy Hair Fixes Based on Your Hair Type Dealing with greasy hair really depends on what type of hair someone has to begin with. The right products and techniques can control excess oil while keeping hair looking fresh and full of volume throughout the day. 1. Fine Hair Fine hair tends to get greasy faster since natural oils spread quickly from scalp to ends without much resistance. A lightweight dry shampoo at the roots helps, along with volumizing products. Heavy conditioners or styling creams are worth skipping here, since they tend to flatten hair out. 2. Thick Hair Thick hair hides greasy roots better than fine hair usually does, but oil and product still build up underneath over time. Focus dry shampoo right at the roots, brush gently to spread oils out evenly, and avoid stacking too many products near the scalp itself. 3. Curly or Coily Hair Curly and coily hair usually stays less greasy overall, since natural oils travel more slowly through textured strands than straight hair. Dry shampoo at the roots works when needed, though the lengths still need regular moisture to keep curls healthy and prevent dryness or frizz. 4. Color-Treated Hair Color-treated hair needs gentler care to manage oil without fading the color underneath. A sulfate-free, color-safe shampoo helps a lot here. Skipping overwashing and sticking to lightweight styling products keeps roots fresh while protecting both vibrancy and overall hair health. 5. Bangs That Get Greasy First The bangs usually turn greasy before the rest of the hair does, mostly from constant contact against the forehead throughout the day. A small amount of dry shampoo helps, along with blotting excess oil when needed and pinning bangs back while applying any skincare products. How to Keep Your Hair Looking Fresh Longer? Quick fixes work in the moment, but a few daily habits actually keep hair looking clean for longer stretches between washes. These reduce oil buildup and stretch out the time before it starts looking greasy again. Wash Your Hair With the Right Shampoo A shampoo built for oily hair removes excess oil without stripping the scalp completely dry, which can backfire and cause more oil later. Conditioner should go on the mid lengths and ends only, since applying it to the roots tends to make hair look greasy faster. Avoid Touching Your Hair Too Often Running fingers through hair constantly transfers oil, dirt, and bacteria straight from hands to strands throughout the day. Keeping hands away from hair as much as possible, even if you don’t realize it’s a habit, helps the roots stay cleaner for longer. Use Lightweight Styling Products Heavy creams, oils, and waxes tend to weigh hair down and cause buildup over time, making grease show up faster. Lightweight mousses, sprays, or texturizing products give hold and volume instead without adding that same greasy weight to the hair. Clean Your Hairbrush Regularly A hairbrush collects oil, loose strands, and leftover product with every single use throughout the week. Cleaning it at least once a week stops that buildup from transferring right back onto freshly washed or styled hair, keeping things looking cleaner for longer overall. Change Your Pillowcase Frequently Oil, sweat, and leftover product from hair build up on a pillowcase overnight without anyone really noticing it happening. Washing or swapping the pillowcase every few days cuts down on that oil transfer back into hair, helping it stay fresher for longer between actual washes. Quick Hairstyles That Hide Greasy Hair No time to wash? The right hairstyle can hide that pretty well; these five work by disguising oily roots while still looking put together for the day ahead. Messy Bun Credit @pixu_baccha_01 Easiest option on this list, hands down, and it takes almost no effort at all. Oily hair actually helps here, since the texture reads as intentional rather than unwashed. Pull a few pieces loose at the front, and the whole thing looks effortless instead of rushed. Low Ponytail Credit @rayyana2010 Smooth hair back, secure it low at the nape, and it comes across clean and polished right away. Natural shine only helps the finish look better here overall. Half-Up Hairstyle Credit @awilliams2205 Half-up, half-down, and somehow it just works better than expected on a greasy day. Lifting the greasiest part away from the face does most of the heavy lifting on its own. Volume shows up at the crown without touching a single hot tool. Sleek Bun Credit @theazureglam Shine isn’t always a problem; sometimes it just needs the right setting to look good instead of bad. Comb everything back tight, twist into a bun, lock it down with hairspray to finish. Reads polished enough for the office or anything dressier that comes up. Loose Braid Credit @elinclara1 A braid spreads oil out across more hair instead of leaving it concentrated right at the roots where it’s most noticeable. Loosen it a bit with fingers once it’s done, and suddenly it looks styled on purpose rather than thrown together at the last minute. Mistakes That Make Hair Look Greasier Small habits add up here more than people realize. Cut a few of these out and hair stays fresher for longer between washes. Touching Your Hair Too Often Hands aren’t clean the way people assume. Oil sits on skin all day, and running fingers through hair moves that oil straight to the roots. Using Too Much Conditioner Ever notice hair looking flat right after washing? Too much conditioner near the roots is often why, weighing everything down instead of leaving it soft. Applying Styling Products to the Roots Mousse, cream, serum, none of it belongs near the scalp. Put there, it just builds up fast, and even a fresh style ends up looking greasy within hours. Washing With Very Hot Water Hot water feels good but strips the scalp bare. The scalp reacts by making more oil, which means greasy roots show up sooner than before. Not Cleaning Your Hairbrush Regularly A brush picks up more than people think: oil, dust, bits of old product. Every stroke afterward puts that same buildup back into clean hair. Using Too Much Dry Shampoo It’s a shortcut, not a replacement for actual washing. Lean on it too often, and the buildup shows up as dull, greasy-looking roots instead of the fresh look it’s supposed to give. When Greasy Hair Could Be a Sign of Something Else A bit of greasy hair here and there is normal. But if it’s constant, along with itching, dandruff, redness, or a burning feeling that won’t go away, it’s worth seeing a dermatologist. They can check for things like seborrheic dermatitis or other scalp conditions and point toward the right treatment. This touches on a topic of scalp health. If these symptoms sound familiar and won’t let up, checking with a dermatologist is the better move over relying on home fixes alone. Conclusion Knowing a few quick tricks for greasy hair comes in handy on mornings when there’s just no time for a full wash. Dry shampoo, blotting oil, adding volume, or switching to the right hairstyle, any of these can refresh things fast, usually in under five minutes. These fixes work well in a pinch, sure, but keeping up with regular hair care habits is really what controls oil over the long run. Washing with the right shampoo, avoiding too much touching, and cleaning the hairbrush regularly, these small habits add up. A solid routine paired with a few quick tricks keeps hair looking clean and ready to go, whatever the day actually calls for. Frequently Asked Questions (FAQs) 1. Can Humidity Make My Hair Look Greasy Faster? Yes. High humidity can cause your hair to become flat and trap sweat, making oily roots appear greasier even if your scalp isn’t producing more oil. 2. Does Wearing a Hat Make Hair Greasy? Wearing a hat doesn’t directly increase oil production, but it can trap heat and sweat against your scalp, making your hair look greasier throughout the day. 3. Is It Okay to Tie up Greasy Hair Every Day? Yes, but avoid pulling your hair too tightly every day. Tight hairstyles can put stress on your hair and may lead to breakage over time.
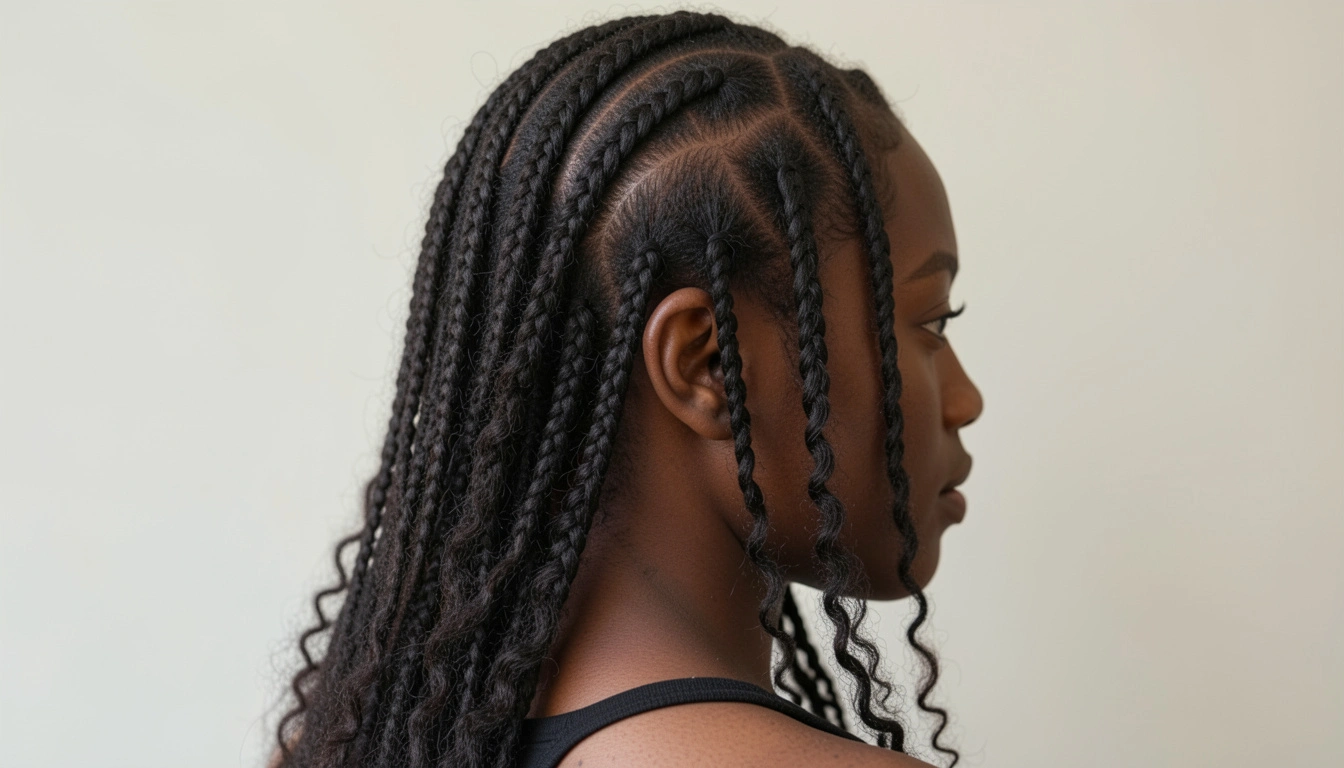
Finding the right braid style feels harder than it should be. So many photos show up, but few of them actually match a face or a hair type. Box braids look neat but flat, and loose curls alone slip out fast. Boho braids hairstyles black girl searches keep climbing because this style fixes both problems at once. A tight braided base holds everything in place, while soft curls add movement near the ends. Face shape and hair length both help point toward the right pick. A full set of styles sits ahead, ready to save before the next salon visit. What are Boho Braids? Boho braids start with a neat braided base. Then loose, curly pieces hang down or gather at the ends. That mix is what gives the style its soft, easy look. Box braids are different. They stay braided all the way to the tip, with sealed ends and little curl. Boho braids leave some hair loose on purpose. That loose part adds texture and movement that a plain box braid does not have. Goddess braids use the same basic idea but go bigger. They use thicker sections and fuller curls. Those curls are what make boho braids stand out. They catch the light and add shape without extra weight. Anyone who wants a softer version of box braids can pick this style with confidence. Best Boho Braids Hairstyles Black Girl Inspiration A range of looks sits below, and each one changes shape, size, or color in its own way. Mixing a few of these often works just as well as picking one. 1. Classic Boho Knotless Braids Credits: YAYA Roots lie flat here, no bump, no tight starter knot. That alone makes this one of the more comfortable braids to wear for weeks at a time. Curls take over past the middle, loosening up what would otherwise look stiff. A light mist of water and leave-in conditioner keeps those curls soft between wash days. Oval faces pull the most out of this one, since long knotless braids soften the cheekbones no matter which part gets used. 2. Small Boho Braids Credits: girlies Detail is the whole point with this size. Braids this thin pack close together, and the curls end up looking thicker as a result. It takes longer in the chair, no way around that, but the payoff shows in how full it looks once finished. A silk or satin bonnet at night keeps the smaller curls from frizzing overnight. Thin braids add detail without adding width, making this a strong pick for oval and heart-shaped faces. 3. Jumbo Boho Braids Credits: bohobraids Fewer braids, faster finish. Thick sections cut hours off the install, though each one does carry more weight. Length should stay reasonable if the goal is comfort rather than just a bold look. Loosely tying the ends before bed stops them from pulling at the roots while sleeping. A fuller face balances well against thick, bold sections, which is why round and oval faces wear this size best. 4. Bob-Length Boho Braids Credits: bohobob Chin-length or a touch below the collarbone, this cut keeps things light. Curls sit right at the jaw, which frames the face without any extra effort. Wash day gets simpler too, since there’s just less hair to work through. A light oil rubbed on the ends keeps this shorter length from drying out fast. Heart-shaped faces benefit here, since a narrower jaw needs width lower down rather than more volume near the top. 5. Waist-Length Boho Braids Credits: bohobraids This is the version people book for vacations and big events. Length adds drama, and the curls swing more the longer they get. Nights get a little more work, though, since long ends tangle if left unwrapped. Splitting the braids into two sections before bed makes wrapping this length far easier. Round faces gain the most from this length, since the eye follows the braids downward instead of across the cheeks. 6. Boho Braids with Curly Ends Credits: Oprah’sPlace Straight through the top, curly through the bottom. A curling wand handles it, or pre-curled extension hair skips that step entirely. Either way, the top stays neat while the bottom does all the softening. Finger-detangling the curls works better than brushing, which can flatten the shape fast. A sharper jawline softens against these medium curls, which makes square faces the natural match for this style. 7. Half-Up Half-Down Boho Braids Credits: Simi Half the hair goes up, half stays down. Skip the tight elastic though, since a scrunchie keeps the same style from tugging at the hairline. One install, two moods, depending on the day. Pulling the top section too tight is the most common mistake with this one. Pulling the top section back opens up the forehead, a detail that works especially well on heart-shaped and oval faces. 8. High Ponytail Boho Braids Credits: Lovelyish High ponytail pulls up everything; curls hang loose below the tie. Neck stays cool, which matters more than people expect once summer hits. Mornings move faster with this one too. A wide, soft tie holds better than a thin elastic without leaving a dent at the base. Round and oval faces benefit from the vertical line this style creates, since height at the crown balances a fuller face. 9. Boho Braided Bun Credits: WomenLifestyle Braids twist into a bun, a few curls left loose around the crown. Down one day, up the next, same install either way. That flexibility is really the whole appeal. Bobby pins tucked underneath rather than on top keep the bun from slipping through the day. Height at the crown draws the eye upward, softening a stronger jaw, which suits square and heart faces well. 10. Boho Braids with Beads Credits: Lovelyish Beads click with every step, which is part of the charm. Fewer, heavier pieces tend to hold up better than a scatter of small ones. Sleep gets a little trickier with the added weight, so a looser wrap helps. Wooden beads add less pull on the ends than metal cuffs do over time. Beads placed near the ends pull focus downward and away from the jaw, favoring oval and heart-shaped faces. 11. Heart-Part Boho Braids Credits: Stayhappykawa The part does the talking before the braids even start. Shaped like a heart, sitting right at the front, it changes the whole first look of the style. Keeping the part clean between washes takes nothing more than a fine-tooth comb and a steady hand. Round and oval faces gain structure from this front detail, since the part adds shape without widening the face. 12. Boho Braids with Bangs Credits: whosshann_ Bangs stay loose up front; everything else braids back. A light curl on the bangs ties them into the rest of the look. Bangs are a small detail that makes a big difference in how soft the whole thing looks. A touch of edge control smooths any frizz along the bang line each morning. A longer forehead shortens visually with bangs in place, making this style a fit for square and oval faces alike. 13. Blonde Boho Braids Credits: HairstyleMuse Full blonde or a fade from dark roots, both work here. Ash leans cooler, honey leans warmer, and the skin tone underneath usually decides which one fits better. Starting with an ombre is the easier way in for anyone unsure about going blonde. Purple shampoo, used sparingly, keeps brassy tones from creeping into lighter shades. Deep and neutral skin tones carry this shade particularly well, since undertone matters more here than face shape. 14. Burgundy Boho Braids Credits: CurlyCraze Deep red without tipping into too bold. This shade tends to come back every fall, almost on schedule. Fading from black into burgundy keeps it from looking too heavy all at once. Rinsing with cool water helps this richer color hold longer between installs. Warm and deep skin tones bring out the richness in this color, and the shade suits most face shapes equally. 15. Brown and Caramel Boho Braids Credits: KauaneRoque Close to natural hair color, just with more depth added in. Subtle enough for daily wear, including the office. This is the color range that rarely draws a second look, which is exactly the point. A weekly leave-in treatment keeps these warmer tones from looking dull between washes. Nearly every face shape and skin tone works with this subtle range, since the color stays close to natural hair. Keep Boho Braids Fresh Care routines shift a little once curly ends enter the picture. A few habits keep the braids looking clean and the curls looking soft for weeks. Moisturize without Buildup A light spray of water mixed with leave-in conditioner works two or three times a week. Heavy creams build up fast and leave a dull, weighed-down look. Protect Braids While Sleeping A satin or silk bonnet protects the braids from friction against cotton pillowcases. Longer braids split into two sections before tucking under stay neater overnight. Refresh Loose Curls Curls droop a bit between wash days, which is normal. A light mist of water, followed by finger-shaping, brings the curl pattern back fast. Control Frizz Between Washes Frizz builds up mostly at the roots and along the parts. A small amount of edge control or light oil smooths those areas without weighing down the rest. Wash Boho Braids Safely Diluted shampoo, applied at the scalp and rinsed straight down, keeps the braids from tangling. A leave-in conditioner afterward locks in moisture before the hair dries. Why Do Boho Braids Itch So Much, and How to Fix It? Itching usually comes from a dry, tight scalp or leftover product buildup left behind after installation. A few fixes help calm it down fast: Spray diluted apple cider vinegar or a scalp refresher directly on the scalp Avoid scratching with nails, since that can break the skin and lead to bumps Use a scalp massager or fingertips instead, gently, in small circles Apply a light oil, like tea tree or peppermint, for a cooling effect Loosen any braids pulling too tight near the hairline or temples Constant itching that lasts past the first week often points to buildup rather than normal adjusting to a new style. A clarifying scalp spray used between wash days usually clears that up within a day or two, and switching to a lighter leave-in afterward helps keep it from coming back. Final Thoughts on Boho Braids Fifteen looks sit above, from small and detailed to long and bold. Face shape narrowed things down too, pointing toward what actually works for round, oval, square, and heart-shaped features. Picking a favorite among boho braids hairstyles for black girls rarely comes down to one detail alone. Comfort and upkeep matter just as much, and that balance is usually what makes a style worth keeping. Frequently Asked Questions (FAQs) 1. Can Boho Braids Get Wet in The Rain or Shower? Sure, towel-dry them after so they don’t start smelling musty. 2. Do Boho Braids Work for Kids or Younger Girls? They do, especially smaller braids that don’t pull too hard on the scalp. 3. Can Boho Braids Be Dyed Once They’re Already In? Synthetic hair handles a light toner okay. Human hair should get dyed before it goes in, not after. 4. Is Scalp Itching Normal During the First Week? A bit of itching is nothing to worry about. Itching that won’t quit usually means buildup is the real problem. 5. Can a Flat Iron Be Used on Boho Braids? Only if the hair is human; synthetic strands melt the second heat touches them.