Choosing between builder gel and hard gel can feel confusing because both add structure, strength, and length to nails. The difference lies in how each product behaves, what extension length it supports, and how it is applied and removed. A clear builder gel vs hard gel comparison can help you avoid choosing a formula that feels too flexible, too rigid,
Most Popular

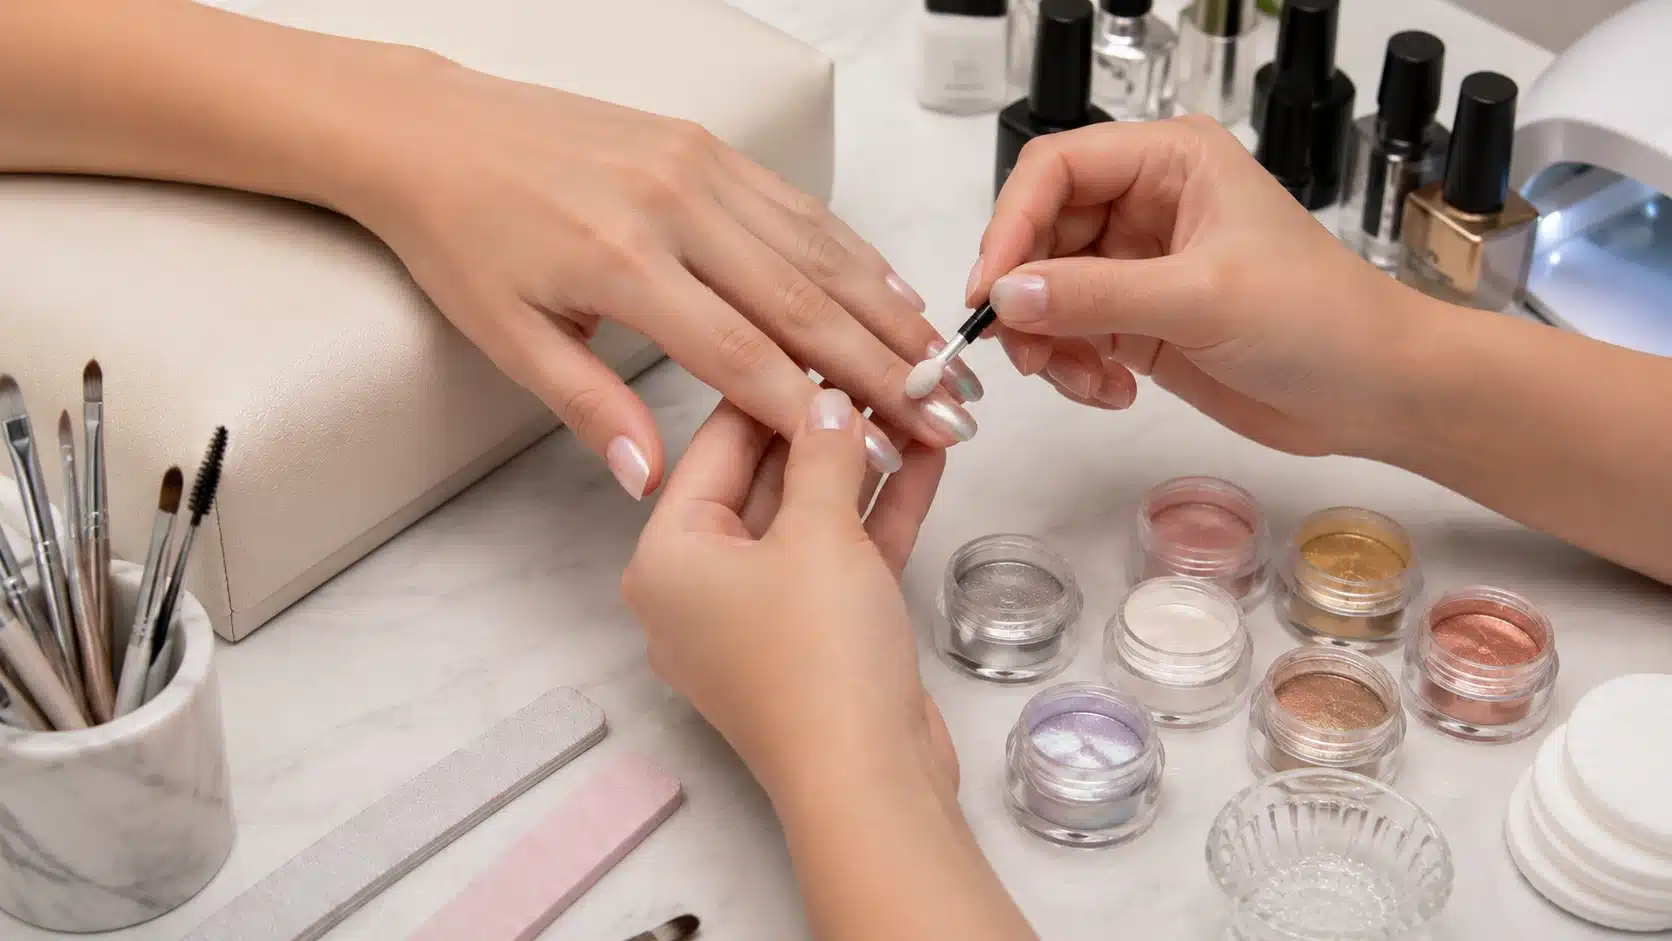
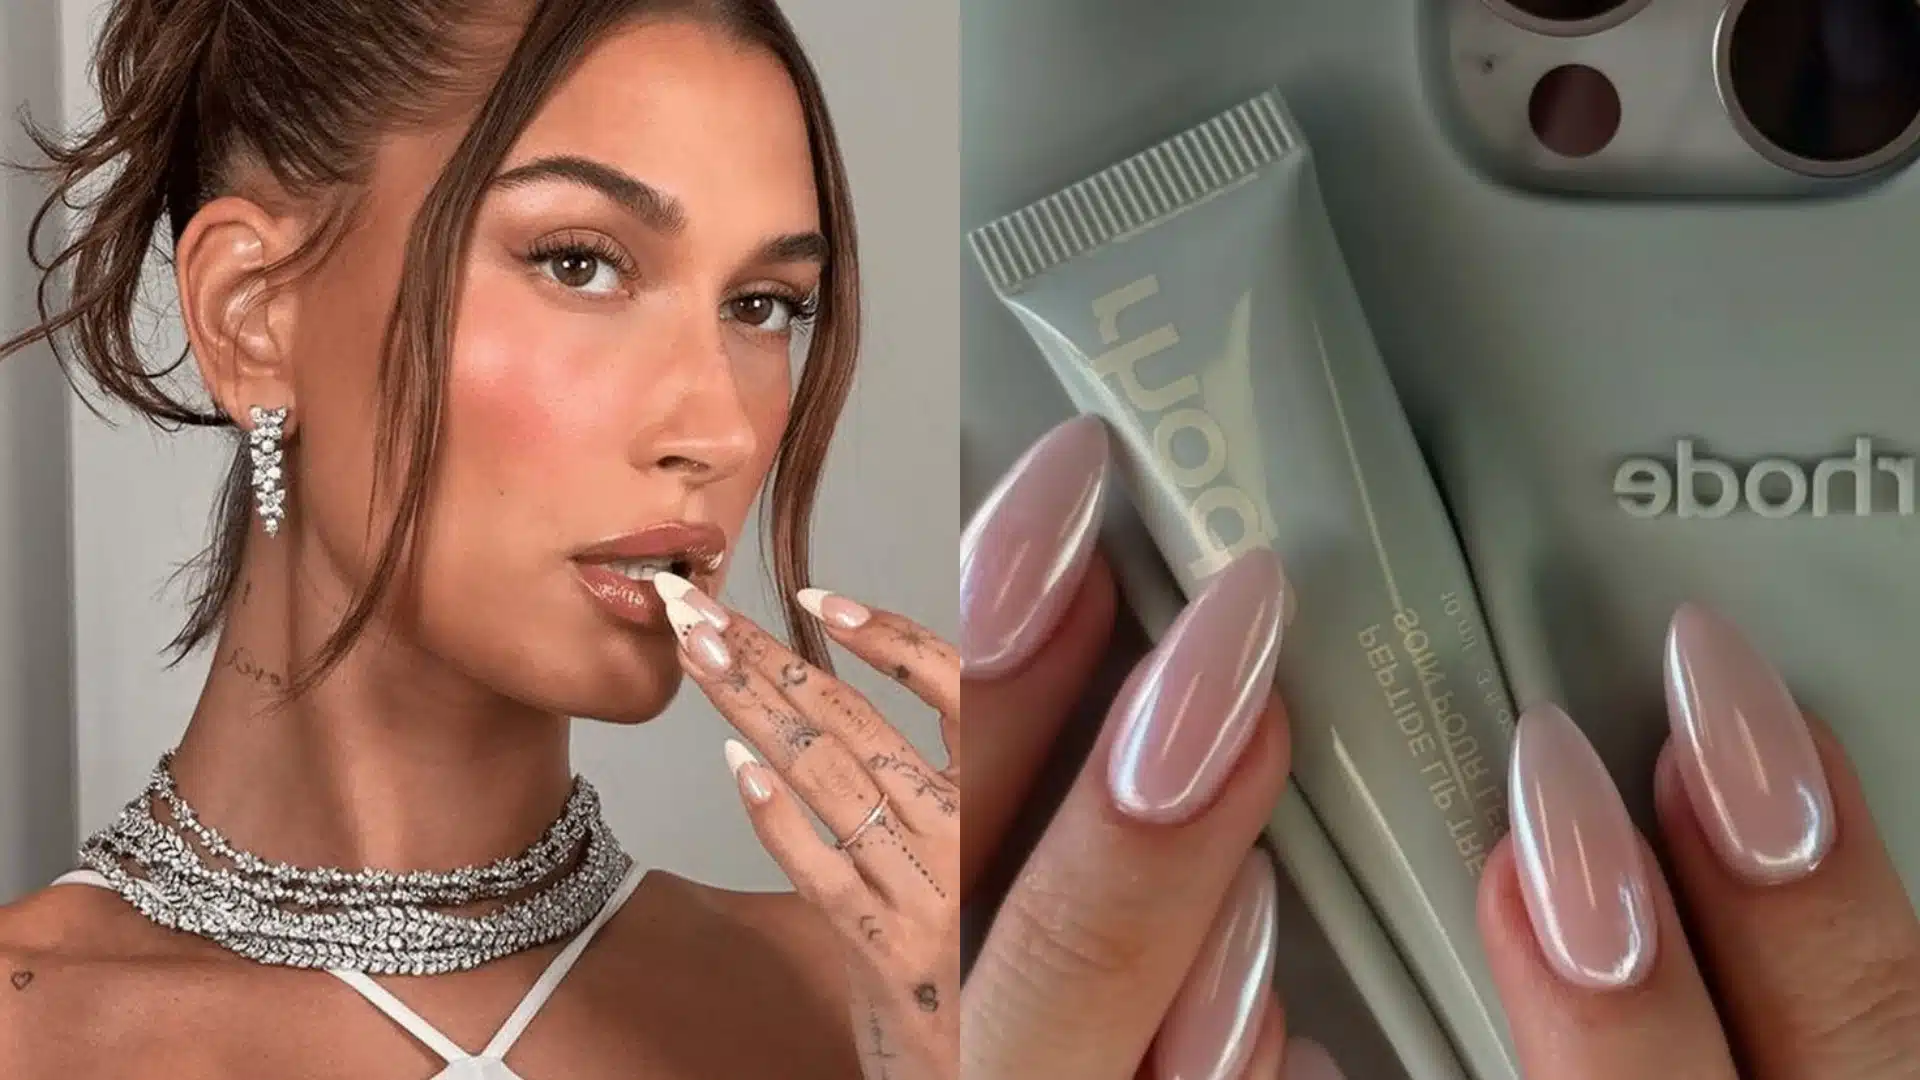
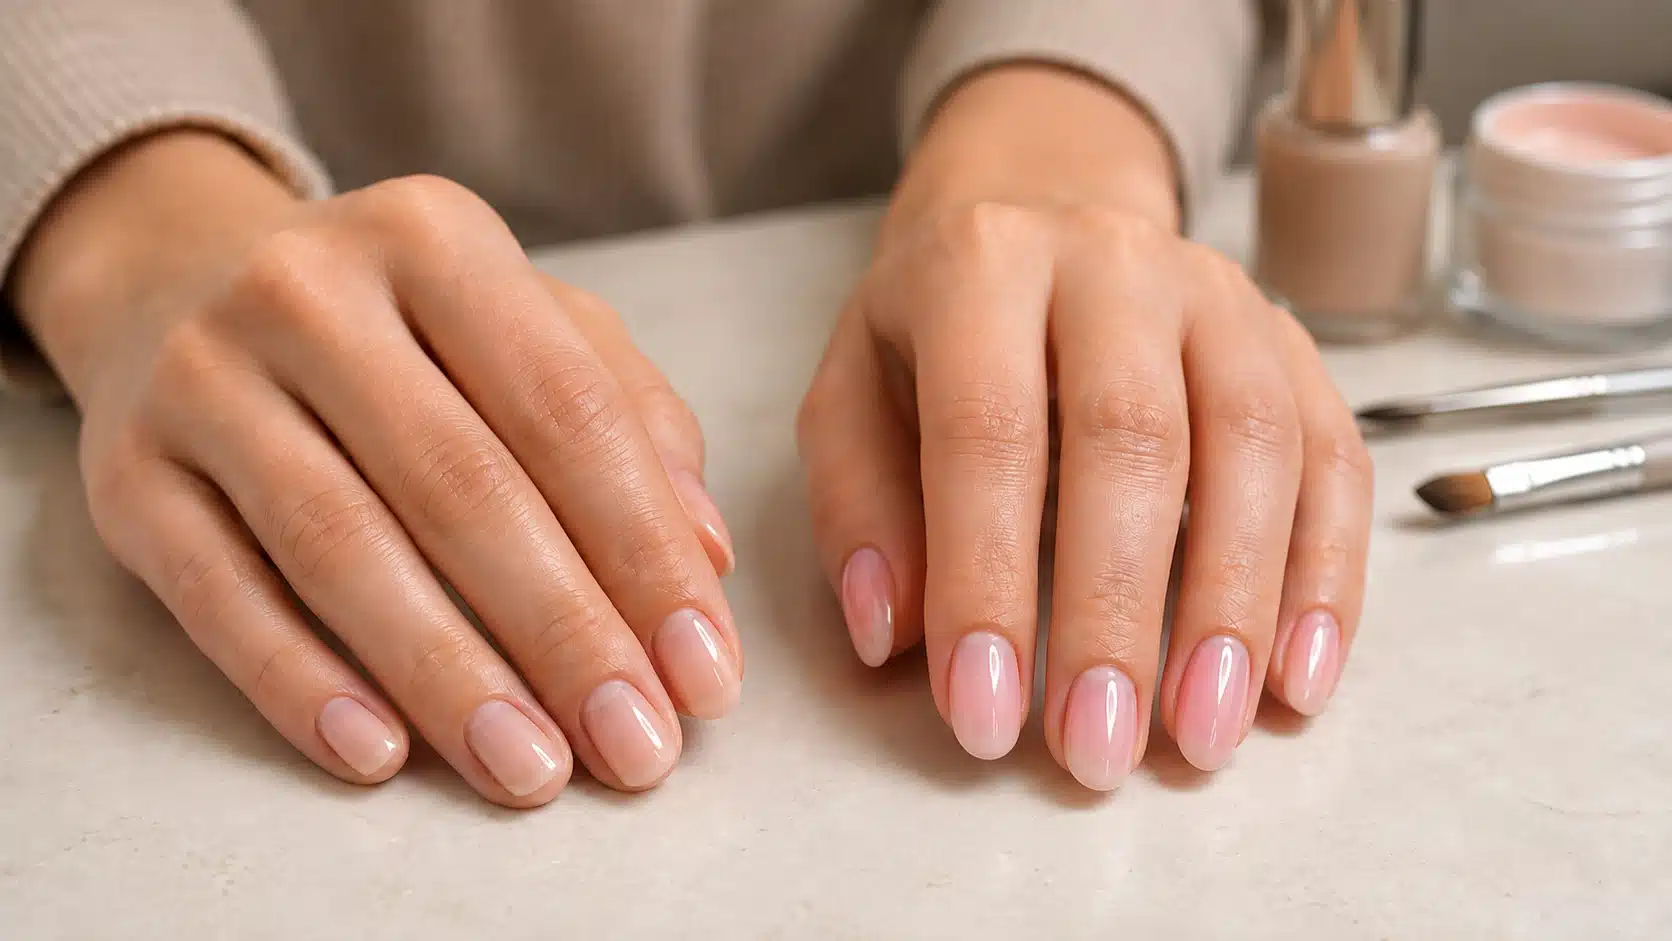
You must have seen those shiny, glazed nails all over your feed lately. Scroll through TikTok or Instagram for even a minute, and there they are. Glossy, sheer, and glowing like a fresh pastry straight out of the display case. That specific look has a name, and it traces back to one person. Say hello to the Hailey Bieber glazed donut nails trend, one of the most copied manicures of the past few years. Let’s find out how you can copy this minimal nail look. Why This Nail Trend Became So Popular? Hailey debuted it at the 2022 Met Gala, right as everyone was leaning into quiet, clean beauty, so Hailey Bieber glazed donut nails fit the mood perfectly. It looked polished and pricey without ever trying too hard. The real draw was how wearable it turned out to be, since you did not need long nails or bold color to pull it off. It flattered short nails, natural shapes, and every skin tone equally well. Then nail artist Zola Ganzorigt shared how to recreate it; the tutorials spread fast, and the look kept evolving into new versions instead of fading away. When talking about Hailey Bieber nails, the picture that comes to mind is of a fresh glaze covering a pastry and the dewy appearance of it lying on top, hence the name. Step-By-Step Guide to The Hailey Bieber Glazed Donut Nails Look Getting this look is easier than it appears, but it all boils down to how well you’re able to use the correct products in the correct order. Below is the full walk-through, starting with what to grab before you begin. Step 1: Gather Your Supplies Before you touch a single nail, lay everything out so you are not scrambling mid-application. Here is your checklist: A gel base coat. A sheer or milky-white gel polish. Chrome powder, ideally a silver or pearl shade. A soft eyeshadow applicator or foam sponge. A no-cleanse top coat. An LED or UV lamp. Nail prep basics including a buffer, cuticle pusher, and a lint-free wipe. Once your station is set, you are ready to prep. Step 2: Prep Your Nails Good preparation is something that everybody skips, but it’s what will determine just how long your manicure lasts. Keep your nails clean and move slowly at this step. Gently push back your cuticles and trim any extra skin so that the polish can sit flat. Buff each nail surface lightly until you lose all of the shine. It gives something for the base coat to adhere to. Cleanse each nail with a lint-free wipe and alcohol to remove oils and dust. You can shape your nails however you choose; both short, round, and softly almond-shaped nails work well for this style. Once your nails feel dry and squeaky, apply a thin layer of gel base coat and cure it under your lamp. Do not flood the cuticles, since thick edges lift early. Any shaping should happen during prep. Avoid filling after the chrome goes on s it scratches through the reflective layer and ruins the glassy effect. Step 3: Apply the Base Color Now for the milky glow that makes the whole thing work. Grab your sheer white gel and keep your coats thin. Brush on one light coat of the sheer polish, then cure it fully. Add a second coat for that soft, barely-there whiteness, and cure again. Two thin coats almost always beat one heavy one. The magic of Hailey Bieber glazed donut nails lives in that see-through, lit-from-within finish, so let a bit of your natural nail show through. Step 4: Create the Glazed Finish This is the step that turns a plain sheer manicure into the real thing. Do not cure yet, and take your time. Dip your soft applicator or sponge into the chrome powder. Press and rub it onto each nail using small circular motions, working from base to tip. Keep buffing until the surface turns mirror-like and reflective. The more you press, the shinier it gets. Dust off any loose powder with a clean brush before moving on. Chrome only bonds over cured gel, so your base color needs to be set and slightly tacky-free before this. If the shine looks patchy, add a touch more powder and keep rubbing until it evens out. Step 5: Seal and Finish Almost there. This last step locks in that glass-like glow so it does not fade after a day. Apply a no-cleanse top coat, since a regular wipe-off one can dull the chrome. Cover the whole nail, including the free edge, to seal everything in. Cure one final time under your lamp. Once set, add a drop of cuticle oil and massage it in. That is the full look, done. Your finished set should catch the light from every angle, which is exactly what makes glazed donut nails so satisfying to wear. Make sure you are not touching your nails before the final cure. That soft, powdery surface picks up fingerprints and smudges instantly. Best Glazed Donut Nail Color Variations Once the trend took off, people started playing with the base color while keeping that signature chrome glow on top. So if the plain version feels a little too safe for you, one of these spin-offs will likely hit the spot. Let us start with the one that began it all. 1. Classic Pearl White This is the original hailey beiber glazed donut nails, and honestly it is still the one most people reach for. It is neutral without being boring, and it reads clean and pulled-together on pretty much everyone. The cherry on the top is that It suits every skin tone, since the sheer base lets your natural nail peek through instead of masking it. If you are trying the trend for the first time, start here. It is the safest, most flattering entry point, and it never really goes out of style. 2. Pink Glazed Nails Swap the white base for a soft, sheer pink, and you get a sweeter, girlier take on the glaze. It keeps that same wet chrome shine but adds a subtle warm flush that flatters most skin tones beautifully and feels playful yet still low-key, making it perfect for spring and summer. Think cotton-candy vibes without going full-on bright or bold. 3. Chocolate Glazed Nails For anyone who loves a warmer, richer look, this one is a treat. A sheer brown base gets that chrome topper, giving a glossy, caramel-like glow that reads cozy and expensive at once. It is a favorite come fall, and it pairs gorgeously with deeper skin tones. Basically, it is your neutral mani, but leveled up for sweater season. 4. Strawberry Glazed Nails This is the pink version’s flirtier cousin. A sheer, berry-tinted base topped with chrome gives a fresh, juicy finish that looks like sunlight hitting fruit. If you want something a little more noticeable than pearl white but still soft, this hits that sweet middle ground perfectly. 5. Vanilla Chrome Nude Think of this as the barely-there option. A creamy nude base with chrome on top gives a smooth, my-nails-but-better glow that suits any outfit or occasion. It is understated, clean, and endlessly wearable, which makes it a go-to for people who like their manicures quiet. Neutral lovers, this is the one you will reach for again and again. 6. Glazed French Manicure This spin fuses two big trends into one. You keep a classic French tip, then brush chrome over the whole nail for that glossy, glazed sheen. The result feels fresh and modern while still nodding to a timeless look. It is a great pick for weddings or events, when you want polish with a little extra shine. Wrapping it Up So there you have it. What started as one Met Gala manicure turned into a look that just refuses to fade, and it is easy to see why. Hailey Bieber’s glazed donut nails are simple, flattering, and endlessly wearable, whether you stick with the classic pearl or play around with a pink or chocolate twist. The best part is that you can pull it off at home with the right tools and a little patience. So go ahead and give that glazed glow a try. Frequently Asked Questions (FAQs) 1. How Long Do Glazed Donut Nails Last? Done with gel and chrome powder, they typically last two to three weeks before growth shows. Regular polish versions fade within a few days. 2. Can I Get Glazed Donut Nails without Gel? Yes, but the shine will be softer and less mirror-like. Chrome powder needs a tacky gel top coat to truly bond and reflect. 3. Do Glazed Donut Nails Work on Short Nails? Absolutely. The look flatters short, natural nails just as well as long ones, since the glow comes from the finish, not the length.
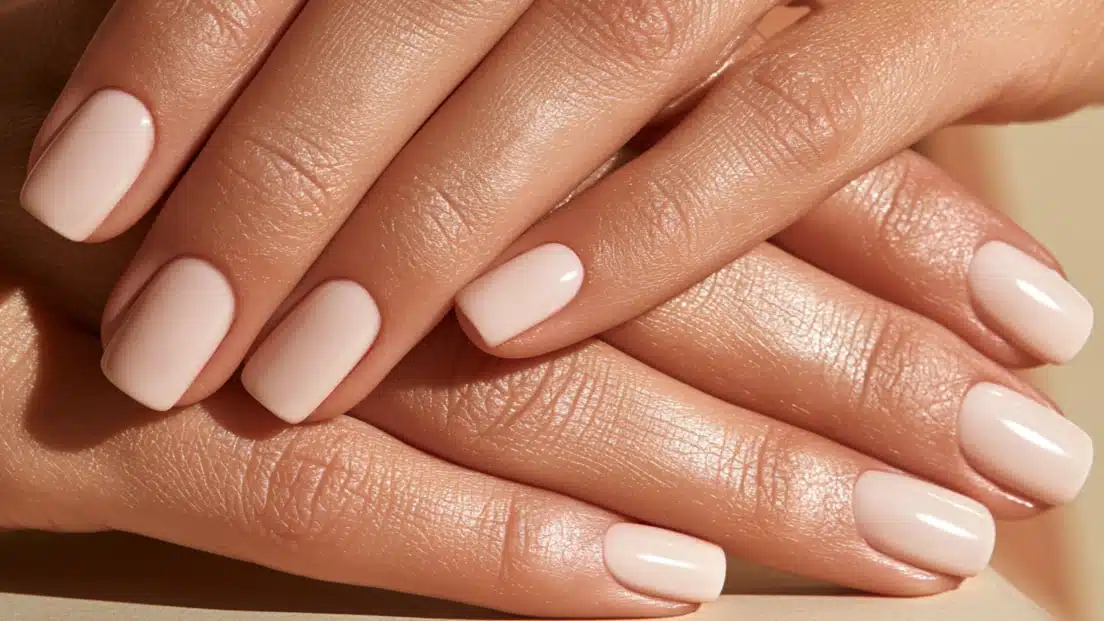
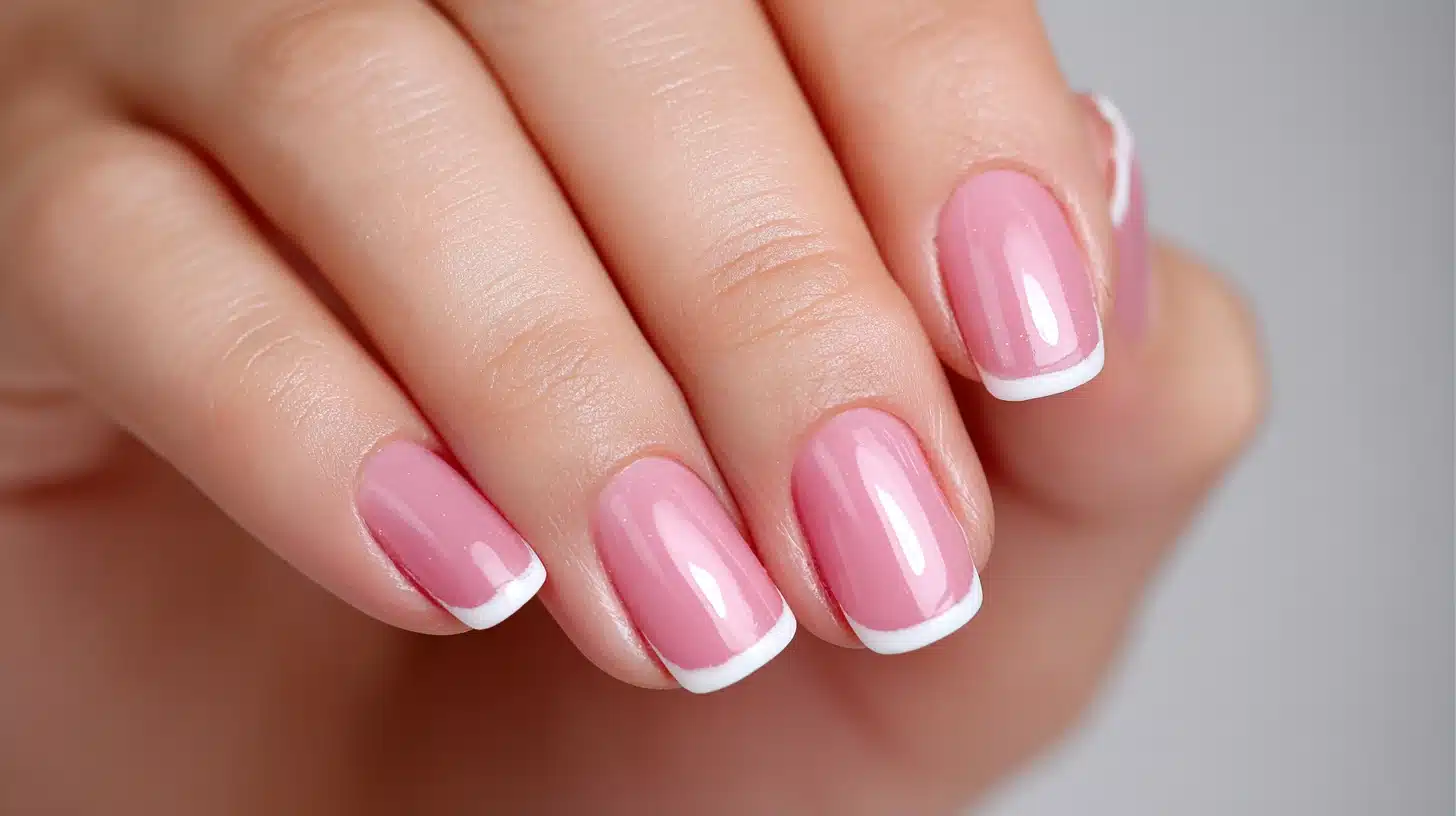
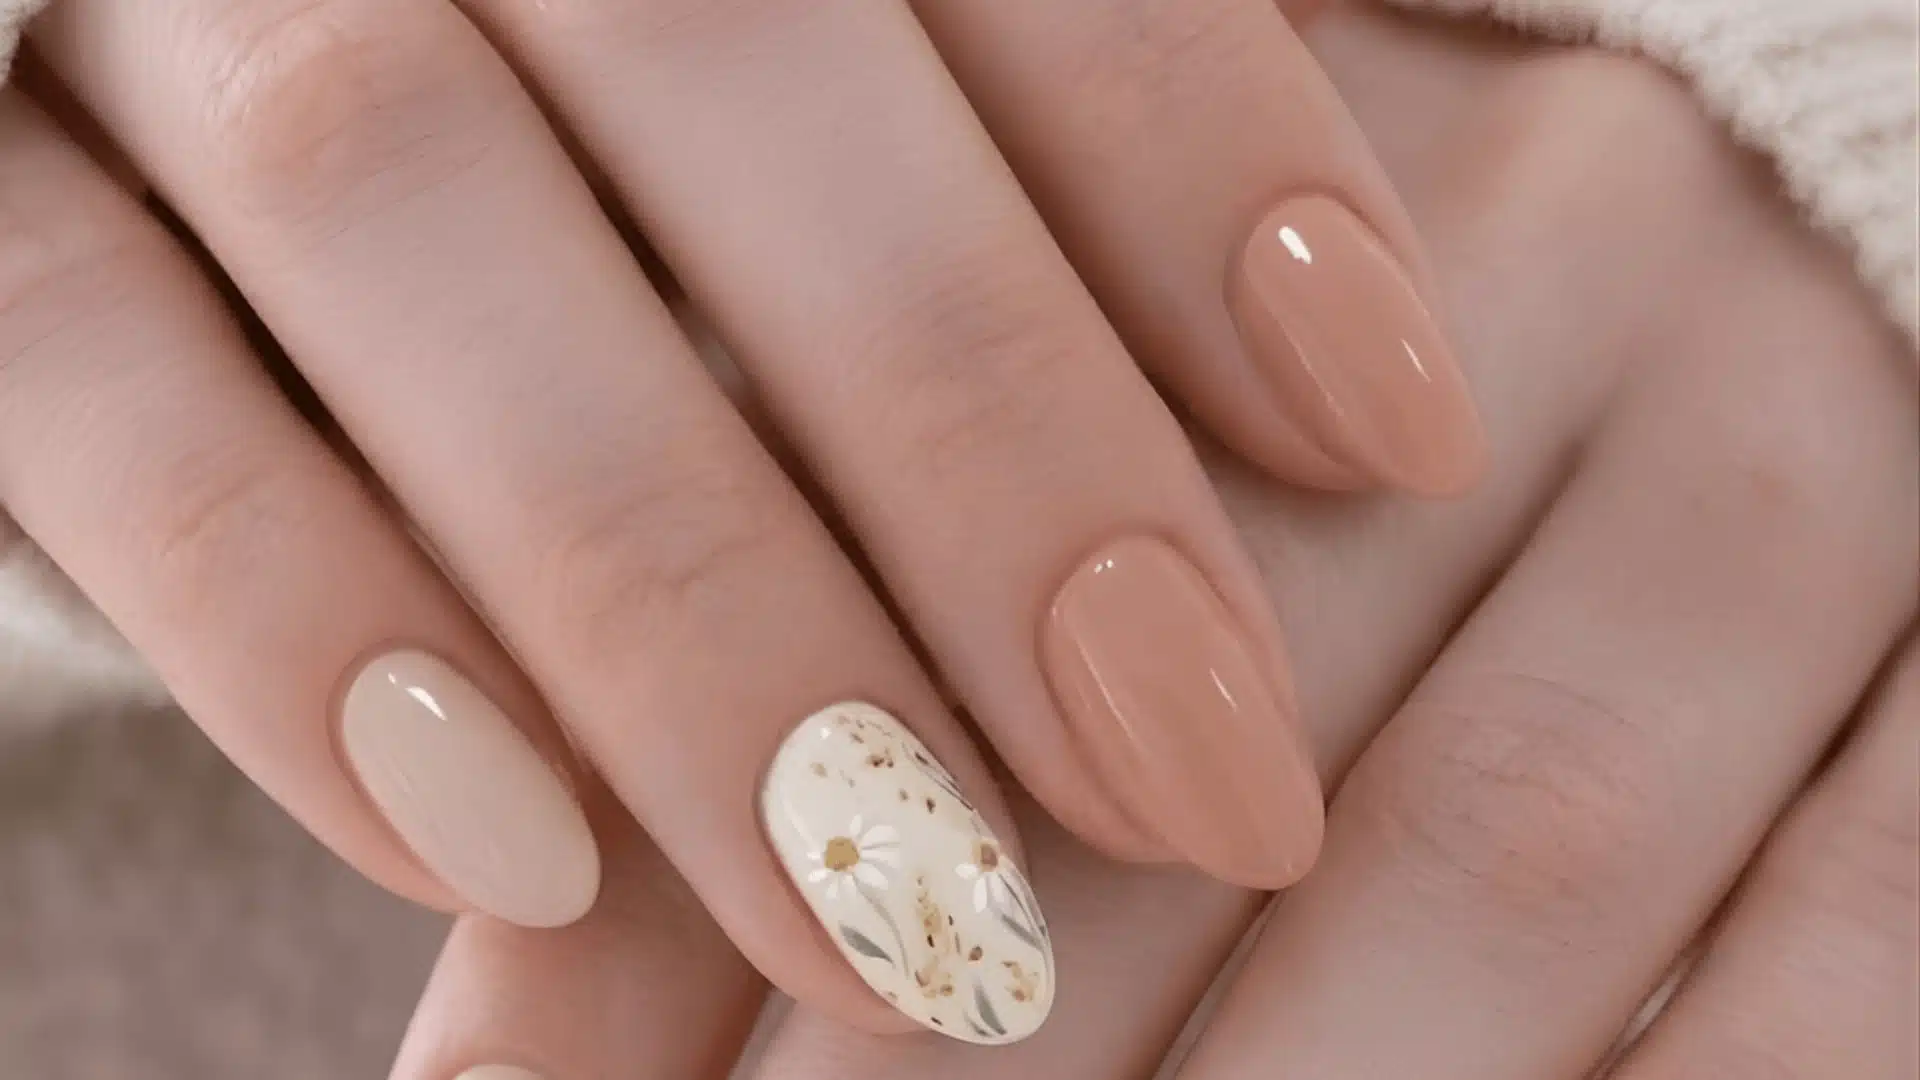
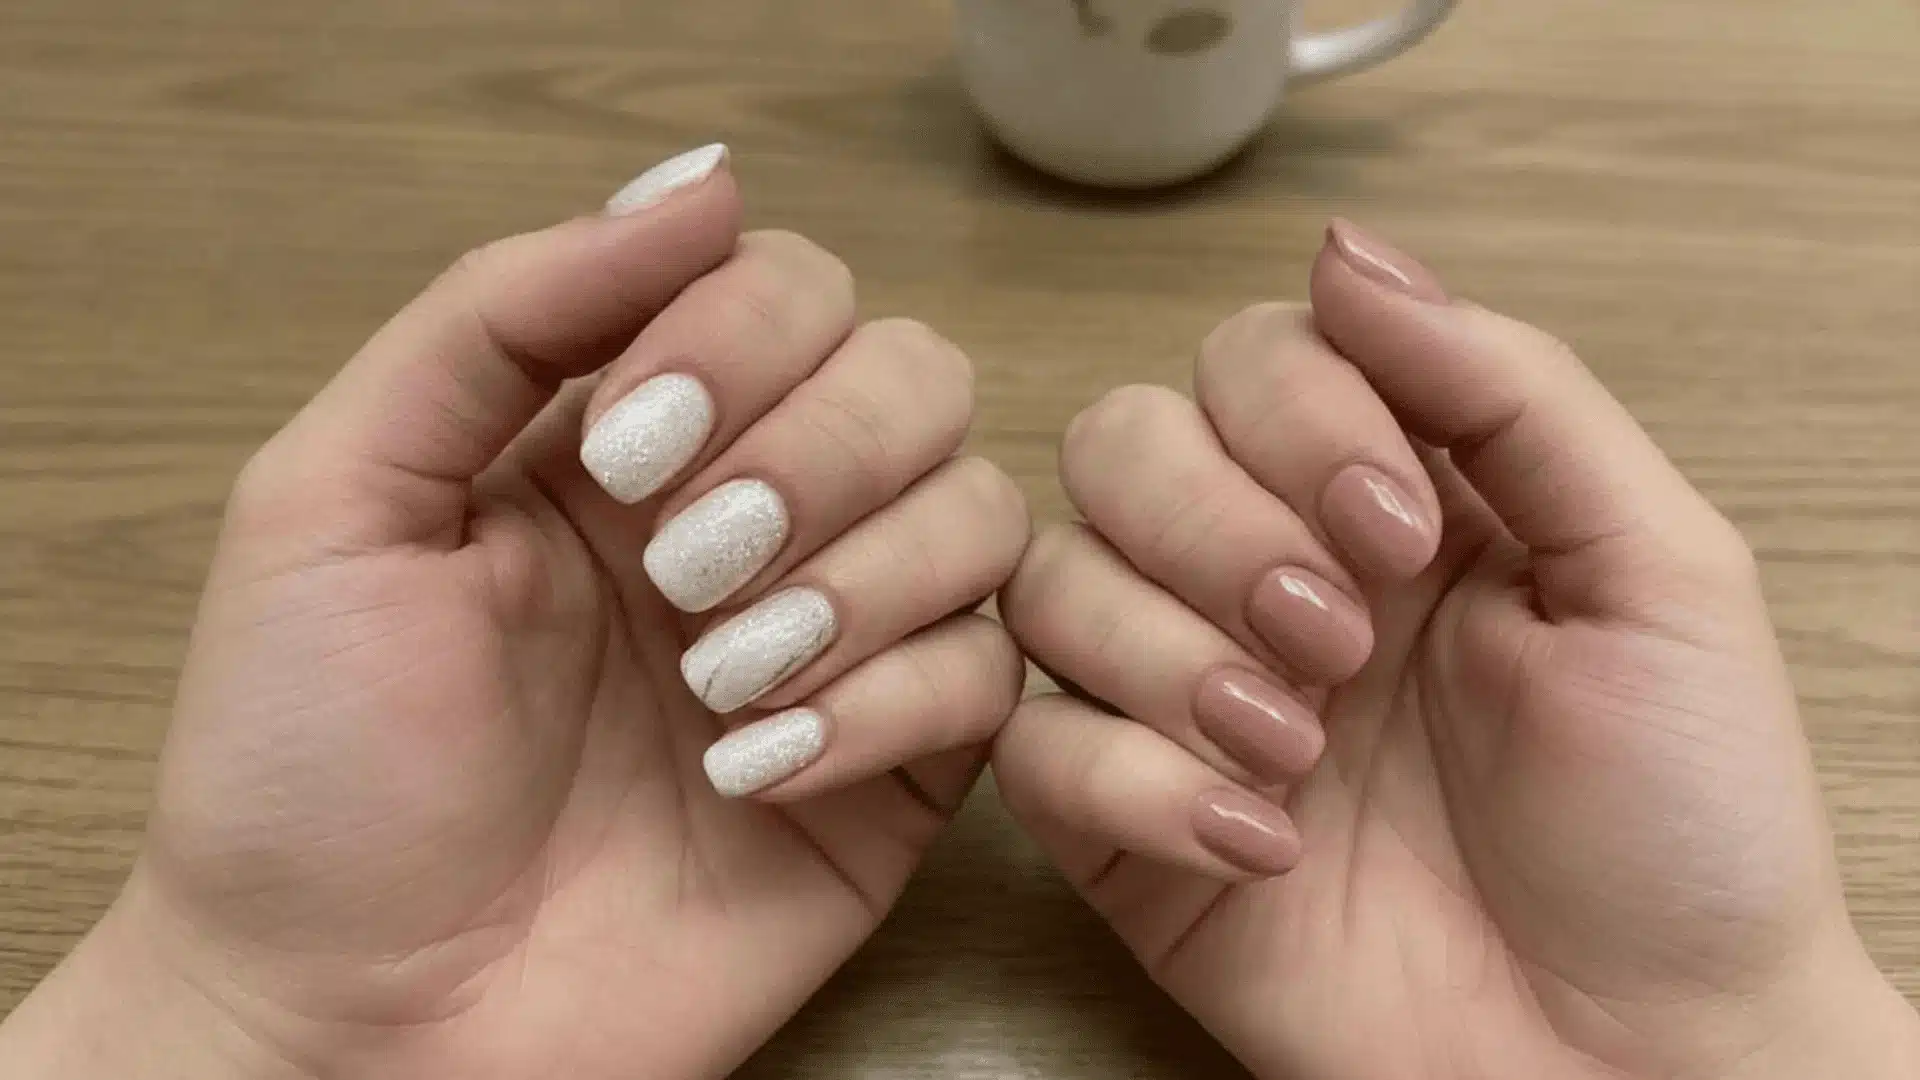
Nail trends come and go fast, but short square nail designs just won’t quit. They are tidy, sturdy, and fit nearly every hand shape. However, browsing through endless nail images on the internet can result in more confusion than motivation. This blog features different short square nail styles that look great and are easy to replicate. Some are bold, some are gentle, and a couple are simply fun. Why Short Square Nail Designs are Always in Style? Short square nails always stay in style, and there’s a solid reason for this. The straight edges give hands a sleek, contemporary look that complements nearly any attire. They are also simple to coexist with. Typing, cooking, or simply navigating daily activities seems easy with nails at this length. Compared to longer nails, they are less likely to break or chip, allowing them to last longer between manicures. They function equally well with natural nails as they do with gel or acrylic nails. It serves as an ideal foundation for nail art, ranging from basic lines to intricate patterns. Cute Short Square Nails Designs This list includes various square nail designs from soft and simple to bold and shiny, there’s something here for every mood and occasion. 1. Classic Milky White Square Nails Milky white nails have a soft, clean look that never feels out of place. They suit weddings, work, and everyday wear equally well. This shade also flatters every skin tone, which makes it a safe and easy pick. 2. Micro French Tips Micro French tips use a thin white line instead of the usual thick tip. Some versions swap white for a bold color, giving the classic French manicure a fresh twist. It’s a modern update on a design that’s been around for years. 3. Glossy Nude Square Nails Nude shades keep things neutral and calm. This design needs very little upkeep, so it grows out nicely without looking messy. It’s also a great choice for anyone who needs their nails to look polished at the office. 4. Glazed Donut Chrome Nails This design uses a pearly chrome finish that catches the light from every angle. It became popular after celebrities started wearing it, and it hasn’t slowed down since. Soft pinks and champagne tones work best for this glazed look. 5. Soft Pink Jelly Nails Jelly nails have a see-through, slightly glassy finish in soft pink. The look feels fresh and youthful, almost like candy. It’s a favorite pick for spring and summer manicures. 6. Pastel Color Block Nails This design mixes pastel shades like lavender, mint, baby blue, and peach across different nails. Sometimes one nail gets a different color as a fun accent. It’s a playful way to wear more than one shade at once. 7. Tiny Floral Nail Art Small flowers like daisies and wildflowers give nails a soft, botanical touch. The tiny details make the design feel special without being loud. This style works beautifully for spring. 8. Chocolate Brown Gloss Nails Chocolate brown is a rich, warm neutral that’s perfect for fall. It has a glossy finish that looks polished, even on short nails. This shade feels rich without trying too hard. 9. Black Minimalist Line Art This design keeps things simple with black line work on a bare or light base. Abstract faces, swirls, and small geometric shapes are popular choices. It’s a chic, monochrome look that stands out without much color. 10. Gold Foil Accent Nails A nude base gets topped with small flecks of gold foil for a bit of sparkle. It’s a great manicure for parties and special events. The gold adds a touch of shine without going overboard. 11. Magnetic Nails Cat eye nails use a magnetic polish that creates a shimmering, velvet-like line across each nail. Different colors give different effects, from icy blue to warm bronze. It’s a striking design that suits evening looks. 12. Subtle Shimmer Subtle shimmer short square nails feature a soft, light-reflective finish that adds a delicate sparkle without looking overly glittery. The shimmer catches the light to create a polished, elegant effect while keeping the manicure simple and wearable. 13. Cherry Red Gloss Nails Cherry red is bold, but it never really goes out of style. This shade works any time of year, from summer days to winter holidays. It’s especially fitting for date nights. Short Square Nails vs. Other Popular Nail Shapes Short square isn’t the only shape out there; some nail shapes suit certain nail types better, while others need more upkeep. This table makes it easy to see which shape fits which need. Nail Shape Best For Maintenance Appearance Short Square Everyday wear Easy Clean and modern Round Beginners Very easy Natural Squoval Versatile Easy Soft and balanced Almond Longer nails Moderate Elegant Coffin Acrylics Higher Bold Oval Natural nails Moderate Feminine Manicure Maintenance Tips A good manicure looks great on day one, but keeping it that way takes a little effort. These simple habits can help short square nails stay fresh for longer. Apply cuticle oil daily: This keeps the skin around the nails soft and healthy. It also helps prevent dryness that can lead to peeling. Use a strengthening base coat: A good base coat protects the natural nail underneath. It also helps polish stick better and last longer. Wear gloves while cleaning: Household chemicals can weaken nails and dull polish fast. A pair of gloves keeps both nails and hands protected. Reapply top coat every few days: This adds a fresh layer of shine. It also helps guard against small chips and scratches. Avoid using nails as tools: Opening cans or scratching labels puts a lot of strain on nails. This habit is one of the fastest ways to cause breaks. File edges regularly to maintain the square shape: Nails grow unevenly over time. A quick file every week keeps the square shape sharp and neat. To Wrap Up Short square nail designs are easy, yet they carry a lot of style. From creamy whites to vibrant cherry reds, there’s a style available for every feeling and every season. What’s truly important isn’t choosing the most fashionable choice. It’s choosing the one that suits everyday use and feels comfortable in the hand. Choose a preferred option from the list, save an image, and take it to your next salon appointment. Frequently Asked Questions (FAQs) 1. Do Short Square Nails Suit People With Wide Fingers? Yes, this shape often works well on wider fingers. The straight edges create a clean line that can make fingers look more balanced. 2. How Long Does a Short Square Gel Manicure Usually Last? A gel manicure on short square nails typically lasts two to three weeks. Since the nails are shorter, there’s less surface area for chips to start. 3. Is It Easy to Remove Nail Art from Short Square Nails at Home? Yes, most designs can be removed with regular polish remover or an acetone soak for gel. The flat surface makes it simple to clean off fully.
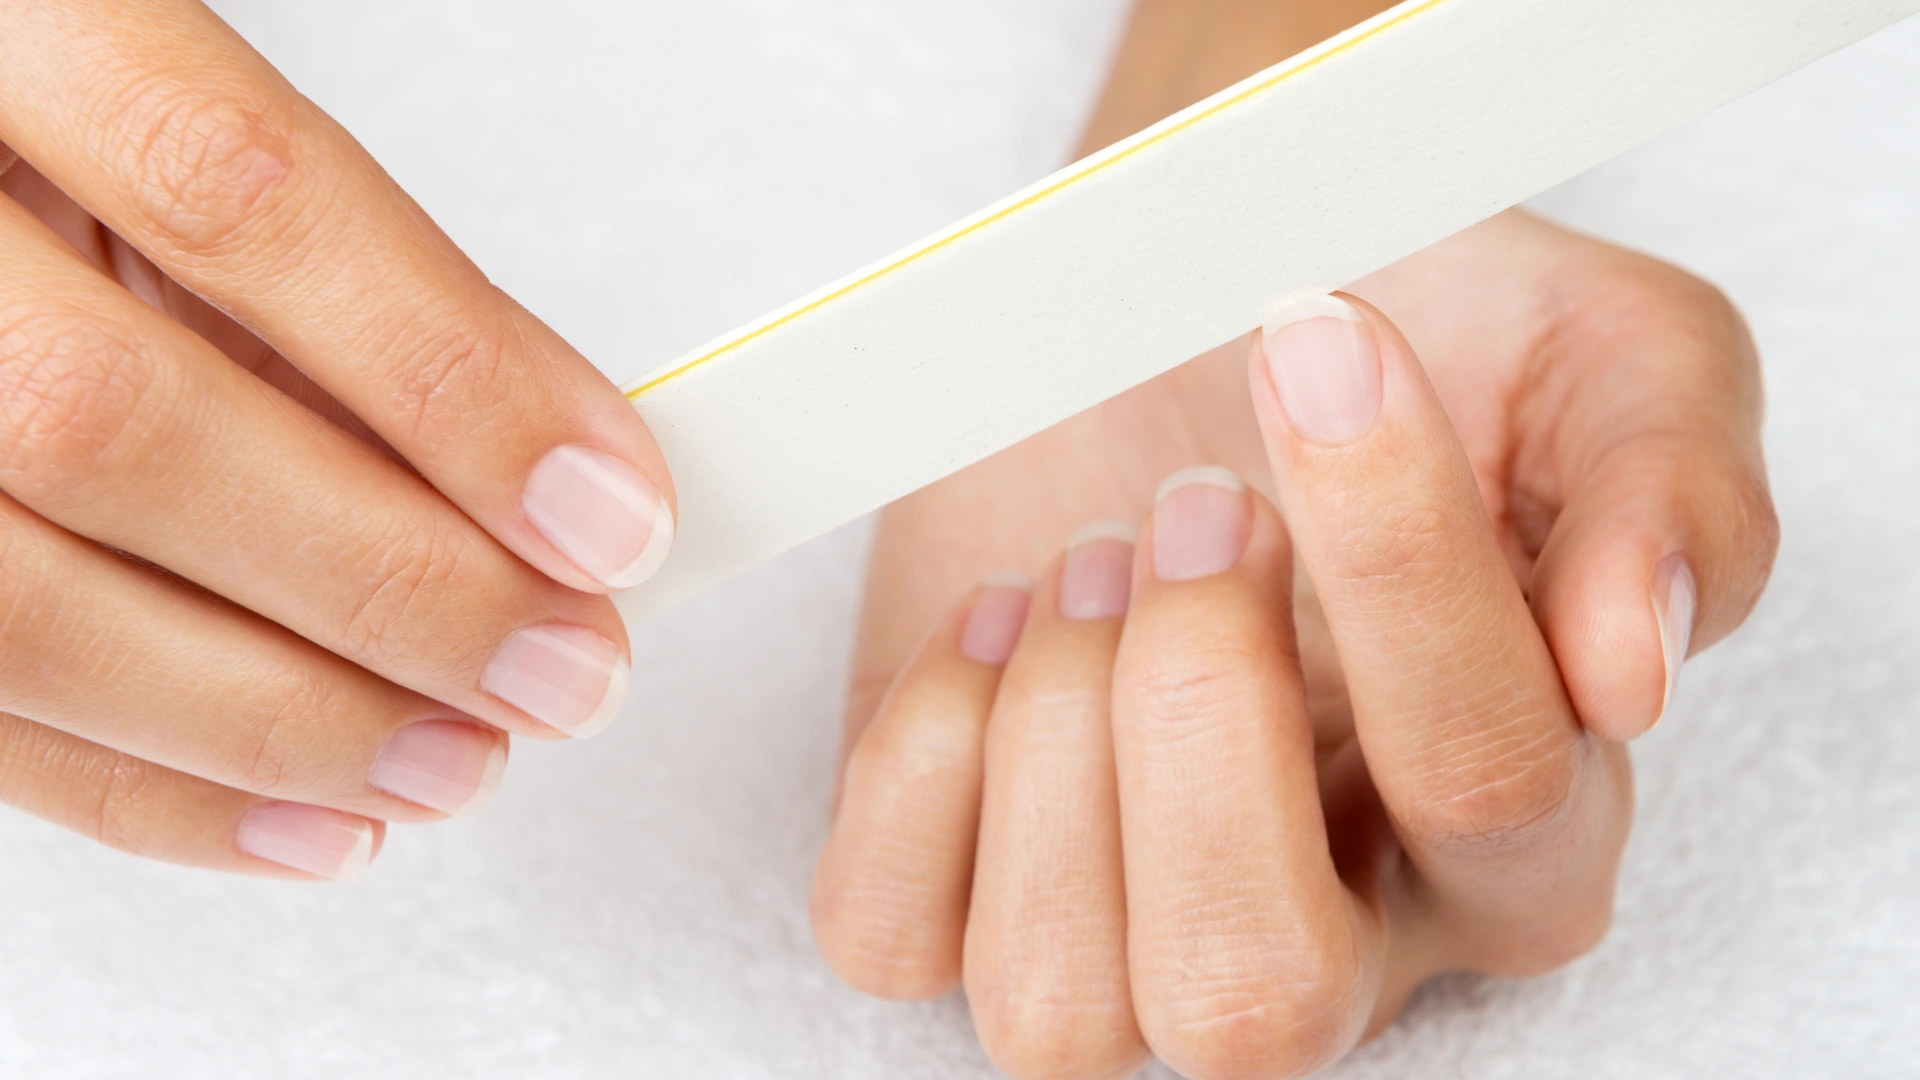
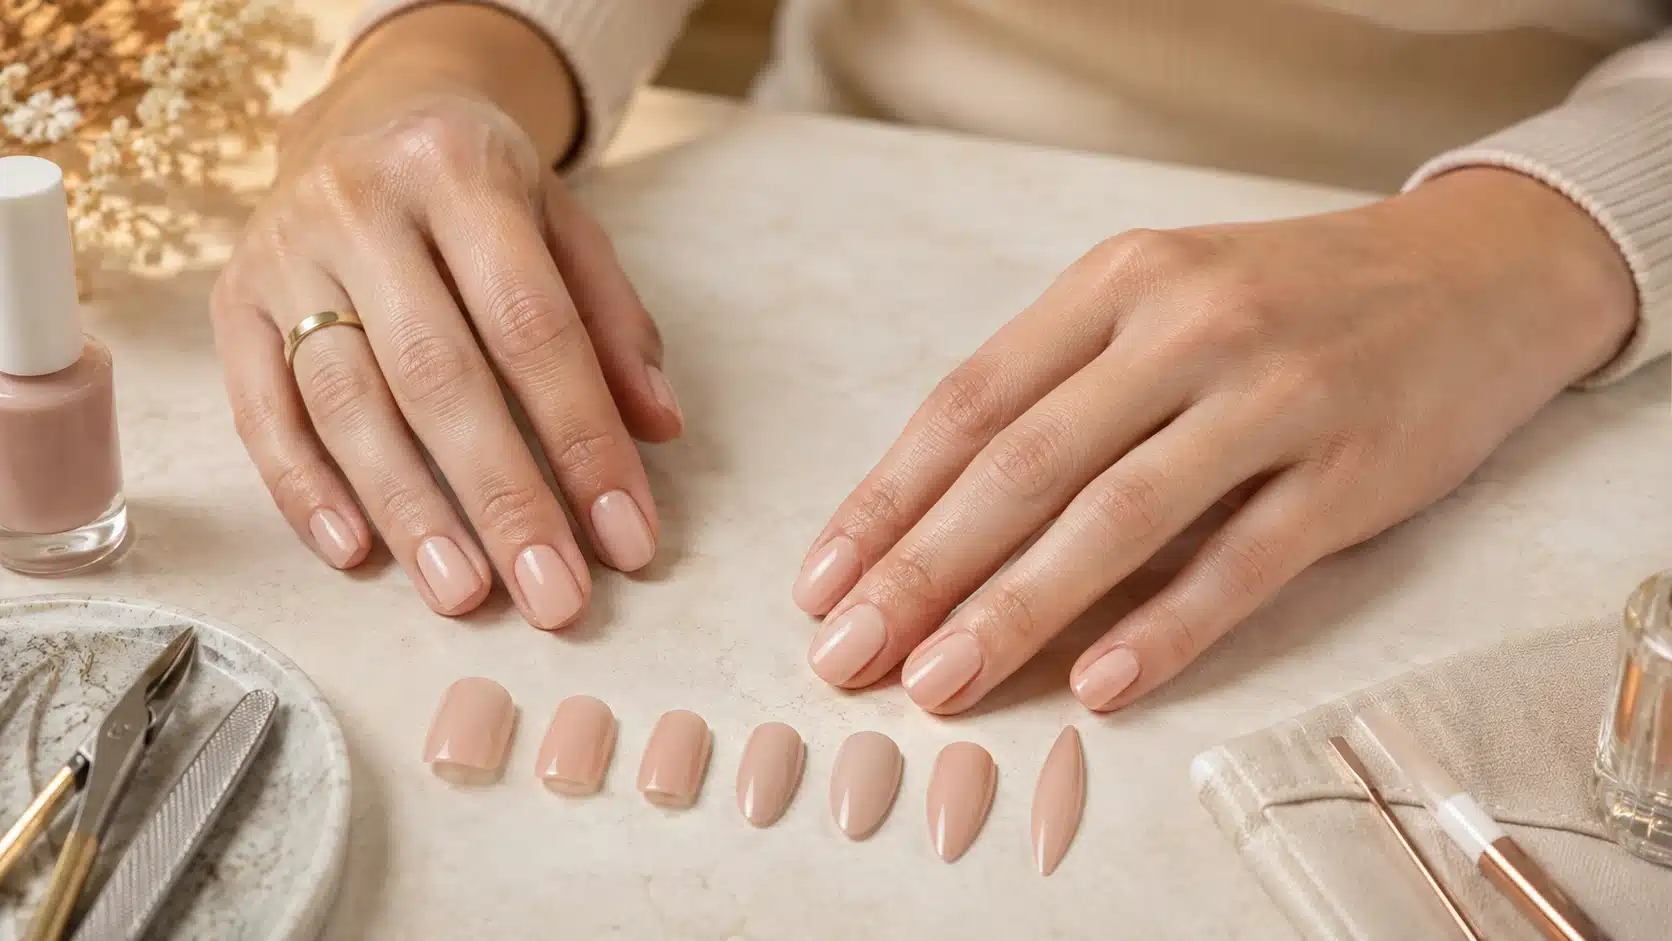
Many people file their nails the wrong way without knowing it. Back-and-forth motions, no set direction, no real technique. Over time, this causes nails to split and weaken at the tips. But there is a simple fix, and it has nothing to do with force or speed. A small change in technique can turn rough, breaking nails into smooth, strong ones. This blog will show you the correct way to file nails, step by step. Why is Filing Nails Important? Filing nails is not just about shape. It helps keep nails healthy and strong. Rough or uneven edges catch on clothes and hair. This can cause a nail to snag and tear. Regular filing removes these rough spots. It smooths the edge and lowers the risk of breaks. Filing also helps nails grow evenly. Uneven nails are more likely to crack under pressure. A proper filing routine keeps nails neat between manicures. It also cuts down the need for frequent trims. Good filing habits protect nail health over time. They stop small issues from turning into bigger problems. Tools You Will Need to File Your Nails Filing nails properly needs more than just a file. A few simple tools make the job easier and safer. Nail File: Shapes and smooths the free edge. Nail Clippers: Trim length before filing starts. Buffer: Smooths ridges and adds light shine. Cuticle Pusher: Pushes back skin around the nail. Cuticle Oil: Keeps skin and nails from drying out. Soft Cloth or Towel: Wipes away dust after filing. Having these tools ready saves time. It also helps you get neat, even results every time. How to File Nails Properly Step-by-Step? Filing nails the right way is easier than it looks. Follow these simple steps to get smooth, strong nails every time. Step 1: Start with Clean, Completely Dry Nails Although wet nails feel softer, they are not as strong as dry ones. Peeling and breaking at the tips might result from filing damp nails. Make sure your nails are clean and totally dry before beginning. To view the actual edge, remove any existing nail polish first. Trim your nails first if they are too long. This greatly simplifies filing. Step 2: Choose the Right Nail File Not all nail files work the same way; each type suits a different need. Emery board: soft, good for natural nails. Glass file: smooth edges, less damage. Metal file: strong, but harsh on natural nails. Ceramic file: fine, good for weak nails. For natural nails, use a 180 to 240 grit file. For acrylic nails, use an 80 to 100 grit file. Step 3: Decide on Your Nail Shape Before Filing Before you begin filing, choose a nail shape. This saves time and prevents mistakes later. Oval and round shapes go well with short nails. Square and squoval are suitable for everyday wear. Almond, coffin, and stiletto shapes require longer nails. Changing your mind in the middle can leave nails uneven. Every stroke is tidy when the shape is known beforehand. Step 4: Hold the File at the Correct Angle The angle of the file matters more than most people think. Hold the file at a slight angle, not flat. Keep it close to a 45-degree tilt under the nail edge. Avoid filing flat across the top of the nail. This angle protects the nail’s natural strength and shape. A flat angle can weaken the tip and cause cracks. Step 5: File From the Outside Toward the Center Always file from the nail’s outside edge to its core. Nails can only split apart in one direction. Heat and friction are produced on the nail by the back-and-forth motion. Over time, this weakens the layers of nails. Light back-and-forth strokes can be made with glass files since they are sufficiently mild. Other files should only go in one direction. Step 6: Shape Every Nail Evenly Even nails look neater and last longer without breaking. Check each nail as it’s filed. Compare the shape with the nail beside it. Hold both hands side by side to check symmetry. Adjust the length so all nails match closely. Taking a moment to compare hands often catches small mistakes early. Step 7: Smooth the Edges Smooth out any uneven areas that remain after shaping. Rough edges are prone to snagging on clothing or hair. Gently move the file in a single direction across the edge. This quickly eliminates uneven areas and sharp corners. Additionally, smooth edges feel and appear cleaner overall. Although it only takes a few more seconds, this step is crucial. Step 8: Finish With Nail Care Filing is not the last step. Nails need care right after. Apply cuticle oil to keep skin soft. Moisturize hands to prevent dryness. Buff lightly only if needed, not too often. This simple routine keeps nails strong and healthy between filing sessions. Skipping it can leave nails dry and brittle very fast. How to File Different Nail Shapes? Filing looks simple, but the angle and direction make all the difference. Given below is how to get each shape right. Round Nails File the sides in a slight curve, following the natural tip. Round off any sharp corners at the top. This shape is the easiest one to file at home. Square Nails Keep the sides straight up and down. File the top flat, with sharp corners on both edges. A steady hand helps keep the line even. Squoval Nails Start with a square shape, then soften the corners just a touch. The edges should curve slightly instead of staying sharp. This shape blends square and round for a balanced look. Oval Nails File the sides in gently, then round the tip into a smooth curve. There should be no flat edges or points. This shape works best on nails with some length. Almond Nails Narrow the sides toward the tip, then taper into a soft point. The tip should stay slightly rounded, not sharp. Extra length helps this shape stand out. Coffin or Ballerina Nails File the sides straight and tapered, then cut the tip flat and wide. The end result looks like a narrow trapezoid. This shape usually needs some added length, often with acrylics. Stiletto Nails Taper the sides sharply toward the center. File the tip into a sharp point. This shape needs strong, longer nails to hold its form well. Should You File Nails Wet or Dry? This one comes up a lot, and the answer is simple. Dry nails are the way to go. Wet nails are softer and more likely to bend or tear while filing. This can lead to peeling or uneven edges. Dry nails hold their shape better under the file, giving a cleaner result. If nails were just washed or soaked, it’s best to wait until they’re fully dry. A few minutes of patience makes the whole process easier and safer. Signs You Are Filing Your Nails the Wrong Way Your nails often show early signs of poor filing. Watch for these signs before the damage worsens. Peeling or splitting at the tips after filing. Rough, uneven edges that snag on clothes or hair. Nails that look uneven when you compare both hands. White marks or thin spots along the edge. Nails that feel weak or bend easily. Needing to file the same spot again and again. If you notice any of these, stop and check your technique. The wrong file, wrong angle, or too much pressure is often the cause. A quick fix now can save your nails from more damage later. Conclusion Filing your nails correctly isn’t about speed; it’s about technique. The most important thing is a few minor adjustments. One consistent direction, the proper file, and the proper angle. These simple steps help keep nails strong and prevent cracking. Nails that are in good condition do more than just look good. They grow without cracking and retain polish better. The extra few minutes are worthwhile. Go more slowly the next time you sit down to file your nails. First, decide on your shape. Maintain the file at the proper angle. Apply cuticle oil to finish. Frequently Asked Questions (FAQs) 1. How Often Should You File Your Nails? Once a week works well for most people; nails grow slowly, so filing weekly keeps shape and length in check without overdoing it. 2. Should You File Your Nails Before or After Applying Polish? Always file nails before polish, not after; filing on bare, dry nails gives a clean shape and smooth surface for polish to stick. 3. How Often Should You Replace Your Nail File? Replace a nail file every three months; worn-out grit can drag on nails instead of smoothing them, causing rough or uneven edges.